

Page 1

™
ProGO-26™ / ProGO-44
ASSEMBLY / USER GUIDE
Thank you for purchasing the Auralex® ProGO. This is a highly effective portable acoustic absorption
device that can be easily positioned anywhere in a room to achieve the desired acoustical tuning.
1. Unpack the ProGO panel assembly and set aside.
2. Retain the Expanded Polystyrene (EPS) packing
pad for stand assembly.
The ProGO-44 Contains:
(1) 48” x 48” ProGO absorption panel
(2) 12” x 24” Base plate with eight through
holes. There are five sets of pilot holes on
the bottom for the addition of the optional
caster kits.
(4) 22” x 7.75” Upright panels
(16) Screws
(8) Rubber isolation feet
(1) 20” x 20” x 1” (50.8 cm x 50.8 cm
x 2.54 cm) EPS pad
The ProGO-26 Contains:
(1) 24” x 72” ProGO absorption panel
(1) 12” x 24” Base plate with eight through
holes. There are five sets of pilot holes on
the bottom for the addition of the optional
caster kit.
(2) 22” x 7.75” Upright panels
(8) Screws
(4) Rubber isolation feet
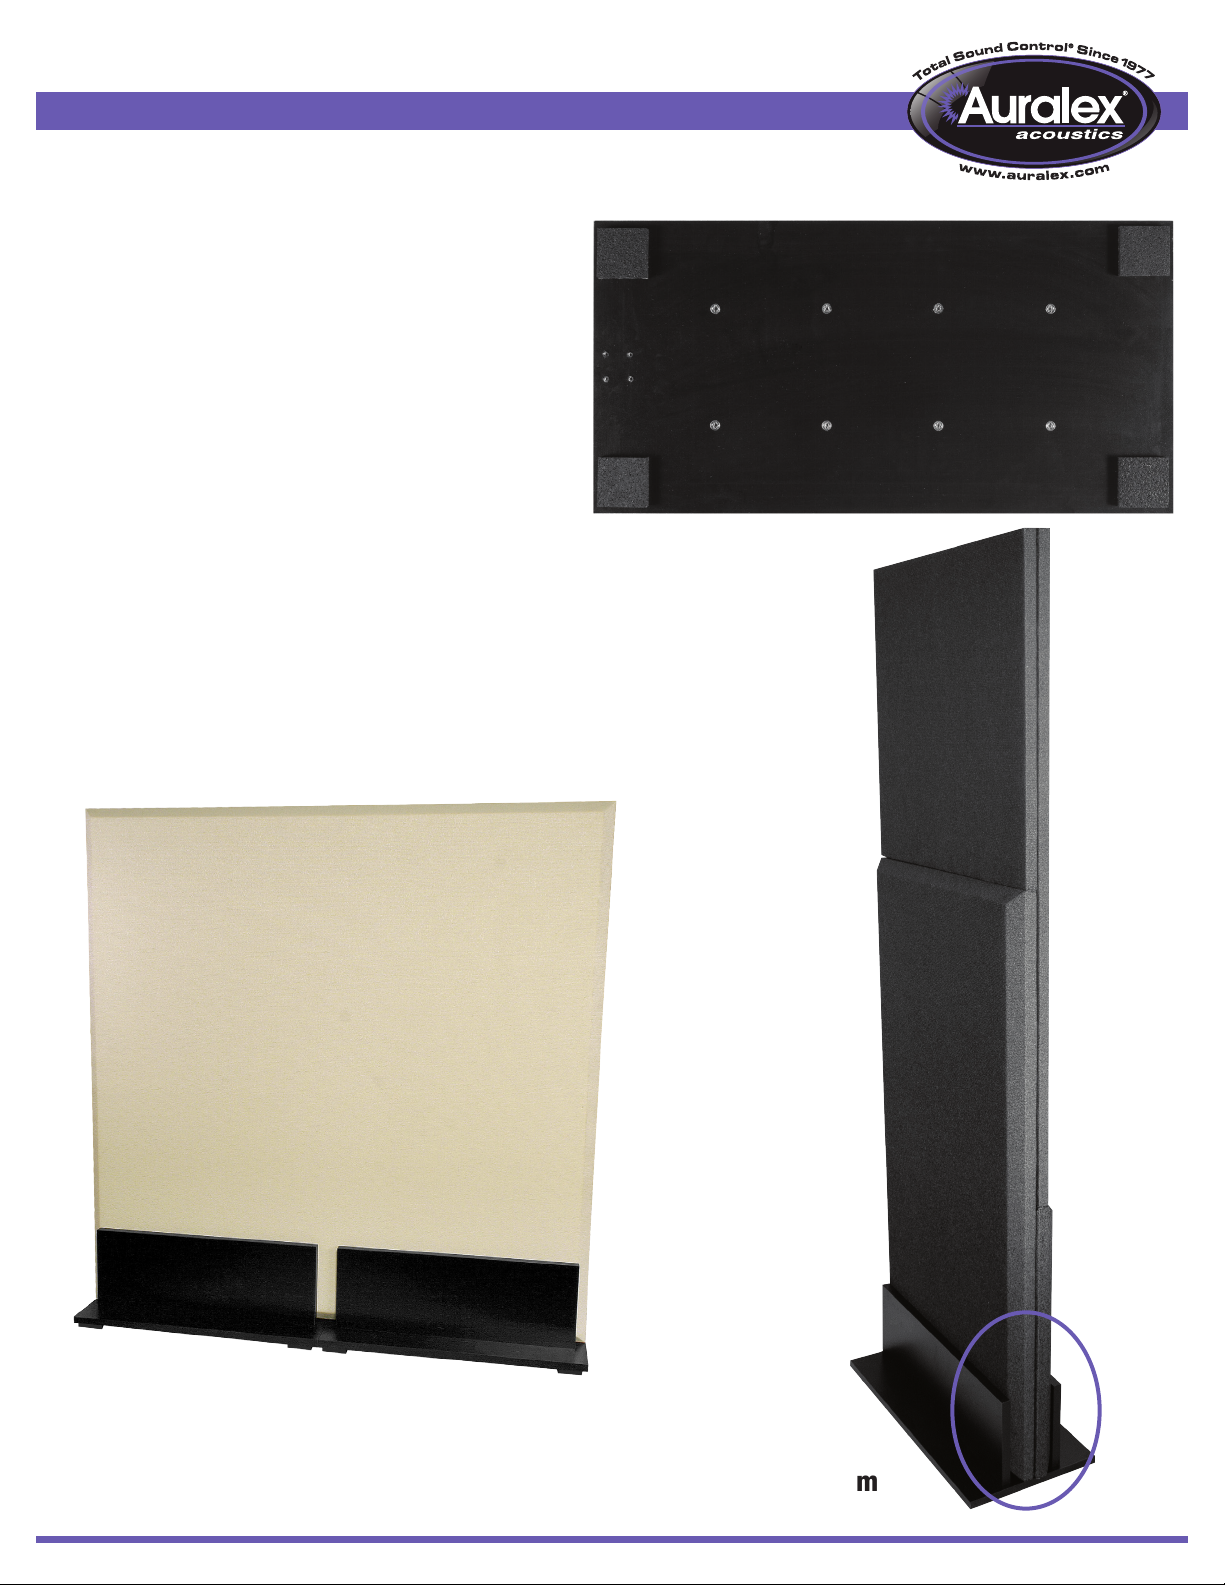
NOTE the four pilot
holes in the bottom,
unfinished edges of
the upright panels
TOOLS NEEDED: #3 Phillips screw driver. A power driver with adjustable clutch is recommended. Start with a lower
clutch setting to avoid stripping screw heads or the wood panels!
3. Place the 20” (50.8) cm square sheet of EPS on a flat rigid
work surface.
4. Stand the bottom panel on end with the top surface next to
the EPS pad.
5. Insert one of the supplied screws through one of the upper
holes in the base from the bottom side (the side containing
the five sets of pilot holes).
6. Position one of the upright panels on top of the EPS pad
and perpendicular to the top surface of the bottom panel.
7. Align the tip of the screw with the appropriate pilot hole in
the bottom edge of the upright panel and start by hand.
8. Insert the remaining three screws through the base panel,
align with the corresponding holes and snug by hand.
9. Tighten the screws with a power screw driver.
10. Repeat this process for the remaining upright panel.
ProGO I nstalla tion Guid es.indd (July 11, 2013 3:19 PM)
Page 2
ProGO-26™ / ProGO-44
ASSEMBLY / USER GUIDE
11. Apply the supplied rubber isolation feet to the
bottom corners of the base if casters will not
be added. Delete this step if casters will be
installed and refer to the installation guide
supplied with the ProGO caster kit.
™
12. Insert the ProGO panel assembly into the space between
uprights of the assembled base.
ProGO-44
Auralex® Acoustics, Inc.
1-800-959-3343 / 317-842-2600 / Auralex.com
9955 Westpoint Drive, Suite 101, Indianapolis IN USA 46256
ProGO-26
 Loading...