

Audiovox DPF701 Owner's Manual
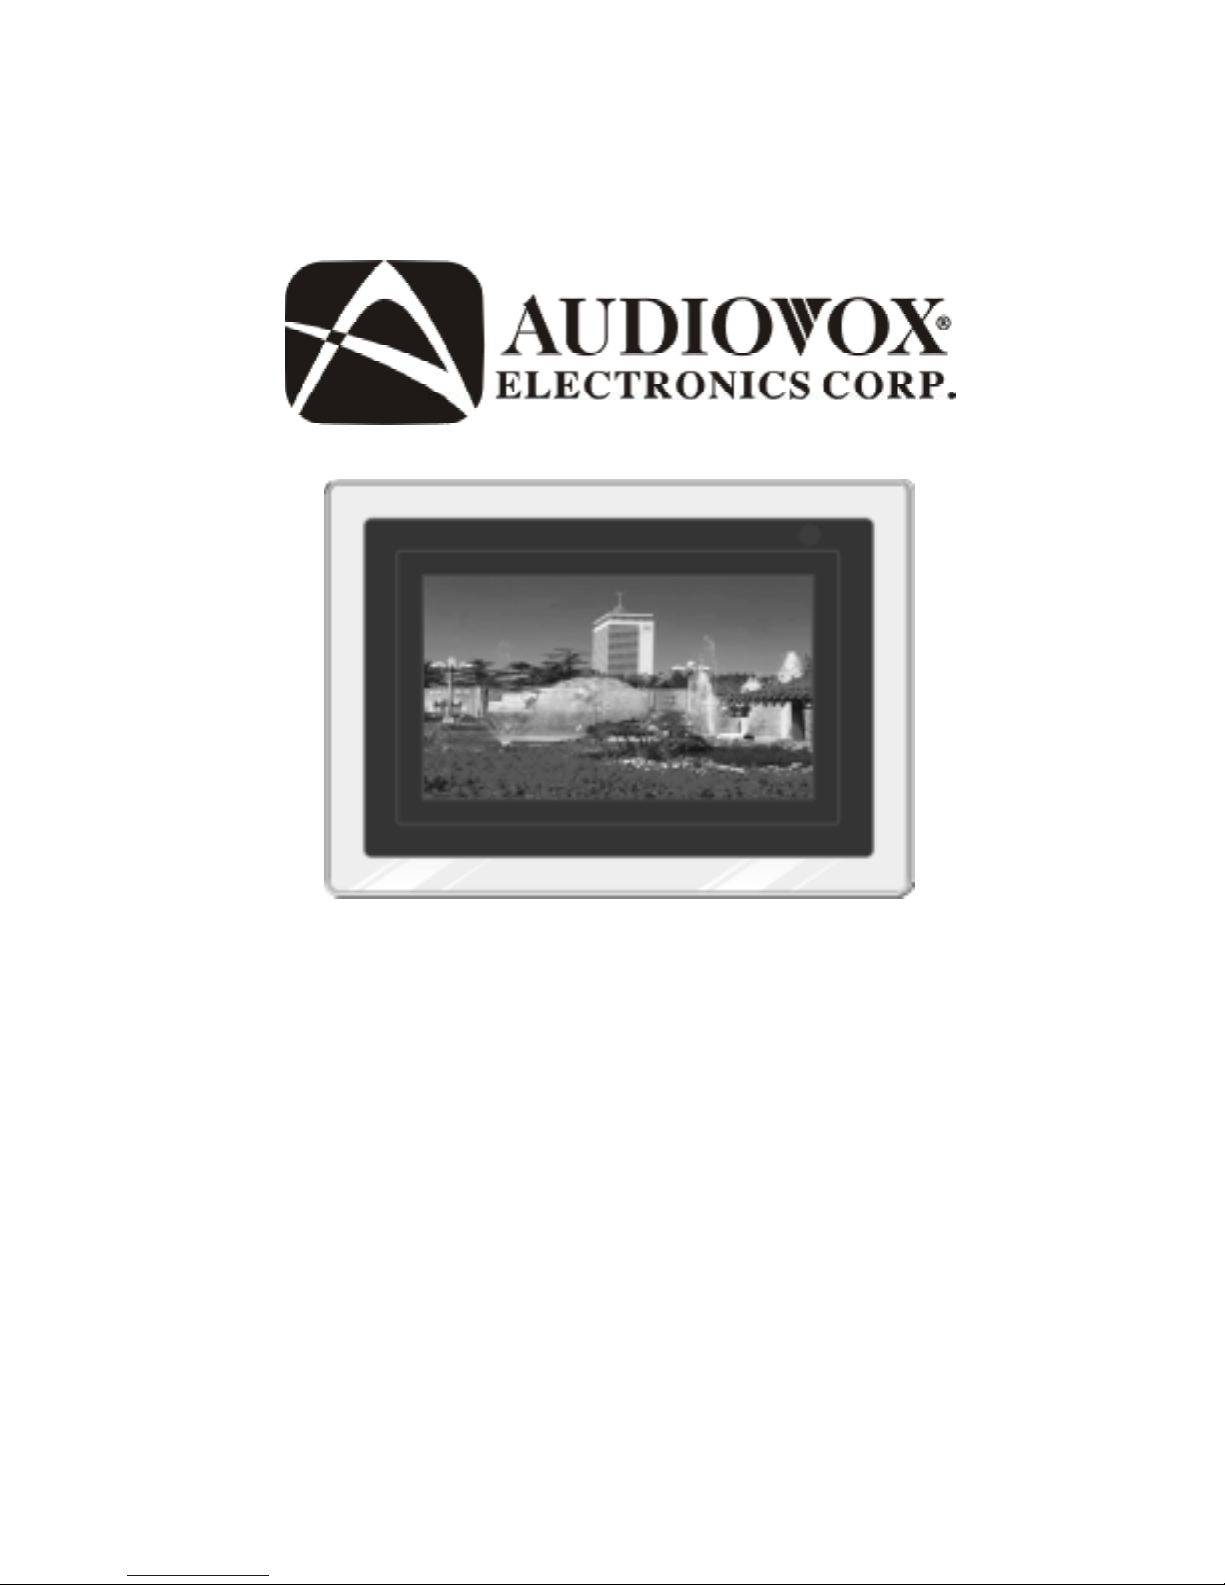
OWNER’S MANUAL
DPF701
Digital Photo Frame

2
Important safety instructions
1. All the safety and operation instructions should be read before the
product is operated.
2. Do not place this product in direct sunlight or near a heat source.
Excessive heat may cause the Digital Photo Frame to malfunction,
or change color.
3. Do not use this product near water (e.g., near a swimming pool ).
4. If you are unable to insert the plug fully into the power outlet, try
reversing the direction of the plug. If the plug still fails to fit, contact
an electrician to replace the outlet.
5. Power supply cords should be routed so that they are not likely to be
walked on or pinched by items placed upon or against them.
6. For added protection for this product, unplug it from the wall outlet
during a lightning storm or when it is left unattended and unused for
long periods of time. This will prevent damage to the product due to
lightning or power-line surges.
7. Do not attempt to service this product yourself as opening or remov-
ing covers may expose you to dangerous voltage or other hazards.
Refer all servicing to qualified service personnel.
3
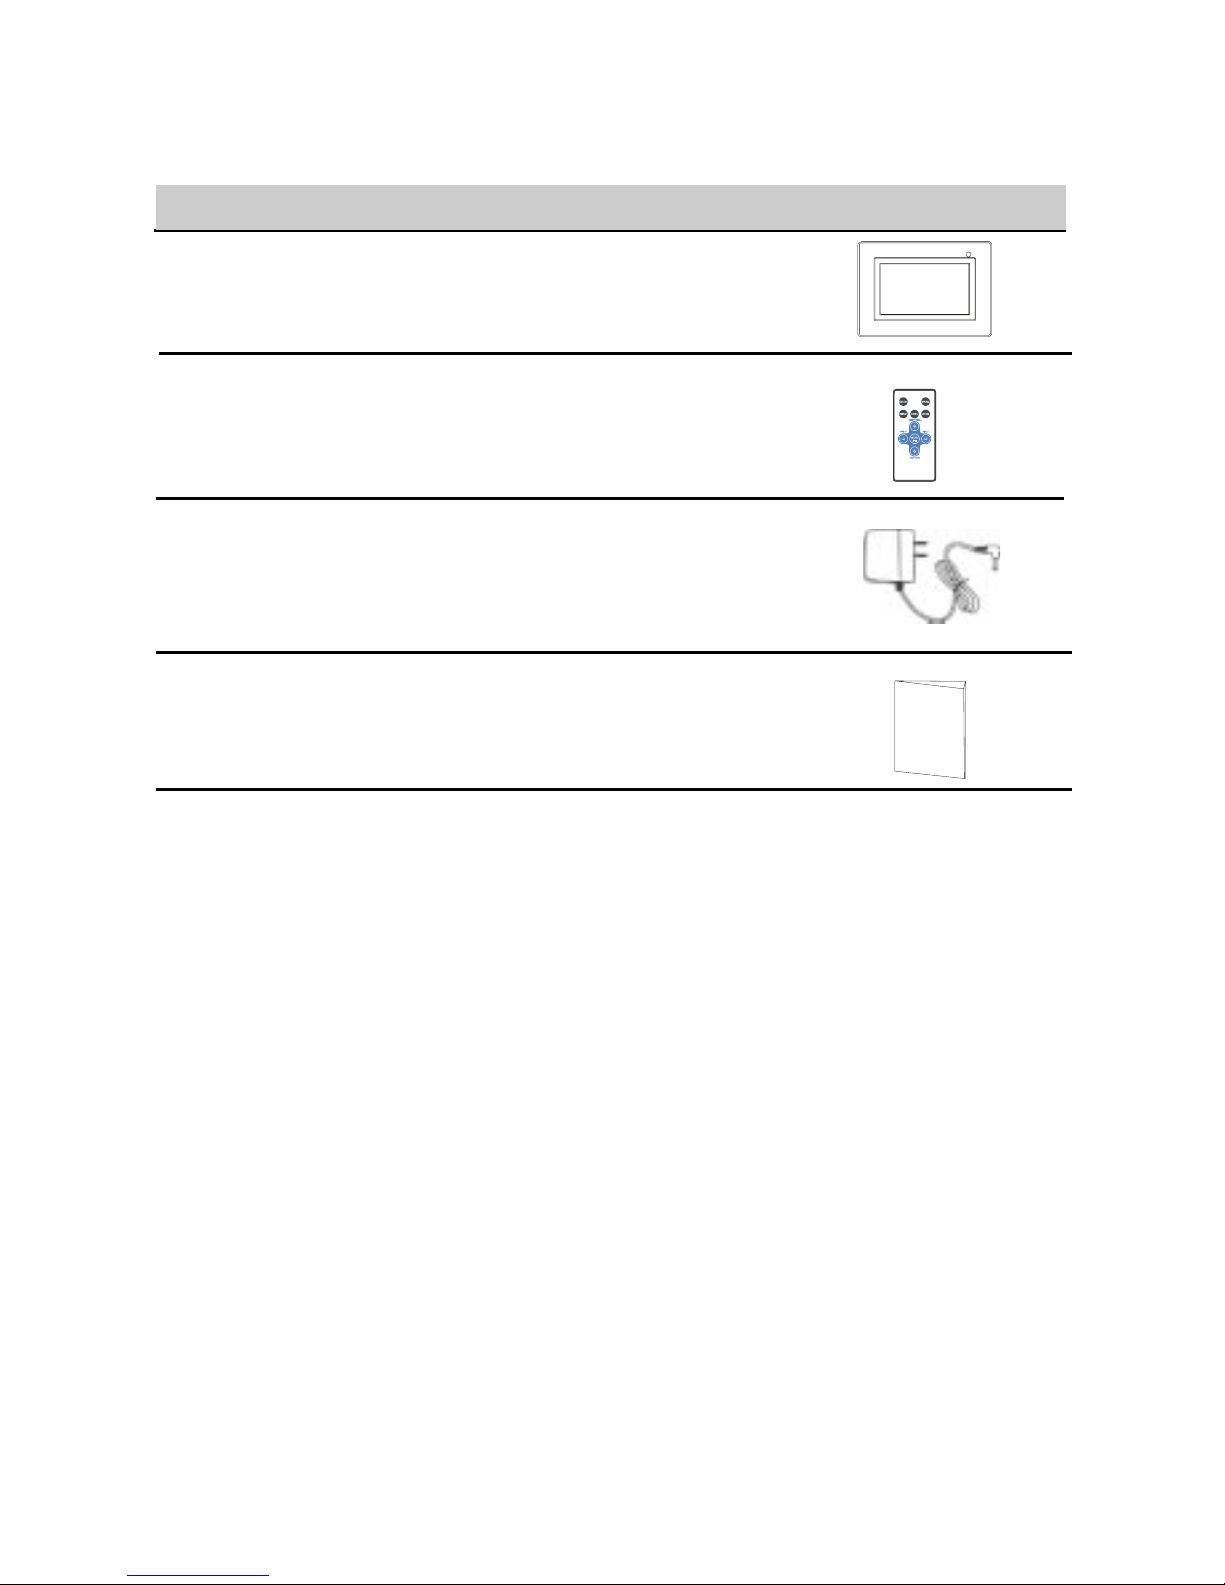
Package Contents
1 Digital Picture Frame
1 Remote Control
1 AC/DC Power Adaptor
(+9V, 1A, Support 110/240VAC 50 -60Hz)
1 User Manual
QTY Item Image
Getting Started
1. Connect the AC power adapter into the digital photo frame and plug
it into a power outlet.
2. Insert your memory card with photos or music, into the memory
slot (MultiMediaCardTM/ Secure Digital
TM
/ Compact FlashTM/xD
Memory Card
TM
/ Memory S tickTM) or USB storage device into the
USB port. (Note: If no memory card is available, there are some
demo images preloaded in the internal memory*)
3. Adjust the digital photo frame stand to its extended position and
push the POWER button located on top.
* To delete preloaded images, please refer to the “Delete images from
Internal Memory” section.
d

4
Photo Frame Controls and Indicators Functions
Top View
PLA Y/P AUSE/SELECT button
UP/COPY/DELETE button
POWER button
MENU button
DOWN/ROTATE button
NEXT button
PREV. button
POWER LED
Left View
Right View
V olume
Control
CF Memory
Slot
SD/MMC/xD/
MS Card Slot
USB Port
Power Input
5
Remote Control Functions
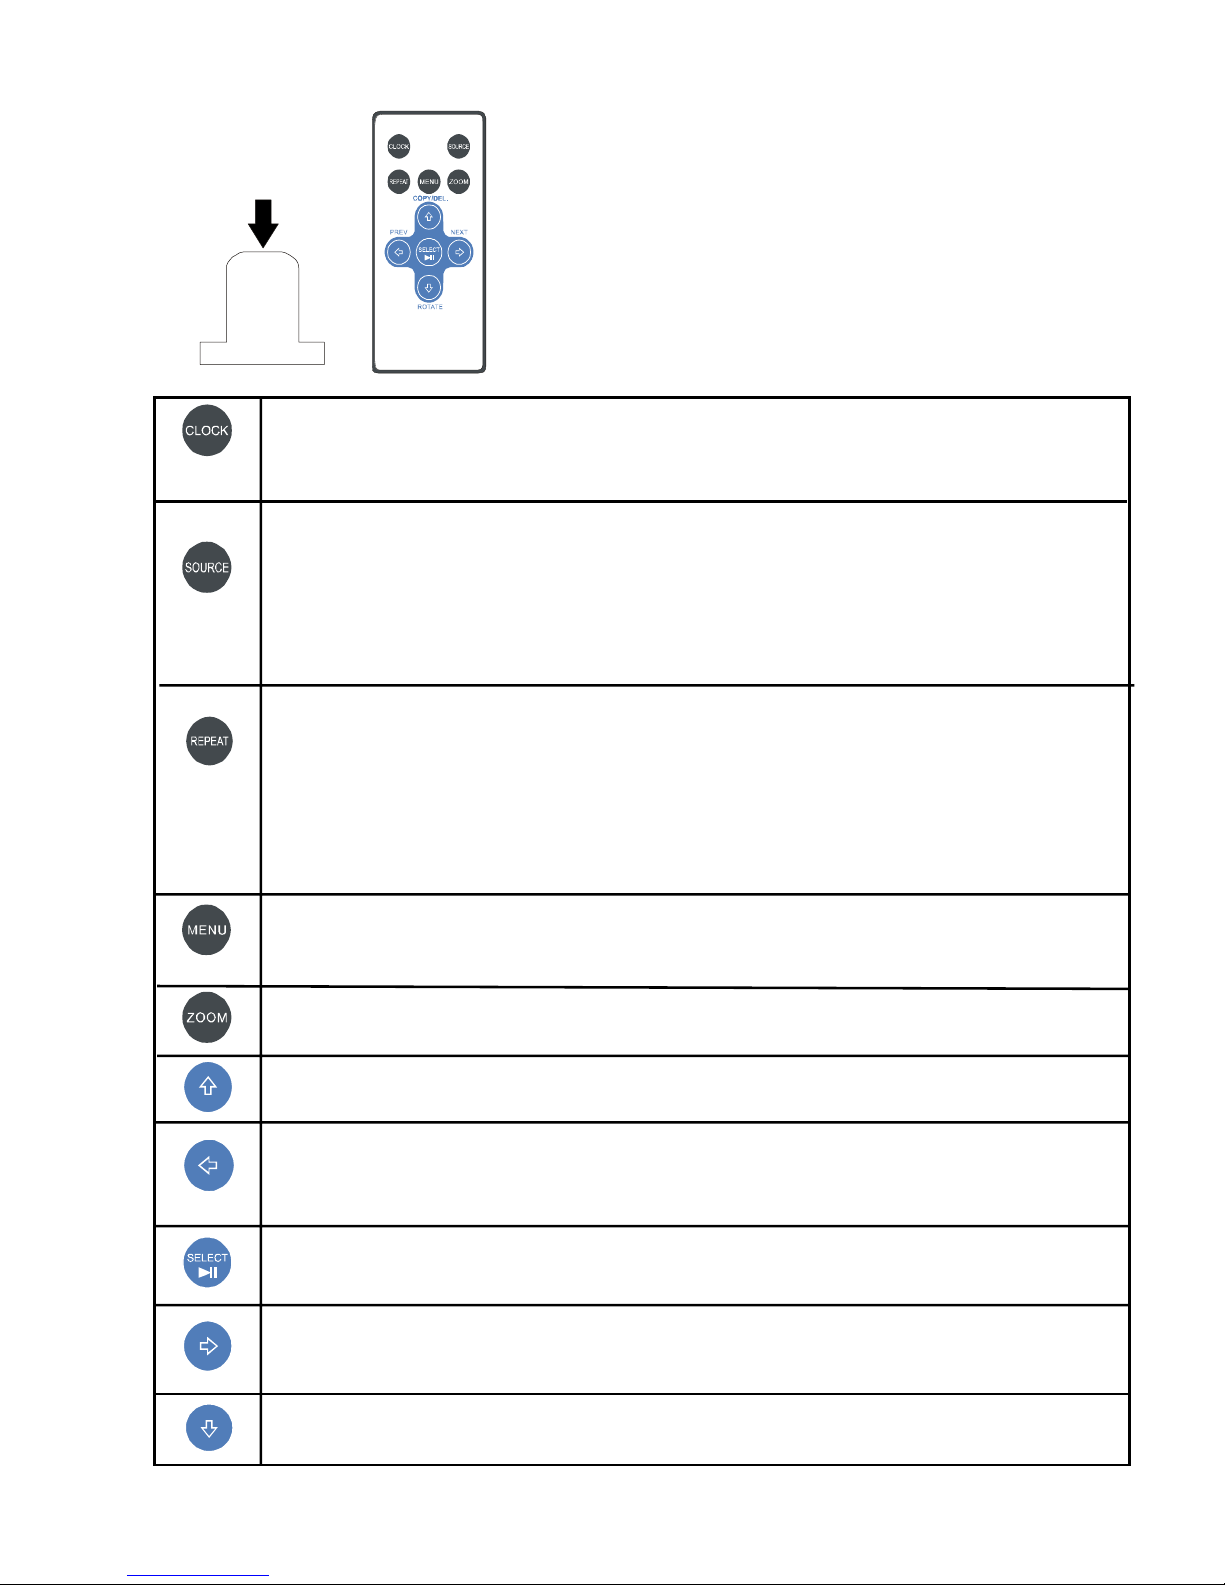
Pull plastic tab from remote control to
activate. (Note: replacement battery
model #CR2025)
CLOCK: Press to cycle through clock calendar and side show.
NOTE: Only available when in slide show mode.
REPEAT: Press to switch between different repeat modes for audio play-
back. NOTE: Control of the repeat function is unavailable in slideshow
with MP3 mode. The slideshow with MP3 is set to the default mode Re-
peat all.
MENU: Press to access menu.
ZOOM: Press to enlarge photo display in pause mode.
UP or COPY/DEL: Press to move up or copy/delete in Pause mode.
LEFT/PREV or RETURN: Press to move left, or return to previous
screen
in slideshow mode.
PLA Y/P AUSE OR SELECT: Press to play or pause photo, or music files.
Press to make selections in menu or setting mode.
RIGHT/NEXT: Press to move right, or move to next screen in slideshow
mode.
SOURCE: Press to select which external memory card or USB storage
device, which will be used to retrieve data for the DPF .
NOTE: Internal memory can only be accessed by removing all external
memory sources!
DOWN or ROT A TE: Press to advance to the next page when in thumbnail
mode, move picture down when in zoom mode.
 Loading...