

Page 1
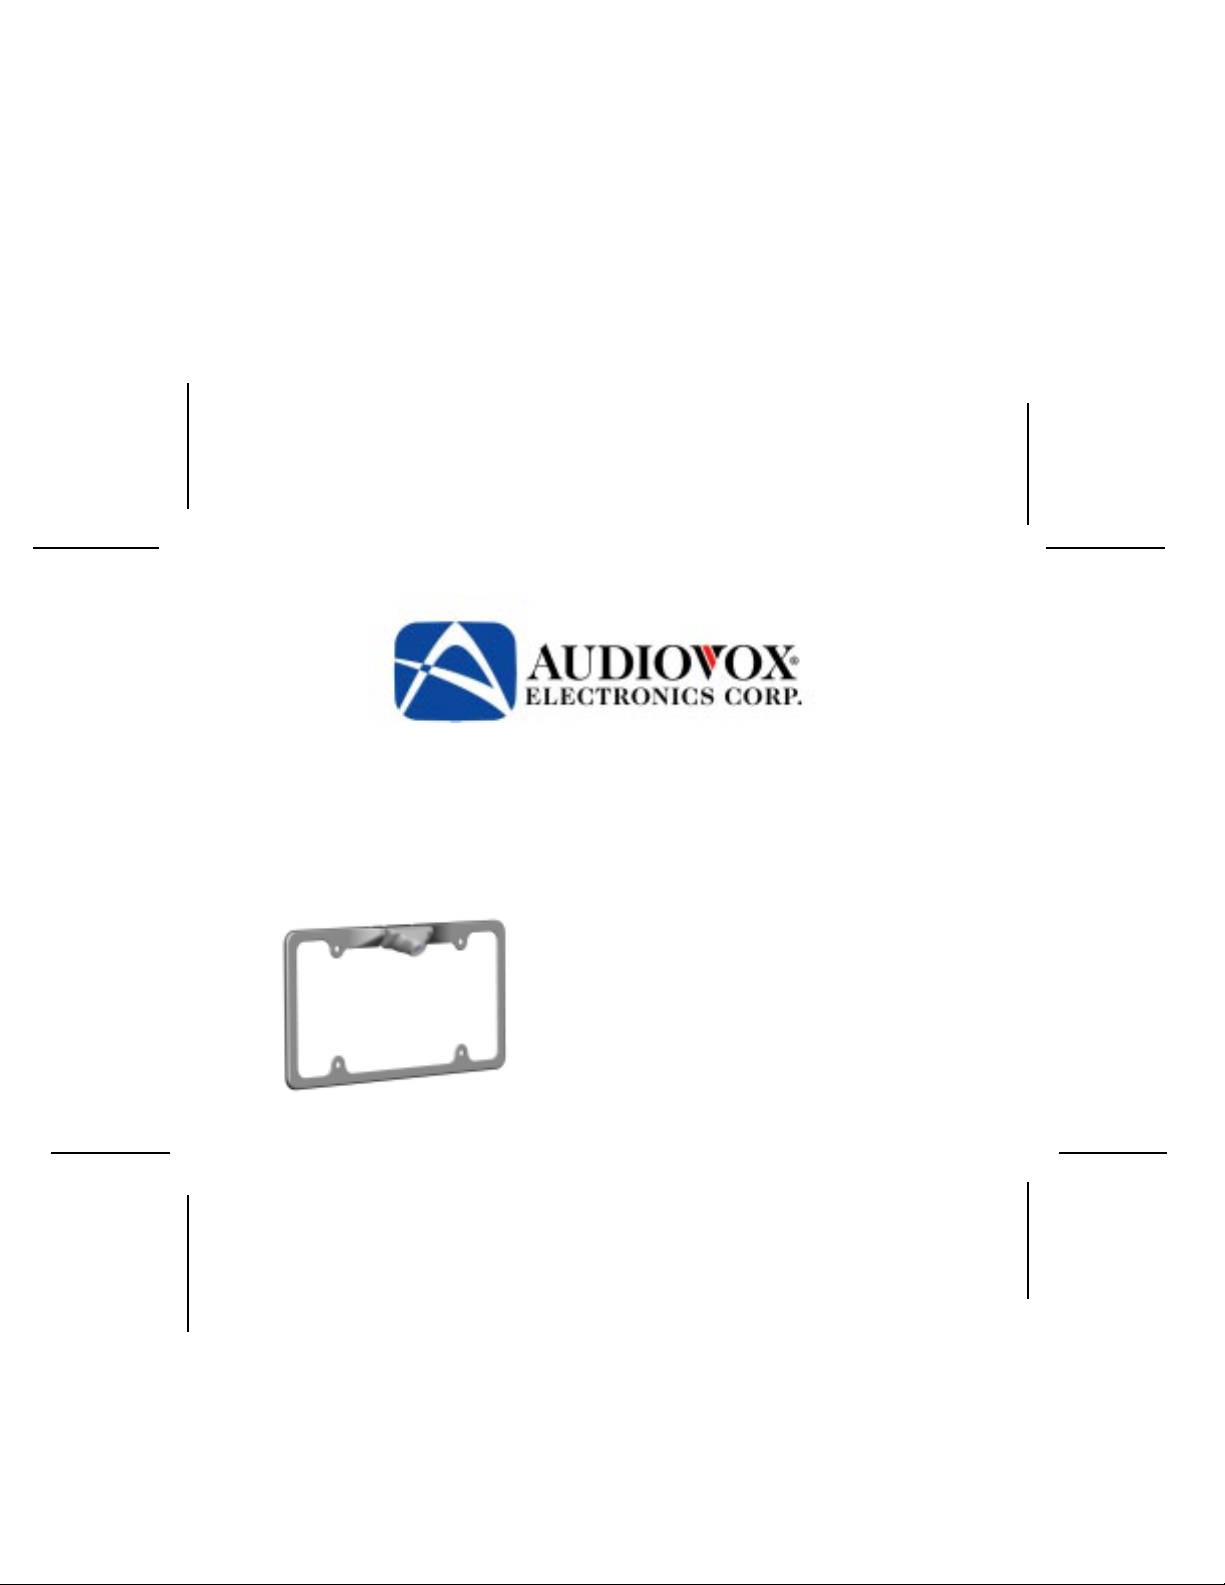
Model CMOLF
License Plate Rearview Camera
with Selectable Normal/Reverse Image
CMOLF FEATURES:
• Built Into License Plate Frame
• High Resolution, 1/4” CMOS Color Camera
• Compact Zinc Alloy Die Cast Body
• Waterproof Housing
• Waterproof Microphone
O
• 130
Wide Angle View
• Selectable Normal/Reverse Image
1
128-8104
1 of 8
Page 2
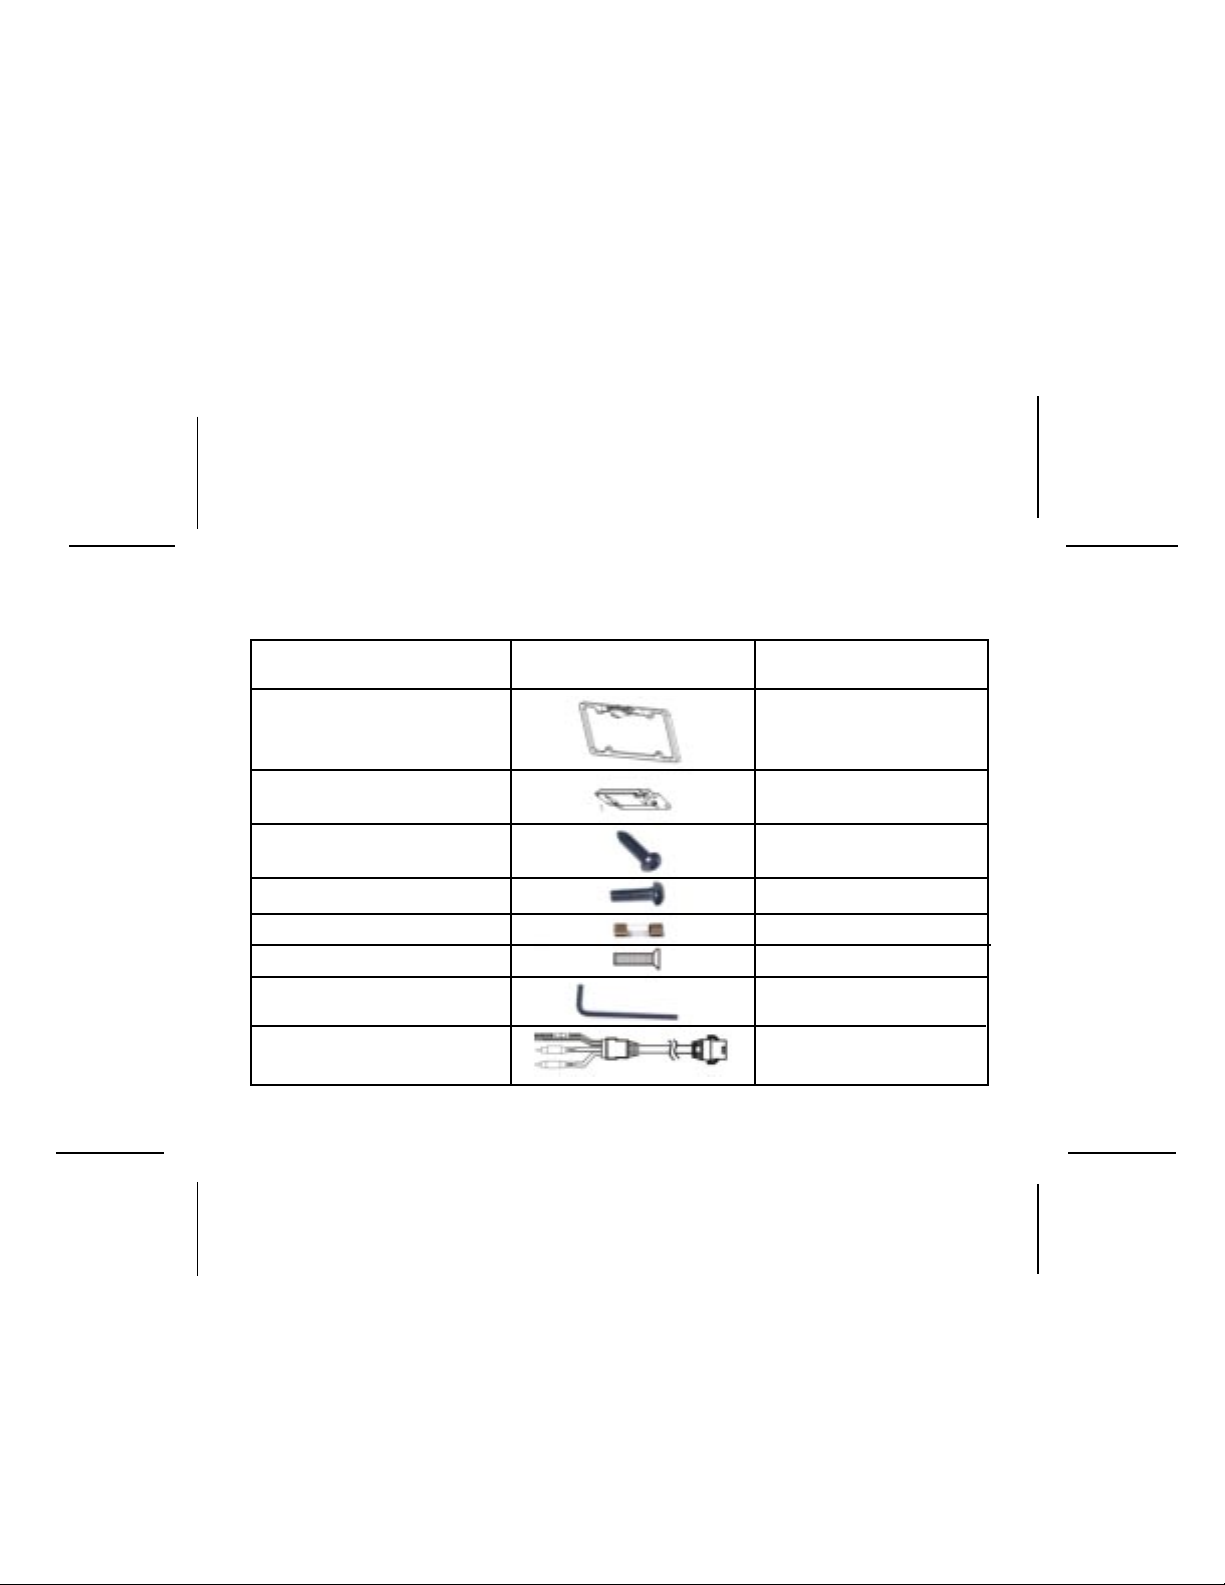
CONTENTS
ITEM FIGURE QUANTITY
LICENSE PLATE WITH 1
CAMERA
CAMERA ANGLE 1
ADJUSTMENT WEDGE
THEFT-PROOF SCREWS 2
THEFT-PROOF SCREWS 2
FUSE (1A) 1
CAMERA MOUNTING BOL T 2
ANTI-THEFT ALLEN KEY 1
EXTENSION CABLE 1
2
128-8104
2 of 8
Page 3
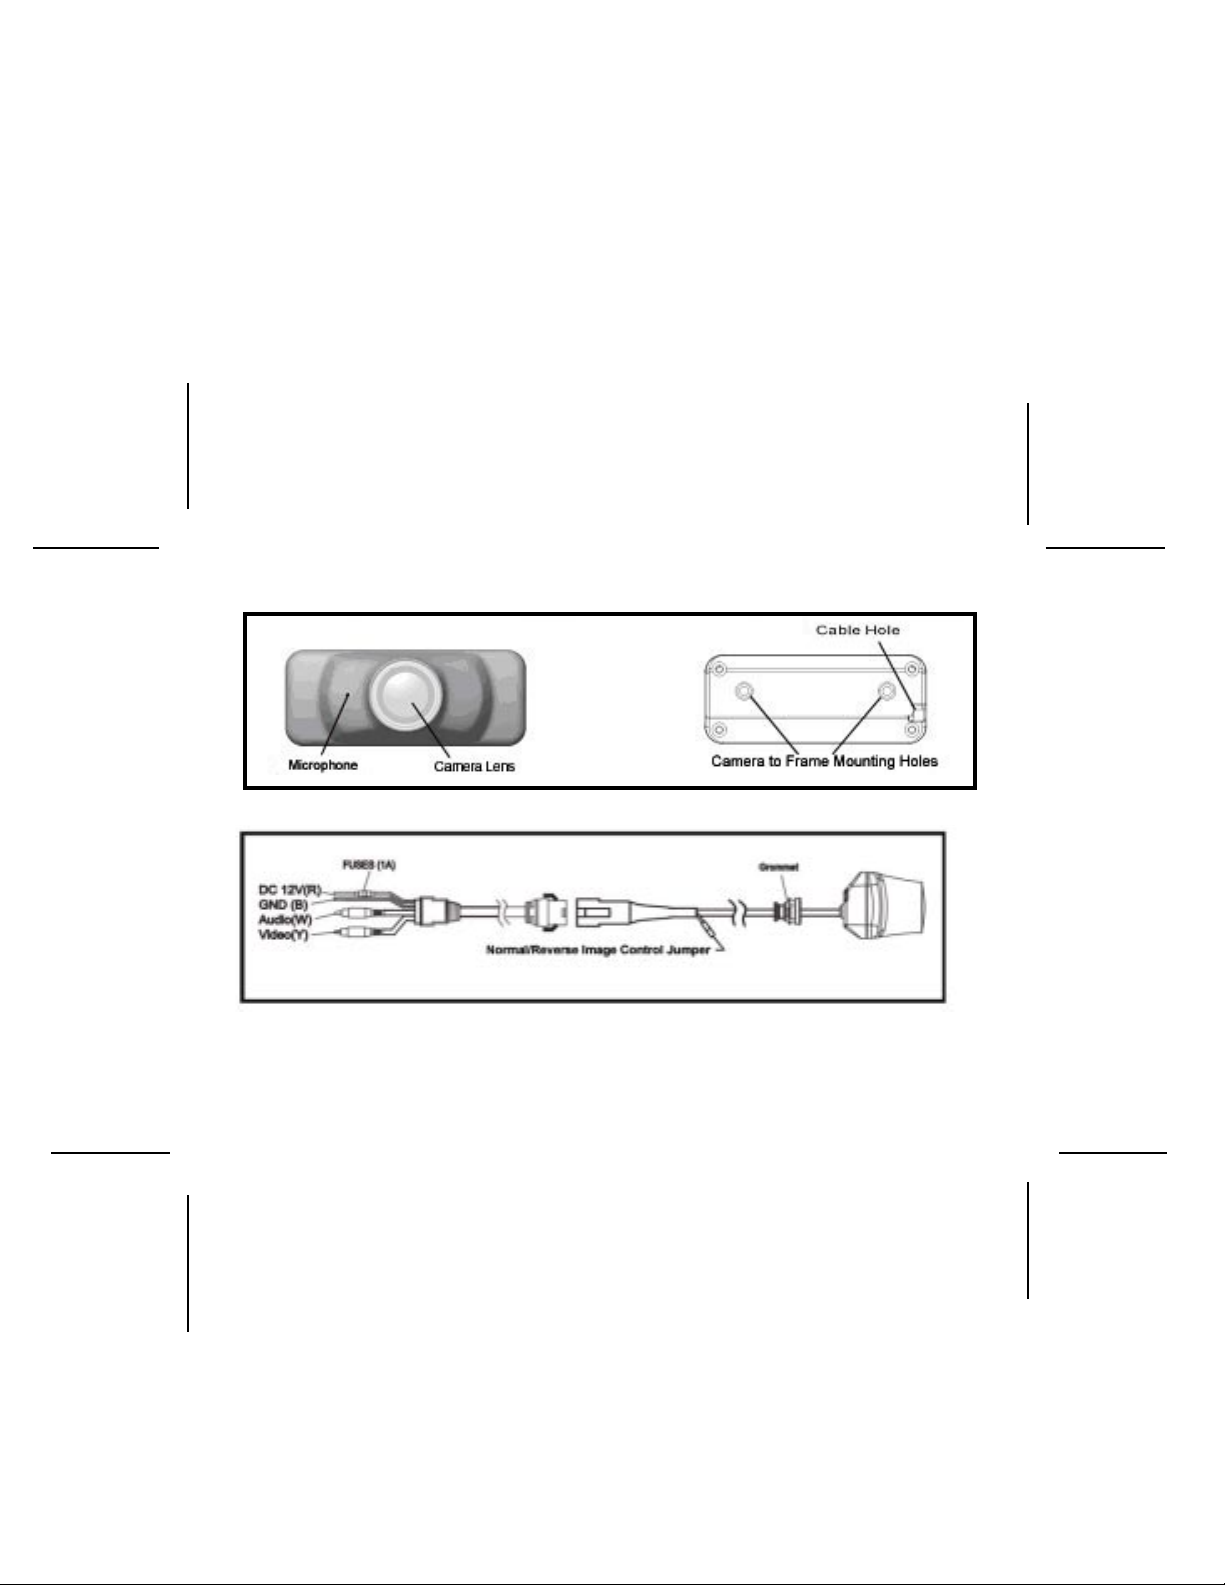
Color Camera View:
Cable Connector End View:
Normal/Reverse Image Jumper:
The jumper is located at the camera cable connector. With jumper installed in the harness,
the camera image will be normal. When the jumper is removed from the harness, the
camera image will be reversed.
3
128-8104
3 of 8
Page 4

Installation.
1. Locate suitable location near the vehicles rear license plate to route the camera
cable. The camera cable can be routed through an existing grommet or use a
location where a 5/8” hole can be drilled. Be sure to check behind intended drilling
location. Check for camera interference with license plate lights, hatch release
switch and/or mechanism.
2. Remove the screws holding the rear license plate to the vehicle and remove plate.
3. Place the license plate into the camera license plate frame. If routing camera cable
into vehicle behind license plate, drill a 5/8-inch hole at selected location. Coat
edge of hole with rust preventative. Then route the camera cable connector through
the hole and insert grommet into hole. Place the license plate against vehicle and
line up the mounting screw holes. Using the black screws provide, tighten the
screws with the anti-theft tool provided. Pull gently on the camera cable to remove
slack
4. If routing camera cable into vehicle above license plate, remove license plate light
valence. Drill a 5/8-inch hole at selected location. Coat edge of hole with rust
preventative. Then route the camera cable through the hole and insert grommet
into hole. Place the license plate against vehicle and line up the mounting screw
holes. Using the black screws provide, tighten the screws with the anti-theft tool
provided. Pull gently on the camera cable to remove slack
4
128-8104
4 of 8
Page 5

5. Connect the Camera cable to the extension cable (supplied). Route the extension
cable up to the intended monitor. Connect as follows:
a. Black wire- connect to chassis ground
b. Red wire- connect to 12V accessory wire
c. Yellow RCA- connect to Video input
d. Red RCA- connect to audio input (if equipped)
6. Disregard step 5 if connecting to Audiovox 4-pin camera cable.
View angle adjustment:
This camera frame is designed for universal application. The angle of the image of the
installed frame might have to be adjusted depending on the license plate mounting angle.
There is a 10-degree angle adjustment wedge supplied to change the downward angle
from 40 degrees to either 30 or 50 degrees. The angle wedge goes between the camera
frame and camera body. Longer camera mounting screws are provided for use with the
angle wedge
1. Turn on monitor and look at back up camera image. You should be able to see a
small portion of the vehicles bumper.
2. If you see too much bumper, the downward angle must be decreased. Place the
thin edge of the wedge on top between the camera and frame.
3. If you cannot see the bumper at all, the downward angle must be increased. Place
the thin edge of the wedge on the bottom between the camera and frame.
5
128-8104
5 of 8
Page 6

Camera Installation
1. LICENSE PLA TE
2. CAMERA ANGLE ADJUSTMENT WEDGE
3. CAMERA
6
128-8104
6 of 8
Page 7

Specifications:
1. Power source : DC12V
2. Current: 50mA
3. Signal System: NTSC.
4. Image Device : 1/4” CMOS Sensor.
5. Horizontal Resolution: 420 lines.
6. Video Output:1.0Vp-p Composite (75 ohm load).
7. Minimum Illumination: 0.3LUX
8. Image Display: Normal or Reverse (Selectable).
9. Wide Angle V iew : Diagonal 150° (natural state lens declination 40
degrees)
10. Camera Outer Dimensions: 25mm(w) x 30mm(H) x 62mm(D)
7
128-8104
7 of 8
Page 8

© 2006 Audiovox Electronics Corp., 150 Marcus Blvd., Hauppauge, N.Y. 1 1788
128-8104
8
128-8104
8 of 8
 Loading...