

Page 1
HP-HB2
*
HP-TP2
HP-HB2
HP-TP2
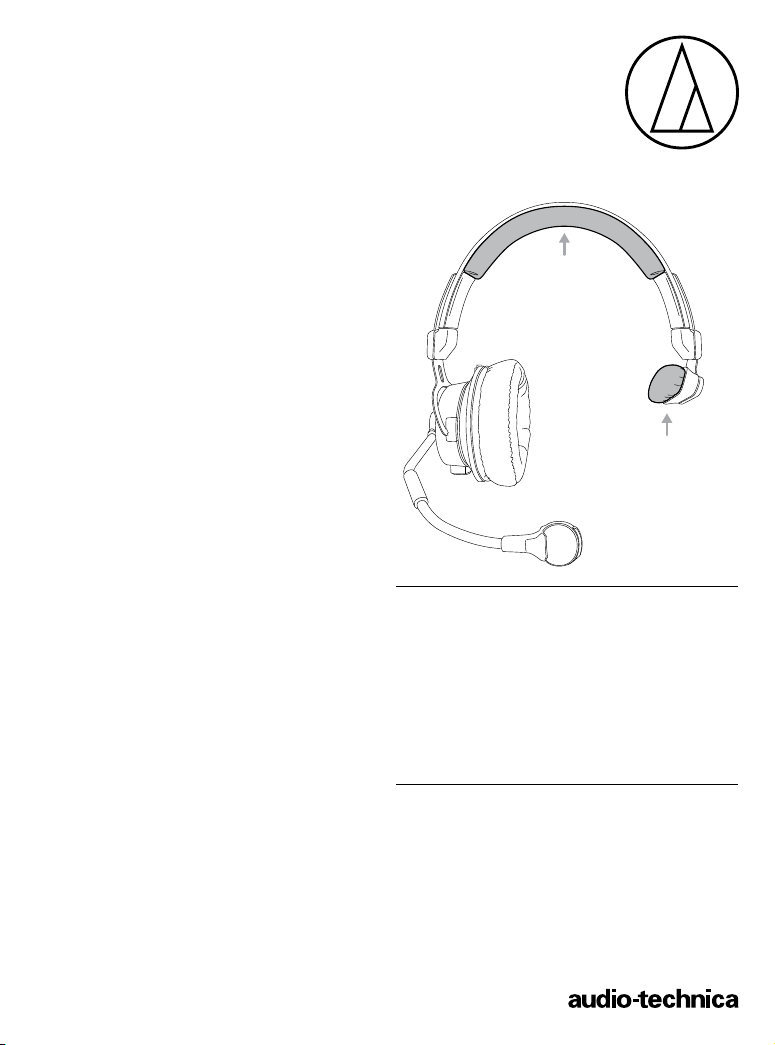
Premium Replacement Pads
Coussinets de rechange haut de gamme
Almohadillas de recambio de alta calidad
For Models:
Pour modèles :
Para los modelos:
ATH-M60x, BPHS2, BPHS2C & BPHS2S
*HP-TP2 is only used on BPHS2S
*Le HP-TP2 est réservé au modèle BPHS2S
*Las HP-TP2 sólo sirven para BPHS2S
Page 2
HP-HB2 / HP-TP2
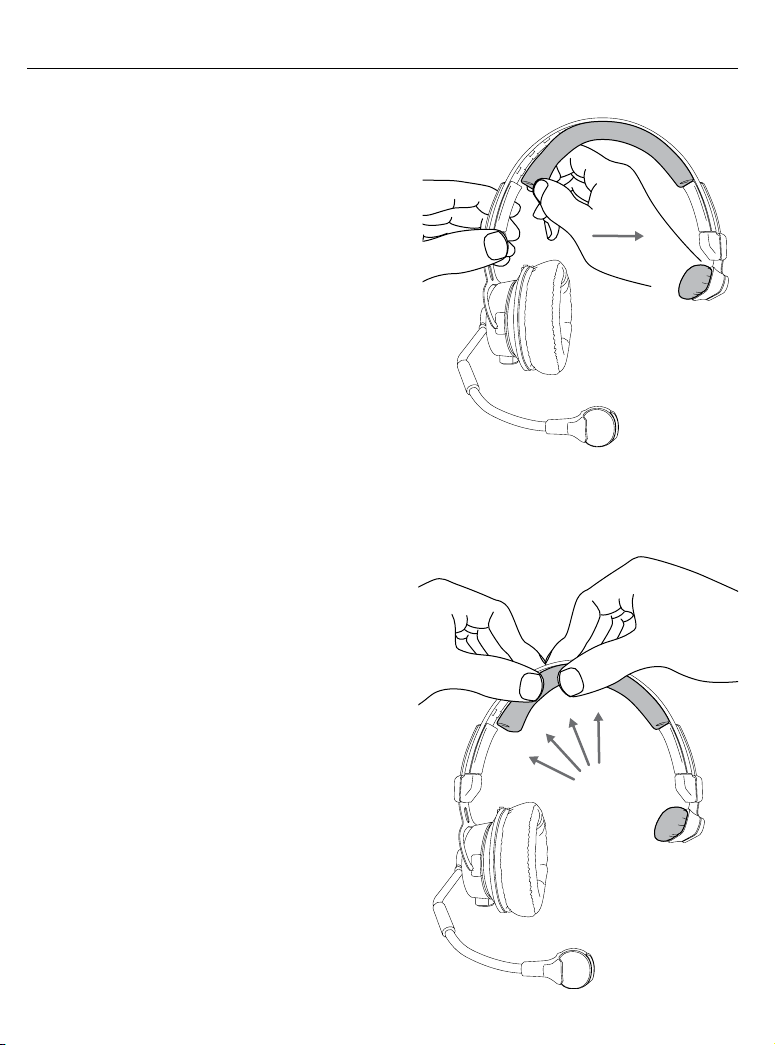
1. Remove the existing headband pad by holding the headband
just above the earcup and pulling the pad loose from the tabs
that run along the underside edges of the headband. (Figure A.)
Start by pulling one end of the pad loose, then work your way
over to the other end.
Retirez le coussinet du serre-tête en tenant ce dernier juste
au-dessus de la coupelle et en tirant sur le coussinet pour le
dégager des languettes situées le long des côtés inférieurs du
serre-tête (Figure A). Tirez d’abord une extrémité du coussinet
détaché, puis l’autre.
Retire la almohadilla actual de la diadema; para ello,
sostenga la diadema justo por encima del auricular y tire de
la almohadilla para soltarla de las lengüetas del borde inferior
de la diadema (Figura A). Para soltar la almohadilla, empiece
tirando de un extremo y continúe poco a poco hasta el otro.
2. Press the new pad onto the headband. (Figure B.) Start by
fitting the slots at one end of the pad onto the headband tabs
and then work your way over to the other end, pressing the
pad onto the headband as you go.
Installez le nouveau coussinet sur le serre-tête en appuyant
dessus (Figure B). Commencez par mettre en place les
fentes à l’une des extrémités du coussinet sur les languettes
du serre-tête puis procédez de l’autre côté, en appuyant le
coussinet sur le serre-tête au fur et à mesure.
Presione la nueva almohadilla sobre la diadema (Figura B).
Empiece por encajar las ranuras de uno de los extremos de
la almohadilla en las lengüetas de la diadema y después
continúe hasta el otro extremo sin dejar de presionar la
almohadilla sobre la diadema en todo momento.
Figure A
Figure B
Page 3

HP-HB2 / HP-TP2
3. Remove the existing temple pad by holding the headband and
pulling the pad loose. (Figure C.)
Retirez le coussinet pour tempe en tenant le serre-tête et en
tirant sur le coussinet pour le détacher (Figure C).
Retire la almohadilla lateral actual; para ello, sostenga la
diadema y tire de la almohadilla hasta que se suelte (Figura C).
4. Remove the paper from the new pad’s adhesive base.
(Figure D.)
Retirez le papier de la base adhésive du nouveau coussinet
(Figure D).
Retire el papel de la base adhesiva de la almohadilla
nueva (Figura D).
Figure C
Figure D
Page 4

HP-HB2 / HP-TP2
5. Holding the headband, fit one end of the new pad into place,
making sure the edge of the adhesive base fits under the flange
on the temple pad holder. (Figure E, Step 1.) Then bend the pad
slightly to fit the opposite end into place, slipping the edge of
the adhesive base under the holder flange. (Figure E, Step 2.)
Tout en tenant le serre-tête, mettez l’une des extrémités
du nouveau coussinet en place, en vous assurant que le
côté de la base adhésive se trouve sous la bride du support
du coussinet pour tempe (Figure E, étape 1). Pliez ensuite
légèrement le coussinet pour mettre l’autre extrémité en
place, en glissant le côté de la base adhésive sous la bride
du support (Figure E, étape 2).
Sosteniendo la diadema, coloque uno de los extremos de la
almohadilla nueva en su lugar, asegurándose de situar el borde
de la base adhesiva bajo la brida del soporte de la almohadilla
lateral (Figura E, paso 1). A continuación, doble la almohadilla
ligeramente para colocar el extremo opuesto en su lugar,
deslizando el borde de la base adhesiva bajo la brida del
soporte (Figura E, paso 2).
6. Press firmly on the entire pad to stick it in place. (Figure F.)
Appuyez fermement sur tout le coussinet pour le coller en
place (Figure F).
Presione firmemente la almohadilla para adherirla (Figura F).
Figure E
1
2
Figure F
Audio-Technica U.S., Inc.
1221 Commerce Drive, Stow, Ohio 44224, USA
www.audio-technica.com © 2018 Audio-Technica Corporation P52713
 Loading...