

Page 1
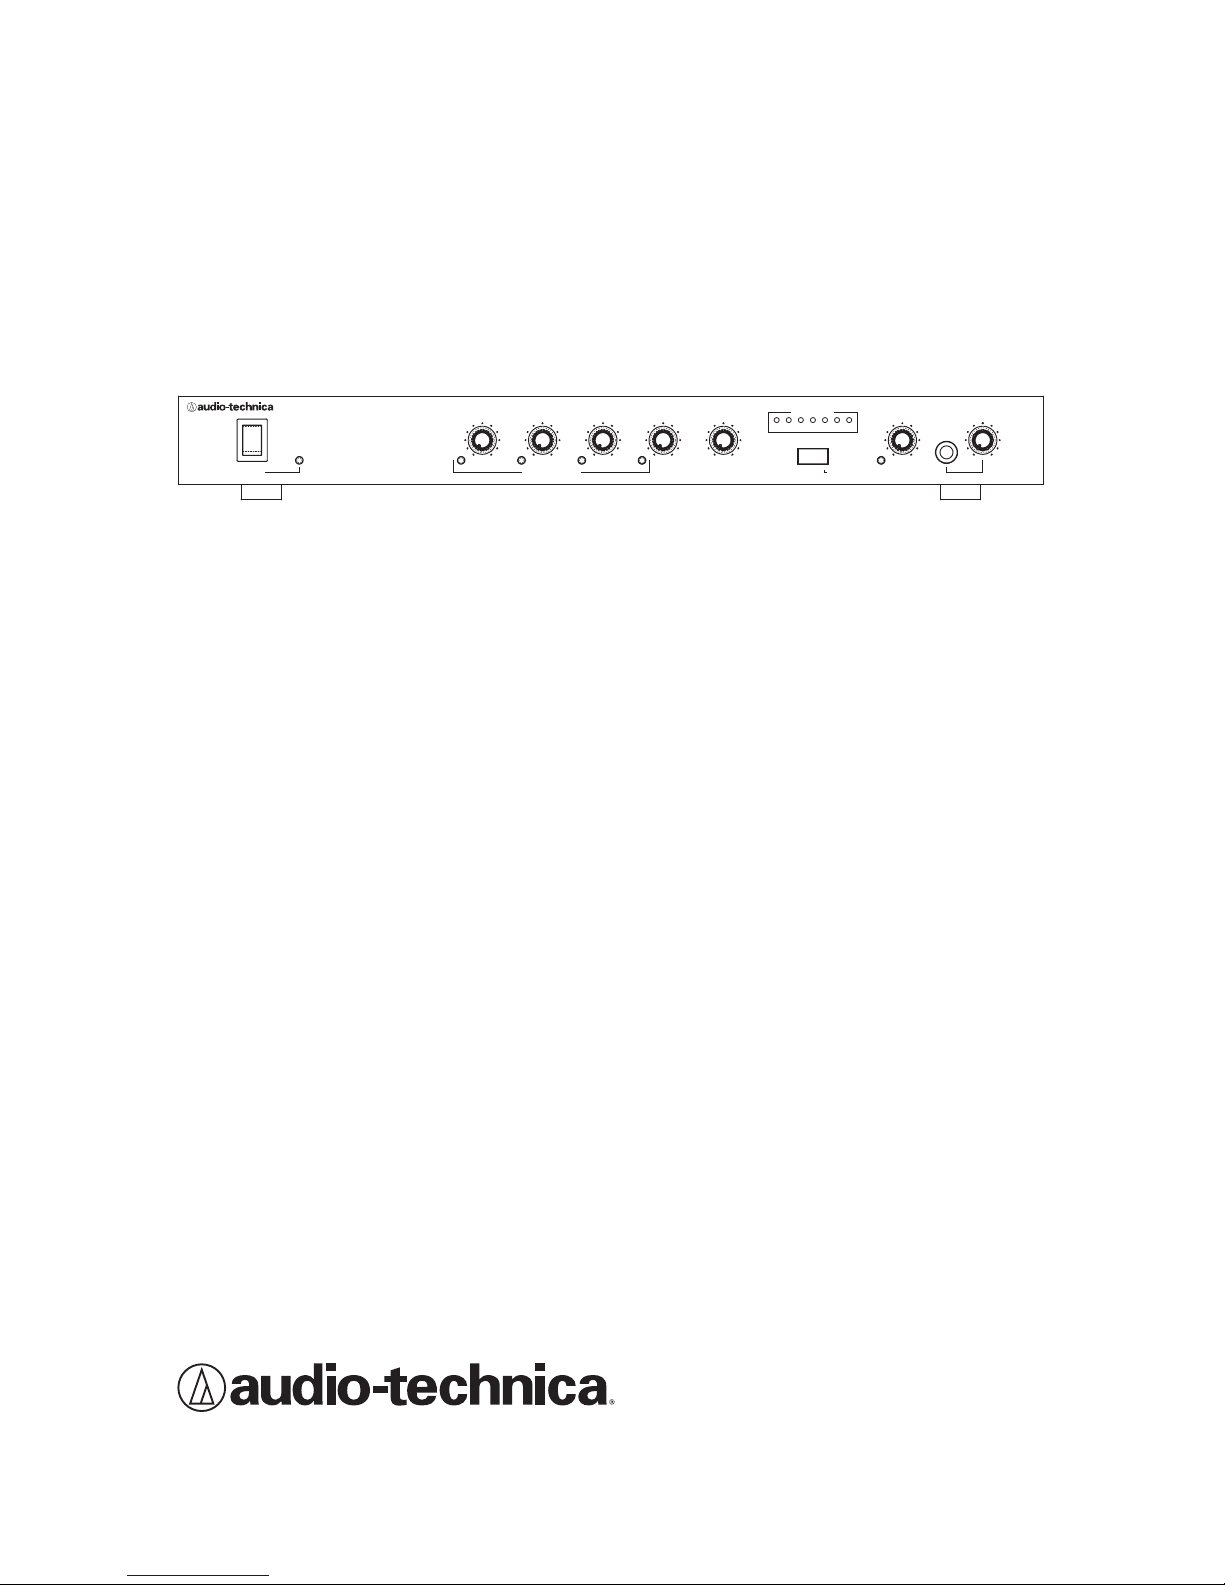
AT-MX351a SmartMixer
Automatic Mixer
®
AUTOMATIC MIXER AT-MX351a
Power
Gain 1 Gain 2 Gain 3 Gain 4 Aux In Master
Selected Channel
Installation and Operation
Output Level
-6
-20 -10
Priority Pre-select
1 2 3 4 MANUAL
-30+3 +6
Monitor
Lockout
Page 2

Page 3

Contents
Introduction .......................................................................................................................5
What is a SmartMixer®? ...........................................................................................................5
Features .....................................................................................................................................5
Front Panel ................................................................................................................................6
Rear Panel .................................................................................................................................7
Installation and Setup ................................................................................................8
Priority Microphones and Lockout Bus .................................................................................8
NOMA ........................................................................................................................................9
Auxiliary Input ..........................................................................................................................9
Preamplier Gain ..................................................................................................................... 9
Output Level ...........................................................................................................................10
Phantom Power ......................................................................................................................10
Output Level LED Meter ........................................................................................................10
Adjusting “Off” Attenuation .................................................................................................12
Preamp Outputs .....................................................................................................................12
Input Limiters ..........................................................................................................................12
Force-on/Force-off ..................................................................................................................12
Control Voltage Out ...............................................................................................................13
Daisy-chaining Mixers ...........................................................................................................14
Rack Mounting ........................................................................................................................14
Security Caps ..........................................................................................................................14
Specications .................................................................................................................15
Page 4
Installation and Operation
Warning
To prevent fire or shock hazard, do not expose the unit to rain or moisture.
To avoid electrical shock, do not open the cabinet. Refer servicing to qualified
personnel only.
Caution
Safety Cautions
Prior to use of this product, review all safety markings and instructions.
Warning: This apparatus must be grounded.
This product is a safety class 1 product. There must be an uninterruptible safety earth ground from the main power source to the product’s AC input.
Whenever it is likely that the protection has been impaired, disconnect the
power cord until the ground has been restored. An apparatus with class 1 construction shall be connected to an AC outlet with a protective grounding connection.
This apparatus is not disconnected from the mains as long as it is connected to
the AC outlet, even if the unit itself has been turned off.
In case of emergency, disconnect the power cord plug of this apparatus quickly.
Installation place
Do not install this apparatus in a confined space such as a bookcase or similar
unit. Please install this model in the place where ventilation is good. The apparatus should be located close enough to the AC outlet so that you can easily
grasp the power cord plug at anytime. In case of emergency, disconnect the
power cord plug of the apparatus quickly.
Caution for FCC
You are cautioned that any changes or modifications not expressly approved in
this manual could void your authority to operate this equipment.
Warning for FCC
This equipment has been tested and found to comply with the limits for a Class B
digital device, pursuant to Part 15 of the FCC Rules. These limits are designed to
provide reasonable protection against harmful interference in a residential
installation. This equipment generates, uses, and can radiate radio frequency
energy and, if not installed and used in accordance with the instructions, may
cause harmful interference to radio communications. However, there is no guarantee that interference will not occur in a particular installation. If this equipment
does cause harmful interference to radio or television reception, which can be
determined by turning the equipment off and on, the user is encouraged to try to
correct the interference by one or more of the following measures:
—
Reorient or relocate the receiving antenna.
—
Increase the separation between the equipment and receiver.
—
Connect the equipment into an outlet on a circuit different from that to
which the receiver is connected.
—
Consult the dealer or an experienced radio/TV technician for help.
IC statement
This Class B digital apparatus complies with Canadian ICES-003. Cet appareil
numérique de la classe B est conforme á la norme NMB-003 du Canada.
Important Safety Instructions
1) Read these instructions.
2) Keep these instructions.
3) Heed all warnings.
4) Follow all instructions.
5) Do not use this apparatus near water.
6) Clean only with dry cloth.
7) Do not block any ventilation openings. Install in accordance with the manufacturer’s instructions.
8) Do not install near any heat sources such as radiators, heat registers,
stoves, or other apparatus (including amplifiers) that produce heat.
9) Do not defeat the safety purpose of the polarized or grounding-type plug.
A polarized plug has two blades with one wider than the other. A grounding type plug has two blades and a third grounding prong. The wide blade
or the third prong are provided for your safety. If the provided plug does
not fit into your outlet, consult an electrician for replacement of the obsolete outlet.
10)
Protect the power cord from being walked on or pinched particularly at plugs,
convenience receptacles, and the point where they exit from the apparatus.
11) Only use attachments/accessories specified by the manufacturer.
12) Use only with the cart, stand, tripod, bracket, or table specified by the
manufacturer, or sold with the apparatus. When a cart is
used, use caution when moving the cart/apparatus combination to avoid injury from tip-over.
13) Unplug this apparatus during lightning storms or when
unused for long periods of time.
14) Refer all servicing to qualified service personnel.
Servicing is required when the apparatus has been damaged in any way,
such as power-supply cord or plug is damaged, liquid has been spilled or
objects have fallen into the apparatus, the apparatus has been exposed to
rain or moisture, does not operate normally, or has been dropped.
Notice
The apparatus shall not be exposed to dripping or splashing. No object filled
with liquids, such as vases, shall be placed on the apparatus.
Use with Rack Mounting
If you install the unit into a rack, select a rack having an all-pole mains switch
(with a contact separation of at least 3mm in each pole) in its front.
In case of emergency, turn off the mains switch on the rack, or disconnect the
plug of the rack quickly.
4
Page 5

Introduction
Please Note!
Please Note!
This manual assumes use of microphone-level inputs and line-level output, the most typical SmartMixer
This manual assumes use of microphone-level inputs and line-level output, the most typical
application. However, all inputs and the output may be individually switched internally to achieve any
SmartMixer application. However, all inputs and the output may be individually switched
combination of mic- and line-level input/output. See page 10 for details.
internally to achieve any combination of mic- and line-level input/output. See page 10 for details.
About internal adjustment
Operating personnel must not remove equipment covers. Only qualified, experienced, authorized service
personnel may remove equipment covers for any internal adjustments.
The AT-MX351a SmartMixer® is a microprocessor controlled, automatic switching, five-chan-
Important caution for service personnel making internal adjustments
nel mixer.
High voltages are present when the unit’s power cord is plugged into an electrical outlet. Service personnel
The four microphone inputs are XLRF-type balanced, with 48-volt phantom power available on
should not make any internal adjustments with power cable connected. Disconnect the power cord from its
pins 2 and 3. The Aux input is an RCA jack accepting auxiliary-level input from external audio
source before removing equipment cover, because of the danger of touching an internal high voltage part.
devices. There is no signal processing of the Aux input. The mixer output is XLRM-type
Also, to avoid injury, take care not to touch any sharp edges within the unit, its top panel or interior sections.
balanced, non-inverting.
All AT-MX351a and AT-MX341 SmartMixers can be daisy-chained via the included
What is a SmartMixer®?
AT8325/1.0 Link Cable and special connectors on the rear panel. The control bus and the
The AT-MX351a SmartMixer® is a microprocessor controlled, automatic switching, five-channel mixer.
audio are carried between mixers by the link cable. The result is that all microphones on a
The four microphone inputs are XLRF-type balanced, with 48-volt phantom power available on pins 2
multi-mixer system can be controlled by one microphone connected to any mixer. Since all
and 3. The Aux input is an RCA jack accepting auxiliary-level input from external audio devices. There is
of the mixers are independently powered, there is no practical limit to the number of
no signal processing of the Aux input. The mixer output is XLRM-type balanced, non-inverting.
SmartMixers that can be daisy-chained.
All AT-MX351-model SmartMixers and AT-MX341-model SmartMixers can be daisy-chained via the
included AT8325/1.0 Link Cable and special connectors on the rear panel. The control bus and the audio
are carried between mixers by the link cable. The result is that all microphones on a multi-mixer system
can be controlled by one microphone connected to any mixer. Since all of the mixers are independently
powered, there is no practical limit to the number of SmartMixers that can be daisy-chained.
The AT-MX351a provides an independent gain control on the front panel for each input chan-
nel. Substantial gain reserve and adjustment range permit microphones of widely differing
sensitivities to be used together successfully. Automatic threshold setting on all mic/line chan-
Features
nels ensures proper gating levels for existing ambient sound conditions.
The AT-MX351a provides an independent gain control on the front panel for each input channel.
Priority Pre-select
Substantial gain reserve and adjustment range permit microphones of widely differing sensitivities to be
used together successfully. Automatic threshold setting on all mic/line channels ensures proper gating
To custom-tailor conferencing needs, the mode of each microphone channel can be indepen-
levels for existing ambient sound conditions.
dently switched via the front panel “Priority Pre-select” DIP switches. The combination of
Priority Pre-select
switch settings results in three different modes of priority selection/operation.
To custom-tailor conferencing needs, the mode of each microphone channel can be independently
In any of the three modes of operation, when everyone stops talking, the last microphone “on”
switched via the front panel “Priority Pre-select” DIP switches. The combination of switch settings
will remain “on.” In a teleconferencing, recording, or broadcast application, this feature will
results in three different modes of priority selection/operation.
provide continuous room ambience. This feature is cascaded throughout all linked mixers so
In any of the three modes of operation, when everyone stops talking, the last microphone “on” will remain
that only one microphone in the entire system will remain on.
“on.” In a teleconferencing, recording, or broadcast application, this feature will provide continuous room
When a microphone is “off,” its input is only attenuated. This attenuation is factory set at
ambience. This feature is cascaded throughout all linked mixers so that only one microphone in the entire
8 dB. The amount of “off ” attenuation can be internally adjusted between 6 dB and 40 dB if
system will remain on.
desired. (See page 12, “Adjusting ‘Off ’ Attenuation.”)
When a microphone is “off,” its input is only attenuated. This attenuation is factory set at 8 dB. The
amount of “off ” attenuation can be internally adjusted between 6 dB and 40 dB if desired. (See page 12,
If automatic switching is not desired, a “manual” DIP-switch setting on the front panel bypasses
“Adjusting ‘Off ’ Attenuation.”)
the AT-MX351a’s automatic switching and attenuation functions, causing the unit to behave
like a conventional mixer. In this mode, the relative level of each microphone is strictly a
If automatic switching is not desired, a “manual” DIP-switch setting on the front panel bypasses the
function of the position of its respective front-panel gain control.
AT-MX351a’s automatic switching and attenuation functions, causing the unit to behave like a conventional mixer. In this mode, the relative level of each microphone is strictly a function of the position of its
NOMA (Number of Open Microphones Attenuated)
respective front-panel gain control.
The NOMA system helps control feedback by allowing for the increase in system gain that
NOMA (Number of Open Microphones Attenuated)
occurs when the number of open microphones increases. A built-in matrix in the AT-MX351a
The NOMA system helps control feedback by allowing for the increase in system gain that occurs when
recognizes exactly how many microphones are on and automatically adjusts the gain accord-
the number of open microphones increases. A built-in matrix in the AT-MX351a recognizes exactly how
ingly. Because use of NOMA is not always appropriate or desired, the AT-MX351a is shipped
many microphones are on and automatically adjusts the gain accordingly. Because use of NOMA is not
with the NOMA function switched off.
always appropriate or desired, the AT-MX351a is shipped with the NOMA function switched off.
5
Page 6

AT-MX351a Front Panel
1. Power switch.
2. Power “on” indicator.
3. Input Gain controls. Adjust inputs for microphone sensitivities and/or
operating conditions.
4. Selected Channel LED indicators. Indicate which channels are “on” or “active.”
5. Aux In control. Adjusts input for source output level and/or operating conditions.
6. Output Level LED meter. Indicates RMS output level of the mixer. “Zero” (0) level is
factory calibrated for an output of +4 dBm into 600 ohms (Master level control fully
clockwise). Can be set for peak output level indication via internal switch (see page 10).
7. Priority Pre-select switches (1-4). A switch in the “up” position assigns the respective
channel priority over the other channels. A priority channel can not be locked out by
other channels. Any combination of priority/non-priority selections is allowed.
8. Manual mode switch. Setting this switch in the “up” position bypasses all of the
SmartMixer’s automatic functions, except limiting and NOMA if selected.
9. Lockout LED indicator. Shows when lockout bus is active.
10. Master level control. Adjusts mixer output level for operating conditions.
11. Headphone output. 1/4" TRS jack.
12. Monitor headphone level control.
AUTOMATIC MIXER AT–MX351a
Power
Figure 1. Front panel
Gain 1
Gain 2 Gain 2 Gain 4 Aux In
Selected Channel
421
Output Level
–20 –10 –6 –3 0 +3 +6
Priority Pre–select
1 2 3 4
MANUAL
7
Lockout
10653
Master
12
Monitor
1198
6
Page 7

AT-MX351a Rear Panel
1. External Control connector. For TTL output, plus closure-control input for external
control of each channel.
2. Link In/Link Out. Provides for daisy-chaining of multiple mixers when more than four
microphones are used.
3. Line/Mic balanced output. Level can be changed via internal switch (see page 10).
XLRM-type connector.
4. Unbalanced line-level (–10 dBV) output. RCA jack.
5. Aux In. Unbalanced, line-level (–10 dBV), auxiliary input.
6. Preamp Outputs. Independent, unbalanced (–10 dBV), switchable pre/post-controller
outputs from mic channels.
7. Inputs. Balanced microphone inputs for low-impedance dynamic or condenser mics.
Can be changed to line-level inputs via internal switches (see page 10). XLRF-type
connectors. Can supply 48V phantom power via internal switches.
8. Power input. 100V-240V AC, 50-60 Hz
External Control
Aux
In
-10
Line/Mic
Link In Link Out Input 4 Input 3 Input 2 Input 1
0/-50
—Outputs—-10
3 1
4 2
Channel
Preamp
out
431
Figure 2. Rear panel
8652 7
WARNING: This apparatus
must be earthed
AC In
7
Page 8

Installation and Setup
AT-MX351a SmartMixer setup tips:
1. Turn the Master level control to the minimum position. Proceed with steps 2-9.
2. Set all Priority DIP switches and Manual mode switch to “down” position.
3. Turn all four microphone Gain controls fully counterclockwise.
4. Connect the power cord to the mixer and plug into AC outlet.
5. Turn Power switch “on.” The mixer will perform a self-test and turn each microphone
“on” and “off ” consecutively.
6. Connect a microphone to Input 1 and turn the Gain 1 control to the “nine o’clock”
position. The channel 1 LED will light if the microphone is operational.
7. Adjust the Gain 1 control for proper meter indication when speaking into microphone
(peaks at 0).
8. Plug in up to three other microphones and adjust each respective Gain control for proper
meter indication.
9. Priority can be assigned to one or more microphones by moving the appropriate DIP
switch(es) to the “up” position. Any microphone(s) assigned in this manner cannot be
locked out by any other microphone.
10. “Manual” mode can be selected at any time by moving the right-hand DIP switch to the
“up” position. In this mode, the unit will behave like a conventional mixer (all automatic
functions are bypassed except for limiting and NOMA if selected).
11. Adjust the Master level control for desired output level. This control is at the last stage
in the mixer, and does not affect microphone gain, threshold setting, meter indication,
monitor or preamp outputs.
Priority Microphones and the Lockout Bus (Channels 1-4)
Once the Gain controls have been properly adjusted, an audio signal appearing in any channel
causes the lockout control bus to activate and the Lockout LED indicator to light. The Priority
Pre-select switches then determine whether or not a particular mic is affected by lockouts
caused by other mics: a channel Priority switch in the “down” position will allow lockout* of
its mic; the same switch “up” will not allow lockout of its mic.
* Note that any mic which is described as “locked out” or “off ” is really just being attenuated
by between 6 dB and 40 dB from the level otherwise determined by its Gain control setting,
sensitivity and placement. See the “Daisy-chaining Mixers” section on page 14 for further details.
There are basically three “modes” of priority pre-select automatic operation:
Mode 1... Priority Pre-select switches (1-4) Up
The Lockout indicator will come on with any audio input, but no mic will be locked out…
because none are connected to the lockout bus. (This mode is often called
“Free-for-all”…or sometimes “City Council”!)
8
Page 9

Mode 2…Priority Pre-select switches (1-4) Down
In this mode, only one mic at a time can be “on.” The lockout bus shuts down all other mics
until the first speaker pauses. As soon as the controlling microphone goes silent, the lockout
bus goes inactive and any other mic can come on. This switching takes place without any
syllable-grabbing delay, or pops or clicks. (This mode is known as “First-come-first-served”
or “Filibuster.”)
This mode is very useful when the gain setting of the overall sound system must be close to
the threshold of feedback, and additional microphones coming on could throw the system into
feedback. The SmartMixer will not allow multiple microphones to be on at the same time in this
mode. The switching is so fast and silent that the meeting can still be completely interactive.
Mode 3…One Priority Pre-select switch Up
The selected priority microphone can come on at any time and can mute any other mic that is
on (popularly called “The Chairperson” mode).
(Note that there may be special circumstances where two or three mics could be set to priority,
so those speakers could talk whenever desired, but still mute one or two non-priority mics.)
If multiple SmartMixers are used with AT8325/1.0 Link Cables, Priority Pre-select switches
on all channels in use will have the control effects described above.
The selected priority microphone(s) will mute only those non-priority microphones within the
same unit.
NOMA
The NOMA is factory set in the “off ” position. To turn on the NOMA function, unplug the unit,
remove the top cover and change the setting of the switch designated on the circuit board by
“S601” (Figs. 4 and 5, page 11).
NOMA serves to maintain overall system gain by proportionately reducing amplifier gain as
the number of open microphones increases. In a sound reinforcement system, this can tend to
preserve the feedback margin and system stability. However, this action necessarily reduces
the sound level of each individual person speaking, which may not be desired. In the end,
use of NOMA often comes down to the preferences of the system’s designer and/or operator.
Generally speaking, use of NOMA is not desirable in applications such as teleconferencing,
recording or broadcasting.
Auxiliary Input
The Aux input is an RCA jack accepting auxiliary-level (-10dBV) input from external audio
devices. There is no signal processing of the Aux input (not gated).
Preamplier Gain
The SmartMixer has a substantial gain range, allowing it to accept a wide variety of microphones. However, if in some instances higher-output microphones are used for close talking,
it may be necessary to reduce the preamplifier gain. This can be done by changing switch
settings inside the unit. With the unit unplugged from its AC source, remove the two screws
on each side of the unit and carefully lift off the top cover. Locate the internal switches
designated on the circuit board by “S103,” “S203,” “S303” and “S403” (Figs. 4 and 5, page 11).
A “control map” drawing will be found on the inside of the top cover. Changing the settings
of these internal switches will cause a gain reduction of 10 dB for channels 1, 2, 3 and 4
respectively.
9
Page 10

The preamplifier gain may be reduced further, allowing the SmartMixer to accept line-level
sources. Changing the settings of the internal switches designated by “S101,” “S201,” “S301”
and “S401” will cause an input reduction of 50 dB for channels 1, 2, 3 and 4 respectively.
Note that the appropriate internal switches can be used in combination for a total sensitivity
reduction of up to 60 dB for each channel.
Output Level
The SmartMixer’s output is factory set at line level. Should mic-level output be desired,
simply unplug the unit, remove the top cover and locate the switch on the circuit board
marked “S602” (Figs. 4 and 5, page 11). Changing the setting of this switch will cause a
50 dB reduction in output.
Phantom Power
Each of the SmartMixer’s inputs supplies +48V DC phantom power. Should it be required
to disable the phantom power, simply unplug the unit, remove the top cover and locate the
switches designated on the circuit board by “S102,” “S202,” “S302” and “S402” (Figs. 4 and 5,
page 11). Changing the settings of these switches will disable phantom power on channels 1,
2, 3 and 4, respectively. Note that, although they do not require phantom power for operation,
most balanced-output dynamic microphones can be used without disabling the SmartMixer’s
phantom power.
Output Level LED Meter
The Output Level LED meter is factory set to indicate RMS output. Should peak output
indication be desired, simply unplug the unit, remove the top cover and change the setting of
the switch designated on the circuit board by “S603” (Figs. 4 and 5, page 11). “Zero” (0) level is
factory-calibrated at +4 dBm into 600 ohms.
Function Ch 1 Ch 2 Ch 3 Ch 4 Output
48V Phantom Power S102 S202 S302 S402
10 dB Input Atten. S103 S203 S303 S403
50 dB Mic/Line Atten. S101 S201 S301 S401 S602
Limiters (on/off) S106 S206 S306 S406
“Off” Atten. Range S105 S205 S305 S405
Preamp Output Gating S104 S204 S304 S404
Limiter Thresholds VOL103 VOL203 VOL303 VOL403
“Off” Atten. Adjustment VOL102 VOL202 VOL302 VOL402
NOMA -- -- -- -- S601
Meter RMS/Peak -- -- -- -- S603
Summary of Internal Controls
Figure 3. Summary of internal controls
10
Page 11

Rear Panel
Don't Touch !
Front Panel
Figure 4. Internal view of mixer.
MIC
LINE
S101 S201
P48
OFF
S102 S202
40dB
30dB
S103 S203
OFF
Gate
S104 S204
VOL102
M in. –6 dB
-20
-40
S105 S205
P48
OFF
40dB
30dB
VOL202
M in. –6 dB
-20
-40
MIC
LINE
OFF
Gate
P48
OFF
S302
40dB
30dB
S303
VOL302
M in. –6 dB
-20
-40
S305
S301
MIC
LINE
S304
OFF
Gate
P48
OFF
S402
40dB
30dB
S403
VOL402
Min. –6 dB
-20
-40
S405
S401
MIC
LINE
S404
OFF
Gate
S602
LINE
MIC
S601NOMA
ON
OFF
Peak
RMS
S603
VOL103
–10 dB +10 dB–10 dB +10 dB
ON
OFF
S106
VOL203
–10 dB +10 dB–10 dB + 10 dB
S206
Figure 5. Detail of internal controls.
ON
OFF
VOL303
–10 dB +10 dB–10 dB + 10 dB
ON
OFF
S306
VOL403
–10 dB +10 dB–10 dB + 10 dB
ON
OFF
S406
11
Page 12

Adjusting ”Off” Attenuation
In instances when the number of microphones in use is high, it may be necessary to increase
the amount of “off ” attenuation per microphone to keep the total ambient noise level low.
There are “off ” attenuation adjustments inside the unit. To adjust the “off ” attenuation of
channel 1, unplug the unit, remove the top cover and locate the trimpot designated on the
circuit board by “VOL102” (Figs. 4 and 5, page 11). It is factory set at approximately 8 dB, the
attenuation at the middle of the control’s rotation. When the control is turned fully counterclockwise, “off ” attenuation is approximately 20 dB. Conversely, when the adjustment is
turned fully clockwise, “off ” attenuation is approximately 6 dB. VOL202, VOL302 and VOL402
control “off” attenuation for channels 2, 3 and 4 respectively.
Changing the settings of the switches designated on the circuit board by “S105,” “S205,”
“S305” and S405” will extend the range of “off ” attenuation to –40 dB for channels 1, 2, 3
and 4 respectively.
Preamp Outputs
Each microphone channel has an independent unbalanced preamp output that is separate
from the main mixer output. This is helpful when it is necessary to record the output of each
channel, whether or not it is the active mixer output (as is required, for example, in some
courtroom proceedings). As set at the factory, no gating is applied to these outputs. To gate
these outputs, unplug the unit, remove the top cover and locate the switches designated on
the circuit board by “S104,” “S204,” “S304” and S404” (Figs. 4 and 5, page 11). Change the
switch position(s) to “Gating” for channels 1, 2, 3 and/or 4 respectively, as desired.
Input Limiters
Independent, adjustable limiters are available on all mic channels. To adjust the limiter
threshold of channel 1, unplug the unit, remove the top cover and locate the trimpot designated
on the circuit board by “VOL103” (Figs. 4 and 5, page 11). It is factory set at approximately
0 dB RMS. When the control is turned fully counter-clockwise, limiter threshold is approximately
–10 dB RMS. Conversely, when the adjustment is turned fully clockwise, limiter threshold
is approximately +10 dB RMS. VOL203, VOL303 and VOL403 adjust limiter threshold for
channels 2, 3 and 4 respectively.
Changing the settings of the switches designated on the circuit board by “S106,” “S206,”
“S306” and S406” will turn off the threshold-limiting function on channels 1, 2, 3 and 4 respectively.
Force-on/Force-off
To activate force-on/force-off, install a closure between the appropriate pin and Ground
Reference on the External Control connector on back of unit.
Pin 1 Channel 1 force off Pin 8 Channel 4 force on
Pin 2 Channel 2 force off Pin 9 Channel 1 TTL out
Pin 3 Channel 3 force off Pin 10 Channel 2 TTL out
Pin 4 Channel 4 force off Pin 13 Ground reference
Pin 5 Channel 1 force on Pin 14 Channel 3 TTL out
Pin 6 Channel 2 force on Pin 15 Channel 4 TTL out
Pin 7 Channel 3 force on
External Control Connector Pinout
12
Page 13

Control Voltage Out
When a microphone channel turns “on,” as indicated by a Selected Channel LED on the front
panel, the channel’s associated Control Voltage Out goes “high” (+4 VDC). See chart on page
12 for pin connection. This signal can be used to light indicator lamps, switch speaker zones
on and off, select video cameras, etc. The control voltage should not be connected directly to an
inductive load such as a relay coil, as damage to the mixer may result. Several interface circuit
possibilities are shown in Figure 6 below.
Figure 6. Control interface examples.
13
Page 14

Daisy-chaining Mixers
When more than four microphones are needed, it is possible to daisy-chain multiple
SmartMixers together through the Link In/Out connectors on their back panels (Fig. 2).
Connect Mixer #1 Link Out jack to Mixer #2 Link In jack, etc. Mixer #1 output contains only
audio from the first four microphones; Mixer #2 output then contains audio from all the
microphones plugged into Mixer #1 and the microphones plugged into Mixer #2. The last
mixer in the chain contains audio from all preceding mixers. The combined output is then
taken from the last mixer in the chain. Because lockout information is passed between mixers
through Link In/Out, the last-microphone-on condition is not violated. Thus only one
microphone per installation will stay on when no one is speaking.
Note that one or more mixers can be switched to “Manual” mode without affecting the
automatic operation of any other mixers in the chain.
NOMA information is passed between AT-MX351a mixers through Link In/Out. If AT-MX351a
mixers are linked with AT-MX341-model mixers, the NOMA function will pass through
the AT-MX341 models but their mics will not be included in the NOMA calculation.
Rack Mounting
Provided with each mixer are two rack ears and six self-tapping screws to attach the ears to
the unit, which allow the unit to be mounted in a 1U rack space.
Security Caps
For permanent installations where microphone selections, positions and acoustic conditions
are constant, it may be advantageous to remove the front panel knobs and install security
caps to prevent unauthorized adjustments. To install, simply press the caps into place,
covering the desired control(s). The system should be tested carefully before installing the
security caps because they are intended to be “permanent” and are very difficult to remove.
If removal of installed security caps becomes necessary, unplug the mixer, remove the two
screws on each side of the unit and remove the top cover. Then remove the nine screws that
attach the front panel: six on top and three underneath. Remove the front panel. With the
panel removed, the two locking tabs on each security cap can be accessed. The cap can be
released by carefully squeezing the two tabs together.
14
Page 15

Specications
Input Impedance
Mic
Line
Aux
Link In
Output Impedance
Balanced
Line
Mic
Unbalanced
Link Out
Preamp Out
Maximum Input Level
Mic
Line
Aux
Maximum Output Level*
Nominal Output Level (0 VU)*
Balanced
Line
Mic
Unbalanced
Preamp Out
Maximum Monitor Output
Maximum Gain
Frequency Response
Equivalent Input Noise
Input Attenuation
Mic/Line Input Pads
Maximum NOMA Attenuation
Microphone Phantom Power
Control Voltage Out
Power Supply
Operating Temperature
Dimensions
(44 mm) H (including feet, knobs and connectors)
Weight
Accessories Included
rack mount adapters, security caps
............................ 8,000 ohms
........................... 50,000 ohms
........................... 50,000 ohms
........................ 20,000 ohms
......................... 200 ohms
.......................... 300 ohms
...................... 100 ohms
............................ –24 dBV
........................... +27 dBV
........................... +17 dBV
......................... +4 dBm (600 ohms), +4.4 dBV (open circuit)
.......................... –46 dBm (600 ohms), –44 dBV (open circuit)
...................... 100V-240V AC, 50-60 Hz, 30W
........................ 16.93" (430 mm) W x 9.38" (238 mm) D x 1.75"
............................ 7 lbs. 6 oz (3.35 kg)
................... 400 ohms
................... 750 ohms
.......... +22 dBm
................... –10 dBV (open circuit)
................... –10 dBV (open circuit)
......... 700 mW, 20 ohm load
.................... 73 dB
............... 40 Hz to 22 kHz
1
........... –128 dBV (150 ohms) at maximum gain
................. 10 dB
............... 50 dB
..... ≈20 dB (up to 100 mics on simultaneously)
....... +48V DC
............... +4V DC
........... 32˚ to 104˚ F (0˚ to 40˚ C)
............... AC power cable, AT8325/1.0 Link Cable,
* Master Level control at maximum (fully clockwise).
1
Input terminated with 150 ohms, A-weighted using Audio Precision System One.
15
Page 16

1102© 32325P
 Loading...