

Page 1
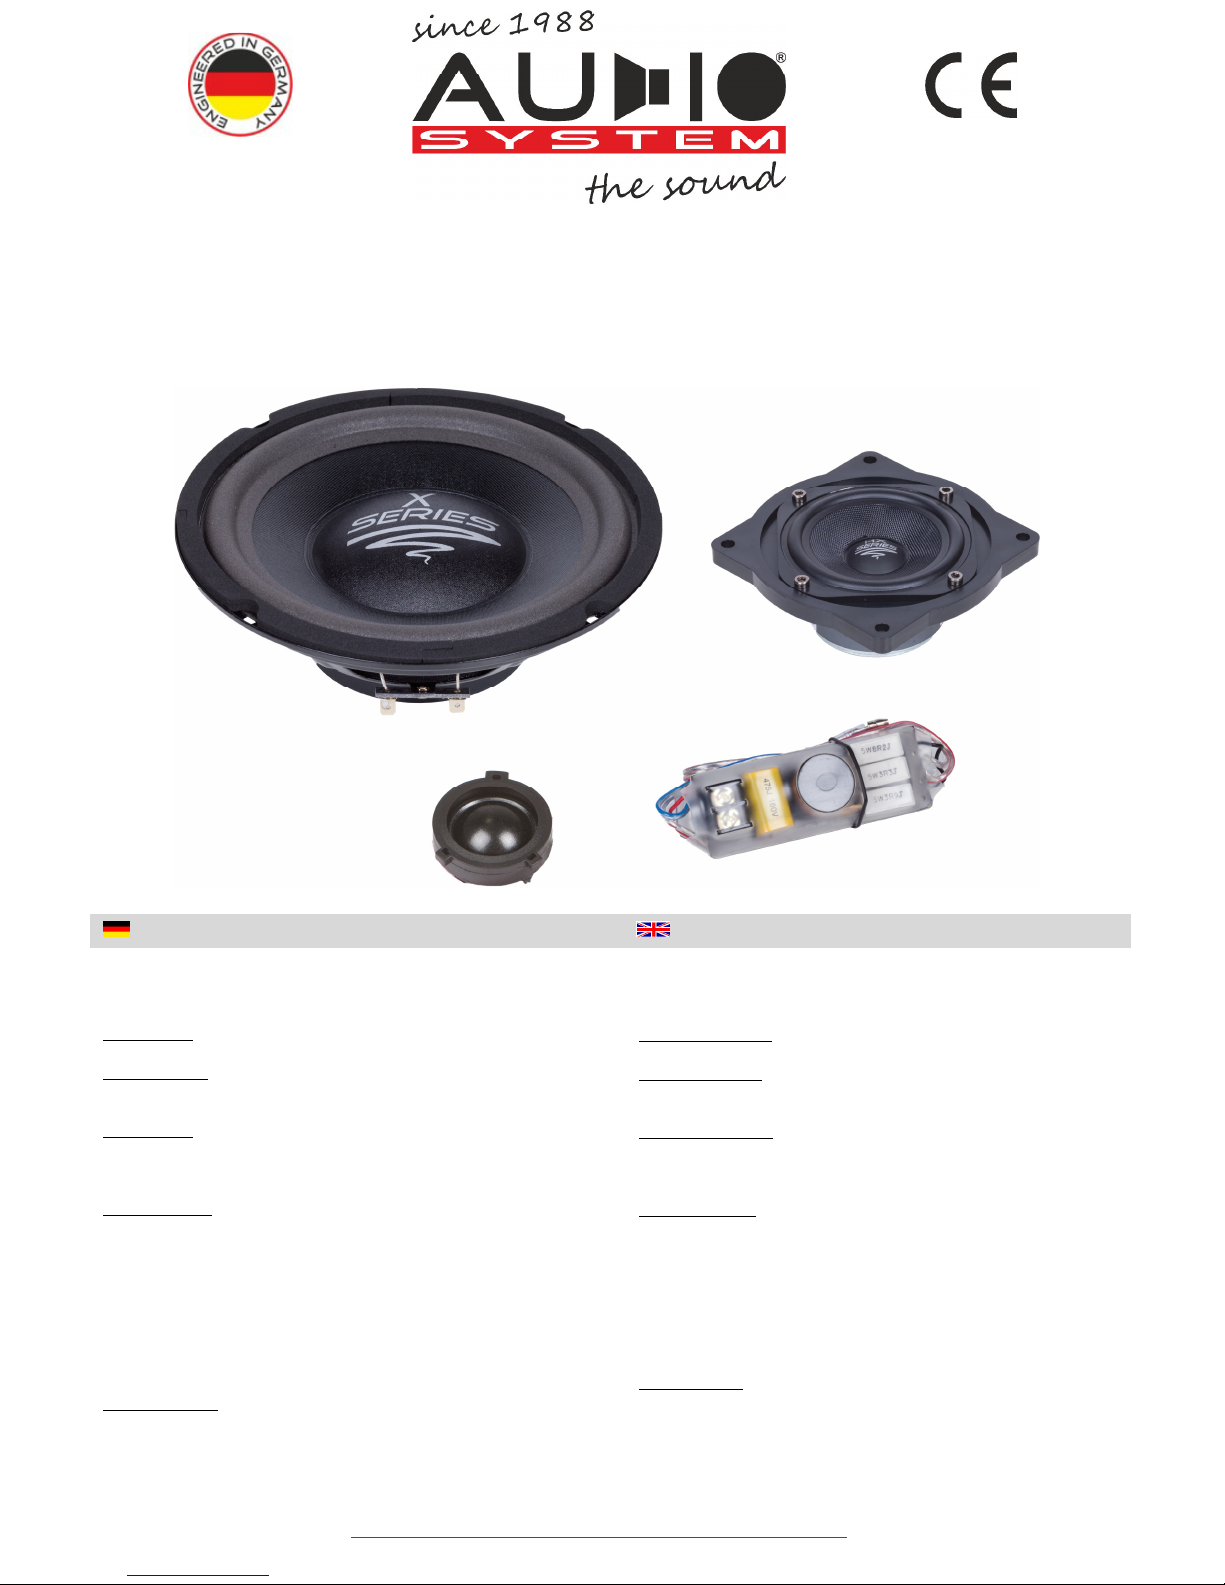
X 200 golf v
X ion
series
3-Wege spezial frontsystem für vw golf v
USER MANUAL/ANLEITUNG
www.
audio-system
.de
Audio System Germany falltorstrasse 6 76707 hambrücken
Congratulations on purchasing a high quality AUDIO
SYSTEM product.
Important:
Completely read this operating instruction
before installation and use of the device.
ATTENTION:
Pay attention to advices and instructions of
the car manufacturer. Check the polarity after connecting the
speakers.
Important: You will need your purchase receipt as proof
of purchase for any and all warranty repairs and for insurance
purposes. Keep your receipt, owner´s manual and packing
materials in a safe location for possible future use.
ATTENTION:
Use of sound components can impair your
ability to hear necessary traffic sounds and may constitute a
hazard while driving your automobile. AUDIO SYSTEM
Germany accepts no liability for hearing loss, bodily injury or
property damage as a result of use or misuse of our products.
We recommend installing the equipment by an authorized
service center or dealer. A professional fitting and connection
is the requirement for further warranty and perfect sound.
warning:
This speaker-system is able to produce a high
level of loudness. Long-term and excessive exposition can
lead to injury of hearing.
Wir beglückwünschen Sie zum Erwerb eines hochwertigen
AUDIO SYSTEM Produktes.
Wichtig:
Lesen Sie diese Bedienungsanleitung vor der
Installation und Inbetriebnahme des Gerätes vollständig durch.
Achtung:
Beachten Sie die Vorschriften und Hinweise
Ihres Automobilherstellers und achten Sie beim Anschließen
auf die richtige Polarität.
Wichtig: Ihr Kaufbeleg dient als Garantienachweis für
etwaige Reparaturen oder Austausch. Heben Sie Ihren
Kaufbeleg, Bedienungsanleitung und Originalverpackung
sorgfältig auf.
Achtung:
Der Gebrauch von Musikanlagen kann das
Hören von wichtigen Verkehrsgeräuschen behindern und
dadurch während der Fahrt Gefahren auslösen. AUDIO
SYSTEM Germany übernimmt keine Verantwortung für
Gehörschäden, körperliche Schäden oder Sachschäden, die
aus dem Gebrauch oder Missbrauch seiner Produkte entsteht.
Wir empfehlen Ihnen, die Installation von einer Fachwerkstatt /
Einbauspezialist vornehmen zu lassen, da ein fachgerechter
Einbau und Anschluss die Voraussetzung für ein klanglich
perfektes Ergebnis ist.
WARNUNG:
Dieses Lautsprechersystem ist in der Lage,
sehr hohe Lautstärken zu produzieren. Das Hören mit sehr
hohen Lautstärken kann zu Gehörschäden führen.
vielen dank
thank you
Page 2
x 200 golf v
USER MANUAL/AnleitunG
www.
audio-system
.de
audio system germany - falltorstrasse 6 - 76707 hambrücken
Das Lautsprechersystem lässt sich an die jeweilige Akustik
des Fahrzeuges und an den persönlichen Geschmack
anpassen. Je nach Lage der Lautsprecheröffnungen kann
die Weiche so eingestellt werden, dass der Frequenzgang
mit diesen geometrischen Gegebenheiten optimiert wird.
Hierzu müssen lediglich Kabel durchtrennt wie es auf Seite
3 dieser Anleitung beschrieben wird. Ein willkürliches
durchtrennen verschlechtert die klanglichen Eigenschaften
des Systems.
WICHTIG:
Die Weiche wird in einer Grundeinstellung
ausgeliefert. Sollte ein Lautsprecher einmal nicht
funktionieren, viel zu leise spielen oder sich klanglich
verfärbt anhören, muss die Weiche durch verbinden der
durchtrennten Kabel wieder in diese Grundeinstellung
gestellt werden, um sicher zu gehen, dass nicht die
Weicheneinstellung für die Probleme verantwortlich ist und
Ihr Fachhändler nicht unnötig nach einem Fehler an einem
Lautsprecher sucht.
The speaker system is adaptable to specific car acoustics
and to everybody’s personal music sound taste. The
frequency response can be optimized according to position
and geometric situation of the speaker by simply cut
cables like shown on page 3 in this manual. Unnecessary
changes decrease the sound behavior of the whole
speaker system.
IMPORTANT:
The crossover is supplied with a default
setting. If some speakers do not work or work too much
softly as bad sounding, the crossover has to be adjusted
again to the basic settings by reconnecting the cut cables
in order to clarify if mistakes on crossover setting is the
real defect reason or not. Thus you can avoid that you or
the dealer have to check the speaker unnecessarily.
Die AUDIO SYSTEM FWK X 200 VW Frequenzweiche
ist ein Hochpassfilter mit 3-facher Pegelanpassung des
Hochtöners.
Schritt 1:
achtung:
Trennen Sie vor sämtlichen Arbeiten den
Massepol von der Batterie. Beachten Sie hierzu auch unsere
Montage Tips.
Schritt 2: Schließen Sie den Eingangsstecker(Input) der FWK
Weiche an den Originalstecker(vom Radio kommend) an.
Schritt 3: Danach den Hochtöner HS 25 VW mit dem
vorgegebenen Steckern des rot / transparenten Kabels
verbinden.
Schritt 4: Den Mitteltöner ex 80 sq an die passenden
Steckern des blau / transparenten Kabels anschließen und an
den Originalplätze verschrauben.
Schritt 5: Die 200mm Woofer AX 08 FLAT mit den Steckern
des gelb / transparenten Kabels der Weiche verbinden und mit
den beiliegenden Plastik-Adaptern stabil fixieren.
Wichtig:
Eine Dämmung der Türverkleidung und der
Türbleche mit AUDIO SYSTEM ALU 200 und DP
5000 ist bei jeder Nachrüstung erforderlich.
achtung:
Diese Anleitung ist ausschließlich exemplarisch
zu sehen, da viele verschiedene VW Modellausführungen
existieren.
The AUDIO SYSTEM FWK X 200 VW crossover is a
12 dB highpass with PTC-Protection and 4-time settings to the
tweeters.
Step 1:
Caution:
Disconnect Minus-pole of your car battery before
starting the installation. See further details in our mechanical
installation tips.
Step 2: Connect the Input of the FWK crossover to the original
headunit connector.
Step 3: Connect the tweeter HS 25 VW to the
red / transparent cable at the crossover.
Step 4: Connect the midrange speakers ex 80 sq to the
blue / transparent cable at the crossover.
Step 5: Connect the 8 inch woofer AX 08 FLAT to the
yellow / transparent cable at the crossover. Fix it with the
supplied plastic part.
Important:
It´s highly recommended to noise dampen the
door and the door panel using AUDIO SYSTEM ALU
200 and DP 5000.
Caution:
See these instruction as an example for VW cars.
Because there are so many varying VW types there might be
different basic option in installation.
Allgemein
introduction
grundsätzliches zur kabelweiche
fundamental to cable crossover
Page 3

x 200 golf v
USER MANUAL/AnleitunG
www.
audio-system
.de
audio system germany - falltorstrasse 6 - 76707 hambrücken
Mitteltöner
Blau (+) / transparentes Kabel (-)
Midrange speaker
Blue (+) / transparent cable (-)
VW
Origin
al Stecker
/ connector
Rot / schwarzes Kabel
red / black cable
Eingang
+
Grüne Kabelschlaufe: Widerstand +2 db wird
beim durchtrennen aktiviert.
Green wire: resistor +2 db enabled when cut
Hochtöner
Rot (+) / transparentes Kabel (-)
tweeter
Red (+) / transparent cable (-)
schwarze Kabelschlaufe: Widerstand +4 db
wird beim durchtrennen aktiviert.
black
wire: resistor +4 db enabled when cut
ACHTUN
G!
Offene Enden der durchgetrennten Kabel
unbedingt isolieren!
Bei Problemen wenden Sie sich bitte an Ihren
AUDIO SYSTEM
Fachhändler.
ATTENTION!
Insulate cables after cut to protect short circuit
In case of any problems contact your
specialised
audio system
dealer
tweeter volume how to
tweeter ok don`t cut any cable
tweeter a little to soft cut green wire +2db
tweeter to soft
cut black wire +4db
tweeter much to soft
cut
green and black wire +6db
Lautstärke Hochtöner
Maßnahme
in Ordnung keine Kabel durchtrennen
etwas zu leise grünes Kabel durchtrennen +2db
zu leise
schwarzes Kabel durchtrennen +4db
viel zu leise
grünes und schwarzes Kabel durchtrennen +6db
Woofer
Gelb (+) / transparentes Kabel (-)
tweeter
yellow (+) / transparent cable (-)
fwk kabelweiche einstellungen
fwk cable crossover settings
Page 4

x 200 golf v
USER MANUAL/AnleitunG
www.
audio-system
.de
audio system germany - falltorstrasse 6 - 76707 hambrücken
- WARNUNG: Trennen Sie vor der Montage den Massepol (-)
von der Fahrzeugbatterie. Kontrollieren Sie alle Anschlüsse auf
richtige Polung. Falsche Polung führt zu Kurzschlüssen und
kann die Fahrzeugelektrik beschädigen.
-Die besten Einbaupositionen sind die Originalplätze zwecks
Originalität und einfacherer Montage.
- wichtiG:
Beachten Sie das die Lautsprecher plan und stabil
eingebaut werden. In manchen Fällen ist eine stabiler
Plastikadapter, Holz- oder Metallring erforderlich. Die Qualität
des Einbaues entscheidet sehr stark das Klangbild, daher sollte
auf Dämmung und Sorgfalt bei der Installation geachtet werden.
Beachten Sie dass die Lautsprecher vor Hitze,
Sonneneinstrahlung, mechanischen Einflüssen, Feuchtigkeit
und Nässe geschützt sind, dies erreicht man durch diverses
Zubehör von
AUDIO SYSTEM
(s.u.).
- achtUNG:
Verlegen Sie Ihre Kabel so dass diese nicht
gequetscht werden oder über scharfe Kanten verlaufen. Dies
kann zu Kurzschlüssen mit Beschädigungen führen.
- vorsicht:
beim Entfernen von Innenverkleidungen. Die
Befestigungsteile aus Plastik können beschädigt werden und
müssen ersetzt werden.
- wichtiG:
ist die richtige Polarität der Lautsprecher. Das
Klangbild kann aber auch durch verpolen der Hochtöner
verbessert werden.
-Ausprobieren und hören bzw. messen(
MICRO AS
) ist
hier sinnvoll!
-warning: First disconnect negative pole of your car
battery. Check polarity changing polarity may cause serious
damages to your car electric.
-Best speaker positions are the original build in positions. Easy
installation and originality are the reasons.
-Take care your speakers are build in straight, plain and well
fastening.
-Sometimes using a mounting adapter made from plastic, wood
or metal may help you to fix all equipment proper to your car.
-important:
As better your speakers were installed the
better the sound will be. A wide range of optionally installing
product made by
AUDIO SYSTEM
will help you to get best
possible results keeping out vibrations and humidity.
-warning:
Lay all cables as straight as possible without
squashing or laying them over sharp edges. Otherwise this
could cause short circuit or damages to your whole installation.
-ATTENTION:
Be careful removing original plastic parts of
your car. The fitting parts could be damaged and have to be
replaced.
-The right polarity of all speakers is extremely important for the
sound of your car audio system. We recommend changing
polarity of the tweeters finding out the best possible sound.
The best is to listen or measure it with
MICRO AS
.
- alu 200 und alu 500 self-adhasive damp foam
- dp 5000 damp paste
- rainstop foam water-resistant
- z-chinch RCA cabel black or silver color
- xs-high power batteries
- Oxygen-free speaker and power cabels
-2 x Tweeters: hs 25 vw
-2 x midrange speakers: ex 80 sq
-2 x plastic mounting adapter: lsr 80 golf v
-2 x woofers: ax 08 fl
-2 x plug and play cable crossover: fwk golf v
-2 x plastic mounting adapter: lsr golf v 200
-Manual
-2 x Hochtöner: hs 25 vw
-2 x Mitteltöner: ex 80 sq
-2 x Montageadapter Kunststoff: lsr 80 golf v
-2 x Tieftöner: ax 08 fl
-2 x Kabelfrequenzweichen plug and play: fwk golf v
-2 x Montageadapter Kunststoff: lsr golf v 200
-Bedienungsanleitung
-alu 200 und alu 500 selbstklebende Dämmatte
- dp 5000 Dämmpaste.
- rainstop Schaumstoff wasserabweisend.
- z-chinch Cinchkabel in schwarz oder silber.
- xs-high power batterien.
- Sauerstoffreies Strom- und Lautsprecherkabel.
Montage Tips
Mechanical installation Tip
packungsinhalt
package content
optionales einbauzubehör
optional installation accessories
 Loading...