

Page 1

AST-SUB10
SUBWOOFER
USER MANUAL
Phoenix Gold International, Inc. 9300 North Decatur Street Portland, Oregon 97203 Tel: 503.286.9300 Fax: 503.978.3391
Website: www.audiosource.net Email: support@phoenixgold.com
Page 2
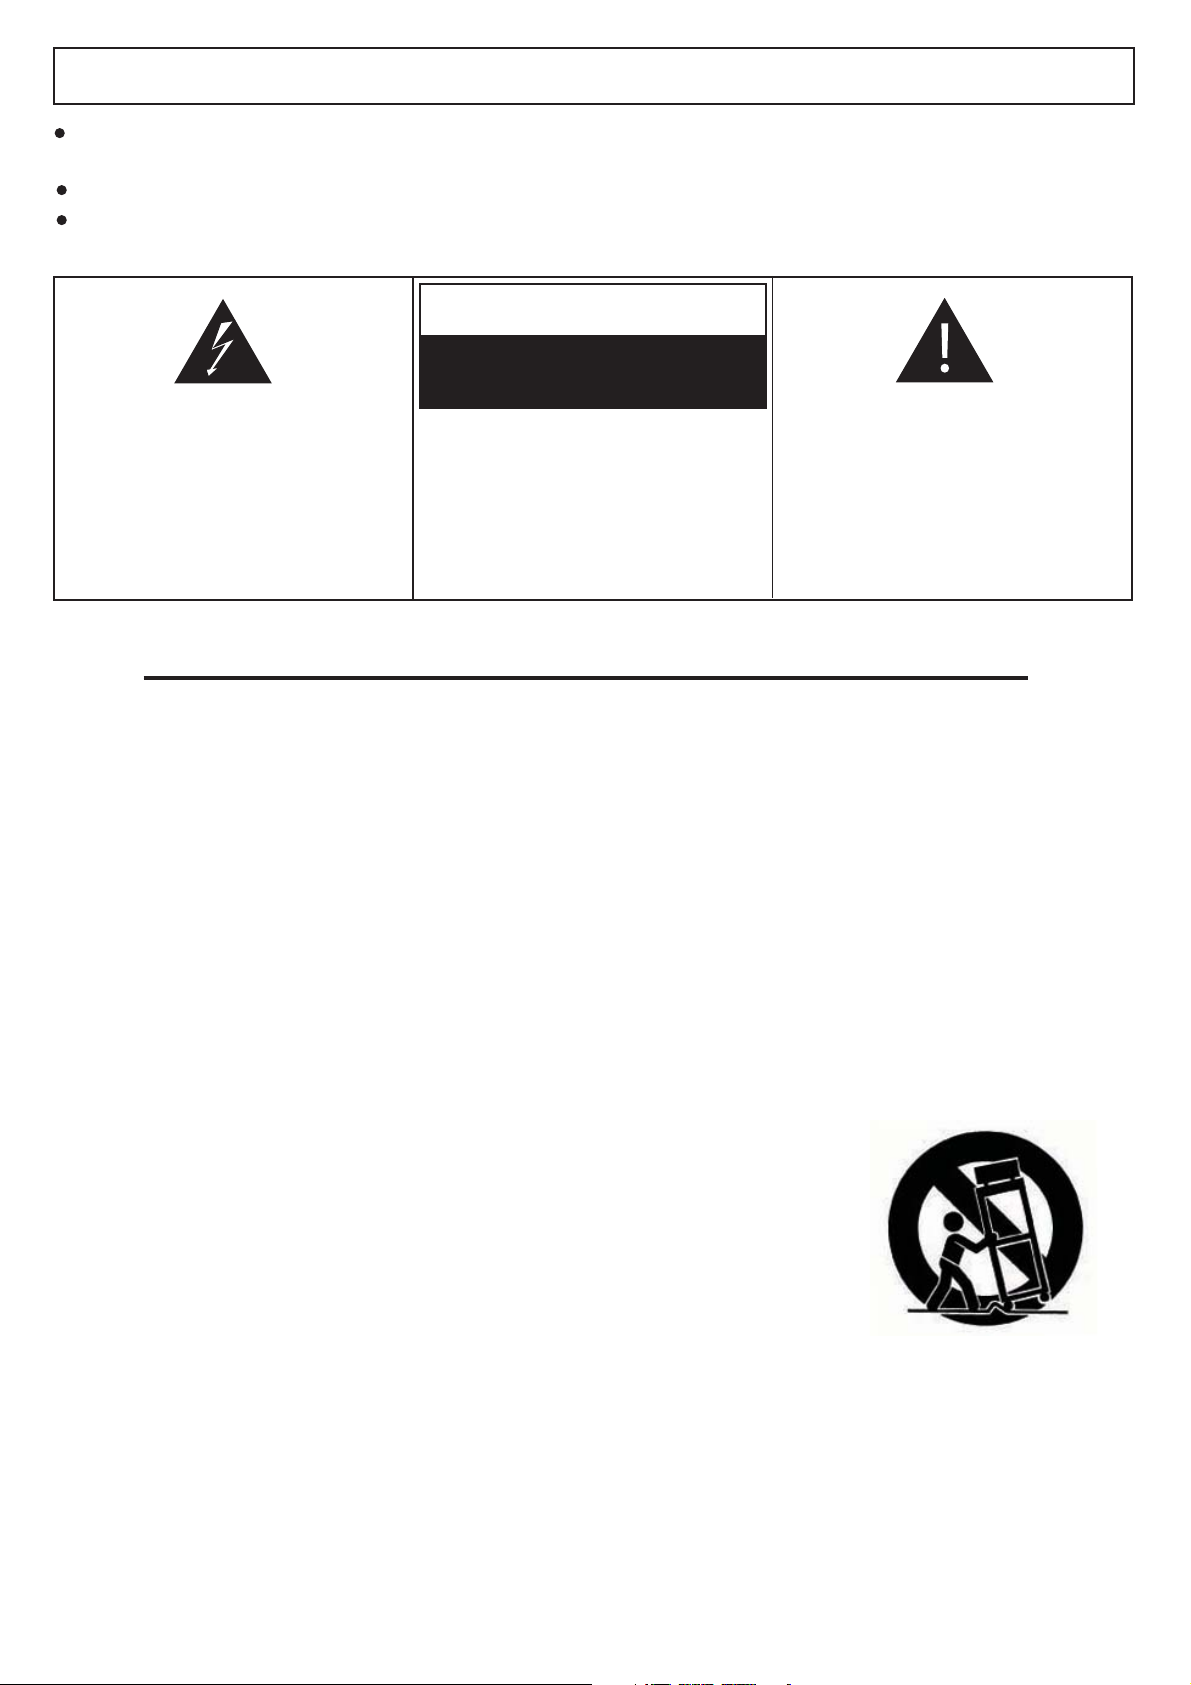
WARNING
TO PREVENT FIRE OR SHOCK HAZARD, DO NOT USE THIS PLUG WITH AN EXTENSION CORD, RECEPTACLE
OR OTHER OUTLET UNLESS THE BLADES CAN BE FULLY INSERTED TO PREVENT BLADE EXPOSURE.
TO PREVENT FIRE OR SHOCK HAZARD, DO NOT EXPOSE THIS APPLIANCE TO RAIN OR MOISTURE.
TO PREVENT ELECTRICAL SHOCK, MATCH WIDE BLADE PLUG TO WIDE SLOT, FULLY INSERT.
CAUTION
RISK OF ELECTRIC SHOCK
DO NOT OPEN
This lightning flash with arrowhead
symbol, within an equilateral triangle, is
intended to alert the user to the presence
of uninsulated “dangerous voltage” within
the product’s enclosure that may be of
sufficient magnitude to constitute a risk of
electric shock to persons.
Warning: To reduce the risk of electric
shock, do not remove cover (or back) no
user serviceable parts inside. Refer
servicing to qualified service personnel.
The exclamation point within the
equilateral triangle is intended to alert
the user to the presence of important
operating and maintenance (servicing)
instructions in the literature accompanying the appliance.
IMPORTANT SAFETY INSTRUCTIONS
1. Read these instructions.
2. Keep these instructions.
3. Heed all warnings.
4. Follow all instructions.
5. Do not use this apparatus near water.
6. Clean only with damp cloth.
7. Do not block any ventilation openings. Install in accordance with the manufacturer’s instructions.
8. Do not install near heat sources such as radiators, heat registers, stoves, or other apparatus
(Including amplifiers) that produce heat.
9. Do not defeat the safety purpose of the polarized or grounding type plug. A polarized plug has two
blades with one wider than the other. A grounding type plug has two blades and a third grounding
prong. The wide blade or third prong are provided for your safety. If the provided plug does not fit
into your outlet, consult an electrician for replacement of the obsolete outlet.
10. Protect the power cord from being walked on or pinched particularly at the plugs, convenience
receptacles, and at the point where they exit from the appliance.
11. Only use attachments or accessories specified by the manufacturer.
12. Use only with a cart, stand, tripod or table specified by the manufacturer,
or sold with the apparatus. When a cart is used, use caution when moving
the cart/apparatus combination to avoid injury from tip over.
13. Unplug the apparatus during lightning storms or when unused for long
periods of time.
14. Refer all servicing to qualified personnel. Servicing is required when the
apparatus has been damaged in any way, such as power supply cord or plug
is damaged, liquid has been spilled or objects have fallen into the apparatus, the apparatus has been
exposed to rain or moisture, does not operate normally, or has been dropped.
This appliance shall not be exposed to dripping or splashing water and no object filled with liquids such as
vases shall be placed on apparatus.
2
Page 3

AST-SUB10 Subwoofer Amplifier Panel
LOW LEVEL
ON
230V
VOLUME CROSSOVER
POWER
INPUT
L
220 WATTS
115V
AST-SUB10
POWERED SUBWOOFER
CAUTION
BEFOREO PE NING
PULLMAIN PLUG
TO REDUCE THE RISK OF FIRE OR ELECTRIC SHOCK,
WARNIN G:
DO N OTEXPOSE THIS APPLIANCETO RAIN OR MOISTURE!
FUSE
3.15A L25 0V
RISK OF FIRE
REPLACE FUSE
ASMARKED
C
VORSICHT
VORDEM OFFNEN
NETZSTECKERZIEHEN
CONFORMSTO
ULSTD. 6500
CERTIFEDTO
CAN/CSASTD. E60065
CM
US
OFF
230/115V~, 50/60Hz
Package Contents:
1) 1 - AST-SUB10 Amplified Subwoofer
2) 1 - 3 Prong Grounded AC Cord
3) 1 - Owner's / Operational manual
4) 4 - Mounting Feet with ¼" threaded screw and locking hex nut.
5) 4 - Insulator / Cushion for mounting feet
R
AUTO
OFF ON
PHASE
0° 180°
180Hz
OFF ON
HIGH LEVEL INPUT
-L- -R-
-L-
HIGH LEVEL OUTPUT
-R-
BY-PASS
Do not attempt to power up or operate the subwoofer until Owner's Manual
has been read, consulted, and installation is completed.
Placement Guidelines
Prior to installing your new subwoofer, please consider the following
guidelines. Placing the subwoofer near a wall or in a corner will greatly
increase the overall bass response. As the frequencies reproduced by
subwoofers are long and need room to propagate, a subwoofer placed
away from a wall or corner will not sound as full as when placed in close
proximity to walls or corners. Placing close to a wall or corner will enhance
3
the projection of the omni-directional bass signal throughout a listening
environment.
2
4
5
4
Removal and Setup
Open the carton and remove foam protective packing from top of package.
Remove accessory package. Make sure to locate and store the Owner's
Manual in a convenient location; this will be needed for operation, and
subwoofer setup. Carefully remove AST-SUB10 subwoofer from the factory
carton and remove from protective plastic bag. Make sure not to scratch or
otherwise physically damage your new subwoofer.
To install feet: make sure the feet (4) have provided locking hex nuts (4)
threaded to feet prior to installation. Carefully turn the subwoofer over on
a side or upside down resting on its top. This is best done on carpet or
other non-abrasive soft surface. Install threaded feet into ¼" receptacle and
rotate clockwise until screws tighten and feet are in place. If necessary, use
provided cushions for the feet to prevent scratching any floor or furniture
surfaces (i.e.: hardwood, tile, vinyl / linoleum, or other soft surfaces). Rotate
or set subwoofer onto floor making sure all feet (4) are secure and make
good contact with the flooring surface. The subwoofer may be leveled by
adjusting the feet individually. Secure the feet in position with locking the
nuts.
To install power cord: remove power cord from the accessory package and
undo cord tie to allow full power cord length. Install cord into AC
receptacle on rear panel of subwoofer. You are now ready to read the
operational and hookup information in the provided Owner's Manual.
The subwoofer cabinet is designed to blend in and enhance most home
decors. The slim, low profile design of the AST-SUB10 subwoofer is intended
to fit in any room or within normal interior design / furniture applications. If
you decide to place anything directly atop your subwoofer, please use great
caution as the speaker cabinet will vibrate and items place on or near the
subwoofer may shake loose or fall. To avoid electric shock and possible
damage never place anything atop the subwoofer that contains water or
liquid, such as a hot or cold drink, vase or flower pot.
Using the Controls
Power
There is one main power switch located directly above the AC power cord
receptacle. This may be switched ON when necessary for use, and should be
turned OFF when you plan to be away from home leaving the subwoofer
unused or idle. Beneath the main volume control resides the auto off / on
control switch. This switch can be set to three operating positions: ON, OFF,
and AUTO. The AUTO position is the default setting. This keeps the
subwoofer in standby mode (providing the main power switch is set to
"ON"). Using sophisticated signal sensing circuitry, the amplifier is
activated when a signal is detected at either of the inputs. If no signal is
detected after several minutes, the amplifier switches back to the standby
mode. In OFF mode the subwoofer will be inactive regardless of the main
power switch setting. In ON mode the subwoofer will be on and active
whenever the main power switch is set to the ON position.
Phase
The phase switch is located directly beneath the AUTO ON /OFF switch. The
default setting for the phase switch is the 0º position. As the subwoofer is
sometimes placed quite a distance from the other speakers, its sound may
arrive at your ears milliseconds before or after the sound from your other
speakers. In the very rare instances where the subwoofer is out of phase, the
bass will appear somewhat hollow, and the level control may seem to have
little or no effect. Setting the phase switch to the 180º position will
compensate for these effects.
Note: Phase is relative, and can be different from location to location. Always
return to the normal listening location to evaluate any setting for audible
changes.
3
Page 4

Level
Since your subwoofer is designed to work in conjunction with other
speakers, a level control is provided that will allow you to balance the
output of the subwoofer with the rest of your speakers. Once set, the level
control should not require further adjustment. Begin with the level control
at minimum position. Slowly increase the level clockwise until the
subwoofer's output is equal to that of your other speakers.
Note:
Output level is relative and can be different from location to location .
Always return to the normal listening location to evaluate any setting
changes.
Limited Warranty
Phoenix Gold International, Inc. warrants this product against defects in
materials and workmanship for a limited period of time. For a period of five
(5) years from date of original purchase for loudspeakers and one (1) year for
electronics such as those in powered speakers. We will repair or replace the
product, at our option, without charge for parts and labor. Customer must
pay all parts and labor charges after the limited warranty period expires. The
limited warranty period for factory refurbished products expires after ninety
(90) days from date of original purchase. This limited warranty applies only to
purchases from authorized Phoenix Gold Retailers or Distributors. This
limited warranty is extended only to the original purchaser and is valid only
to consumers in the United States.
Crossover Frequency
The crossover frequency control is used to adjust the point at which the
subwoofer stops reproducing the frequencies played by the other speakers
in your system. Most home speakers will reproduce some bass signal, but
depending on their specific type and size, the subwoofer enhances the
lower frequency response of your system. The control is adjustable from
50Hz (very low cutoff) to 180Hz (high cutoff). Frequencies higher than the
cut-off frequency will not be reproduced by the subwoofer. Raising the
crossover setting increases the mid-bass frequencies that the subwoofer
will reproduce. Lowering the crossover will do the opposite. We recommend starting at the 10 o'clock position and adjusting based on your
speakers. Larger speakers will reproduce more of the lower frequencies,
and you may set the crossover to below 100Hz. Smaller home speakers
won't produce as much of the lower frequencies and the crossover may be
set above the 100Hz setting. The higher the crossover frequency the more
midrange bass will be reproduced. Only the lowest bass tones will be
reproduced as the crossover frequency is reduced. If the receiver or source
component is a Dolby Digital
around 100Hz. If the audio source is a THXTM rated device an optimal
crossover setting may be around 80Hz.
Note: Bass is relative to the overall output of a speaker system and is
subjective to the listener's ear. Set the crossover frequencies to a level that
sounds pleasing to your ear and the overall reproduction of your audio.
By-Pass Switch
The by-pass switch is set depending on which type of input source will be
used. When using the High Level Input the by-pass switch should be set to
the "OFF" position. This will allow use of the crossover control to determine
the frequency of the subwoofer output. When the Line Level Input (also
described as RCA in) is being used, the type of input source must be
determined prior to setting the by-pass switch. The by-pass switch should
be set to the "ON" position only if a dedicated subwoofer output or LFE
output is used. The "ON" position of the by-pass switch will disable the
internal crossover. If a non-LFE or non-dedicated subwoofer output is used
for the Line Level Input, the bypass switch should be set to the "OFF"
position to allow proper use of the crossover control.
Connecting the SWP10
TM
unit, the ideal crossover setting may be
Consumers are required to provide a copy of the original sales invoice from
an authorized Phoenix Gold Retailer or Distributor when making a claim
against this limited warranty. This limited warranty only covers failures due to
defects in materials or workmanship that occur during normal use. It does
not cover failures resulting from accident, fire, flood, misuse, abuse, neglect,
mishandling, misapplication, alteration, faulty installation, modification,
service by anyone other than Phoenix Gold, or damage that is attributable to
Acts of God. It does not cover costs of transportation to Phoenix Gold or
damage in transit. The customer should return their defective product,
freight prepaid and insured, to Phoenix Gold International, Inc. only after
receiving a Return Authorization.
Repair or replacement under the terms of this warranty does not extend the
term of this warranty. Should a product prove to be defective in workmanship or material, the consumer's sole remedies will be repair or replacement
as provided under the terms of this warranty. If the defective product is
discontinued Phoenix Gold International, Inc. may replace the product with
an equivalent or superior product at its option. Any cost of re-installation or
repair of wall or ceiling surface is the sole responsibility of the customer and
that cost shall not be the responsibility of Phoenix Gold International, Inc.
Under no circumstances shall Phoenix Gold be liable for loss or damage,
direct, consequential or incidental, arising out of the use of or inability to use
the product. There are no express warranties other than described above.
Phoenix Gold International, Inc. 9300 North Decatur Street Portland, Oregon 97203
Tel: 503.286.9300 Fax: 503.978.3381 Tech Support: 800.950.1449
Web: www.audiosource.net Email: support@phoenixgold.com
General Information
Signals input to your subwoofer will first pass through the crossover. The
portion of the signal below the current crossover frequency setting will be
reproduced by the subwoofer. The unprocessed signal will also be passed
to the High Level outputs.
High Level Input
These inputs are designed to accept a full band amplified signal from the
speaker outputs of a receiver, power amp, or other device not equipped
with line level outputs. Connect the speaker wires from the output of the
amplified audio source via standard speaker wire to the inputs of the
High Level Input.
High Level Output
The original amplified signal from your audio source is present at these
outputs when using the High Level Input as the audio source. Connect
speaker wires from the High Level Output (never more than one wire per
terminal connection) to a pair of audio speakers.
Low Level Input
These RCA jacks are designed to accept a dedicated subwoofer output, a
LFE line level signal, or a standard line level signal from a receiver, pre-amp,
surround sound decoder or similar device. When using a single line level
output from an audio source, connection to either the Left or Right input is
sufficient. If your audio component has line level stereo outputs then
connect both RCA line level outputs to the Left and Right Low level Input.
Specifications
Woofer: 10” Aluminum cone with foam surround
Frequency Response: 30Hz to 180Hz
Sensitivity (1W / 1Meter): 88dB
Impedance: 4 Ohm
Power Output: 150 Watts
Features
Auto-Power ON-OFF with LED Indicator
Level Control
Crossover Frequency Control
Line Level Input
Speaker Level Input
Crossover ByPass for use with LFE Input
Magnetically Shielded
4
 Loading...