

Audio Control The Director D3400 Professional Installer's Gratification Manual
®
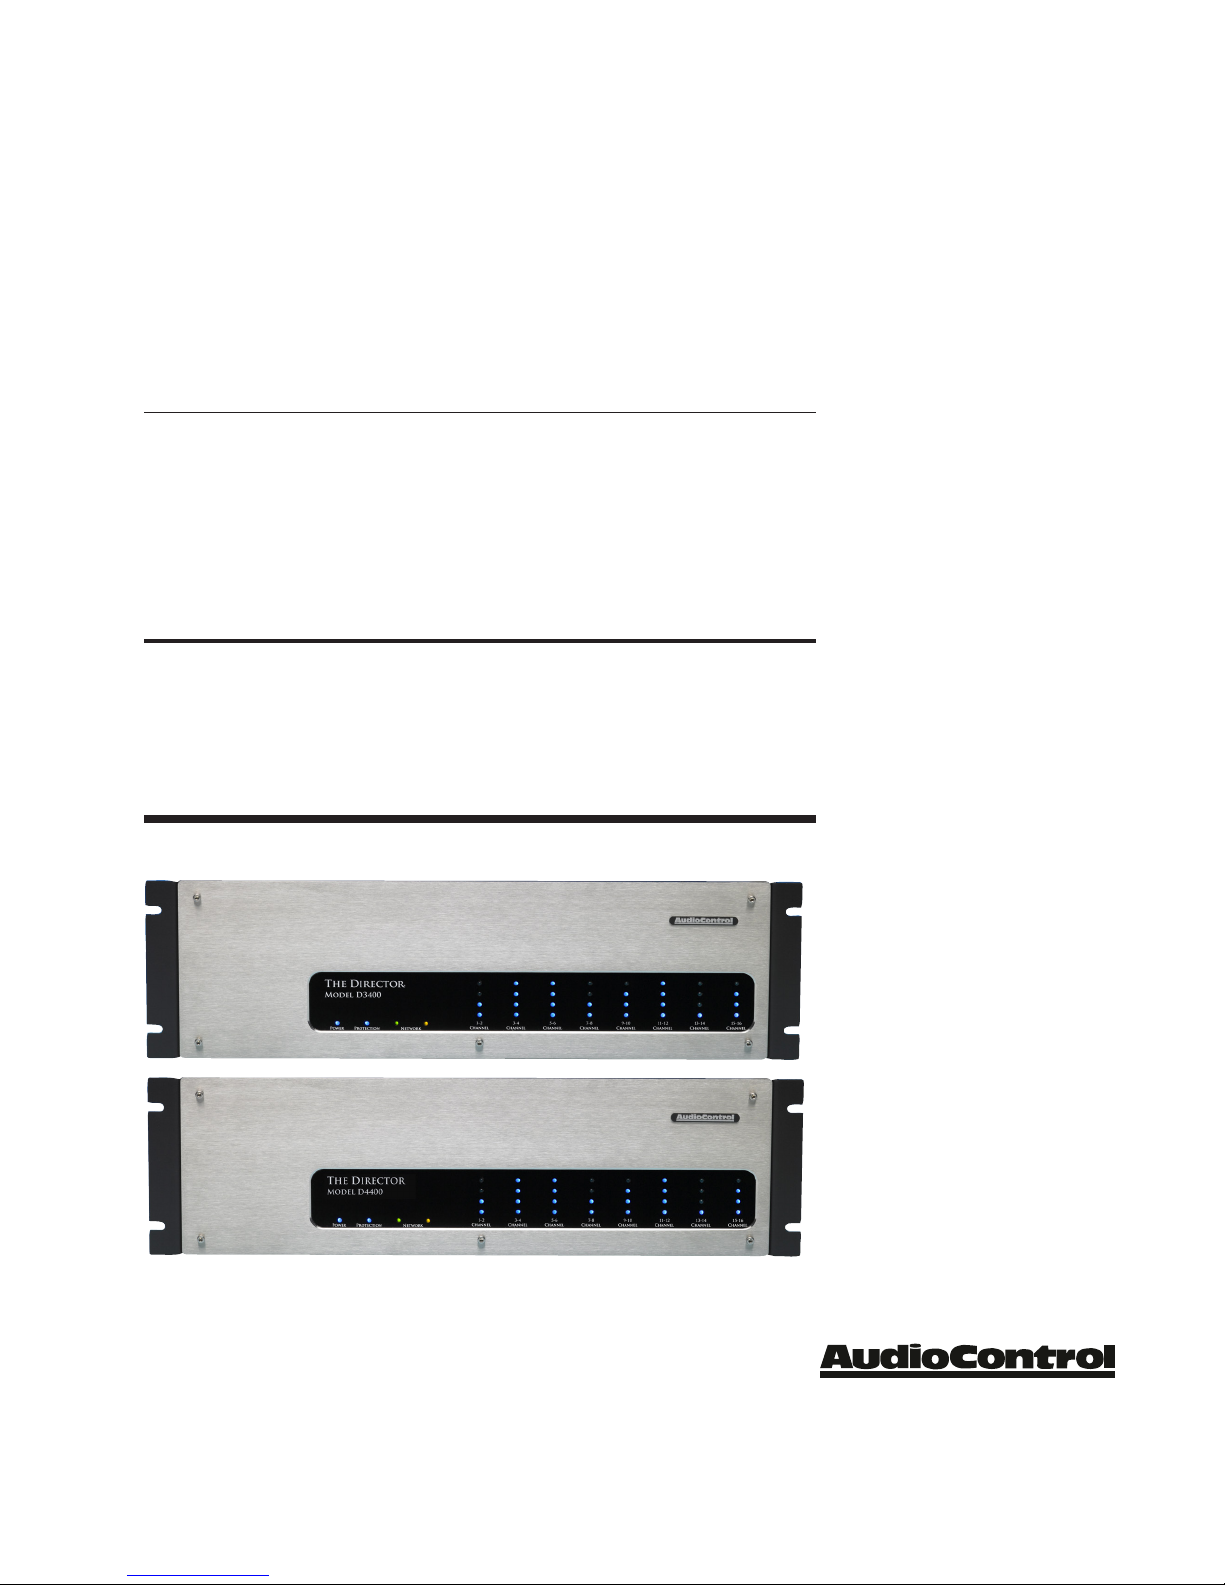
The Director
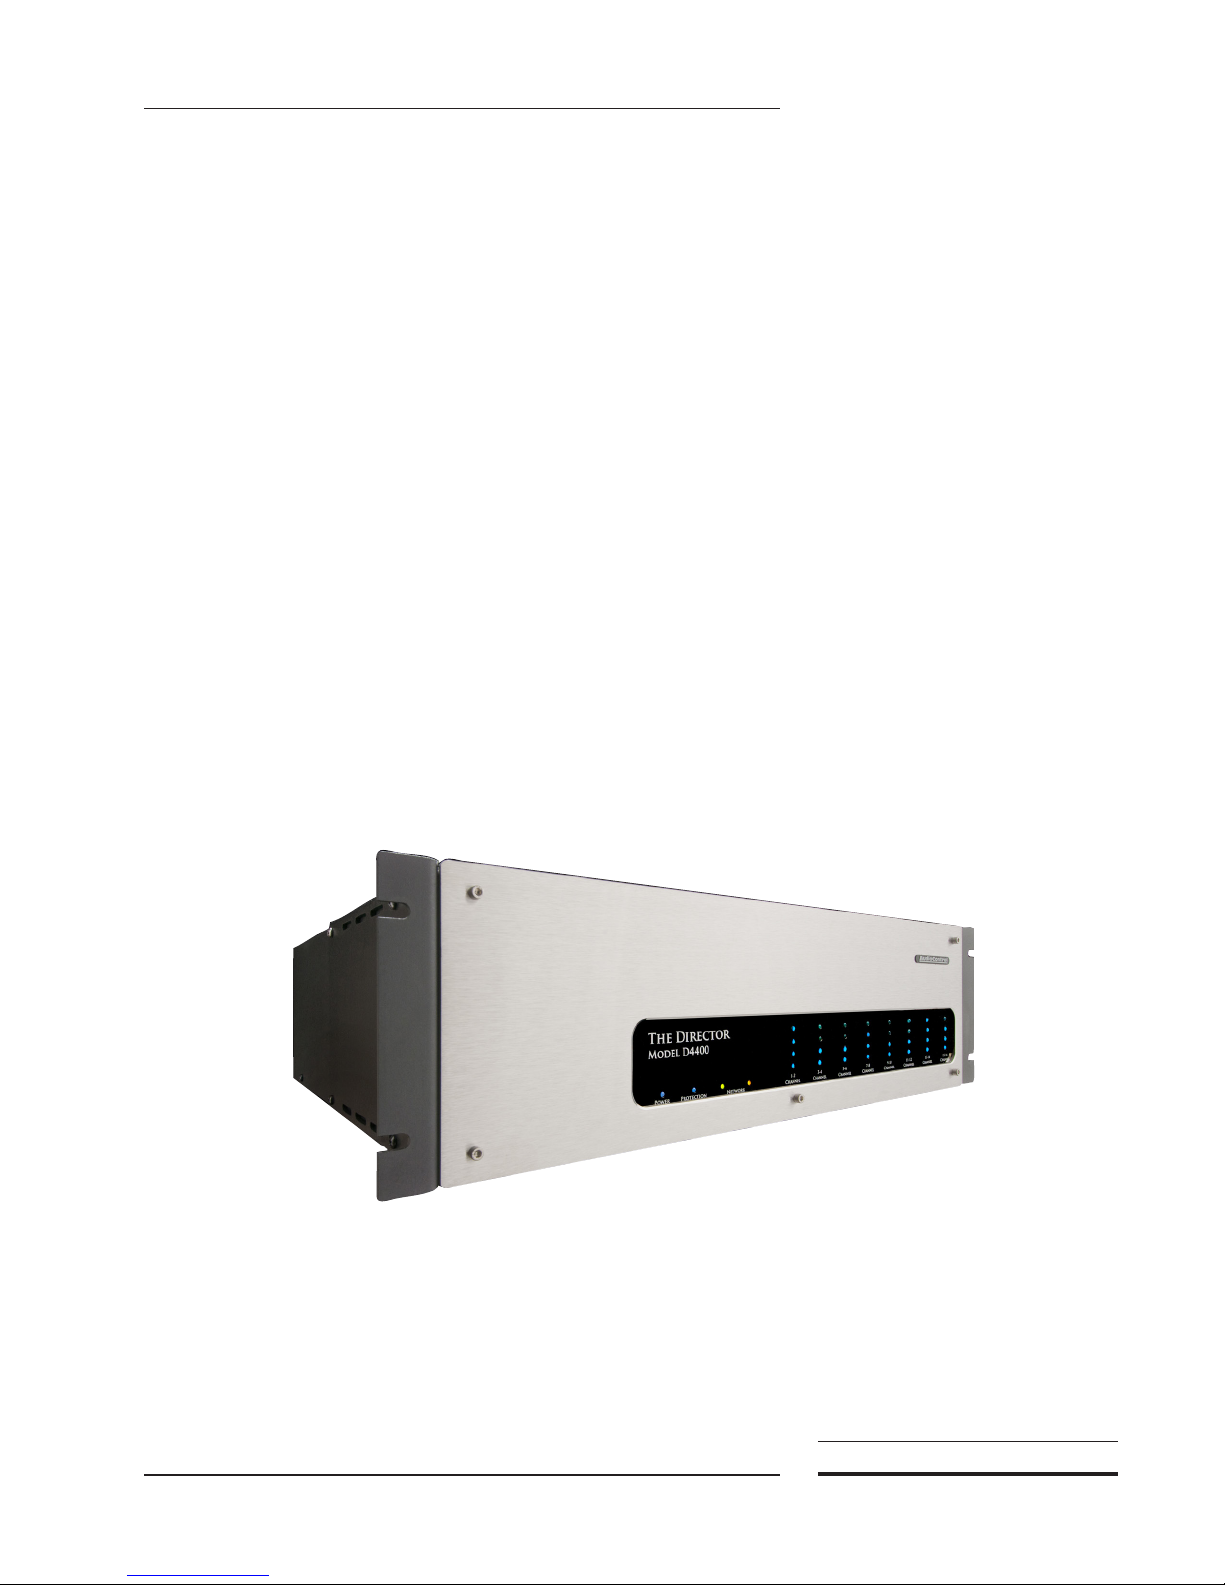
Model D4400
Model D3400
16 Channel
High Efficiency • Digital Signal Processor •
Ethernet Interface & Control
Power Amplifier
Professional Installer’s
Gratification Guide
®
Making Good Sound Great
22410 70th Avenue West • Seattle, WA 98043 USA
425-775-8461 • Fax 425-778-3166 • www.audiocontrol.com
©2013. All rights reserved.

Important Information
Dealer Name _____________________________________
Date Installed __________________________________
Serial Number ___________________________________
Ethernet MAC Address _________________________
IP Address Dynamic / Static ___________________
®

Table of Contents
The Director Model D3400 • Model D4400
Cool and Different Features .........................2
A Guided Tour
Front Panel .....................................5
Rear Connections ...............................6
Making sense of the trigger ins and outs .............8
Internet Connectivity and Control
Control using a browser ...........................9
Control and Queries via Telnet ....................14
Operation without an Ethernet connection ..........17
Hook-up Guide with System Diagrams ..............18
Table of Contents
An Introduction to Acoustics and Equalizers
Room Acoustics ................................22
Benefits of Equalization.......................... 23
Adjusting the Signal Processing
Equalizing the System................................24
Parametric and Graphic Equalization ..............25
Subsonic and Tweeter Protection Filters ............26
Memories...................................... 26
A Brazen Plug ....................................27
more
TheDirector
Model D3400 • Model D4400
Installer’s Guide
®
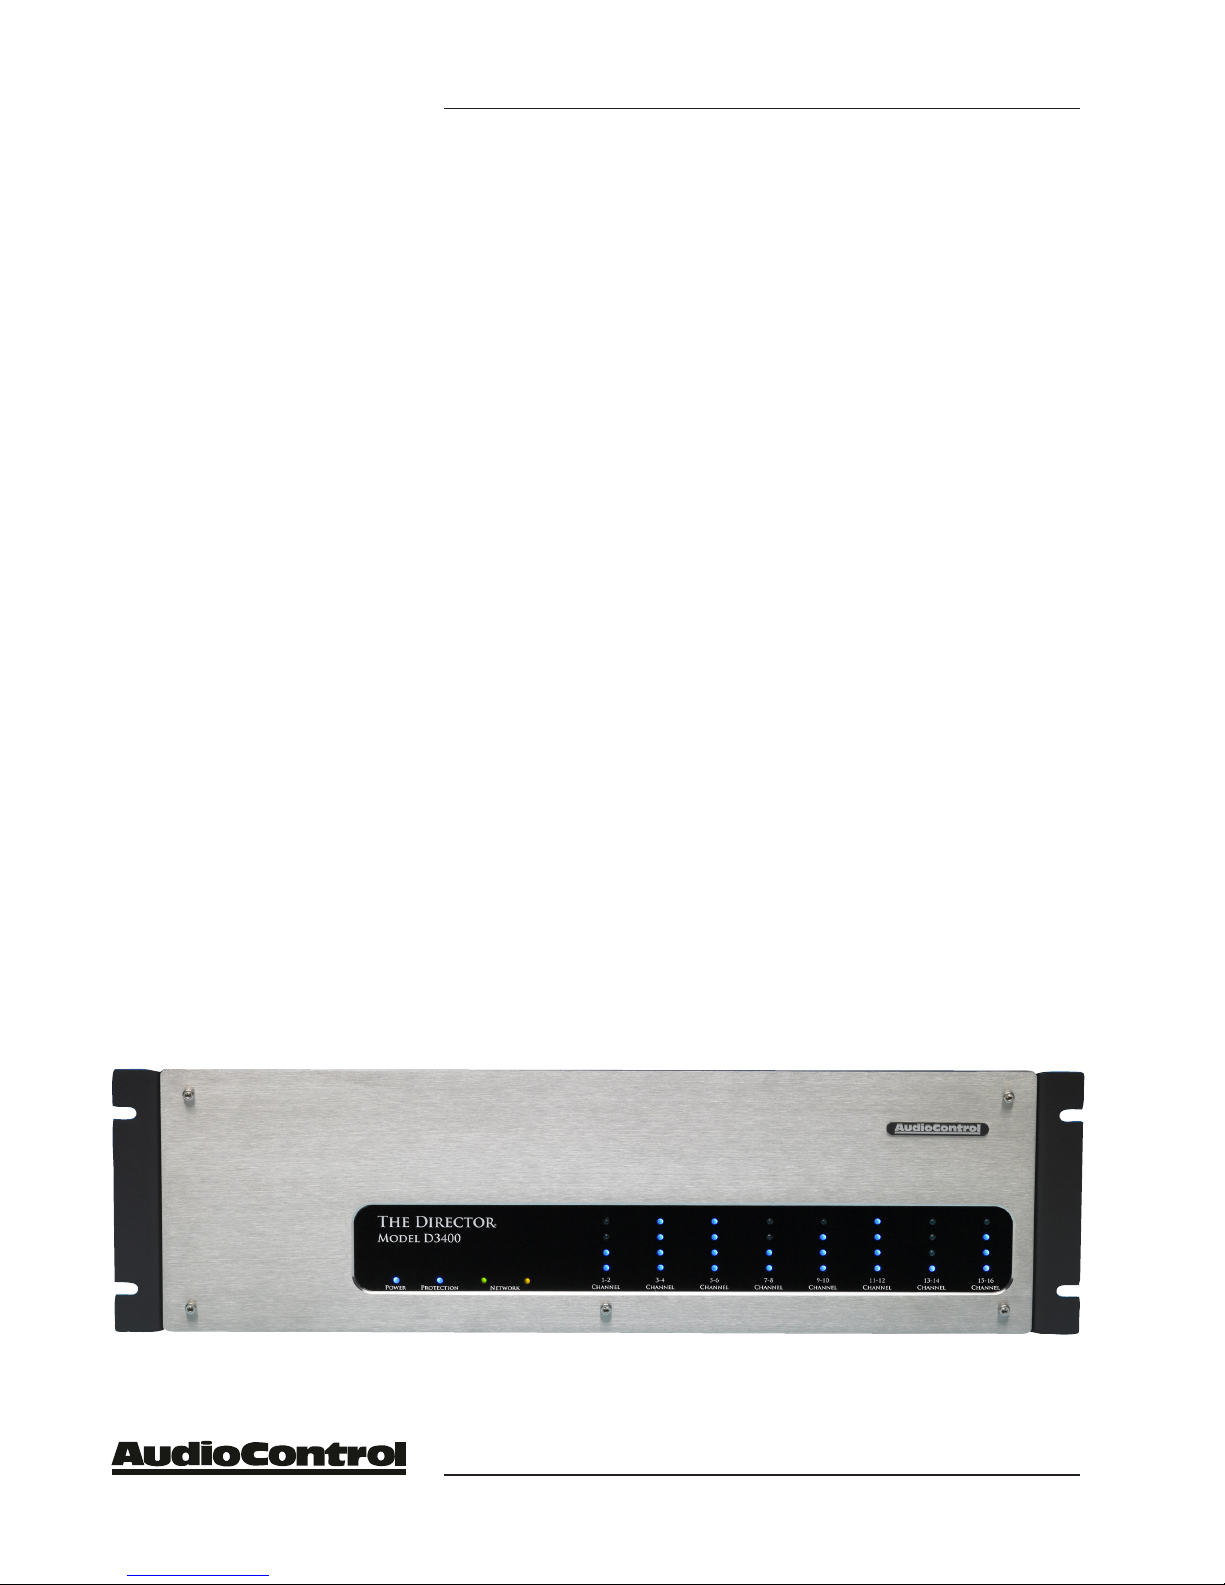
Table of Contents
Advanced Topics
Speaker and wiring impedance ....................28
Amplifier bridging ..............................29
In wall volume controls ..........................29
Installation of multiple units of The Director........ 30
Level matching and gain controls..................31
Sound level (SPL) in large areas and unique rooms ...31
Troubleshooting .................................. 33
Warranty and Service Information .................. 35
Block Diagram ....................................37
Specifications ..................................... 38
The Director Model D3400
®
Introduction
To label The Director® Models D4400 and D3400 just
multi-zone amplifiers is like calling a Ferrari just a car. There
is so much more to both products in terms of performance
and capability.
Ethernet control, unparalleled energy efficiency, rack
saving compact design, superb sound quality and bulletproof
reliability are just a few key features of The Director. More
features are discussed in the next section so please read on.
Since we build The Director Models in the AudioControl
factories in the Northwest Rainforest outside of Seattle, USA,
we can continually improve it and our other products. Similarly, the AudioControl web site is regularly updated. We
encourage you to check our web site, www.audiocontrol.com,
if something is not answered in this manual. Of course, you
can always chat with us on the phone during normal business
hours.
Introduction
Lastly, this is a professional installer’s manual. We
assume you are experienced with multi-channel amplifiers
and the Ethernet. The product setup, adjustment and operation require network access.
The Director is a registered trademark.
TheDirector
Model D3400 • Model D4400
Installer’s Guide
®
1

Cool & Different
Features
Cool and Different Features
Volume Control
The primary focus of our latest firmware is volume control
via browser or Telnet commands. You can now control volume
in any zone! Control via the browser will allow you to control
volume in any zone along with EQ and source selection.
With the updated Telnet control, you have the means to
control the Maximum On volume so that when you turn the
unit on volume is set to a predefined value. This is for those
nights you were rocking out with the volume turned up to
eleven - the next morning you won’t blast your ears out. Also
with Telnet control, you can control volume of groups by the
volume set commands.
Another benefit of the software update is speed - faster
communication for better integration into control systems!
Unlike Other Amplifiers
Here is a list and description of features that are part of
The Director series from AudioControl. Most are rare or nonexistent in other companies’ amplifiers.
• DHCP: An IP address for The Director Model D3400
and D4400 is obtained via DHCP by default. If a DHCP server is not found on the network, The Director Model D3400
and The Director Model D4400 will default to 192.168.0.249.
• UPnP: Device discovery is enabled on The Director
Models D3400 and D4400 for ease of connectivity from a PC.
• nUmbering: In the device discovery /UPnP window, if
you are using multiple Director amplifiers, you will find that
each Director is numbered in the sequence they were added
onto the network.
• groUPs: Grouping has been enabled for quick control
of zones through Telnet commands. Up to 4 groups can be
defined for control over Standby and Source Selection.
• imPort/exPort: Exporting and Importing of the amplifier’s settings – including EQ settings – has been enabled.
Now you can configure your EQ settings as a template and
apply these to each Director amplifier in your system.A little
refining of those settings for each amp and you will be in and
out in no time.
2
®

• EthErnEt Control: Via a browser or Telnet commands
you can control and query almost all the functions of The
Director. You can mute zones, change source inputs, adjust
equalization, recall memories, check line voltage, display protection logs and get an email if something goes wrong. And
this is only a partial list!
• Signal ProCESSing: You have at your command graphic
equalization, parametric equalization, tweeter protection
filters and low frequency cutoff filters. In addition, you can
set up two zones with a two way crossover. The equalizer settings are ganged left and right channels together or your can
separate. Plus, there are three memories to save and recall
settings.
• UnParallElEd EnErgy EffiCiEnCy: Whether from the
point of view of saving electricity or from the viewpoint of
less heat in the rack, The Director has no equal. It is VERY
energy efficient during operation and equally impressive with
its efficiency during standby.
• SavE raCk SPaCES: With 16 channels in only three rack
spaces, you save one or even two spaces over other amplifiers.
Cool & Different
Features
• lightdrivE anti-CliPPing: With durability in mind,
Lightdrive anti-clipping protection defends the system
against clipping, distortion, damage and even teenage parties.
• SElf rESEtting ProtECtion fEatUrES: Protection
features in The Director are extensive and include thermal,
short circuit, clipping, ultrasonic and DC offset among others. If the fault is removed, the amplifier resets. Plus, The
Director can send you an email if something happens.
• SUPErior SoUnd QUality: Pristine sonics happens first
in all AudioControl designs and is not compromised by any
other feature. You get the feeling that sound quality is an after
thought with products from other companies.
• rEliablE and rUggEd: From the beefy rack mounts to
the brawny transformer mounting, The Director continues
with AudioControl’s legacy of building bulletproof product.
• PaCifiC northwESt hEritagE: Hard to believe, but we
make this product in the USA. We are very proud of that fact.
What is more important to you is the care we craft in at every
step and the extensive knowledge we have in all aspects of the
product. Plus, we back this up with a five year warranty.
TheDirector
Model D3400 • Model D4400
Installer’s Guide
®
3

Really Cool Stuff in The Director
As great as these features on the previous page are, here is
a list of some of the new and unique parts of The Director;
• oUtPUt PrESEnt lEd: Ever wonder if there really was
a signal on the speaker outputs of an amp? No wondering
with The Director because there is an LED flickering with
the signal level right next to each speaker connector.
• vEry low Standby CUrrEnt: When The Director is
in Standby, ready to turn on via a trigger, it draws less than 5
watts. Compare that to a typical amplifier.
• namE thE ZonE: Use the browser to type in any name
on the zone. Also give The Director amplifier a specific name
so that you can easily identify it when there is more than one
in the system.
• digital Signal SEnSE: Signal sense is digital, accurate
and reliable. Rejoice.
• groUnd lift SwitCh: Here is a legal and safe way to
combat 60 cycle hum. If the flip of this switch solves the problem, maybe you can get home earlier tonight.
• 12 volt triggEr oUtS: Every multi-zone amp has trig-
ger ins. The Director has regular trigger ins, plus triggering
via the Ethernet, and it has mini-jack 12 volt trigger outs for
turning on another component or two.
• front lEvEl diSPlay: We think the front panel level
display is way cool, pretty, and useful. However, if you want to
turn it off, we have provided a switch to do so.
• timES SQUarE light Show: Look at the rear of The
Director and we forgive you if you think of Times Square
in New York City. There are indicator LEDs aplenty. Not
only for the speaker outputs but also for signal sense, mono
switching, local input active, and ethernet bypass. On the rear
panel there are 30 indicator LEDs in total (that is not a typo).
Counting the front panel indicator LEDs, the total is 66! If we
can make your system setup faster, we want to.
4
®

A Guided Tour Of
The Director Model D / D
1 2 3 4 5
Front Panel
4
1
Power LED - Starting with the easy one...
when you have the AC Power switch on the
back panel turned on and The Director is
plugged into an active AC outlet, this little
Blue light will beam forth.
2
Protection LED - There are two states to
this LED. In normal operation it glows Blue
when the unit is on and in standby or operating. If this LED is Red, then one of the
internal protection circuits is activated.
3
Network LEDs - You have seen this type of
LED a million times on computer network
cards. One shows an active connection while
the other LED flickers with the passage of
data. There is a duplicate set on the rear
panel.
Zone Status LEDs - At the bottom of the
columns are the channel status LEDs which
are dual color and serve two purposes. First,
they illuminate Blue when the corresponding two channels are active and operating
properly. The second function of the status
LED is to turn Red if something has caused
that zone to go into protection.
5
Level Activity LEDs - These three LEDs
dance with the music. They tell you that signal is passing in each zone and at what level.
It is an attractive and useful light show, but
if you really want, you can turn this off with
a switch on the rear panel.
TheDirector
Model D3400 • Model D4400
Installer’s Guide
®
5
A Guided Tour Of
The Director Model D3400 / d4400
1 2 5
43
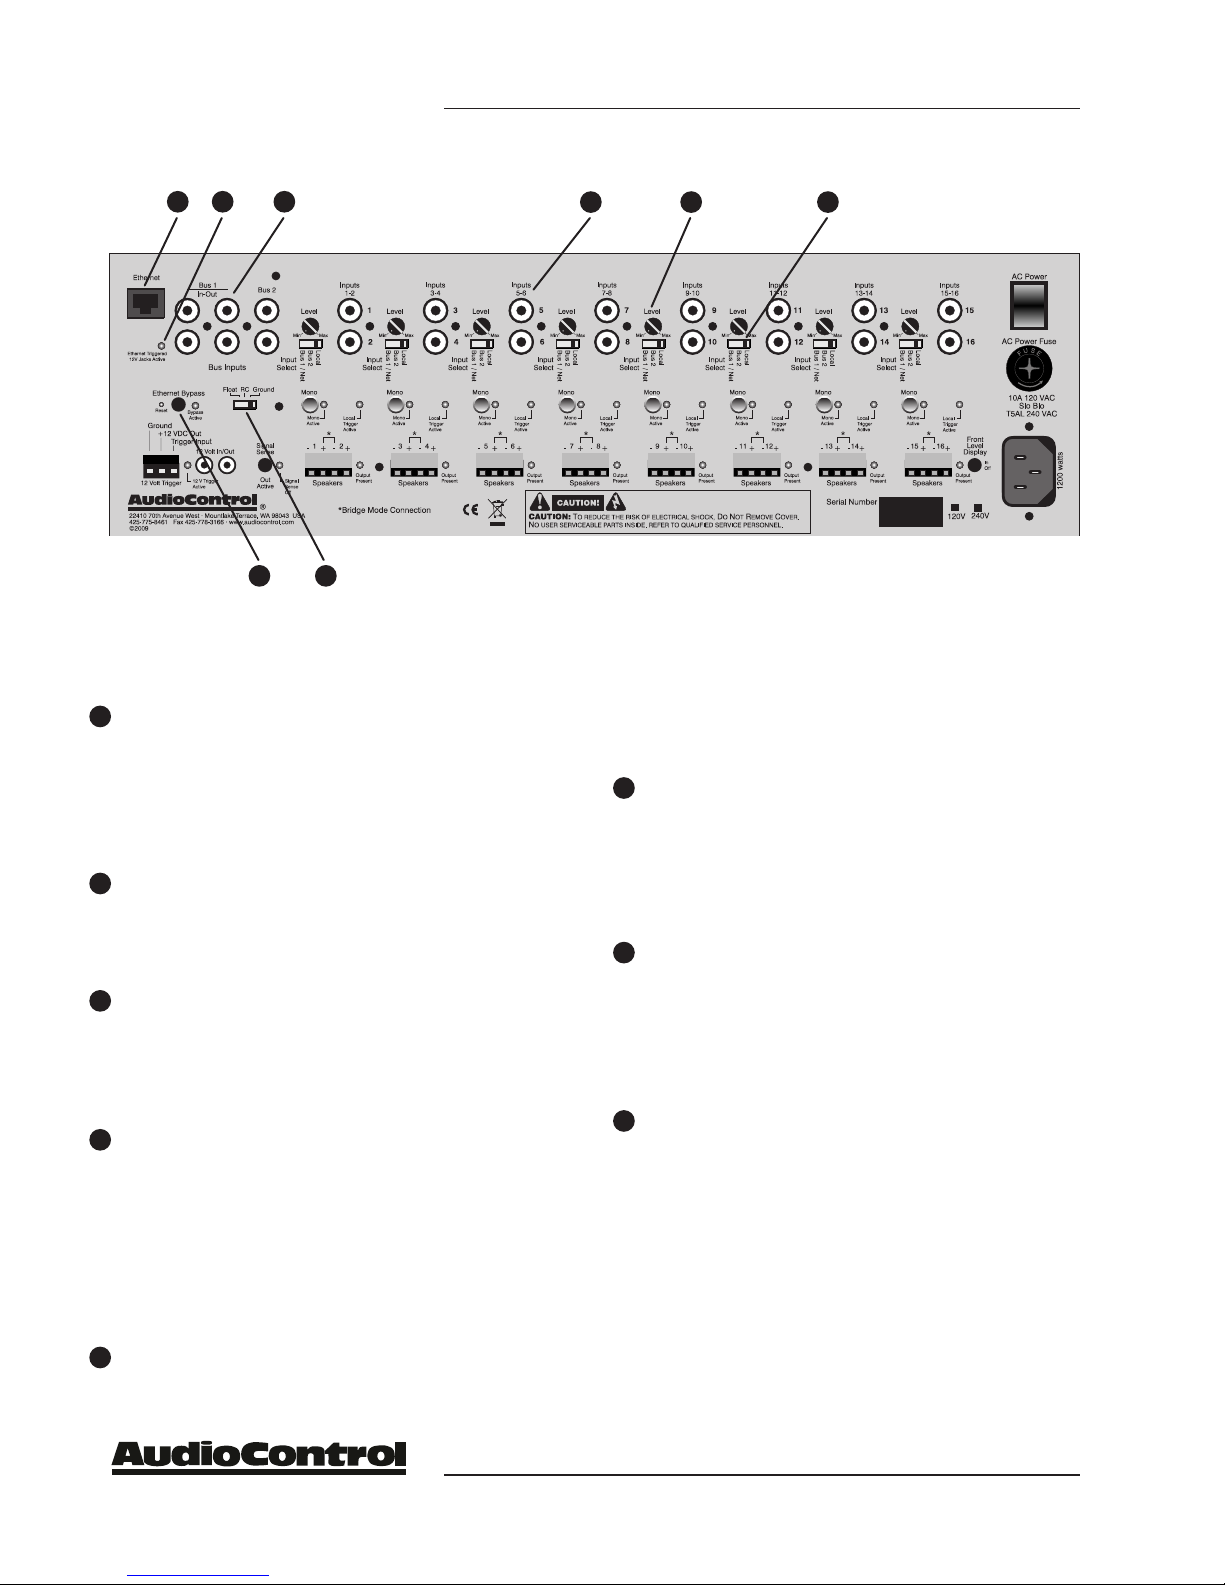
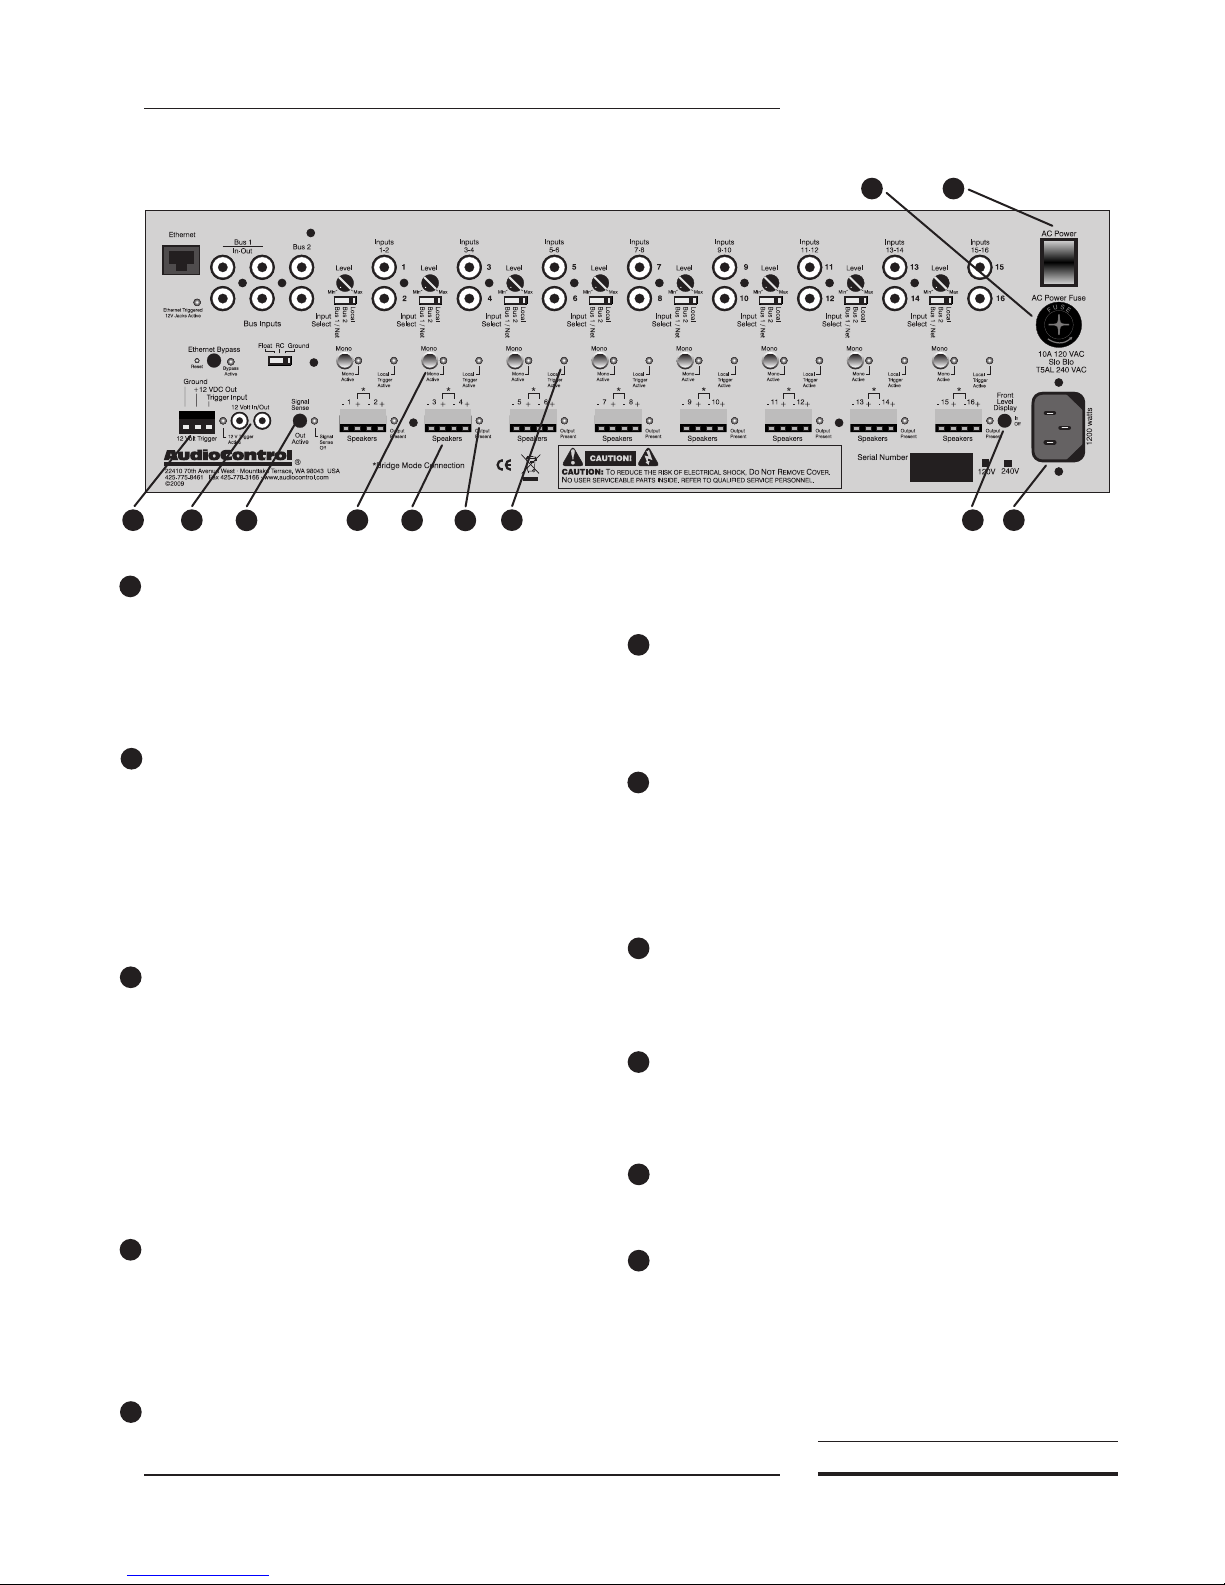
Rear Panel
1
Ethernet LAN Connection - Plug The
Director into a 10BaseT network here. The internal web server allows remote control of all
channels, signal processing and source selection. See the section on Internet Connectivity
and Control for detailed information.
2
Ethernet Triggered LED - When this LED
is on, the unit is being “triggered” via the
Ethernet and the 12 volt mini jacks are active
and powered for turning on some components.
Bypass Switch and LED - For diagnostics
3
only. This button disables all the Ethernet
control and forces all channels on. If there is
a problem with the home automation system
and you really need music, this is quite useful.
Ground Lift Switch - Be safe, use this switch
4
instead of a “cheater” plug. The switch selects
the isolation between the audio ground and
the AC earth ground. In normal operation,
the switch should be in the Ground position.
If there is AC hum, try the other two settings.
For safety, the chassis is always connected to
earth ground regardless of the switch setting.
5
Bus Inputs 1 and 2 - These inputs provide
two distribution busses for sending a common
signal to multiple zones. The bus input switch
6 7 8
on each amplifier zone, or the ethernet control, selects which input is playing in that
specific zone. For Bus 1, the second pair of
jacks can be used to daisy chain to another
multi-zone amplifier.
6
Local Inputs - Any standard line level au-
dio signal may be connected to these inputs.
As the name implies, this source will be
available only in a particular zone and only
if switched to local via the ethernet control
or the zone switch.
7
Input Gain Control - Use a screwdriver to
adjust this level control for the input sensitivity of the zone. In general, you want the
gains turned down, counterclockwise, and
the pre-amp level running stronger for best
signal to noise.
8
Source Select Switches - The “Bus 1/Net”
setting allows the source to be selected via
ethernet commands and the browser interface or come from “Bus 1” in the absence
of a ethernet connection. If the switch is
in “Bus 2” or “Local”, the audio signal
will come from that source and can not be
changed by ethernet commands.
more rear panel features on the next page
6
®
A Guided Tour Of
The Director Model D3400/ D4400
11
10
9
Master Power Switch - This switch controls
the main AC power. Since The Director draws
only a few watts during standby, the only time
you need to turn the master power off is if the
system is going to be shut down for an extended time.
Remote Power Control - If you are not using
10
the ethernet control, you can remotely turn
The Director on with this connector. Use a
contact closure between +12 VDC and Trigger In or an external 12 volt trigger between
Trigger in and Ground or use the mini jacks as
inputs. The +12 VDC Out is not designed to
power other equipment.
11
Remote Power Control Mini (1/8”) Jacks -
These are mono 1/8” jacks wired in parallel to
each other and work in conjunction with the 3
pin remote power connector. Either 1/8” input
may receive a 12 VDC trigger that will turn
on the amplifier. The unused jack can then be
used to turn on a second amplifier. If you use
the 3 pin connector to trigger the amplifier -or use the ethernet control-- both of the mini
jacks are powered with 12 VDC.
Signal Sense Defeat - Signal presence on The
12
Director is digitally sensed by the DSP, very
accurate, and a great power saver. Push this
button in to defeat Signal Sense and have all
amp channels on at all times. When defeated
the LED will glow a fetching red.
13
Mono - Pressing in this button sums the left
and right signals (and lights the indicator
12
13
14 15
16
19
LED) of only this zone. To bridge two channels,
this button must be in.
Speaker Outputs - Cool terminal blocks which
14
are designed to make an installer smile. They
make it very simple to pre-wire a system and
easy to trouble-shoot wiring and speakers. Yes
they will take big wire.
15
Output Present LED - Even cooler than the
speaker blocks is this LED which flickers with
the level of the music. Ever wonder if there was
really signal coming out of the amp when the
speakers are at the other end of the house? Now
you know.
16
Local Trigger Active LED - If there is no
source plugged into the local jacks and this LED
is glowing, there will be the sounds of silence.
Another LED to speed up troubleshooting.
Front Level Display - If you don’t want the
17
dancing lights on the front panel, then push this
in. On the other hand, those lights are very useful to know what is going on.
18
Power Cord - A standard IEC cord goes here.
Since The Director at full power draws 1300
watts, this should be a 16 Ga. cord or better.
19
Fuse - The Director has several layers of inter-
nal - and self resetting - protection circuitry.
This fuse is just in case something really awful
goes wrong. Rejoice, there are no internal fuses
in this amplifier.
TheDirector
Model D3400 • Model D4400
9
18
17
®
Installer’s Guide
7

Guided Tour Trigger Ins & Outs
Note: Do not use any 12 volt
power trigger if you are using
ethernet control.
Making Sense of the 12 Volt Triggers
The Director has five ways you can bring the unit from
standby to on and ready to serve. In addition, you can use the
triggers from The Director to turn on more units of The Director or other components as well. All this flexibility can be a
little daunting so the table below should make it clear.
Using Bus Inputs to Create Larger Zones
Note: The 12 volt trigger outs are
not for and cannot power a device,
just turn on.
How
Triggered
Ethernet Ethernet Triggered Yes
12 volt mini plug
input*
Jumped Phoenix
connector
Contact closure on
Phoenix connector
12 volt input on
Phoenix connector
* +12 volts on tip, mono jack
LED
Indicator
12 v Trigger Active Yes, unused jack
12 v Trigger Active Ye s
12 v Trigger Active Ye s
12 v Trigger Active Ye s
Mini Jacks
Powered*
8
®

Internet Connectivity and
Control
Setting up The Director Model D3400 or D4400 is a
breeze. Just plug it into an existing network and let the
DHCP server assign The Director amplifier an IP address.
The Director amplifier will then show up in your network
device list, if “network discovery” has been enabled in your
Windows computer. Double click the icon for the amp and
your browser should open to The Director’s Operations page.
Alternative methods of connecting are described below.
Other than connecting to the browser for initial set up,
configuration and EQ settings, you will be able to control the
amplifier via Telnet (pages 14-16). This is done through the
telnet port 23.
Control Using a Browser
General
Internet
Connectivity and
Control
Important Note:
If you are connecting multiple
units on a network, The Directors
will number themselves for immediate identification as they are powered
up with a network connection .They
should be viewable from the Discovered Devices list in your Windows
computer. Later on, you can rename
them.
For Microsoft operating systems:
There are multiple ways to connect to The Director ampli-
fier. The simplest way is to connect The Director, via the Ethernet port, to a network with a DHCP server. The Director
will obtain a local address from the DHCP server. The Director amplifier should appear in the list of network resources.
If it does not appear within a minute or so, double check and
make sure that you have enabled network discovery or UPnP
devices to be shown.
If no DHCP server has been enabled in your network, or
you would like to directly connect to The Director amplifier, use an Ethernet cable and connect the two devices together. The default IP address of The Director amplifier is
192.168.0.249 when a DHCP server is unavailable, so in order
to connect to The Director, you will need to give your computer a static IP address.
In your Windows based computer, change your computer’s IP address to a static address of 192.168.0.x – where x is a
value between 1 through 248 or 250 through 254. If you don’t
know where to start to find out how to give your computer a
static IP address, please consult the Interwebs.
Important Note:
DCHP is default for The Director
and UPnP/device discovery is
enbled. However, if a DCHP server
is not found, the Director’s default
IP address is 192.168.0.249. If you
aren’t using DCHP and plan to
assign static addresses, individually
set the IP address by connecting
directly to The Director amplier
with a computer rst. Never allow
two devices with the same IP address
on the network.
Be sure not to use a static IP address for your computer
that is in use by another device – an IP address should be
unique across the local network – if it is not you’re going to
have a bad time.
TheDirector
Model D3400 • Model D4400
Installer’s Guide
®
9

Internet
Connectivity and
Control
For Apple/Mac Desktops and Laptops:
Apple does not support UPnP device discovery. Your
easiest method for connecting with a Mac is to directly connect to The Director amplifier. The default IP address of The
Director amplifier is 192.168.0.249 so in order to connect to
The Director, you will need to give your computer a static IP
address.
Change your Mac’s IP address to a static address of
192.168.0.x – where x is a value between 1 through 248 or 250
through 254. If you don’t know where to start to find out how
to give your computer a static IP address, please consult the
Interwebs.
Be sure not to use a static IP address for your computer
that is in use by another device – an IP address should be
unique across the local network – if it is not you’re going to
have a bad time.
10
®
 Loading...