

Page 1
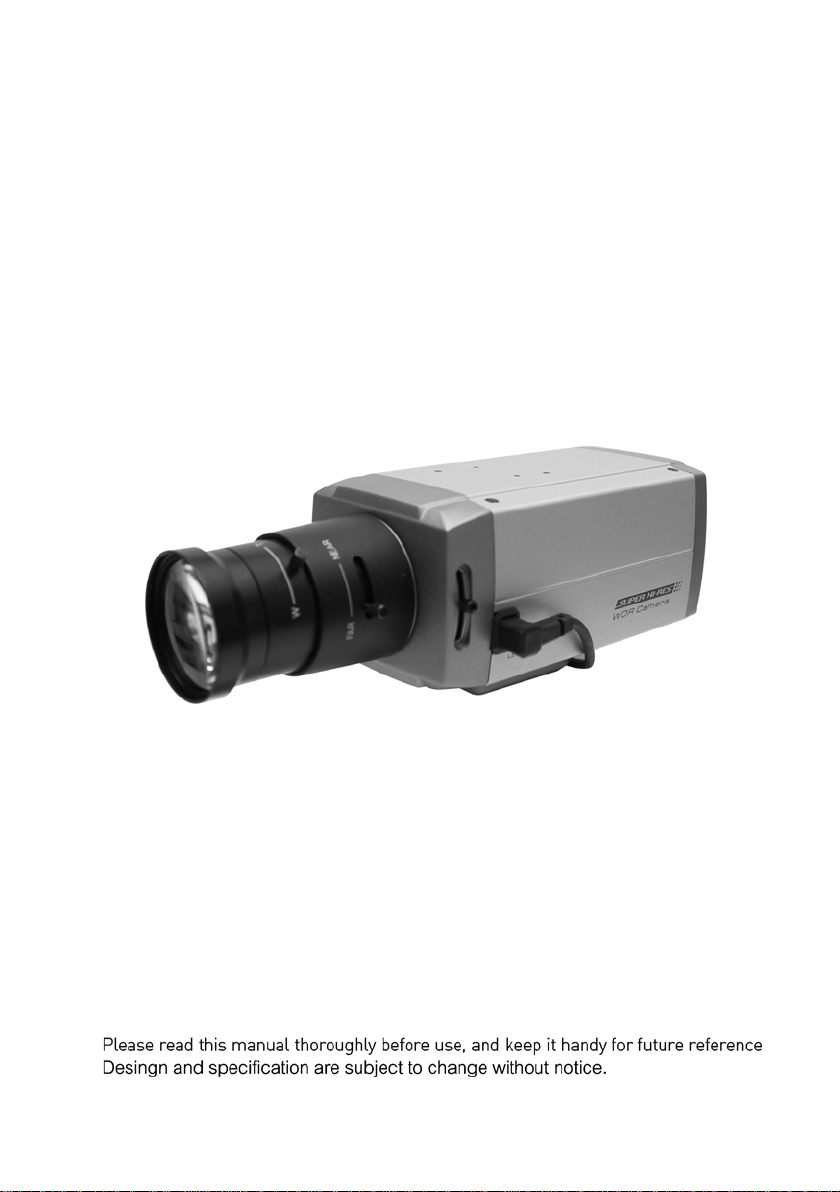
WDR Super High Resolution
Color Camera
1/3'' CMOS (PIXIM DPS)
HIGH RESOLUTION
Page 2
WARNING
TO REDUCE THE RISK OF FIRE OR ELECTRIC SHOCK, DO NOT EXPOSE THIS PRODUCT TO
RAIN OR MOISTURE. DO NOT INSERT ANY METALLIC OBJECTS THROUGH THE
VENTILATION GRILLS OR OTHER OPENINGS ON THE EQUIPMENT.
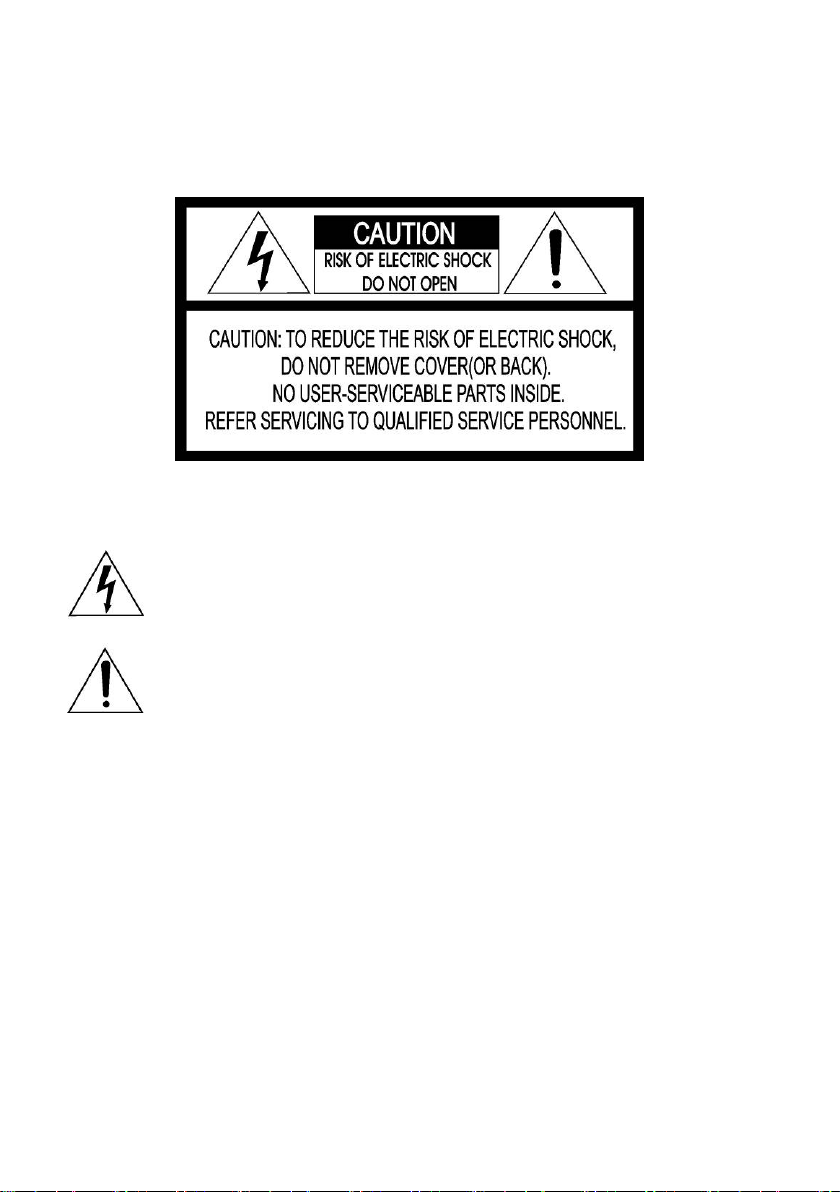
CAUTION
EXPLANATION OF GRAPHICAL SYMBOL
The lightning flash with arrowhead symbol, within an equilateral triangle, is intended to
alert the user to the presence of un-insulated "dangerous voltage" within the product's
enclosure that may be of sufficient magnitude to constitute a risk of electric shock to
persons.
The exclamation point within an equilateral triangle is intended to alert the user to the
presence of important operating and maintenance (servicing) instructions in the
literature accompanying the product.
PRECAUTIONS
Installation
Do not install the unit in an extremely hot or humid place or in a place subject to excessive dust.
Cleaning
Clean the unit with a slightly damp soft cloth.
Use a mild household detergent. Never use strong solvents such as thinner or Benzene as they might damage
the finish of the unit.
Retain the original carton and packing materials for safe transport of this unit in the future.
Page 3
3
Page 4

IMPORTANT SAFETY INSTRUCTIONS
1. Read these instructions.
2. Keep these instructions.
3. Heed all warnings.
4. Follow all instructions.
5. Do not use this apparatus near water.
6. Clean only with dry cloth.
7. Do not block any ventilation openings. Install in accordance with the manufacturer’s
instructions.
8. Do not install near any heat sources such as radiators, heat registers, stoves, or
other apparatus (including amplifiers) that produce heat.
9. Do not defeat the safety purpose of the polarized or grounding-type plug.
A polarized plug has two blades with one wider than the other. A grounding type
plug has two blades and a third grounding prong. The wide blade or the third prong
are provided for your safety. If the provided plug does not fit into your outlet, consult
an electrician for replacement of the obsolete outlet.
10. Protect the power cord from being walked on or pinched particularly at plugs,
convenience receptacles, and the point where they exit from the apparatus.
11. Only use attachments/accessories specified by the manufacturer.
12. Use only with the cart, stand, tripod, bracket, or table specified by
the manufacturer, or sold with the apparatus. When a cart is used,
use caution when moving the cart/apparatus combination to avoid
injury from tip-over.
13. Unplug this apparatus during lightning storms or when unused for
long periods of time.
14. Refer all servicing to qualified service personnel. Servicing is required when the
apparatus has been damaged in any way, such as power-supply cord or plug is
damaged, liquid has been moisture, does not operate normally,
or has been dropped.
15. CAUTION – THESE SERVICING INSTRUCTIONS ARE FOR USE BY QUALIFIED
SERVICE PERSONNEL ONLY. TO REDUCE THE RISK OF ELECTRIC SHOCK
DO NOT PERFORM ANY SERVICING OTHER THAN THAT CONTAINED IN THE
OPERATING INSTRUCTIONS UNLESS YOU QRE QUALIFIED TO DO SO.
16. Use satisfy clause 2.5 of IEC60950-1/UL60950-1 or Certified/Listed Class 2 po
wer source only.
4
Page 5

INTRODUCTION
Camera Model Features:
● 1/3" PIXIM CMOS (Seawolf DPS)
● Wide Dynamic Range (WDR)
● Built-in NTSC/PAL video encoder (OSD select)
● 690HTVL-E / 540 HTVL resolution
● 0.1Lux @ F1.2, 50IRE Sensitivity (CMY)
● 1/25 - 1/30720 sec electronic shutter
● OSD (On Screen Display)
● AGC (Auto Gain Control)
● DNR function
● Auto and manual white balance modes
● BLC (Back Light Compensation)
● 12 Privacy Zones (Polygonal Mosaic, White / Black / Red)
● DSS (x2 ~ x32)
● Activity Detection (4 Alarm zones)
● Digital Pan / Tilt / Zoom (1x ~ 4x zoom)
● Internal / AC line lock
● Functions (Flip, Sharpness, Freeze, Focus Detector, Flickerless)
● C/CS, backfocus cam for easy adjustment
● VIDEO OUT(BNC)
● Compatible with video- or DC-type lenses with OSD & Slide Switch select
● Quick connect for video or DC lens with 4-pin connector
● Operates on 12VDC or 24VAC
● Use Certified / Listed Class 2 power source only
5
Page 6

6
Page 7

CONTENTS OF PACKAGE
Installation of the camera must be performed by qualified service personnel in
accordance with all local and national electrical and mechanical codes.
Carefully remove the color camera and its accessories from the carton and verify that
they were not damaged in shipment.
The contents of the package includes:
1. Color camera
2. Mini-DIN connector (for video- or dc-type auto-iris lens)
3. CS adapter ring for C mounting “C” lenses
4. This manual
7
Page 8

CAMERA SET UP – OSD
<MAIN MENU>
EXPOSURE
WDR/BLC
WHITE BALANCE
DAY/NIGHT
SPECIAL
SYSTEM SETUP
DEFAULT
SAVE&EXIT
EXIT
<EXPOSURE >
MODE
EXPOSURE MODE
FLICKERLESS
AGC
DNR
DSS LIMIT
LENS
FOCUS DETECTOR
EXIT
<WDR/BLC>
WDR
BLC
EXIT
<WHITE BALANCE>
MODE
EXIT
<DAY/NIGHT>
DAY/NIGHT
NIGHT MODE
LOWLIGHT SHARP.
EXIT
<SPECIAL>
FLIP
RENDER INTENT
SHARPNESS
SATURATION
ACTIVITY DETEC.
FREEZE
DIGITAL PTZ
PRIVACY
EXIT
<SYSTEM SETUP>
CAM TITLE
DISPLAY
POSITION
VIDEO
SYNC
EXIT
8
Page 9

OSD MAIN SCREEN
All operation is via the tact switch
- [ENTER] Turn OSD menu ON or OFF
- [UP]/[DOWN] UP or DOWN of Cursor
- [LEFT]/[RIGHT] to go into SUB MENU or change setting
<EXPOSURE MENU>
Press the [ENTER] button to access the "EXPOSURE MENU" mode.
1) MODE DEFAULT, INDOOR, OUTDOOR can be selected.
- DEFAULT Standard video
- INDOOR To brighten the video taken indoors
- OUTDOOR When shooting in a bright area outdoors
2) EXPOSURE MODE 60i/50i, 30p/25p can be selected.
- 60i/50i 1/60(1/50)sec capture mode
- 30p/25p 1/30(1/25)sec capture mode
3) FLICKERLESS OFF, EFR, FFF can be selected.
4) AGC OFF, LOW, MIDDLE, HIGH can be selected.
5) DNR OFF, LOW, MIDDLE, HIGH can be selected.
6) DSS LIMIT OFF, x2, x4, x8, x16, x32 can be selected.
7) LENS MANUAL, DC, VIDEO can be selected.
8) FOCUS DETECTOR FOCUS METER Helps for adjust Lens focus
9) EXIT Return to MAIN MENU.
(Helps resolve luminance problems related fluorescent
flicker(or beating) and fluorescent color roll with camera
set up for 50Hz NTSC)
(As the level of gain increases, the screen gets brighter and
the level of noise also increases)
(Reduces the noise on the screen under low light
condition/AGC)
(Helps maintain a bright, clear screen image
by automatically detecting change in the level of light)
9
Page 10

<WDR/BLC MENU>
Press the [ENTER] button to access the "WDR/BLC MENU" mode.
1) WDR LOW, NORMAL, MIDDLE, HIGH can be selected.
(Adjust Wide Dynamic Range)
2) BLC OFF or ON can be selected.
(Camera to optimize the scene for highlights or shadows)
- OFF Set to highlights to provide the best detail in the brighter
areas of the scene
- ON Set to shadows to provide the best detail in the darker
areas of the scene
3) EXIT Return to MAIN MENU.
<WHITE BALANCE MENU>
Press the [ENTER] button to access the "WHITE BALANCE MENU" mode.
1) MODE ATW, PUSH AWB, INDOOR, OUTDOOR, MANUAL can be
selected.
- ATW This mode can be used within the color temperature range
2,000°K ~ 10,500°K
- PUSH AWB One-push automatic white balance control.
Shoot a target white subject and press the [ENTER] button,
and the white balance will be adjusted.
- INDOOR Set the color temperature to 3200°K
- OUTDOOR Set the color temperature to 6300°K
- MANUAL Manual mode.
2) EXIT Return to MAIN MENU.
User can change R and B Gain manually.
10
Page 11

<DAY/NIGHT MENU>
Press the [ENTER] button to access the "DAY/NIGHT MENU" mode
1) DAY/NIGHT AUTO, COLOR, BW can be selected.
- AUTO This camera has a function which automatically changes to
the appropriate mode for day-time or night-time.
When changing from on to off or off to on. (05S~20S)
- COLOR In this mode, the camera outputs the video image only in
- BW In this mode, the camera outputs the video image only in
2) NIGHT MODE When set to AUTO, can be selected for night-time.
3) LOWLIGHT SHARPNESS Adjust Gain Value (-8~+8)
4) EXIT Return to MAIN MENU.
color.
black and white.
(BW / BW+BURST)
<SYSTEM SETUP>
Press the [ENTER] button to access the "SYSTEM SETUP" mode.
1) CAM TITLE Camera ID can be selected.
2) DISPLAY OFF or ON can be selected.
(Level setting is available in both DC & ELC mode).
3) POSITION UP-LEFT, UP-CENTER, UP-RIGHT, DOWN-LEFT,
DOWN-RIGHT can be selected.
4) VIDEO Used to switch between the video signal systems
(NTSC/PAL)
5) SYNC INTERNAL or LINELOCK can be selected.(Adjust V-PHASE)
6) EXIT Return to MAIN MENU.
11
Page 12

<SPECIAL MENU>
Press the [ENTER] button to access the “SPECIAL MENU” mode.
1) FLIP OFF, REVERSE, V-FLIP, ROTATION can be selected.
2) RENDER INTENT For low and dim illumination areas
MOVIE – Less sharpness, still maintains color saturation
INFO – Maintains sharpness, less color saturation
(Similar to 2DNR noise reduction – to suit what you want to
achieve at low light level before camera switches to
monochrome mode (sharper image or color rendition)
3) SHARPNESS -8 to +8 can be selected.
4) SATURATION - BIAS: -8 to +8 can be selected.
- 100 IRE SAT: 100 to 130 can be selected.
- STC MODE: CLASSIC, SAT can be selected.
(Progress Bezier algorithm or Slope value)
5) ACTIVITY DETECTION - ALARM: OFF or ON can be selected
(Adjust ACTIVITY THR between 0~255 in steps of 5,
0 = highest sensitivity)
- SETUP ALARM ZONE: Alarm detection zones 1 to 4 can
be selected
Pushing ENTER turning the detection box WHITE allows
you to move the zone on the screen. Pushing ENTER
turning the box GREEN allows you to increase the size of
the zone. Pushing ENTER turning the box RED allows you
to shrink the size of the zone
Note: Once you are satisfied with size and position of the
Alarm zone, push and hold ENTER for approx 2
secs to save this and return to the menu
(Just displayed by “ MOTION DETECTED! ” on the OSD)
6) FREEZE OFF or ON can be selected.
7) DIGITAL PTZ OFF or ON can be selected.
(Adjust Digital Pan, Tilt, Zoom: x1~x4)
8) PRIVACY - PRIVACY MASK: OFF or ON can be selected.
(MASK 1~12, Polygonal Mosaic)
- MASK COLOR: WHITE, BLACK, RED can be selected.
9) EXIT Return to MAIN MENU.
12
Page 13

13
Page 14

14
Page 15

SPECIFICATIONS
Model NTSC PAL
Power Source AC24V / DC12V ± 10%
Power
Power Consumption Max 3.0 Watts / 0.25A
Image Sensor 1/3" PIXIM CMOS (Seawolf DPS)
Total Pixels 768(H) x 548(V)
Scanning Frequency
Electronic Shutter 1/25 ~ 1/30,720 sec
Scanning System 2:1 interlace
15.734KHz(H)
59.94Hz(V)
15.625KHz(H)
50Hz(V)
General
Function
Synchronize System Internal / Line Lock
Resolution 690HTVL-E / 540 HTVL
Min. illumination 0.1 Lux @ F1.2, 50IRE, CMY
Video Output 1.0 Vp-p (75ohm, Composite)
Day & Night System DDN
S/N Ratio More than 50dB (AGC off)
Camera Control OSD(Tact Switch)
EXPOSURE
FLICKERLESS OFF / FFF / EFR (AI THRESH -48 ~ +60)
AGC OFF / LOW / MIDDLE / HIGH
DNR OFF / LOW / MIDDLE / HIGH
DSS LIMIT OFF, x2 ~ x32
LENS
FOCUS DETECTOR FOCUS METER
WDR LOW / NORMAL / MIDDLE / HIGH (Max.120dB)
BLC OFF / ON
WHITE BALANCE
DAY & NIGHT
LOWLIGHT SHARPNESS -8 ~ +8
(DEFAULT / INDOOR / OUTDOOR)
(DC GAIN, VIDEO GAIN, AI THRESH)
ATW/PUSH AWB/INDOOR/OUTDOOR/MANUAL
AUTO / COLOR / BW (BW or BW+BURST)
60i(50i) / 30p(25p)
MANUAL / DC / VIDEO
(WB BIAS, RED, BLUE)
(DELAY 05 ~ 20s)
15
Page 16

FLIP OFF / REVERSE / V-FLIP / ROTATION
RENDER INTENT MOVIE / INFO
SHARPNESS -8 ~ +8
SATURATION
ACTIVITY DETECTION OFF / ON (SET ALARM ZONE, ACTIVITY THR.)
FREEZE OFF / ON
DIGITAL PTZ
PRIVACY MASK
CAM TITLE OFF / ON ( EDIT, POSITION)
VIDEO STANDARD NTSC / PAL
V-PHASE (Line Lock) 0 ~ 360
EXIT EXIT / SAVE & EXIT
Power Input 2-Pin Terminal Block
Video Output BNC Connector
BIAS (-8 ~ +8), 100 IRE SAT (100~130),
SAT MODE (CLASSIC / SAT)
ZOOM (X1~X4), PAN(-100~+100),
TILT(-100~+100)
OFF / ON (12 Point, Polygonal Mosaic)
MASK COLOR (WHITE / BLACK / RED)
Connector
&
ETC
Auto Iris Output 4-Pin Mini Din Jack (Standard connection)
Lens Mount C/CS mount (Selected through back focus)
Mounting Hole 1/4"-20 UNC (top or bottom)
Operating Temperature
Operating Humidity 0 ~ 90% (Non-condensing)
-10° ~ +50° C [14℉ ~ 122℉]
WDR Super High Resolution
Color Camera
Subject to change without notice
5030xxxxA
 Loading...