

Page 1
User Manual (Part 2)
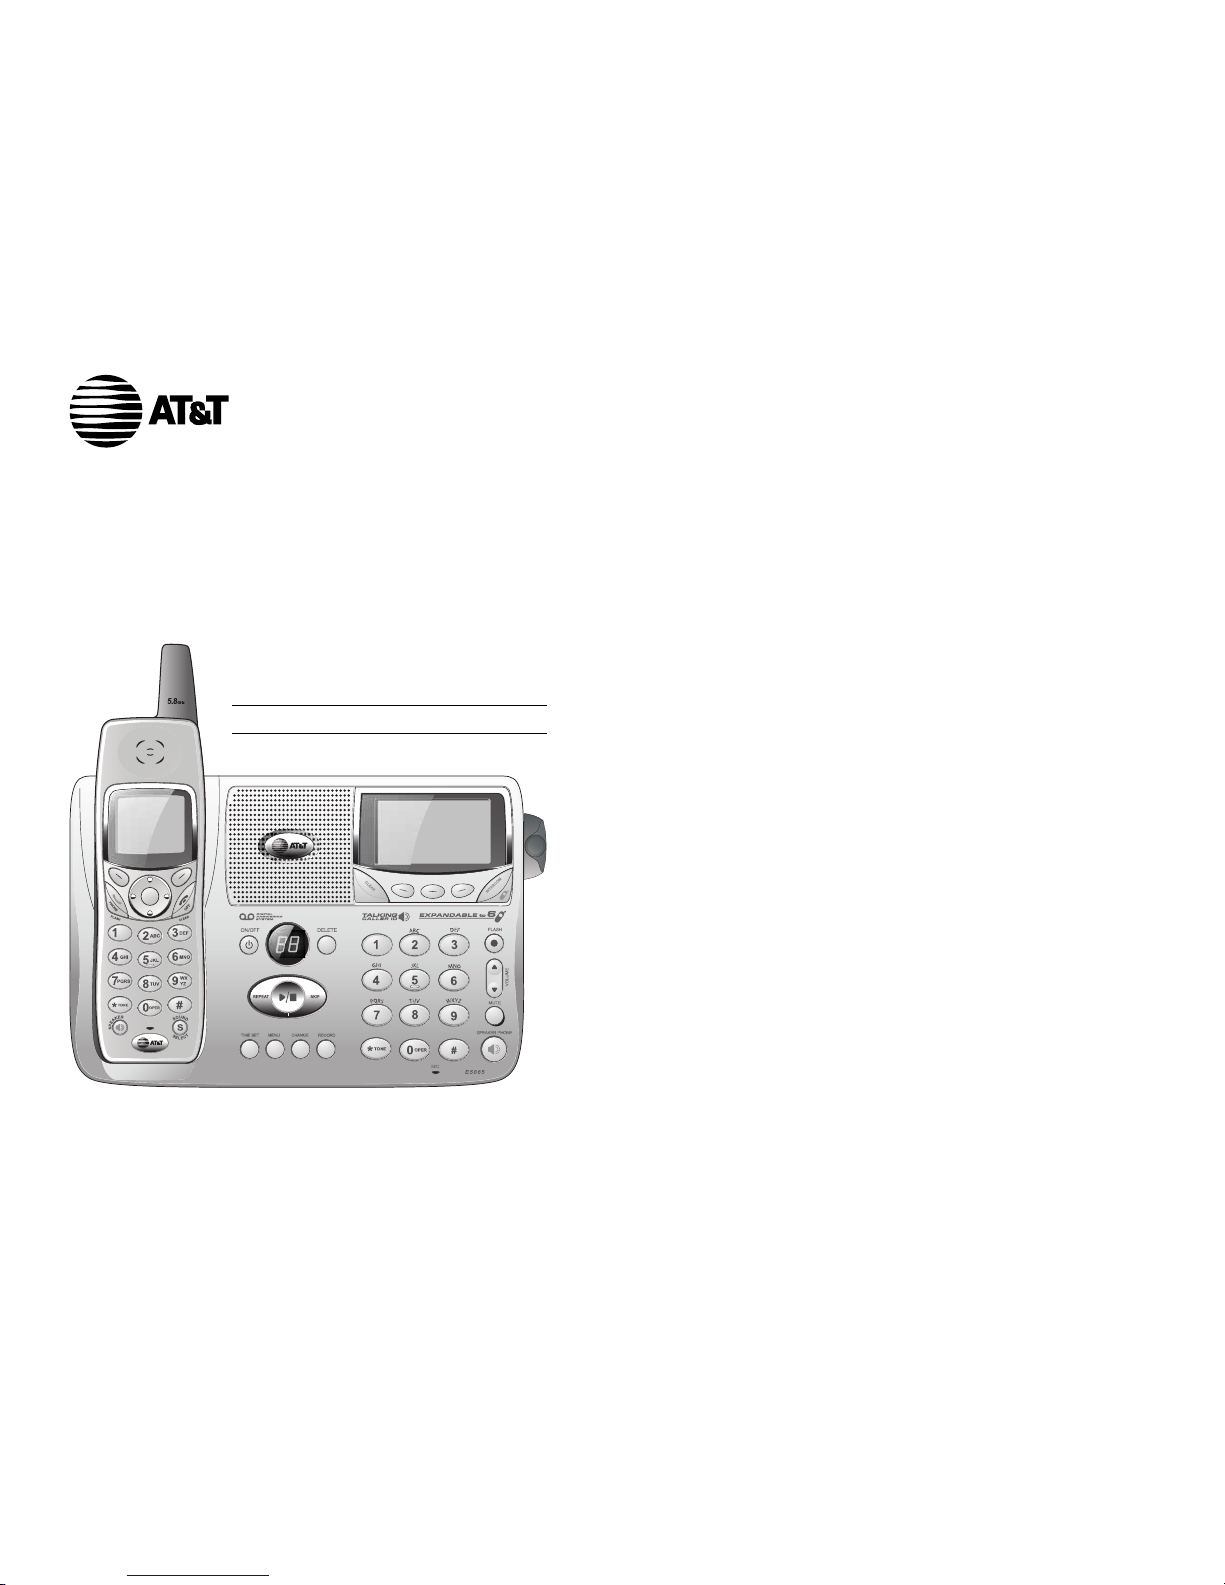
5.8 GHz Cordless
Speakerphone/
Answering System 5865
with Caller ID & Call Waiting
Page 2
1
Table of contents
Copyright © 2003 Advanced American Telephones. All Rights Reserved.
AT&T and the Globe Design are trademarks of AT&T Corporation.,
licensed to Advanced American Telephones.
User Manual (Part 2)
5.8 GHz Cordless
Speakerphone/
Answering System 5865
STOP!
See page 7
for easy instructions
You must install and
charge the battery before
using the telephone
For customer service or product
information, visit our web site at
www.telephones.att.com
or call 1-800-222-3111
Please also read
Important Product Information
Enclosed in product package
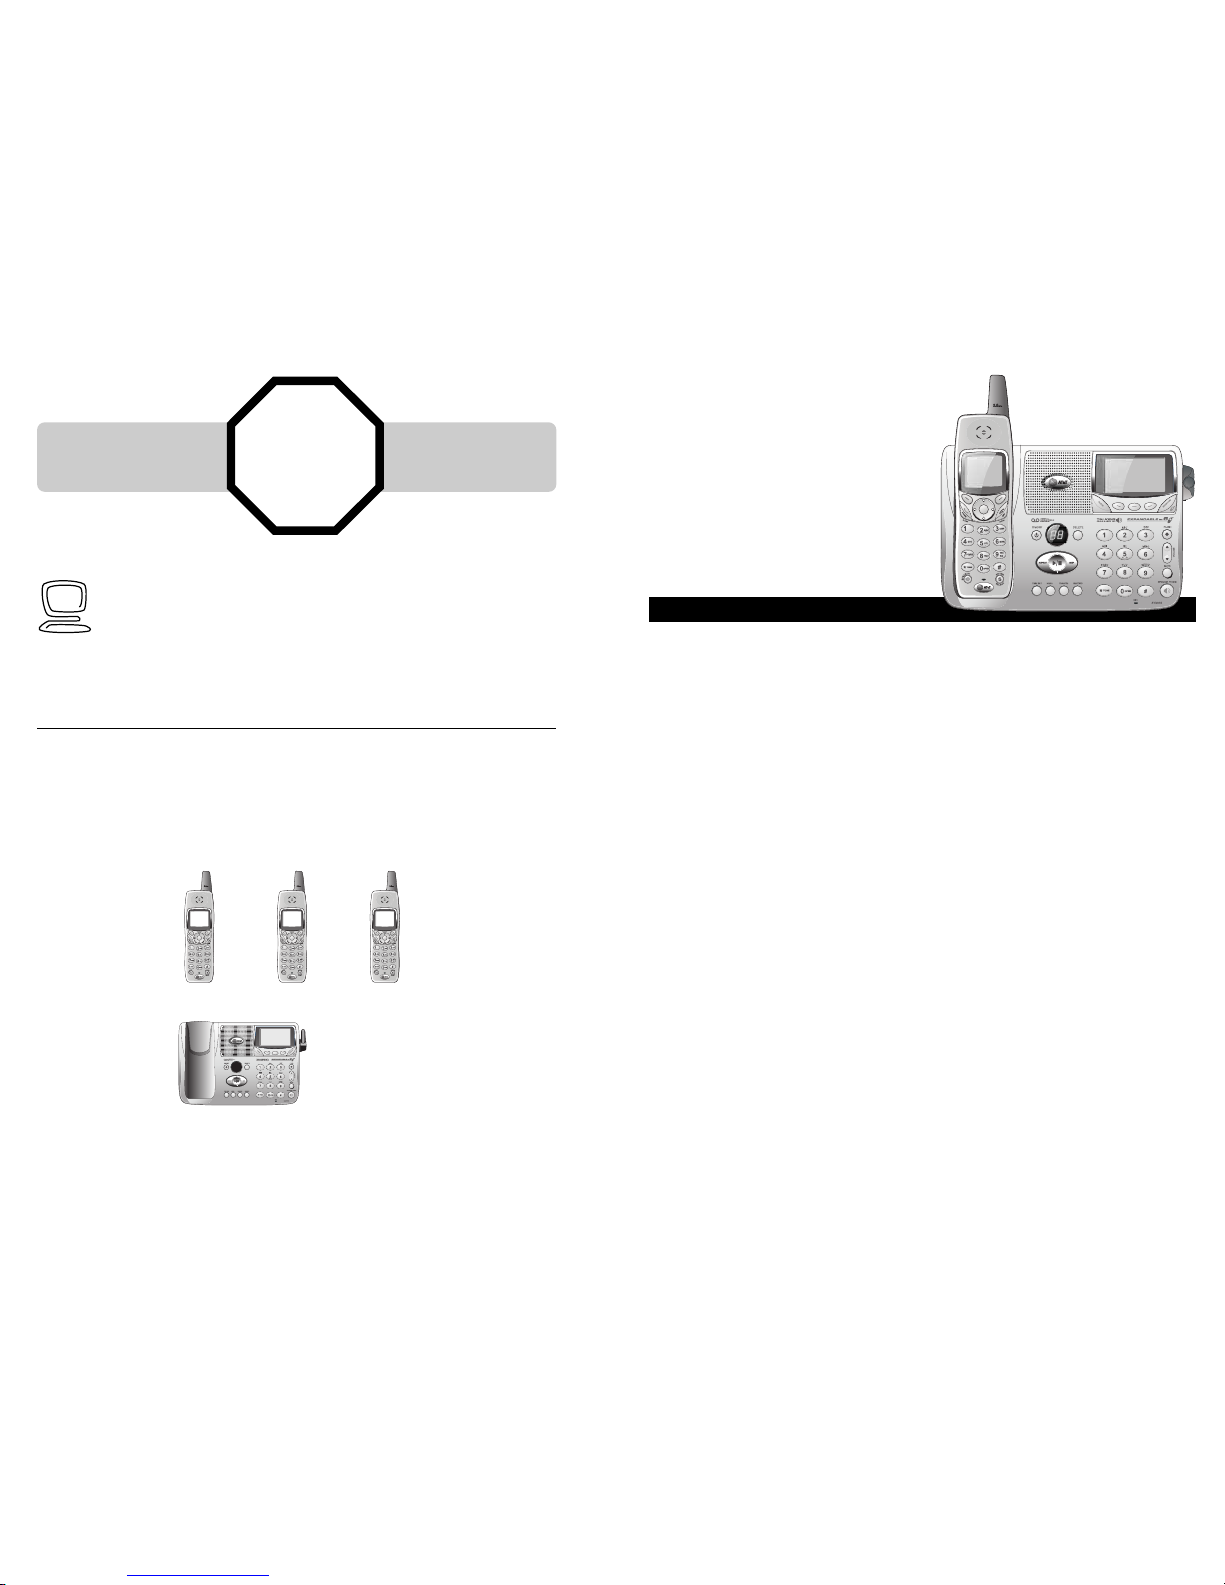
Add new handsets to make your phone more versatile (see page 46)
Your telephone can accommodate up to six cordless handsets. You can add new
handsets (sold separately) at any time. Up to four handsets at a time can be used.
The handset provided with your telephone is automatically registered as Handset 1.
Additional handsets will be assigned numbers in the order they are registered (2, 3, 4,
etc.) up to a maximum of six handsets.
Handset 1 Handset 2 Handset 3
Getting Started
Quick reference ...................................2
Parts checklist .......................................4
Before you begin ..................................5
Telephone base installation................6
Battery installation & charging ..........7
Wall mounting ......................................8
Belt clip & optional headset...............9
Telephone Operation
Basic handset operation ...................10
Basic base operation .........................11
Options during calls ..........................12
Intercom calls .....................................13
Handset screen images.....................14
Handset sounds & alerts ..................15
Handset settings.................................16
Base settings........................................17
Handset Phonebook
New phonebook entries..................19
Phonebook search.............................20
To dial, edit or delete a listing........21
Base Phonebook
New phonebook entries..................23
Phonebook search.............................24
To dial, edit or delete a listing........25
Handset Calls Log
To review voice messages ...............27
To review Caller ID log ...................28
To dial a Caller ID entry..................29
To review redial log ..........................30
Base Caller ID & Redial
To review Caller ID log ...................32
To dial a Caller ID entry..................33
To review redial log ..........................34
Answering System Operation
Answering system operation ..........35
Day and time announcements ........36
Outgoing announcements................37
Announce Only mode ......................38
Changing feature options.................39
Message playback ...............................40
Recording and playing memos ........41
Message window displays.................42
Remote access....................................43
Appendix
Display screen status icons..............44
Alert tones & indicator lights..........45
Adding new handsets ........................46
Charging spare batteries ..................47
In case of difficulty .............................48
INDEX..................................................50
Spare remote access card................53
Page 3

3
Getting Started
2
Getting Started
Joystick
Press center button to display menus.
Press arrow buttons to navigate through
menus. Press center button to select
menu item highlighted.
Quick reference guideQuick reference guide
Speaker
Press to activate handset speakerphone. Press again to hang up.
Softkeys
Press a softkey to select a menu item
displayed just above the key.
Off/Cancel
During a call, press to hang up.
While using menus, press to cancel an
operation, back up to the previous menu,
or exit the menu display.
Phone/Flash
Press to begin a call, then dial a number.
During a call, press to receive an incoming
call, if Call Waiting is activated (see page 12).
Sound Select
Press to customize speaker sound for
clear speakerphone conversations.
Answering system controls (see pages 35-43)
ON/OFF ..................Press to turn answering system on or off
DELETE ..................Press to delete message currently playing
TIME SET................Press to set date and time
MENU......................Press to review or change answering system options
CHANGE ................Press to change a menu option
RECORD ................Press to record a memo or outgoing announcement
Telephone function keys (see pages 11-13)
SOFTKEYS ............Press to select menu item displayed just above the key
FLASH ....................During a call, press to receive an incoming call, if
Call Waiting is activated
VOLUME ................Press to adust speakerphone listening volume
MUTE ......................Press to silence microphone; press again to resume
SPEAKERPHONE ..Press to turn speakerphone on or off (begin or end a call)
Handset Base/Speakerphone
Answering
system
controls
Telephone
function keys
Swivel antenna fully
upright for best results
Intercom
See page 13 See page 18 See page 26 See page 14 See page 15 See page 16
Vibrate Ringer Control Ringers
Low Batt Tone Keypad Tone Range Tone
Appearance Set Time Contrast
Register Language Reset Settings
Phonebook Calls Log Pictures Sounds/Alerts Settings
Main menu
Sounds & Alerts menu Settings menu
Item 1 Item 2 Item 3
Press to play messages
Press to repeat message.
Press twice to hear
previous message.
Press to skip to next
message.
Left Right
Up
Down
Page 4

5
Getting Started
4
Getting Started
Before you beginParts checklist
Remember to save your sales receipt and original packaging in case you ever need to
ship your telephone for warranty service. Check to make sure the telephone package
includes the following:
Telephone base
Telephone
handset
Power
adapter
Belt clip
Batteries
Long line cord
Short line cord
About Caller Identification
Caller ID with Call Waiting features in
this telephone let you see who’s calling
before you answer the phone, even
when you’re on another call. These
features require services provided by
your local telephone company.
Contact your telephone service
provider if:
• You have both Caller ID and Call
Waiting, but as separate services
(you may need combined service)
• You have only Caller ID service, or
only Call Waiting service
• You don’t subscribe to any Caller
ID or Call Waiting services.
You can use this phone with regular
Caller ID service, and you can use its
other features without subscribing to
either Caller ID or combined Caller ID
with Call Waiting service. There may
be fees for these services, and they
may not be available in all areas.
Caller ID features will work only if
both you and the caller are in areas
offering Caller ID service, and if both
telephone companies use compatible
equipment.
See Caller ID Operation, beginning on
page 28, for more details about how
these features work.
Telephone operating range
This cordless telephone operates with
the maximum power allowed by the
Federal Communications Commission
(FCC). Even so, this handset and base
can communicate over only a certain
distance — which can vary with the
locations of the base and handset, the
weather, and the construction of your
home or office. For best performance,
keep the base antenna fully upright.
If you receive a call while you are
out of range, the handset might not
ring — or if it does ring, the call might
not connect when you press PHONE.
Move closer to the base, then press
PHONE to answer the call.
If you move out of range during a
phone conversation, you might hear
noise or interference. To improve
reception,move closer to the base.
If you move out of range without
pressing OFF, your phone will be left
“off the hook.” To hang up properly,
walk back toward the telephone base,
periodically pressing OFF until the call
is disconnected.
Wall mount bracket
Page 5

DID YOU KNOW?
Optional spare batteries can be kept charged in
the base, for quick replacement when handset
batteries become depleted (see page47
7
Getting Started
6
Getting Started
Battery installation & charging
After installation, place the handset in the base and allow the battery to charge for 12
hours before use. You can keep the battery charged by returning the handset to the base
after each use. When battery power is fully depleted, a full recharge takes about 8 hours.
Press coin into slot on
base of handset to
release latch, then
remove cover
Insert supplied
batteries
Replace cover
Place handset in base to charge
for 12 hours before first use.
Telephone base installation
Install the speakerphone base as shown below. Choose a location away from electronic equipment, such as personal computers, television sets or microwave ovens. Avoid
excessive heat, cold, dust or moisture.
Plug power cord
transformer into
electrical outlet
Plug long line cord
into telephone jack
Low battery indicator
Return handset to base to recharge
when this symbol flashes. (Handset
will beep when battery is low.)
NOTE:
Use only the power
cord supplied with this product.
If you need a replacement,call
1 800 222–3111.
Be sure to use an electrical outlet
not controlled by a wall switch.
Rotate antenna
to fully upright
position
Caution: Use only AA
rechargeable batteries. Do not
use AA alkaline batteries.
DID YOU KNOW?
Optional spare batteries can be kept charged in
the base, for quick replacement when handset
batteries become depleted (see page 47).
REDIAL CID LOG
2:10 PM
1
 Loading...