

Page 1
Installation & Operation
Manual
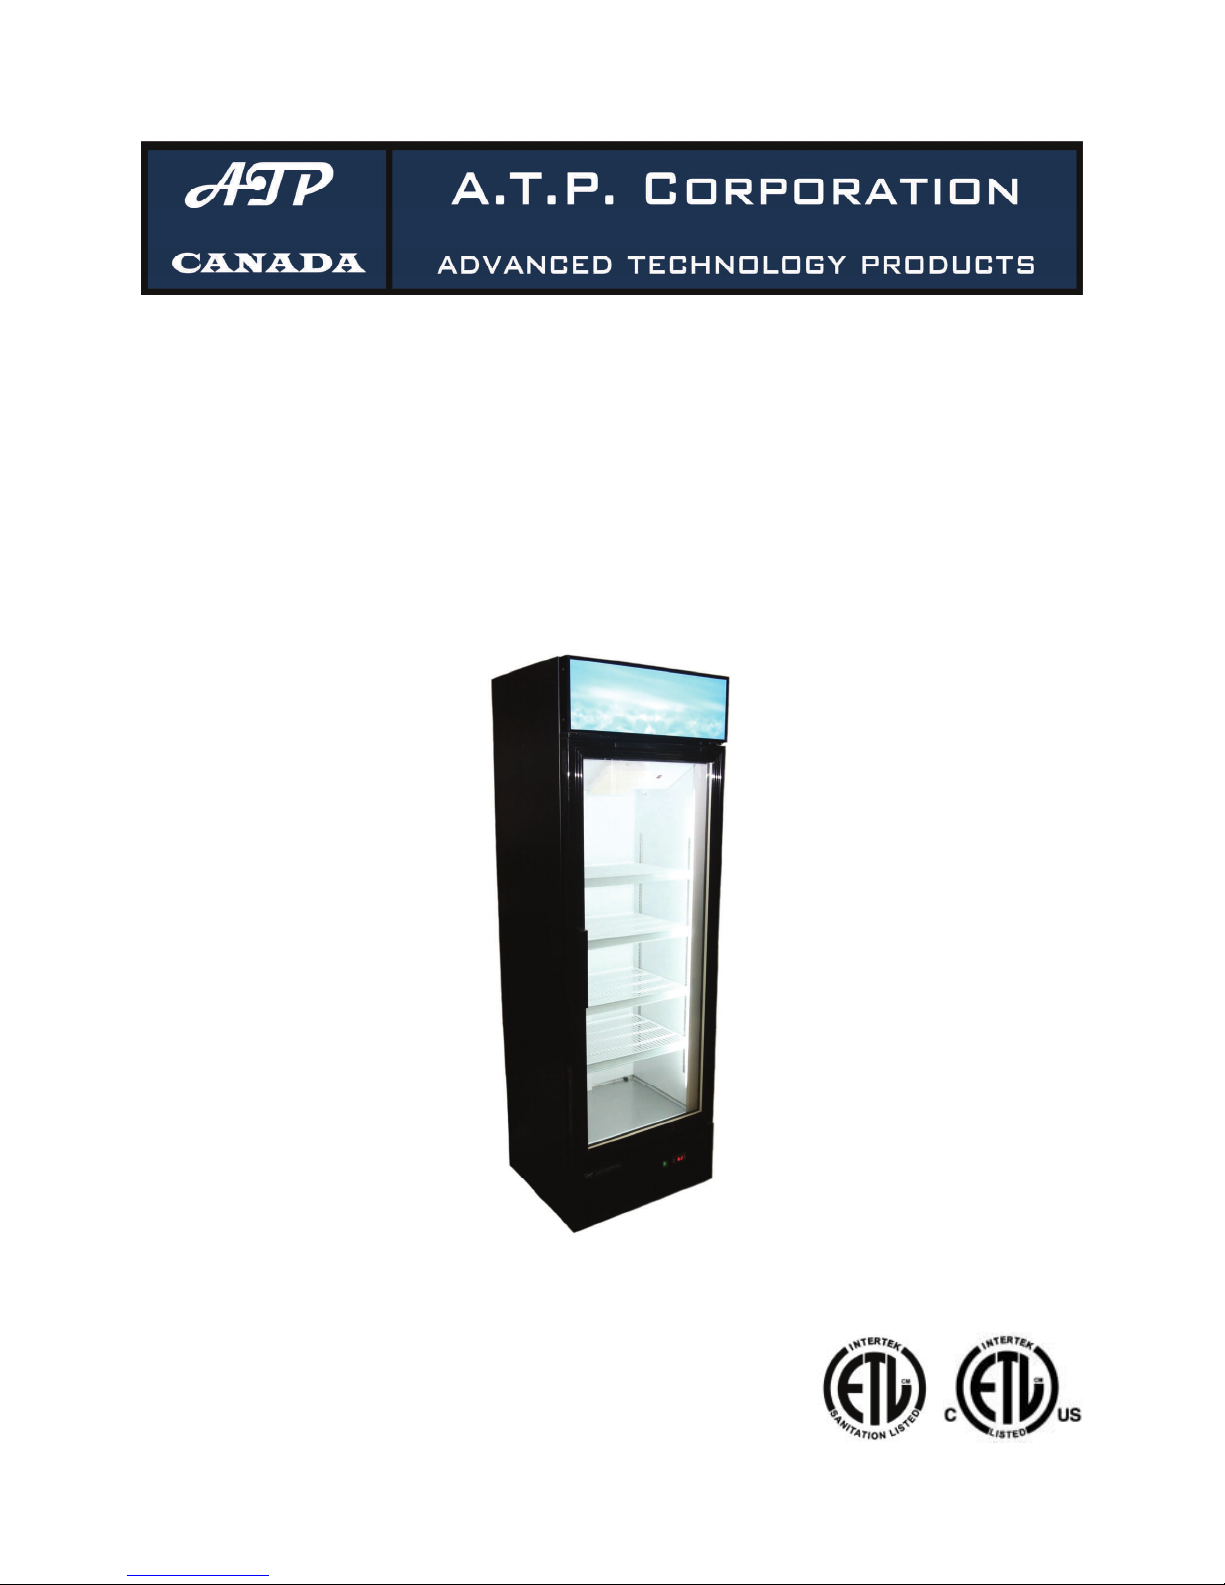
A1DP-RI30
Please read these instructions
completely before operating
these units.
Page 2

General Case Information
My Model is: A1DP-RI30
My Case Serial number is:
Page 3

General Information
Store Conditions: The Single Door Refrigerators have
been designed to operate in an air conditioned
environment with a system that can maintain 24 C (75 F)
store temperature and 55 percent (maximum) relative
humidity (CRMA conditions). Case operation will be
adversely affected by exposure to excessively high
ambient temperatures and/or humidity.
Case opening: Examine the case fixture carefully for
shipping damage.
Apparent Damage: A claim for obvious damage must
be noted on the freight bill or express receipt and signed
by the carriers agent, otherwise the carrier may refuse
the claim.
Concealed Damage: If damage is not apparent until
after the equipment is unpacked, retain all packing
materials and submit a written request to the carrier for
inspection within 15 days of receipt of the equipment .
Contacting Factory: Should you need to contact ATP
regarding a specific fixture, be sure to know the case
model and serial number. This information is on the
serial plate located on the rear upper panel of the case.
Page 4

Case Dimensions :
Page 5

Page 6

Page 7

Page 8

Page 9

Page 10

Page 11

Page 12

Changing the set point:
- To change the set point, press and release the “SET” button. A number will now be
flashing on the screen; this number is the set point.
- To change the desired set point, simply press the up or the down arrow until the flashing
number reads the desired set point.
- When the desired set point is flashing on the screen there is no need to do anything
further. In a few seconds the flashing set point will be replaced with the solid readout of
the current case temperature, and the new set point will be stored in the controller’s
memory.
- The box will now cycle on and off between the value of the set point and the value of the
set point plus the differential. See Section (Changing Settings) for more information.
- Allow up to two hours, depending on product loading and ambient temperatures for the
unit to reach the new set point.
Initiating a manual defrost:
- The default settings for the cooler will automatically initiate an off cycle defrost every 12
hours. However, if at any time a one-time manual defrost is desired, simply press and
hold the manual defrost button for six seconds. There will be an audible beep and the
LED indicator for “defrost” will activate.
- At default settings the defrost will last for 30 minutes. At this point the defrost LED
indicator will change from solid to indicate “in defrost” to a blinking indicator to indicate
that the unit has just come out of defrost. This blinking will continue for 15 minutes.
Changing Settings:
-Press and hold the “SET” button for five seconds, until the control emits an audible
beep release the “SET” button. The display will now show a blinking “E1.” This is the first
of the adjustable settings.
- To make a change to any setting, press and release either the up or the down arrow until
the desired setting is reached.
- To move to the next setting press and release the “SET” button. If more than ten seconds
go by without any buttons being pressed, the control will save all settings, exit the
parameter set-up mode, and go back to reading the box temperature.
- To either lock or unlock the parameter set-up mode, press and hold the down arrow while
the display is reading box temperature. After ten seconds the control will emit an audible
beep and the display will read “ON,” indicating that settings E1 through C1 can be
changed, or “OFF,” indicating that E1 through C1 cannot be modified.
Page 13

Factory Settings :
E1 The lowest value the end user can choose as the set point.
E2 The highest value the end user can choose as the set point.
E3 The differential. With a set point of 2°C and a differential of 4°C, the unit will cool until it
reaches 2°C. At this point, the compressor will then shut off and not come back on until the
unit reaches 6°C (2 + 4). The unit will cycle on and off between these two temperatures,
maintaining an average box temperature half way between.
E4 The compressor start delay is the shortest amount of time between the compressor cycling
off and coming back on. It also will delay the compressor from starting when the unit is
plugged in.
E5 & E6 will offset the temperatures read by the box and evaporator sensors. This setting is
rarely used.
F1 The maximum amount of time that a defrost can last. A defrost will last for the value set in
F1 or until the evaporator sensor reads the value set in F3.
F2 The defrost interval controls how often the unit goes into defrost. A setting of six
corresponds to every six hours, or four times a day. In addition, the first defrost will start an
F2 number of hours after the unit is first plugged in.
F3 The defrost termination temperature value will bring the unit out of defrost before the full
amount of time set in F1 has been reached if the evaporator sensor ever reaches the value
set in F3.
F4 The display during defrost. A setting of “00” will show the current box temperature as it rises
during a defrost, while a setting of “01” will lock in the last temperature value before the
defrost began.
F5, F6, F7, F8 & F9 are advanced settings and are advised not to be changed.
C1 The temperature display units. “00” for Celsius, “01” for Fahrenheit.
Parameter Description Setting
E1 Low Set Limit, Celsius, (Fahrenheit)
E2 High Set Limit, Celsius, (Fahrenheit)
E3 Differential, Celsius, (Fahrenheit)
E4 Compressor Star Delay, (Minutes) 3 Min
E5 Case Temperature Offset, Celsius, (Fahrenheit)
F1 Maximum Defrost Duration, (Minutes) 20 Min
F2 Defrost Interval, (Hours) 6 Hours
F3 Defrost Termination, Celsius, (Fahrenheit)
F4 Display During Defrost 0
C1
Temperature Units, 0 = Celsius, (1 = Fahrenheit)
2°C (36F°)
20°C (68F°)
4°C (7F°)
0°
8°C (46F°)
0
Page 14

Troubleshooting the SF-102 :
If the unit is not cooling:
Is the compressor LED indicator on?
- If the set point is higher than the box temperature, the compressor will not come on.
If the compressor LED indicator is on, but the compressor is not:
- If the box was just plugged in, there will be a compressor start delay (setting E4).
- Check for voltage out of terminal one on the back of the control. The voltage should
be 12V DC.
- Check for voltage at the compressor relay. There should be 120V AC to the
compressor.
If the compressor LED indicator is on, and there is 120V AC out of the compressor relay:
- Check operation of compressor.
Is the temperature the box sensor reading the true box temperature?
- Ohm out the sensor. The sensor should read 28,000Ω at 32°F and 10,000Ω at 77°F.
If the unit is too cold:
Is the compressor LED indicator on?
- If the set point is lower than the current box temperature, the compressor will stay on
until it reaches the set point.
If the compressor LED indicator is not on:
- Check for voltage out of terminal one on the back of the control. There should not be
voltage if the compressor LED indicator is not lit.
- Check for voltage out of the compressor relay. There should not be voltage out of the
relay when the compressor LED is not lit.
Is the temperature the box sensor reading the true box temperature?
- Ohm out the sensor. The sensor should read 28,000Ω at 32°F and 10,000Ω at 77°F.
If the unit is building up ice:
Are the defrost settings (F1-F9) set to factory settings?
- Check the settings (see Basic Operation and Changing Settings) and reset to
factory values if needed.
If defrost settings are at factory recommendations:
- Verify gasket seals, and product moisture levels.
- If needed, change the frequency or duration of the defrost cycle. Settings F1 - F3 can
Page 15

Page 16

Page 17

TROUBLE SHOOTING
Before calling your serviceman, please make sure these simple checks:
If the unit is not operating:
1. Is the cabinet plugged in?
2. Is there a main-power failure?
3. Is there a blown fuse?
If the Fluorescent light is off:
1. Is the fluorescent light tube properly connected to the socket?
2. Dose the fluorescent light need to be changed?
If the cabinet temperature is too warm:
1. Is the thermostat set correctly?
2. Is the cabinet located in direct sunlight?
3. Is the cabinet located in a strong air-flow path?
4. Is the distance between the upper surface of the displayed merchandise and the
self directly above it at least 1”?
5. Is the unit away from the wall at least as 4”?
6. Is the air temperature around the cabinet above 75ºF?
Is there water in the door track or water leaking down the inside walls:
1. Is the case level from side to side?
2. Is the case level from front to back?
3. Is the upper drain pan sagging?
Condensate drain is located in the center of the upper pan running down the center
channel along the back wall.
Page 18

Case Cleaning
In order to keep the unit running at peak design efficiency
the intake air grill and the condenser coil should be
cleaned at least once a month.
To avoid shock hazard, be sure to check all electrical
power is turned off before cleaning. Un-plug the electrical
cord!
Avoid spraying cleaning solutions directly on surfaces,
fans or electrical connections.
Use a mild detergent, warm water and a soft cloth. When
necessary, water and baking soda will help remove case
odors. Avoid abrasive scouring powders or pads.
1425 Osprey Drive, Ancaster Business Park
Ancaster, Ontario, Canada L9G 4V5
Tel: 905-648-3741 Fax: 905-648-9625
www.atpcanada.ca
 Loading...