

Page 1

MEDIA
MEDIA
MEDIA
MEDIA PLAYER
PLAYER
PLAYER
PLAYER
User
User
User
User Manual
Manual
Manual
Manual
Page 2
Congratulations!
You
’ re one step closer to digitally decorating
your home and having the coolest house in the neighborhood.
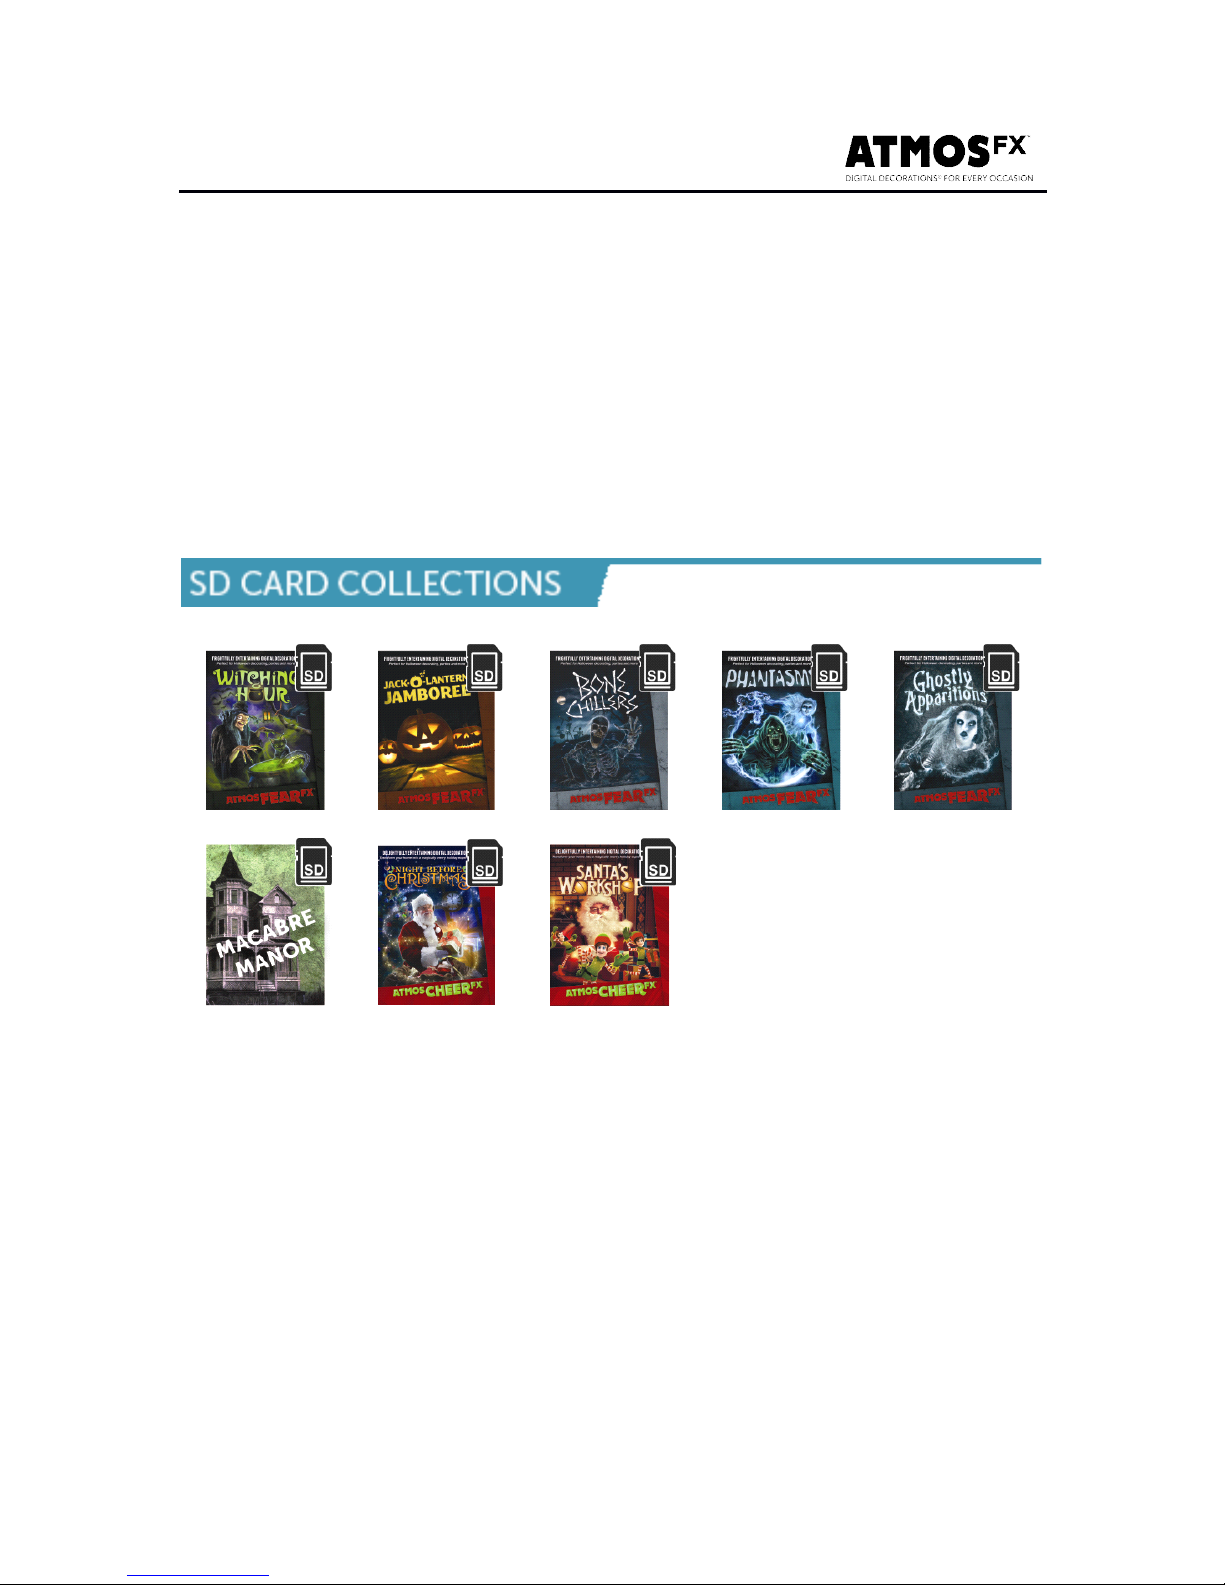
The AtmosFX Media Player device lets your projector or TV play
digital decorations stored on a USB Drive or SD Card and is
fully compatible with all AtmosFX SD Card Digital Decoration
products!
Learn
Learn
Learn
Learn Cool
Cool
Cool
Cool Tips
Tips
Tips
Tips &
&
&
& Tricks,
Tricks,
Tricks,
Tricks,
Find
Find
Find
Find New
New
New
New AtmosFX
AtmosFX
AtmosFX
AtmosFX Products,
Products,
Products,
Products,
And
And
And
And Discover
Discover
Discover
Discover More
More
More
More Ways
Ways
Ways
Ways
To
To
To
To
Digitally
Digitally
Digitally
Digitally Decorate
Decorate
Decorate
Decorate
Just
Just
Just
Just Visit
Visit
Visit
Visit AtmosFX.com
AtmosFX.com
AtmosFX.com
AtmosFX.com
Coming Soon!
(Fall 2016)
Coming Soon!
(Winter 2016)
Page 3

Contents
Contents
Contents
Contents
Product
Product
Product
Product Specifications
Specifications
Specifications
Specifications
1.1 Included Components ……………………………………… 4
1.2 A/V Connections …………………………………………… ..4
1.3 Technical Specifications …………………………………… ..5
1.4 Remote Control Button Functions ………………………… . 6
Usage
Usage
Usage
Usage Guide
Guide
Guide
Guide
2.1 Home ………………………………………………………… 7
2.2 Playing Digital Video Content ……………………………… 7
2.3 Playing Other Digital Media ………………………………… 8
2.4 Setting ……………………………………………………… .. 9
2.5 Warranty Information …………………………………… 10-11
Page 4

Product
Product
Product
Product Specification
Specification
Specification
Specification
1.1
1.1
1.1
1.1 Included
Included
Included
Included Components
Components
Components
Components
• AtmosFX Media Player device
• VGA (A/V) output cable
• Remote control with CR2025 button cell battery
1.2
1.2
1.2
1.2 A/V
A/V
A/V
A/V Connections
Connections
Connections
Connections
1. VGA
VGA
VGA
VGA Video
Video
Video
Video Output
Output
Output
Output (A/V)
(A/V)
(A/V)
(A/V) : Connect single black plug of
included VGA cable to VGA output terminal of this player,
and connect the other end to your TV or projector based on
the jack color (video-yellow; audio-red and white).
2. Component
Component
Component
Component Video
Video
Video
Video Output
Output
Output
Output (YPbPr)
(YPbPr)
(YPbPr)
(YPbPr) :
:
:
: Connect one end of
user-provided component video cable to YPbPr output
terminal of this player and connect the other end to your TV
or projector based on the jack color (green, blue and red).
3. HDMI
HDMI
HDMI
HDMI Video
Video
Video
Video Output:
Output:
Output:
Output: Connect one end of user-provided
HDMI cable to HDMI output terminal of this player and
connect the other end to your TV or projector.
Page 5
1.3
1.3
1.3
1.3 Technical
Technical
Technical
Technical Specifications
Specifications
Specifications
Specifications
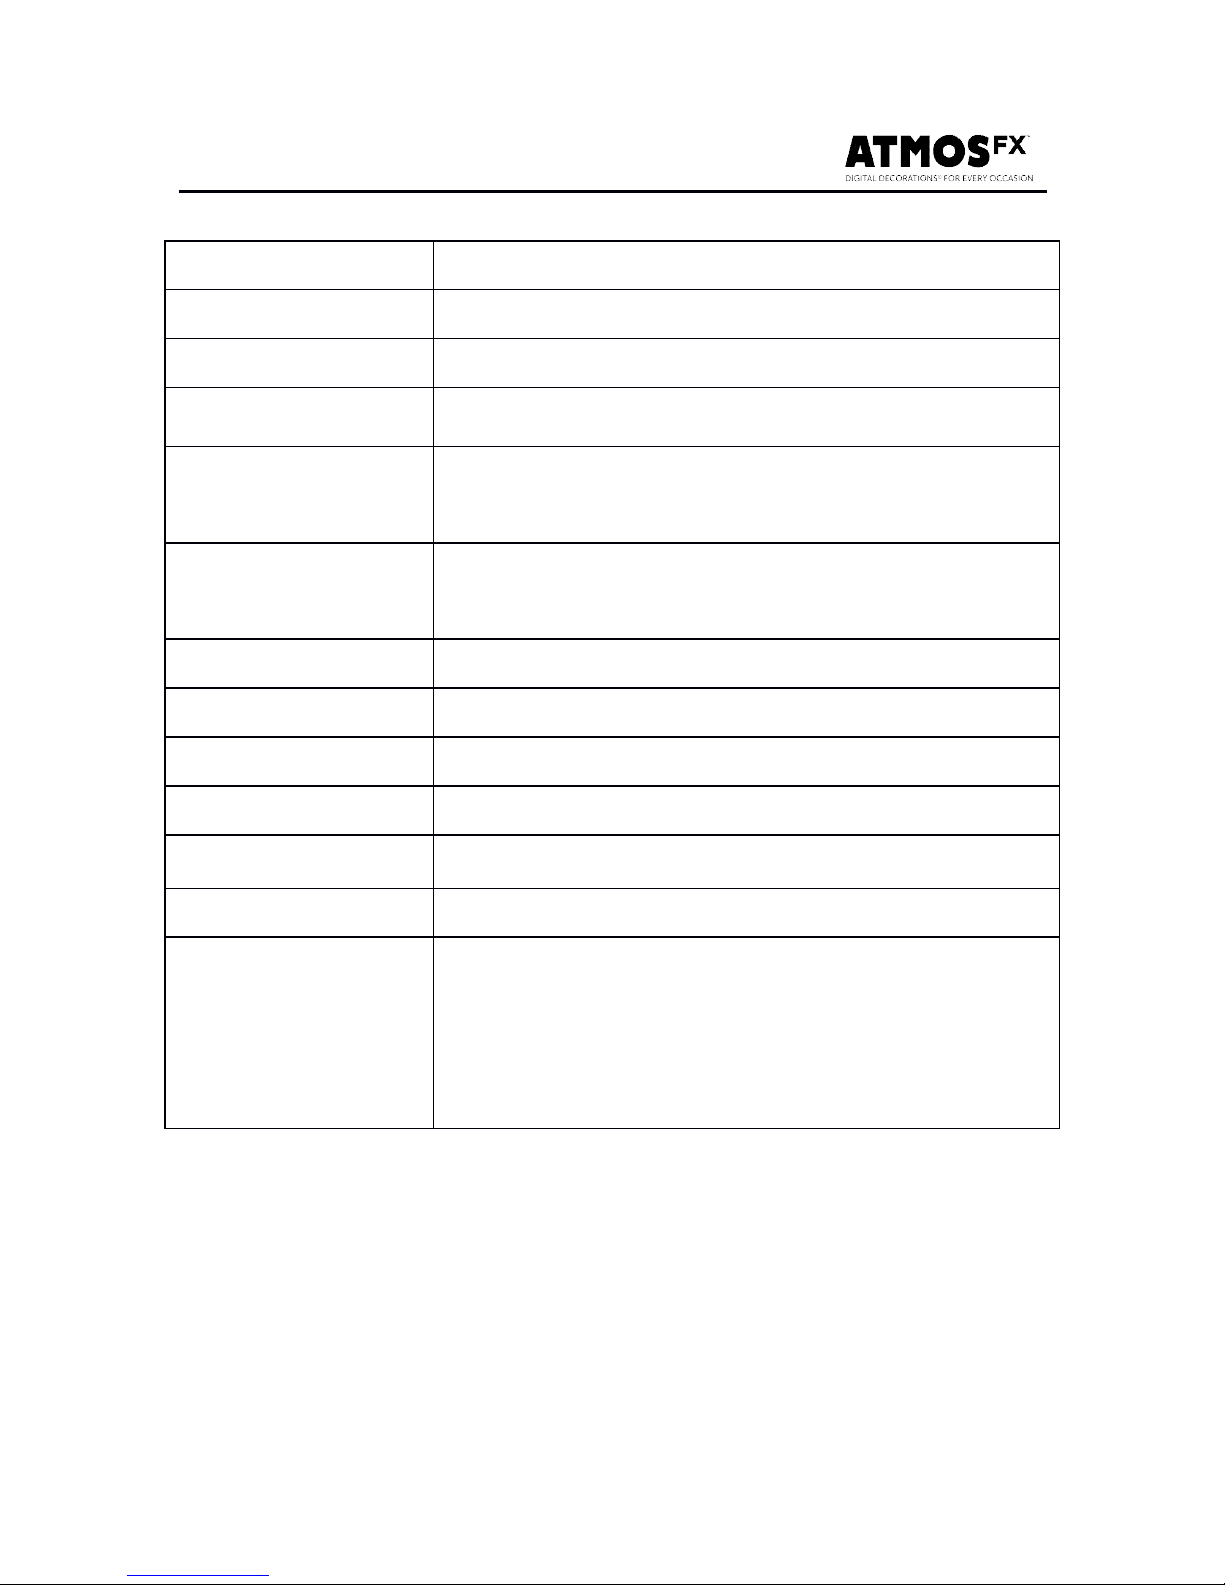
Power
Positive inside and negative outside, 5V/2
A
File System
FAT32, NTFS
Video Outputs
Component YPbPr,VGA (AV) , HDMI 1.3
Audio Outputs
Analog stereo, digital audio HDMI 1.3
Video Formats
AVI/MPG/MPEG/XVID/VOB/DAT/MP4/TS/
M2TS/MKV/H.264/RM/RMVB and more
Audio Formats
PCM/DTS/AC3/MP3/RA/AMR/MP3/WMA/
OGG/APE
Picture Formats
JPG/BMP/PNG/GIF/TIFF
Subtitle Formats
SMI/ASS/SSA/SRT/SUB/PGS/SUB+IDX
Language
Choice of 16 languages
USB Port
USB HOST 2.0
Source Formats
SD/SDHC/MMC Card
Indication Light
Blue Light when Stand By / Working
Working
Environment
Working Temperature: -10 ~ +45
o
C;
Humidity: < 90%
Storing Temperature: -20 ~ +70
o
C; Humidity :
< 95%
Page 6
1.4
1.4
1.4
1.4 Remote
Remote
Remote
Remote Control
Control
Control
Control Button
Button
Button
Button Functions
Functions
Functions
Functions
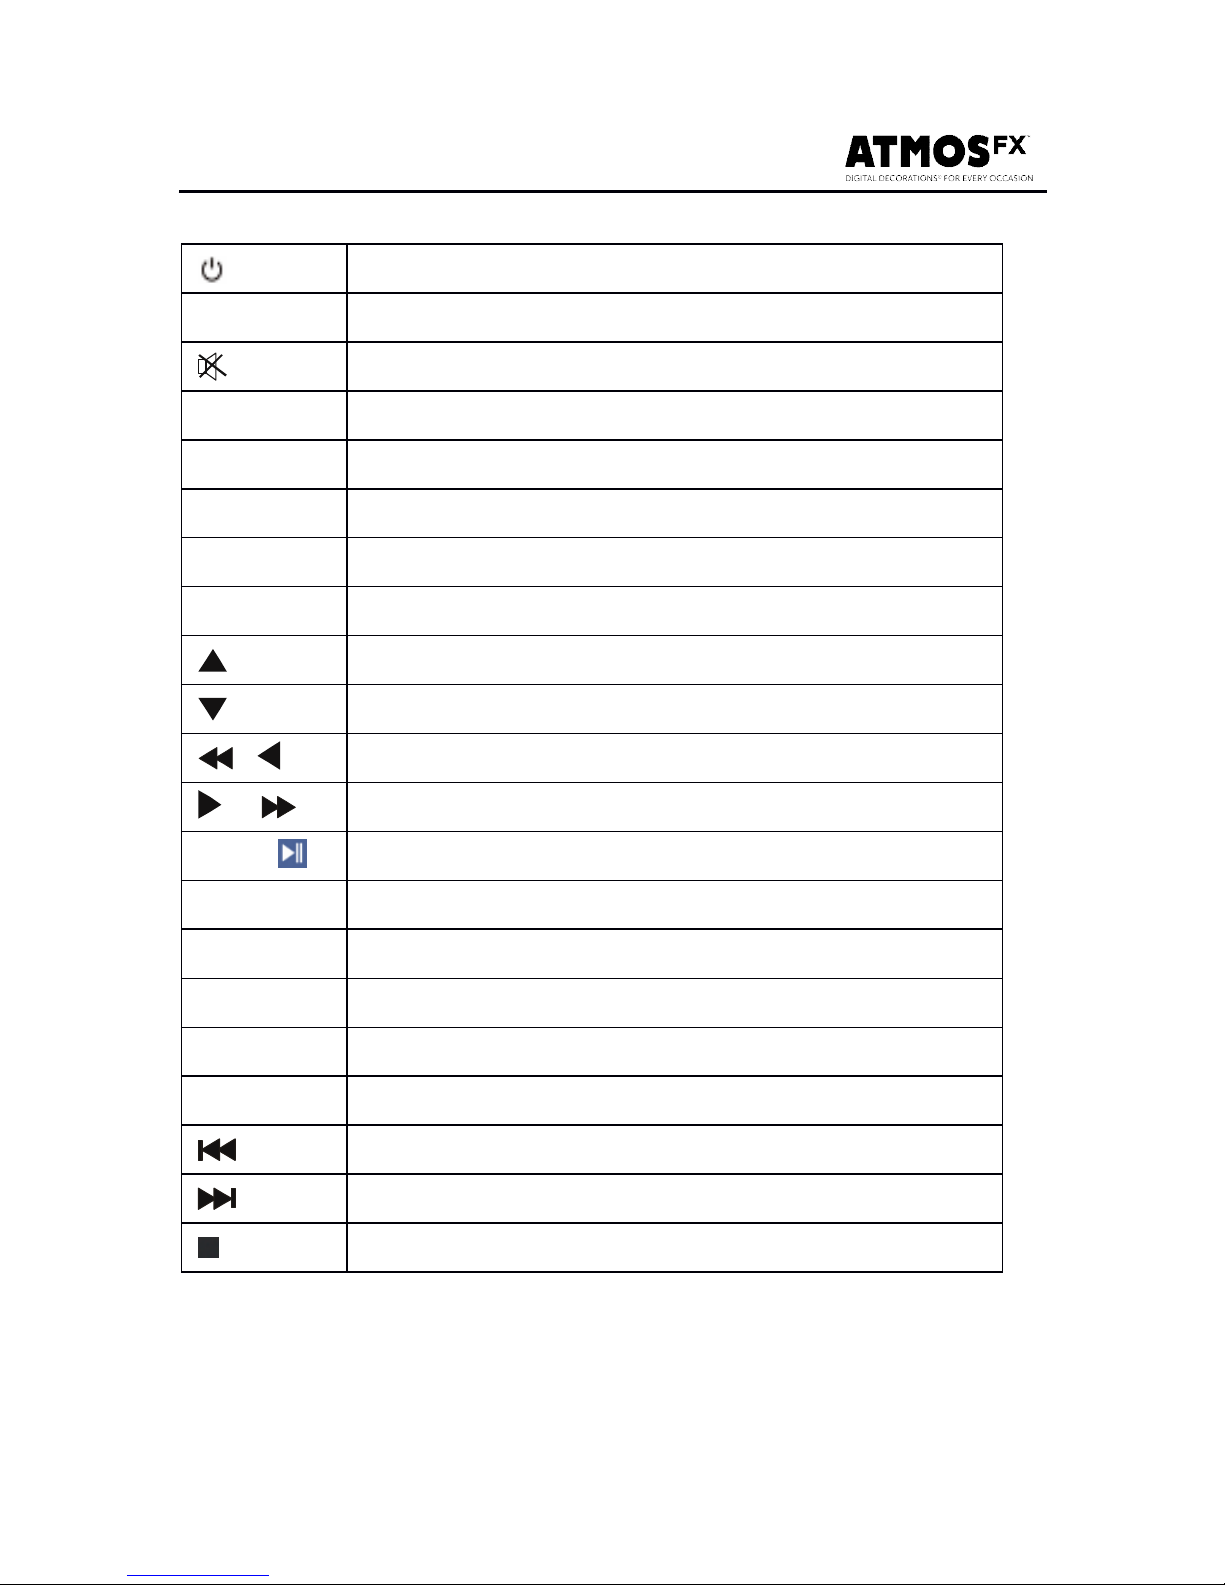
Power: Standby/On
MODE
Output system switch, HDMI, PAL, NTSC
Mute: On/Off
GOTO
Go to time setting
ZOOM
Zoom picture/movie/text
FUNCT
Function option
MENU
Switch to main menu
EXIT
Stop playing and back to last page
Up
Down
/
Fast rewind / Rotate photo anticlockwise
/
Fast forward / Rotate photo clockwise
OK /
Confirm, Play/Pause
VOL-
Volume Down
VOL+
Volume up
Audio
Audio setting
Repeat
Repeat/ Play mode
INFO
File information
Previous track
Next track
Stop
Page 7
Us
Us
Us
Us age
age
age
age Guide
Guide
Guide
Guide
2
2
2
2 .1
.1
.1
.1 Home
Home
Home
Home
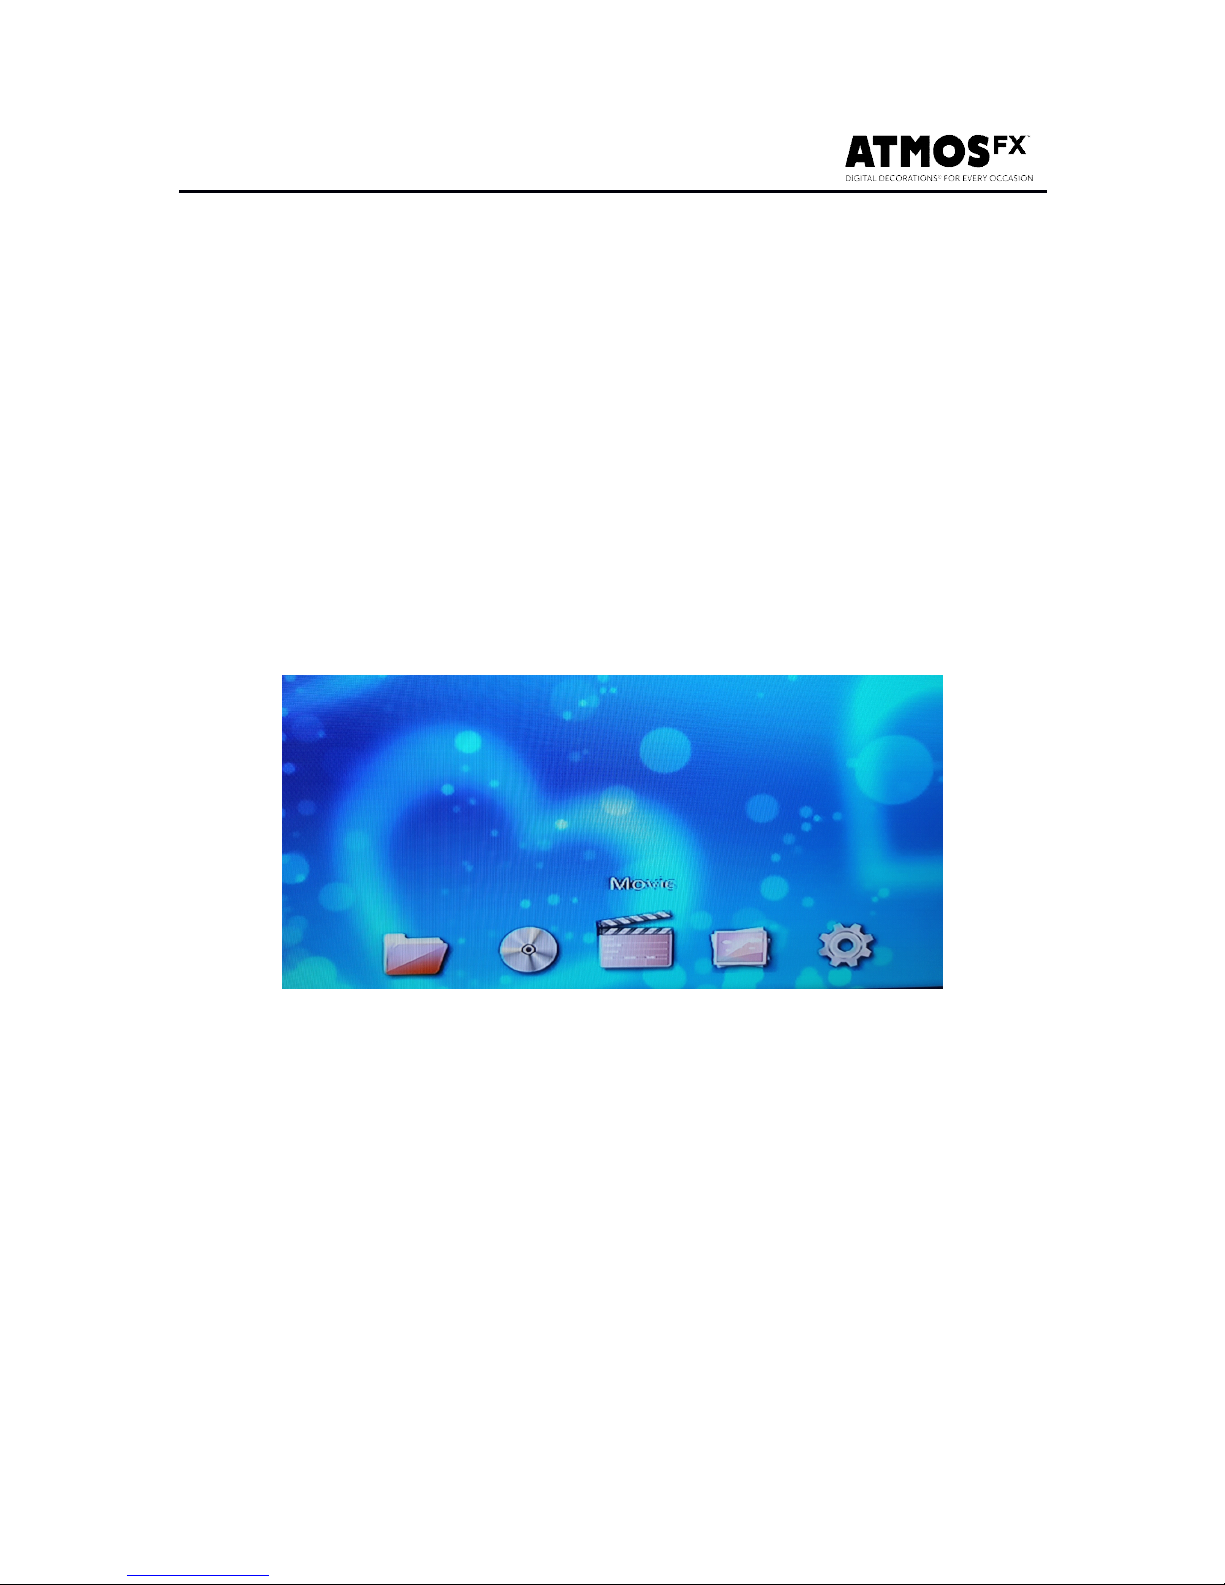
After connecting the AtmosFX Media Player into your TV or
projector and plugging in the provided A/C charger and cable,
use the remote control to turn on the device. Be sure to remove
the plastic battery insulator on the remote control.
You
will immediately be greeted with the following “ Home ”
screen.
2
2
2
2 .2
.2
.2
.2 Playing
Playing
Playing
Playing Digital
Digital
Digital
Digital Decorations
Decorations
Decorations
Decorations
1. Using your remote control, navigate to and select the
“ Movie ” icon and then press the “ OK ” button.
2. Select the input source that you want to play from and press
"OK".
3. Navigate to the folder and file you want to play.
(Press the “ Exit ” button to return to the previous directory)
4. Pr ess the “ OK ” butto n to select and play the file.
Page 8

5. For optional functions, press the "FUNCT" button and select
desired function:
- Mode : Repeat play setting
- Video Proportion : Full screen or different proportion
- Subtitle : Subtitle setting for playing movies
2
2
2
2 .3
.3
.3
.3 Playing
Playing
Playing
Playing Other
Other
Other
Other Digital
Digital
Digital
Digital Media
Media
Media
Media
You can play other types of digital media with this device ,
including digital photos or music.
1. Using your remote control, navigate to and select the
appropriate icon and then press the "OK" button.
2. Select the input source that you want to play from and press
"OK".
3. Navigate to the folder and file you want to play.
(Press the “ Exit ” button to return to the previous directory)
4. Pr ess the “ OK ” butto n to select and play the file.
5. For optional photo display functions, press the "FUNCT"
button and select desired function:
- Switch Mode : Different modes for sequence display of
photos
- Play Interval : Time setting for displaying photos
sequentially
- Background Music : ON/OFF
Page 9

2
2
2
2 .4
.4
.4
.4 Setting
Setting
Setting
Setting
Language
16 language choices.
Screen Saver
Set screen saver start time.
Video Output
NTSC, PAL, 480I, 576I,
480P, 576P,
720P,
1080I and 1080P .
Audio Output
Set audio output mode.
Auto Play
Set media player to play
automatically after device startup.
Auto Detect HDMI
If more than one input is connected,
HDMI will be selected.
Restore Default
Settings
Use to re -set to factory default
settings.
System Information
Displays the software information.
Page 10
2
2
2
2 .5
.5
.5
.5 Warranty
Warranty
Warranty
Warranty Information
Information
Information
Information
AtmosFX Inc. strives to create high quality products that are
free from manufacturer defects. This document explains the
warranty and exchange policies for all AtmosFX products.
Only items that have been purchased directly from AtmosFX
through the AtmosFX Online Store (www.AtmosFX.com) are
governed by this policy. AtmosFX products purchased through
other retailers must be returned in accordance with that
retailer ’ s respective rep lacement and refunds policy.
Restrictions
Restrictions
Restrictions
Restrictions
Products that are not covered by this warranty:
• AtmosFX digital downloads and other non-physical goods.
• AtmosFX products not purchased directly from
www.AtmosFX.com
• AtmosFX products purchased as “ Final Sale ” items.
All warranties voided for the following cases:
• Damage due to customer abuse or mishandling.
• Damage occurring during shipping.
Warranty
Warranty
Warranty
Warranty Period
Period
Period
Period
AtmosFX Inc. warranties all physical products against
manufacturer defects for 60-days after the purchase date.
Page 11
Warranty
Warranty
Warranty
Warranty Process
Process
Process
Process
If you believe an AtmosFX product you purchased is subject to
a manufacturer defect, and you are within the 60-day warranty
period, please visit http://atmosfx.com/blogs/support and
complete the “ Contact Us ” form. A representative will contact
you and direct you through the warranty process. During this
process AtmosFX may require you to provide pictures and/or
ship the product to AtmosFX at your expense.
Products that are sent to AtmosFX outside of this warranty
process will be sent back to the customer at the customer ’ s
expense.
Once your product is received it will be inspected for
manufacturer defects. Inspections may take up to 30 days to
complete. During this process, the customer is responsible for
all shipping charges. If it is determined in our inspection that
issues are d ue to a manufacturing defect, we will make a
reasonable effort to try to fix the issue. If we cannot fix the issue
we will either replace or refund the item.
 Loading...