

Page 1
http://www.BDTIC.com/ATMEL
AVR1922: Xplain Board Controller Firmware
Features
• USB interface
- Mass-storage to on-board DataFlash® memory
• Atmel® AVR® XMEGATM reset control
1 Introduction
The Xplain board controller, an AT90USB1287, is in charge of some of the lowlevel tasks on boards in the Xplain series. The board controller improves usability
of the main microcontroller, and adds features the main controller lacks, like USB.
Some of the tasks the board controller can handle are moving data to and from the
board over the USB interface, for example mass-storage or USB-to-serial.
Note that not all Xplain boards carry multiple microcontrollers; in these cases the
main microcontroller will provide the board controller features when applicable.
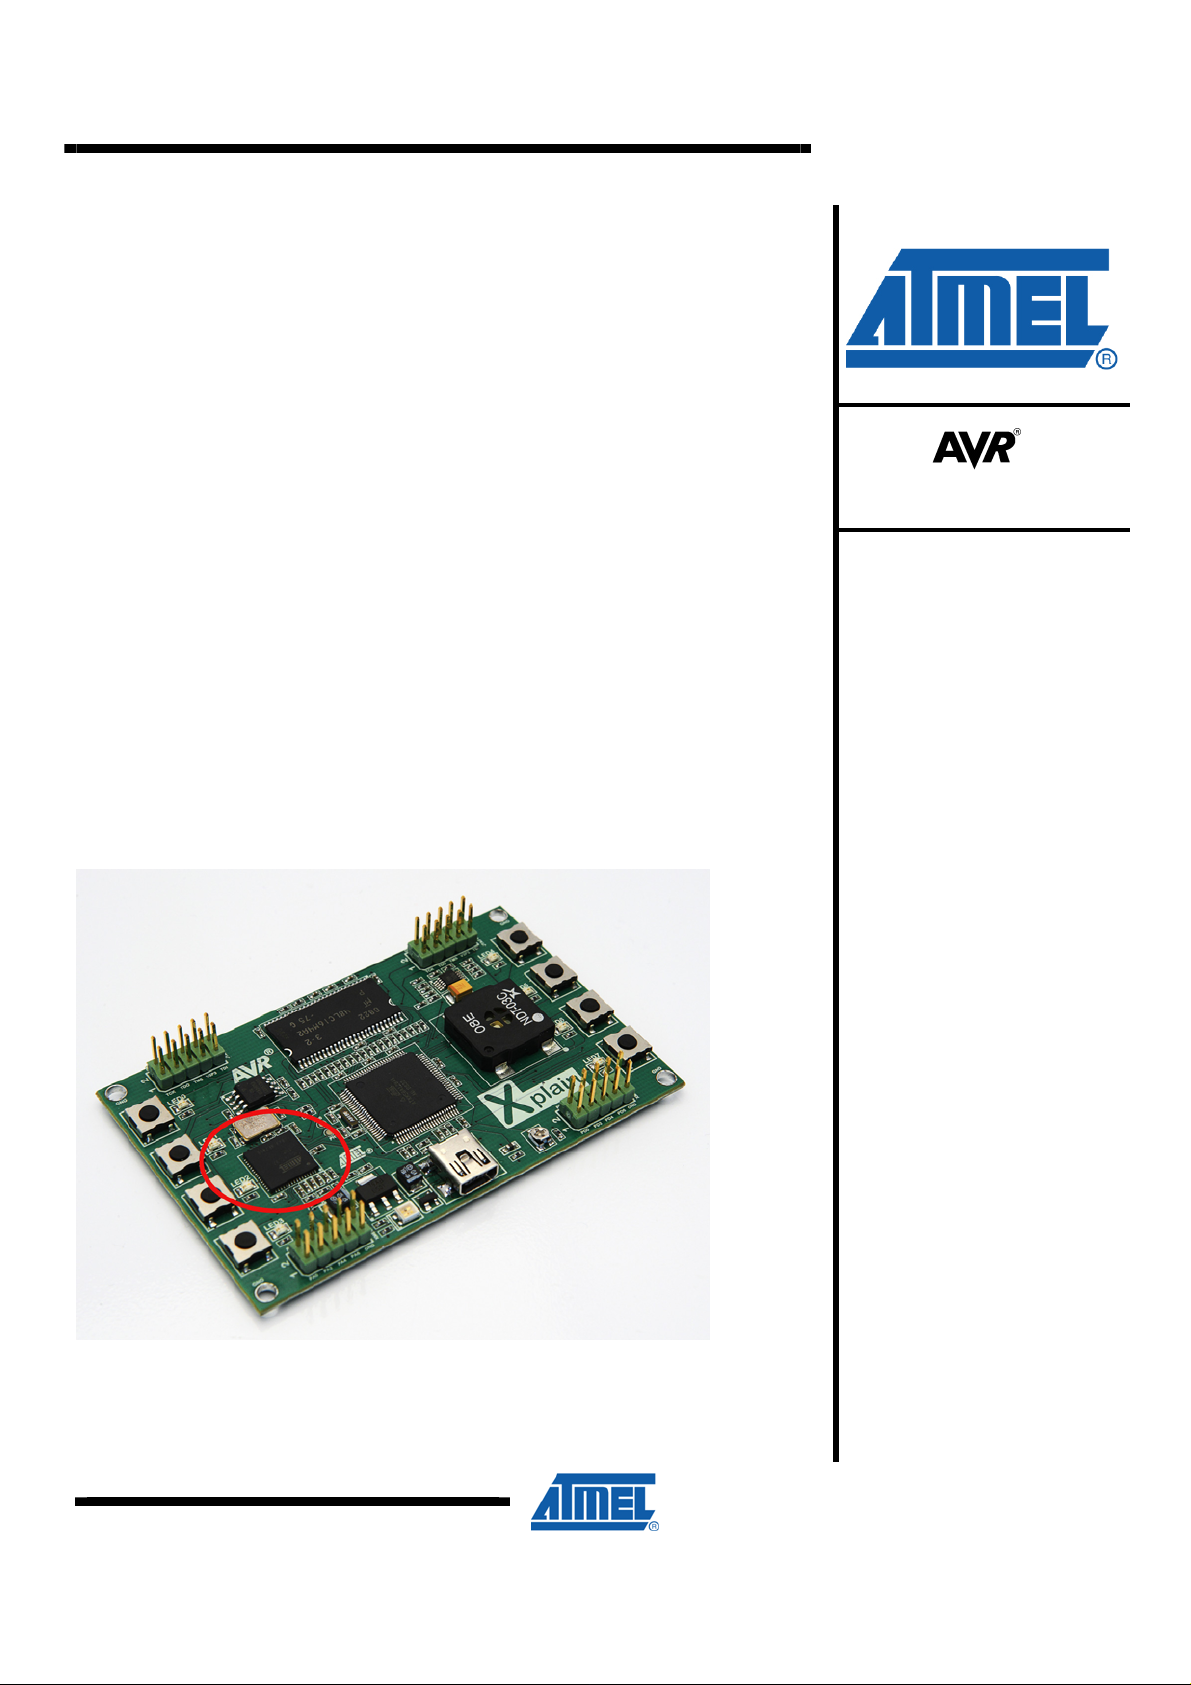
Figure 1-1. Board controller on the Xplain board marked in a red circle
8-bit
Microcontrollers
Application Note
Rev. 8302A-AVR-04/10
Page 2

2 Xplain Board Controller Hardware Features
http://www.BDTIC.com/ATMEL
This chapter will walk through the features available when having a separate board
controller.
2.1 USB Interface
All Xplain boards features an USB connector. This connector has a dual purpose;
power and USB interfaces. When the USB connector is wired to the board controller,
it can be used for various tasks depending on the firmware.
2.1.1 USB-to-serial Interface
n
The mai
port can then be shared as a CDC/ACM USB class (USB-to-serial) on the USB
interface. Having a USB-to-serial interface can be useful for debugging the main
application running on the board, or for transferring data back and forth to an external
host.
2.1.2 USB Mass-storage Interface
Whe
for the board controller as mass-storage devices on the USB interface. This will
present the on-board flash memory as a block device on the host side, and users are
free to use them as they like. Typically storing data files, images, etc. there, for use
with the main microcontroller.
microcontroller will have one UART wired to the board controller. This serial
n
connected to a PC the Xplain board can share any external memories available
2.2 AVR XMEGA Reset Line Control
The board controller has wired an I/O line to the AVR XMEGA reset line. This line can
be used to control the reset state of the main microcontroller.
2.3 AVR XMEGA Program and Debug Interface
To program the main microcontroller, the board controller is wired to the program and
debug interface (PDI) on the AVR XMEGA device. This interface can be used to
program new firmware into the main microcontroller from the board controller.
2
AVR1922
8302A-AVR-04/10
Page 3

3 Xplain Board Controller Firmware
http://www.BDTIC.com/ATMEL
3.1 Features
The board controller firmware currently supports the following features:
• DataFlash initialization read and write.
• AVR XMEGA reset control.
• USB mass-storage interface.
• USB mode switching.
The firmware will on power up hold the AVR XMEGA device in reset while it tries to
probe the on-board DataFlash memory. When the firmware has identified the
DataFlash device it will read the level of an I/O line to select USB mode.
A low level on the I/O line will make the AT90USB1287 chip enter mass-storage
mode and share the DataFlash on the USB interface, thus keeping the AVR XMEGA
device in reset.
If the I/O is high, the AT90USB1287 chip will release the AVR XMEGA device and
enter a slave like presence, not interfering with the AVR XMEGA. The AVR XMEGA
is now free to access the DataFlash on the board without interference.
AVR1922
Table 3-1. Board Controller USB mode switching functionality overview
I/O line level AVR XMEGA reset USB mass-storage
Left floating / high level Released after init Disabled
Pulled low / low level Held in reset after init Enabled
For specific mode switching behavior on the Xplain board, see chapter 3.1.1 USB
Mode Switchi
For more info
storage Interf
ng on the Xplain Board on page 4.
rmation about the mass-storage interface see chapter 2.1.2 USB Mass-
ace on page 2.
8302A-AVR-04/10
3
Page 4

http://www.BDTIC.com/ATMEL
3.1.1 USB Mode Switching on the Xplain Board
To sele
either pull the TDI pin on the JTAG USB header to ground or leave it floating. This is
done by placing a jumper between TDI and GND pin, see the figure below.
Figure 3-1. USB mode switch pins located on the Xplain board
ct between the two different USB modes on the Xplain board, the user has to
4
AVR1922
8302A-AVR-04/10
Page 5

3.2 Compiling the Board Controller Firmware
http://www.BDTIC.com/ATMEL
The following step by step guide will compile the board controller firmware for the
Xplain board.
1. Download and uncompress the compressed file archive from
www.atmel.com/products/AVR -> Application Notes -> AVR1922 Xplain
Board Controller Firmware containing the Xplain board controller source
code.
2. Open up your favorite command line console and change into the directory
extracted from the compressed file archive.
3. Enter the apps/xplain-bc directory.
4. Compile the application by telling the build system what kind of configuration
you would like to use. This is done by setting the CONFIG symbol. For
additional help, type make help on the command line. See the example below
for how to compile for the Xplain board:
make CONFIG=xplain-bc
5. The application’s output binaries will be in the top level
build/xplain-bc/xplain-bc/GNU directory. The xplain-bc.elf and xplain-bc.hex
files are probably most interesting. If the user does not use the GNU
toolchain, the GCC part of the path must be changed appropriately. Also, the
board name must be changed if another configuration has been used.
AVR1922
6. Use your favorite programming software and tool to program the ELF or HEX
file into the AT90USB1287 chip on the Xplain board. See chapter 4.1
Reprogramming the Xplain AT90USB1287 and ATxmega128A1 Firmware for
further details.
4 Suggested Reading
4.1 Reprogramming the Xplain AT90USB1287 and ATxmega128A1 Firmware
For details about how to program either device on the Xplain board see the
application note AVR1921: Reprogramming the Xplain AT90USB1287 and
ATxmega128A1 Firmware. This describes how to program the devices using either a
programming tool, like AVRONE!, JTAGICE mkII or AVR Dragon, or programming
software, like FLIP.
The application note is available from the website at
www.atmel.com/dyn/products/tools_card_v2.asp?tool_id=4506.
4.2 Display Xplained Firmware – Getting Started
It is recommended to look into the AVR1913: Display Xplained Firmware – Getting
Started application note, as this describes how the build system works and how to
start using the software framework.
The application note is available from the website at
www.atmel.com/dyn/products/tools_card_v2.asp?tool_id=4506.
8302A-AVR-04/10
5
Page 6

http://www.BDTIC.com/ATMEL
Disclaimer
Headquarters International
Atmel Corporation
2325 Orchard Parkway
San Jose, CA 95131
USA
Tel: 1(408) 441-0311
Fax: 1(408) 487-2600
Atmel Asia
Unit 1-5 & 16, 19/F
BEA Tower, Millennium City 5
418 Kwun Tong Road
Kwun Tong, Kowloon
Hong Kong
Tel: (852) 2245-6100
Fax: (852) 2722-1369
Atmel Europe
Le Krebs
8, Rue Jean-Pierre Timbaud
BP 309
78054 Saint-Quentin-enYvelines Cedex
France
Tel: (33) 1-30-60-70-00
Fax: (33) 1-30-60-71-11
Atmel Japan
9F, Tonetsu Shinkawa Bldg.
1-24-8 Shinkawa
Chuo-ku, Tokyo 104-0033
Japan
Tel: (81) 3-3523-3551
Fax: (81) 3-3523-7581
Product Contact
Web Site
http://www.atmel.com/
Disclaimer: The information in this document is provided in connection with Atmel products. No license, express or implied, by estoppel or otherwise, to any
intellectual property right is granted by this document or in connection with the sale of Atmel products. EXCEPT AS SET FORTH IN ATMEL’S TERMS AND
CONDITIONS OF SALE LOCATED ON ATMEL’S WEB SITE, ATMEL ASSUMES NO LIABILITY WHATSOEVER AND DISCLAIMS ANY EXPRESS, IMPLIED
OR STATUTORY WARRANTY RELATING TO ITS PRODUCTS INCLUDING, BUT NOT LIMITED TO, THE IMPLIED WARRANTY OF MERCHANTABILITY,
FITNESS FOR A PARTICULAR PURPOSE, OR NON-INFRINGEMENT. IN NO EVENT SHALL ATMEL BE LIABLE FOR ANY DIRECT, INDIRECT,
CONSEQUENTIAL, PUNITIVE, SPECIAL OR INCIDENTAL DAMAGES (INCLUDING, WITHOUT LIMITATION, DAMAGES FOR LOSS OF PROFITS,
BUSINESS INTERRUPTION, OR LOSS OF INFORMATION) ARISING OUT OF THE USE OR INABILITY TO USE THIS DOCUMENT, EVEN IF ATMEL HAS
BEEN ADVISED OF THE POSSIBILITY OF SUCH DAMAGES. Atmel makes no representations or warranties with respect to the accuracy or completeness of the
contents of this document and reserves the right to make changes to specifications and product descriptions at any time without notice. Atmel does not make any
commitment to update the information contained herein. Unless specifically provided otherwise, Atmel products are not suitable for, and shall not be used in,
automotive applications. Atmel’s products are not intended, authorized, or warranted for use as components in applications intended to support or sustain life.
© 2010 Atmel Corporation. All rights reserved. Atmel®, Atmel logo and combinations thereof, AVR®, AVR® logo, DataFlash® and others, are
the registered trademarks, XMEGA
be trademarks of others.
Literature Request
www.atmel.com/literature
TM
and others are trademarks of Atmel Corporation or its subsidiaries. Other terms and product names may
Technical Support
avr@atmel.com
Sales Contact
www.atmel.com/contacts
8302A-AVR-04/10
 Loading...