

Atlona AT-VCC-RS232-KIT, AT-VCC, AT-VCC-RS232 Installation Manual
Installation Guide
AT-VCC-RS232-KIT
1
IP to RS-232 Command Converter for Velocity Control
System
AT-VCC-RS232-KIT
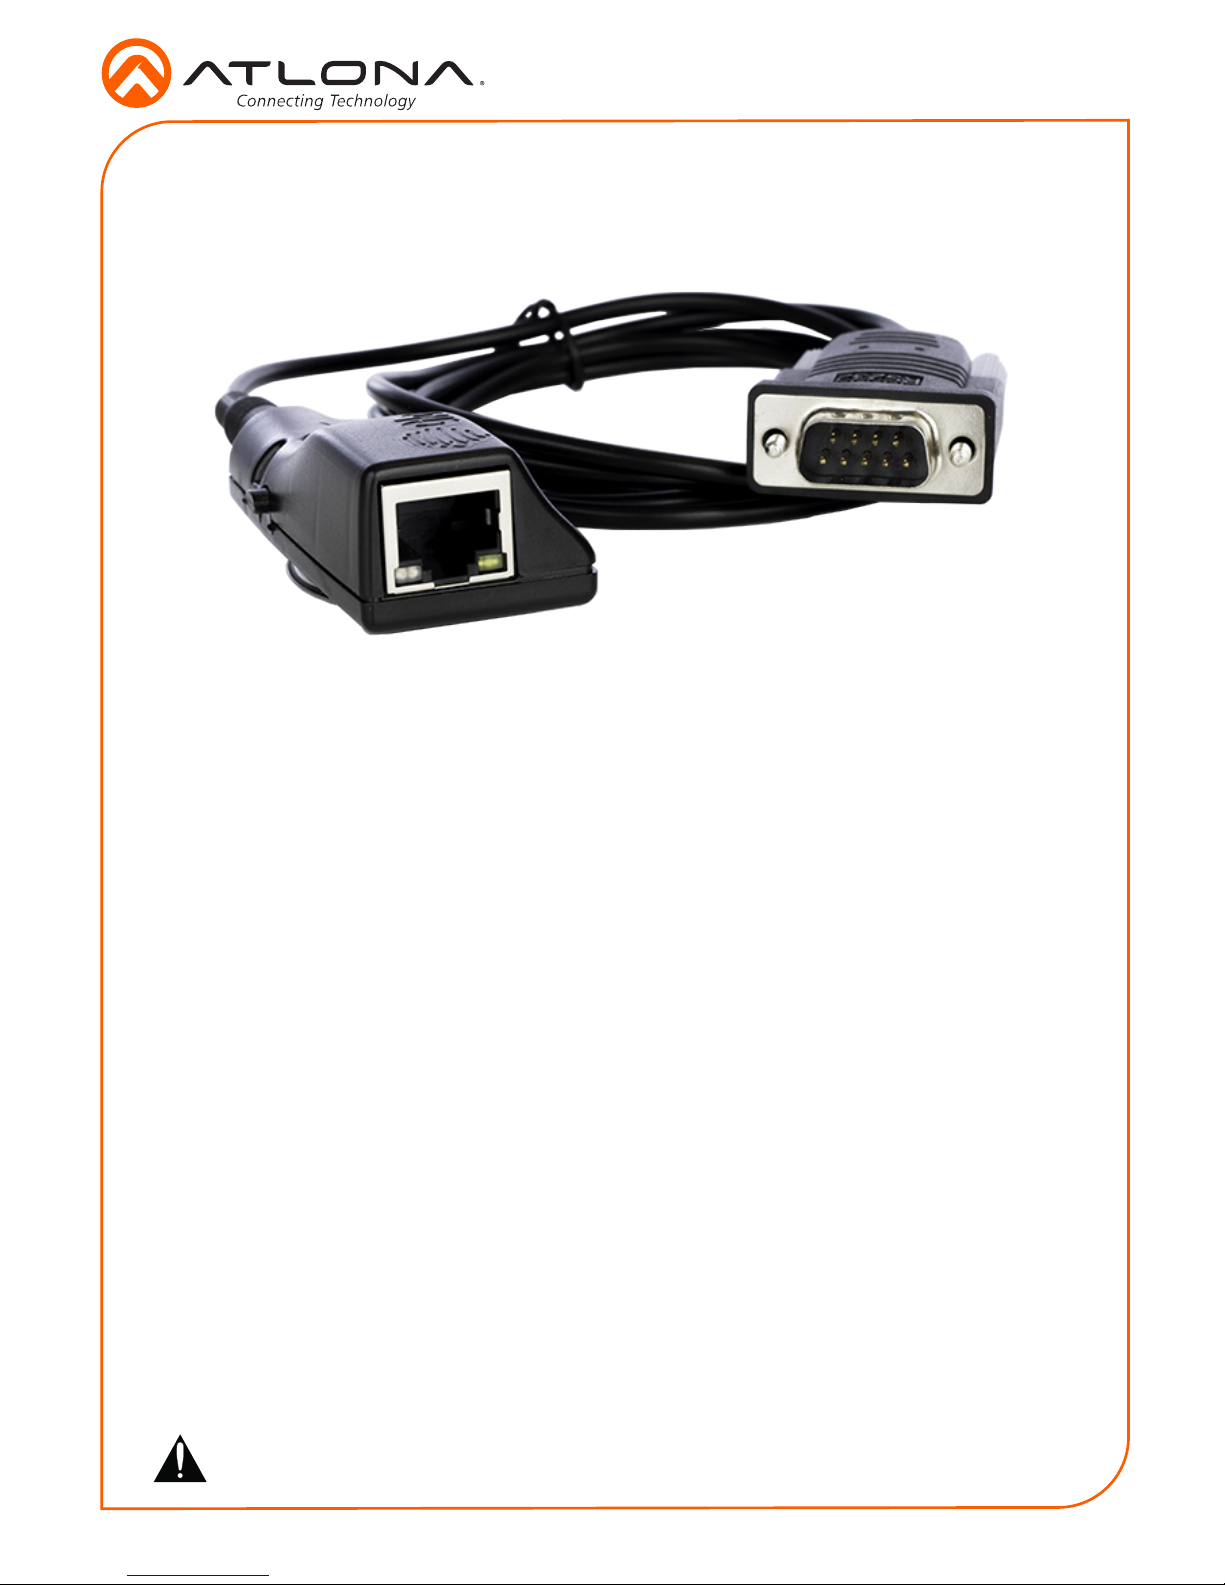
The Atlona AT-VCC-RS232-KIT is an accessory for the Atlona Velocity™ Control System that
provides conversion between IP and RS-232 control commands. This Velocity Control Converter
is very compact and can be placed anywhere a device requires control and is not IP-capable.
The VCC-RS232-KIT is remotely powered through Power over Ethernet (PoE), or locally from a
USB power source. The primary unit installs onto any surface via a convenient mounting dock. A
simple “click” locks it into place for a secure, reliable installation. An RS-232 gender changer is
included.
1 x AT-VCC
1 x AT-VCC-RS232
Package Contents
Operating Notes
• The Velocity Command Converter must be on the same network as the Velocity Gateway
(AT-VGW-250) or it will be unable to sync for control.
• The AT-VCC-RS232-KIT is PoE, to power the unit, simply plug it into a PoE compatible
network switch. If the network switch is not PoE capable, a PoE injector (purchased separately)
or USB can be used.
• All devices (AT-VCC, Velocity, AT-VTP, switchers, etc) should be set to static IPs or the
DHCP IP address reserved for each individual device.
IMPORTANT: Velocity Gateway (AT-VGW-250) must be set up before the AT-VCC-RS232KIT is fully functional.
Installation Guide
AT-VCC-RS232-KIT
2
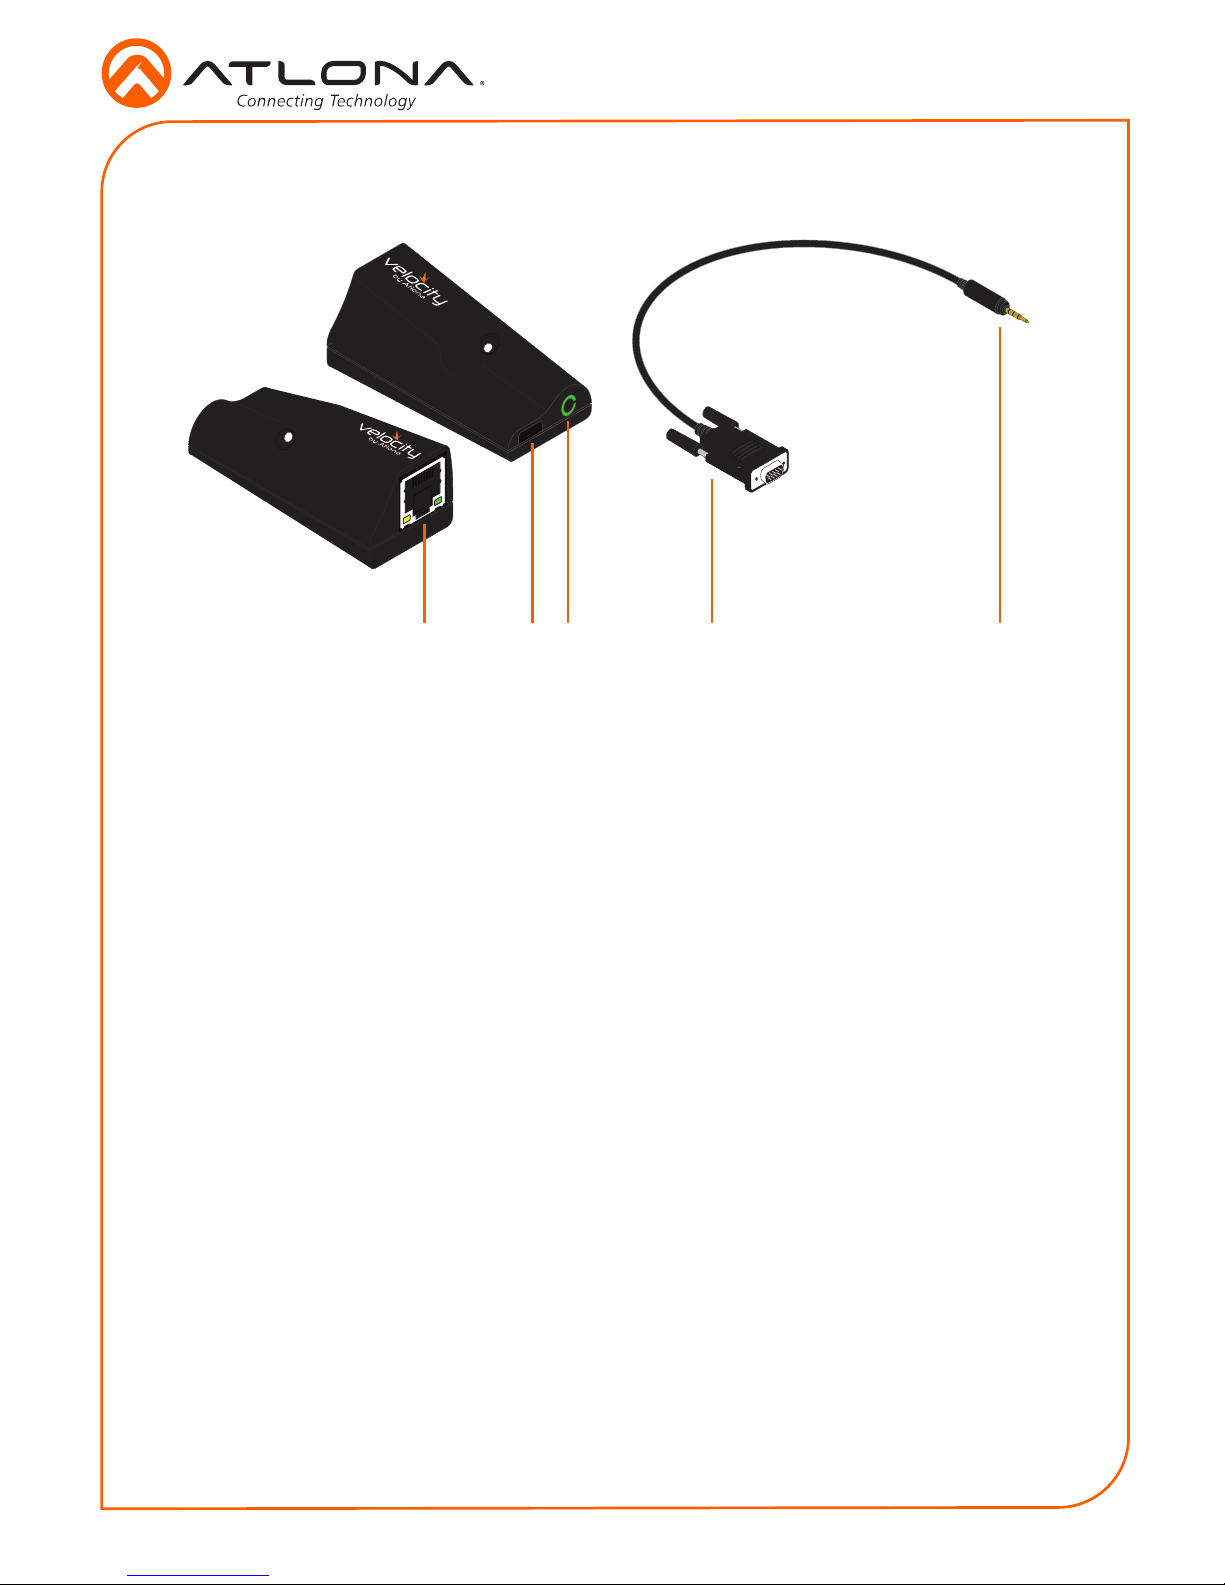
1 2 3 4 5
1 Ethernet
Connect an Ethernet cable from this
port to the same network as the Velocity
Gateway .
2 USB
Not used at this time.
3 3.5mm Port
Connect to a VCC RS-232 3.5mm
connector.
4 RS-232 Connector
Connect the RS-232 connector into the
RS-232 port of the controlled device.
5 3.5mm Connector
Connect the 3.5mm connector to the
3.5mm port of the VCC.
Panel Description
Installation Guide
AT-VCC-RS232-KIT
3
IP
The AT-VCC is set to DHCP by default. If the network does not support DHCP, it will
automatically set the AT-VCC to the static IP of 192.168.1.70 after 30 seconds.
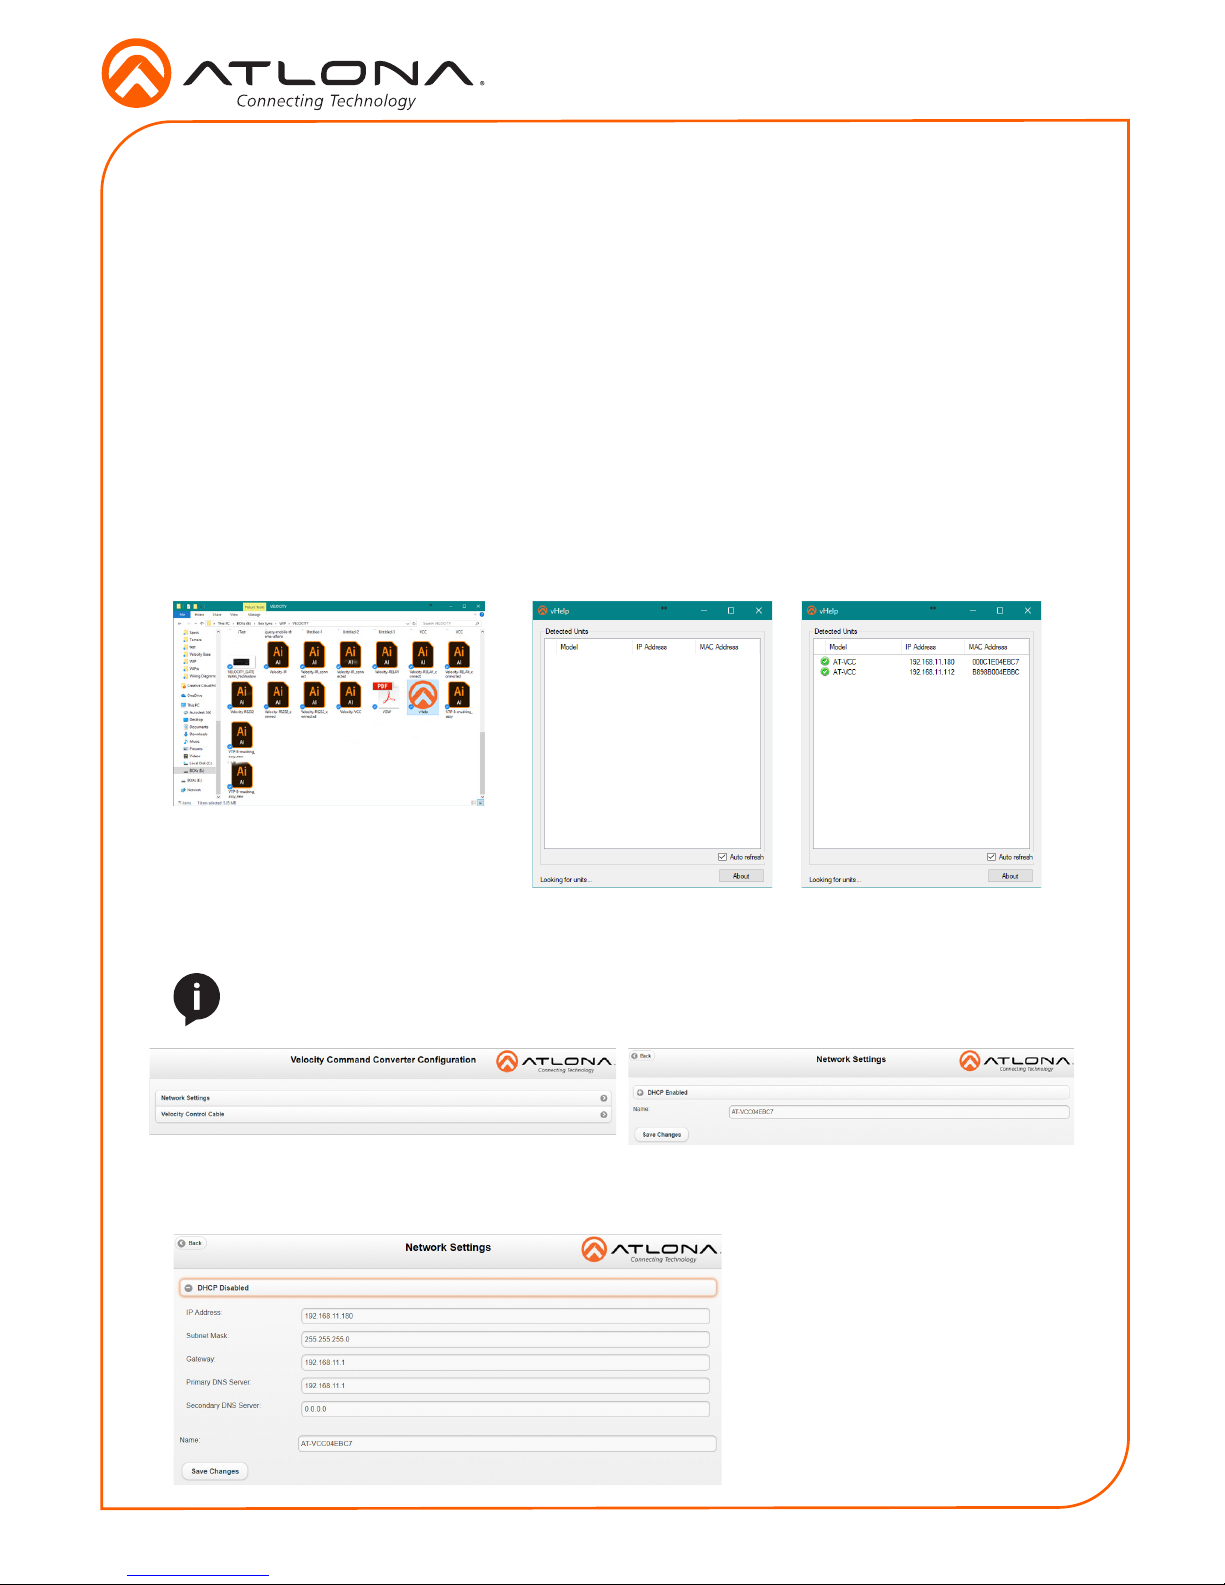
VHelp and webGUI
Velocity will nd the VCC when scan network is used, but if the VCC needs to be set up o site
rst, the software VHelp can be used.
1 Connect the AT-VCC to a network switch (PoE is best if a PoE switch is not available, a
power injector or mini USB to USB cable may be used).
2 Download VHelp from the resource tab of http://atlona.com/AT-VCC-RS232-KIT.
3 Unzip the le to the local PC
4 Double-click the VHelp executable to open the program. Vhelp will start discovery as soon
as the program is opened.
5. Double click on the VCC (to determine the correct one, look on the bottom of the VCC for
the MAC address). The PC default browser will open to the AT-VCC webGUI.
6 Select Network Settings to open the IP conguration page.
7 Select the DHCP Enabled header, this will disable DHCP and allows IP settings to be edited.
8 Type in the IP details to
match the network details
of the Gateway. e.g. If the
Velocity gateway is located at
the IP of 192.168.12.15, then
the VCC should be set to an
IP within the 192.168.12.XXX
range that has not already
been used.
NOTE: It is best to use the webGUI to set up the static IP only, as set up in Velocity
will override any settings selected in the VCC page of the webGUI.
 Loading...