

Atlona AT-RON-442, AT-RON-444 Installation Manual
Installation Guide
1
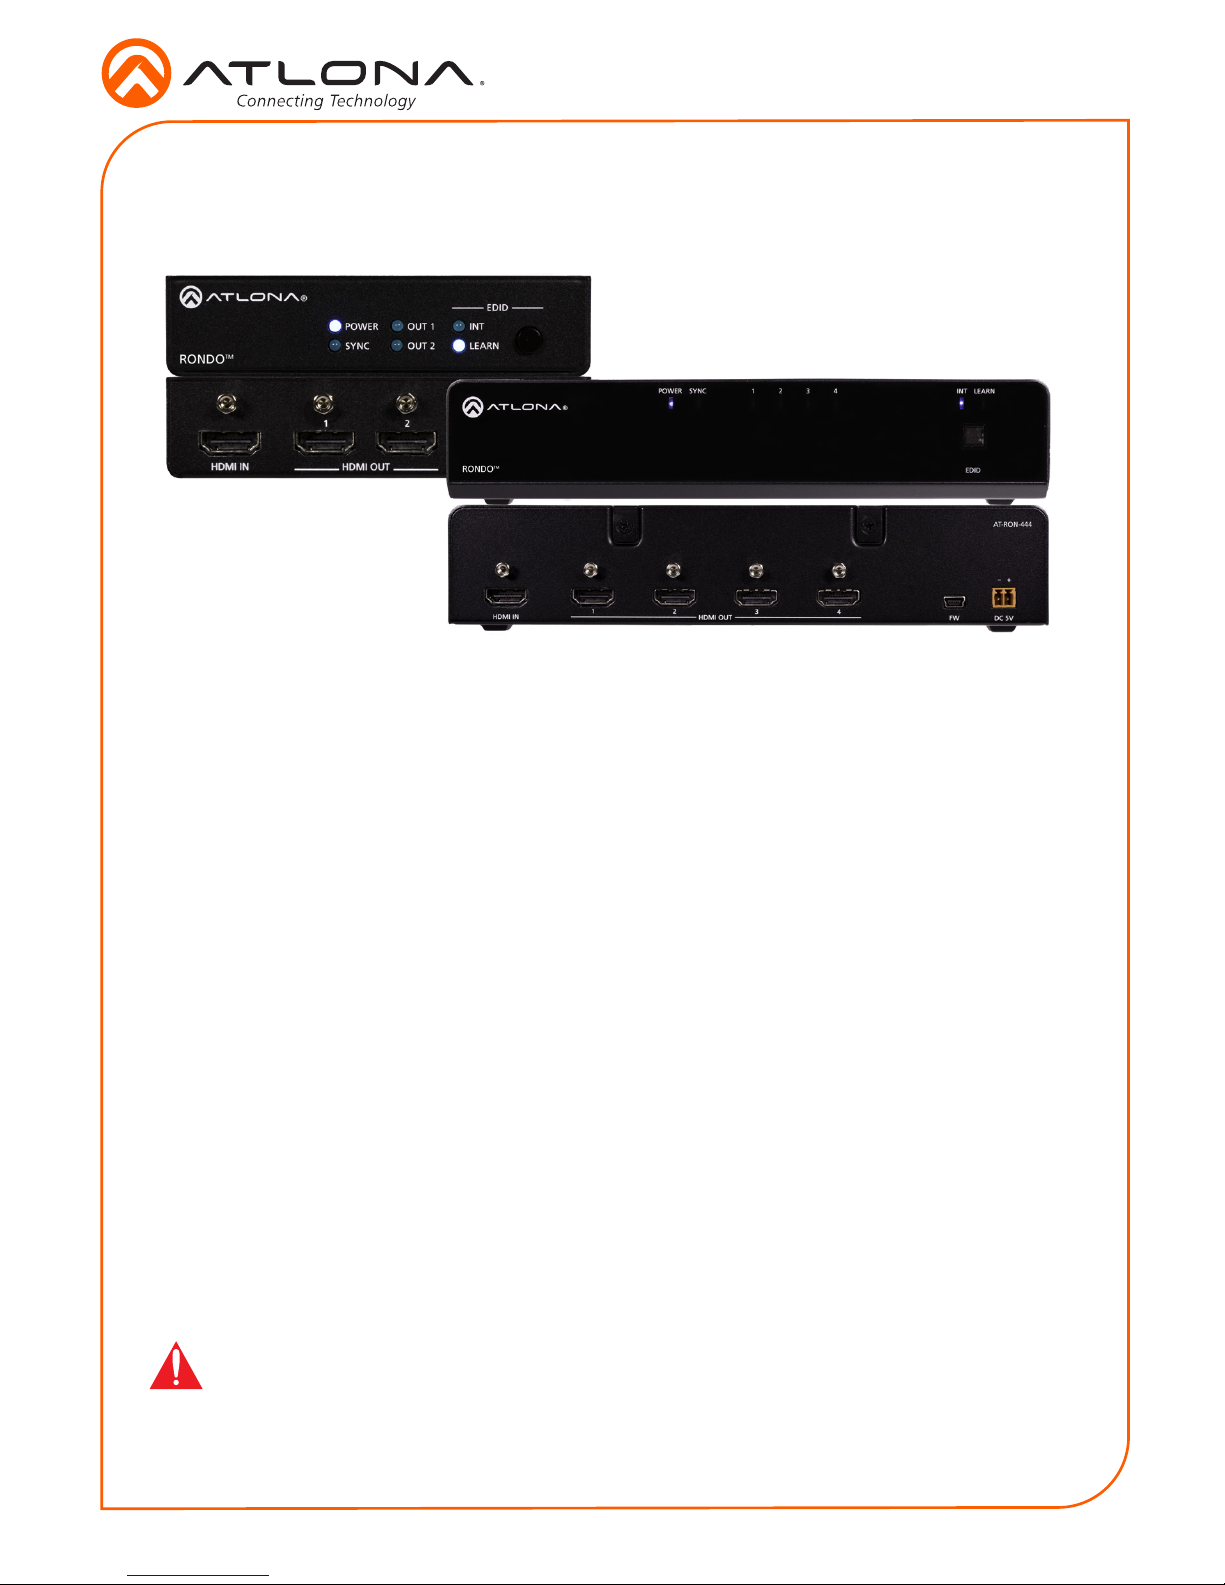
AT-RON-442 / AT-RON-444
4K HDR Two / Four-Output HDMI Distribution Amplier
AT-RON-442 / AT-RON-444
The Atlona Rondo™ series are HDMI distribution ampliers for high dynamic range (HDR)
formats. They are HDCP 2.2 compliant and support 4K/UHD video @ 60 Hz with 4:4:4 chroma
sampling, as well as HDMI data rates up to 18 Gbps. The Rondo series are ideal for applications
requiring the latest as well as emerging 4K/UHD and HDR sources and displays. They are
compatible with all video resolutions, audio formats, and color space formats supported in the
HDMI 2.0a specication, plus the ability to pass metadata for HDR content. The Rondo Series
HDMI distribution ampliers include EDID management features, front panel LED indicators
for power and signal status, and the capability to cascade several units without compromising
performance.
Package Contents
AT-RON-442
1 x AT-RON-442
1 x 5V DC power supply
1 x Phoenix terminal block, 2-pin
2 x Rack ears
4 x Rubber feet
4 x Screws
1 x Installation guide
AT-RON-444
1 x AT-RON-444
1 x 5V DC power supply
1 x Phoenix terminal block, 2-pin
2 x Mounting plates
1 x Long rack ear
1 x Short rack ear
4 x Rubber feet
4 x Screws
1 x Installation guide
IMPORTANT: Visit http://www.atlona.com/product/AT-RON-442 and http://www.atlona.
com/product/AT-RON-444 for the latest rmware updates.
Installation Guide
2
AT-RON-442 / AT-RON-444
HDMI IN
1 2
HDMI OUT FW DC 5V
AT-RON-442
+
POWER
RONDO
SYNC
OUT 1
OUT 2
INT
EDID
LEARN
TM
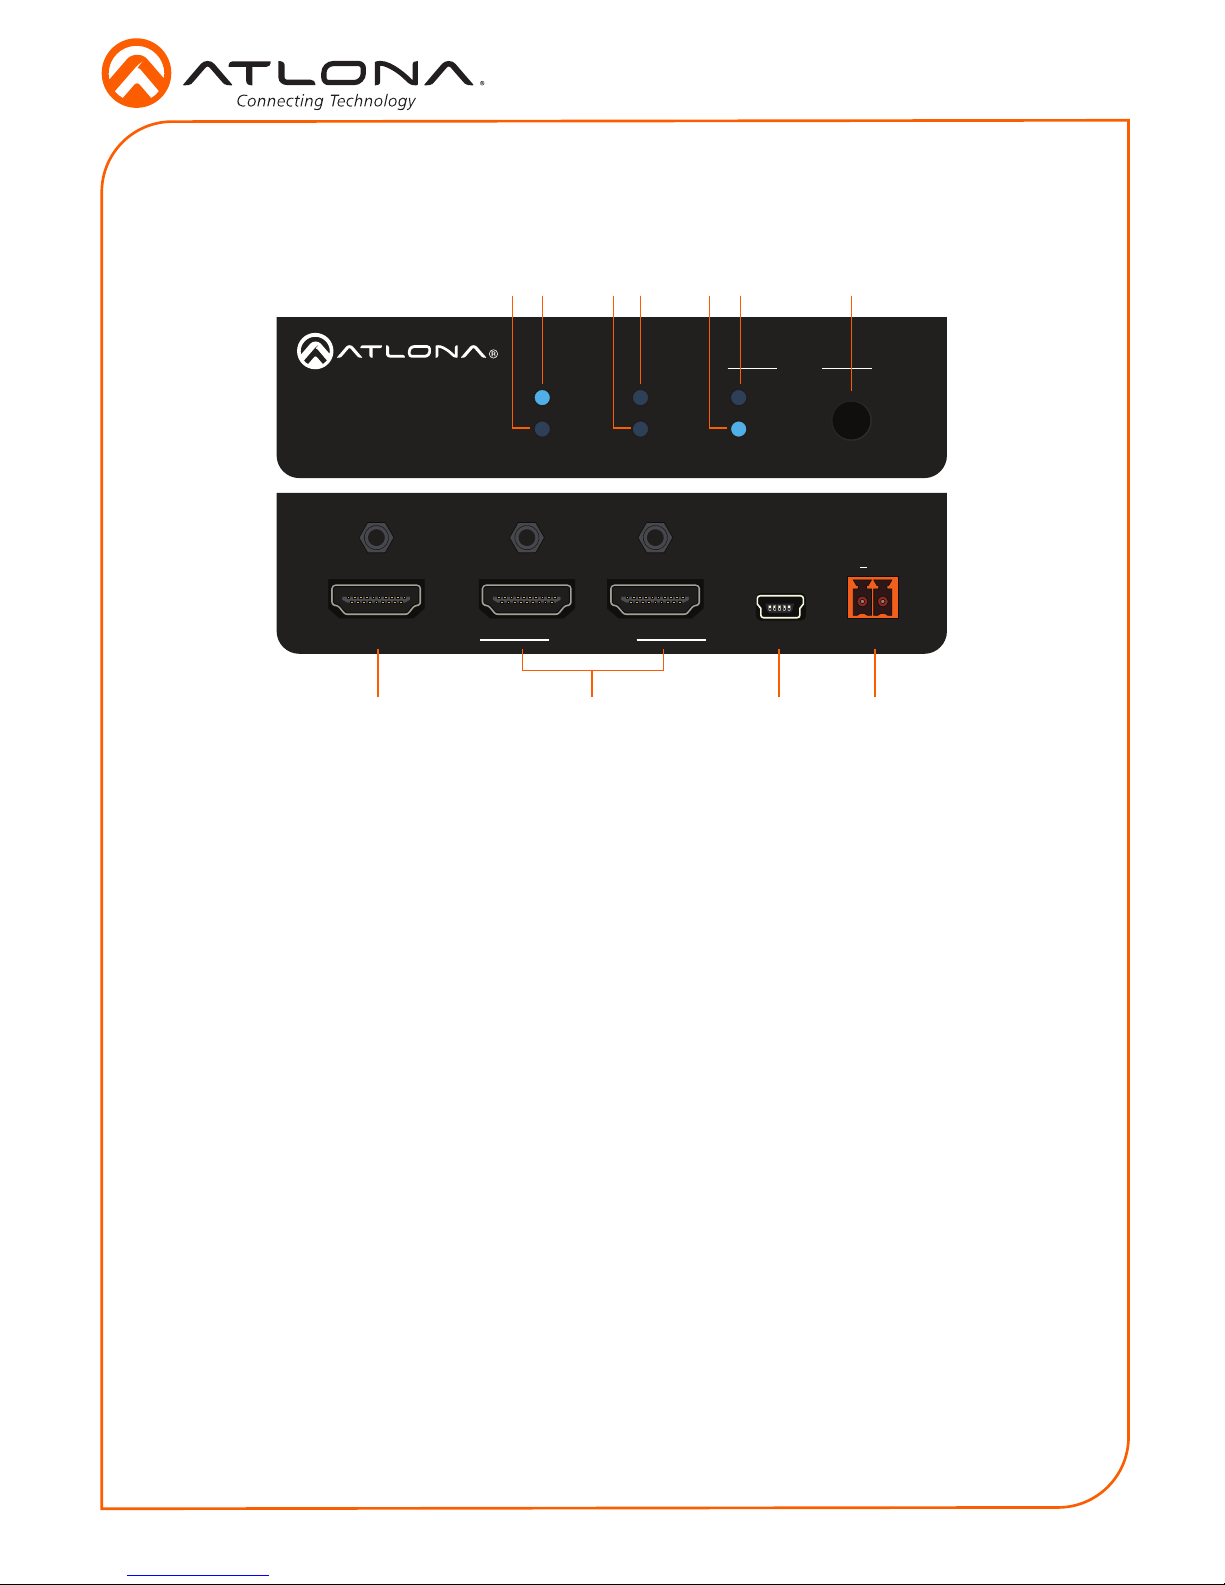
1 POWER
This LED indicator will glow solid blue
when the unit is powered.
2 SYNC
This LED indicator will glow solid blue
when an active source is detected on the
HDMI IN port.
3 OUT 1
This LED indicator will glow solid blue
when a display or other sink device is
connected to the HDMI OUT 1 port.
4 OUT 2
This LED indicator will glow solid blue
when a display or other sink device is
connected to the HDMI OUT 2 port.
5 LEARN
This LED indicator glows solid blue when
the unit is in LEARN mode.
6 INT
This LED indicator glows solid blue when
the unit is using the built-in EDID.
7 EDID button
Press this button to switch between INT
and LEARN modes.
8 HDMI IN
Connect an HDMI cable from this port to a
UHD/HD source.
9 HDMI OUT 1/2
Connect an HDMI cable from each of
these ports to a display or other sink
device.
10 FW
Connect a mini USB cable to this port to
update the rmware.
11 DC 5V
Connect the included 5V DC power
supply to this port.
Panel Descriptions
2 6 7431 5
8 9
10 11
AT-RON-442

Installation Guide
3
AT-RON-442 / AT-RON-444
RONDO
POWER SYNC
INT1 2 3 4
LEARN
EDID
TM
FW
AT-RON-444
HDMI OUT
HDMI IN
4321
DC 5V
+
1 POWER
This LED indicator will glow solid blue
when the unit is powered.
2 SYNC
This LED indicator will glow solid blue
when an active source is detected on the
HDMI IN port.
3 Output Indicators
These LED indicator will glow solid blue
when a display or other sink device is
connected to the HDMI OUT ports.
4 INT
This LED indicator glows solid blue when
the unit is using the built-in EDID.
5 LEARN
This LED indicator glows solid blue when
the unit is in “EDID learn” mode.
6 EDID button
Press this button to switch between
“internal” and “learn” modes.
7 HDMI IN
Connect an HDMI cable from this port to a
UHD/HD source.
8 HDMI OUT 1/2/3/4
Connect an HDMI cable from each of
these ports to a display or other sink
device.
9 FW
Connect a mini USB cable to this port to
update the rmware.
10 DC 5V
Connect the included 5V DC power
supply to this port.
2 5 63 41
7
8
9 10
AT-RON-444
 Loading...