

Atlas Copco 05PE, 09PE, 12PE Safety And Operating Instructions Manual
Safety and operating instructions
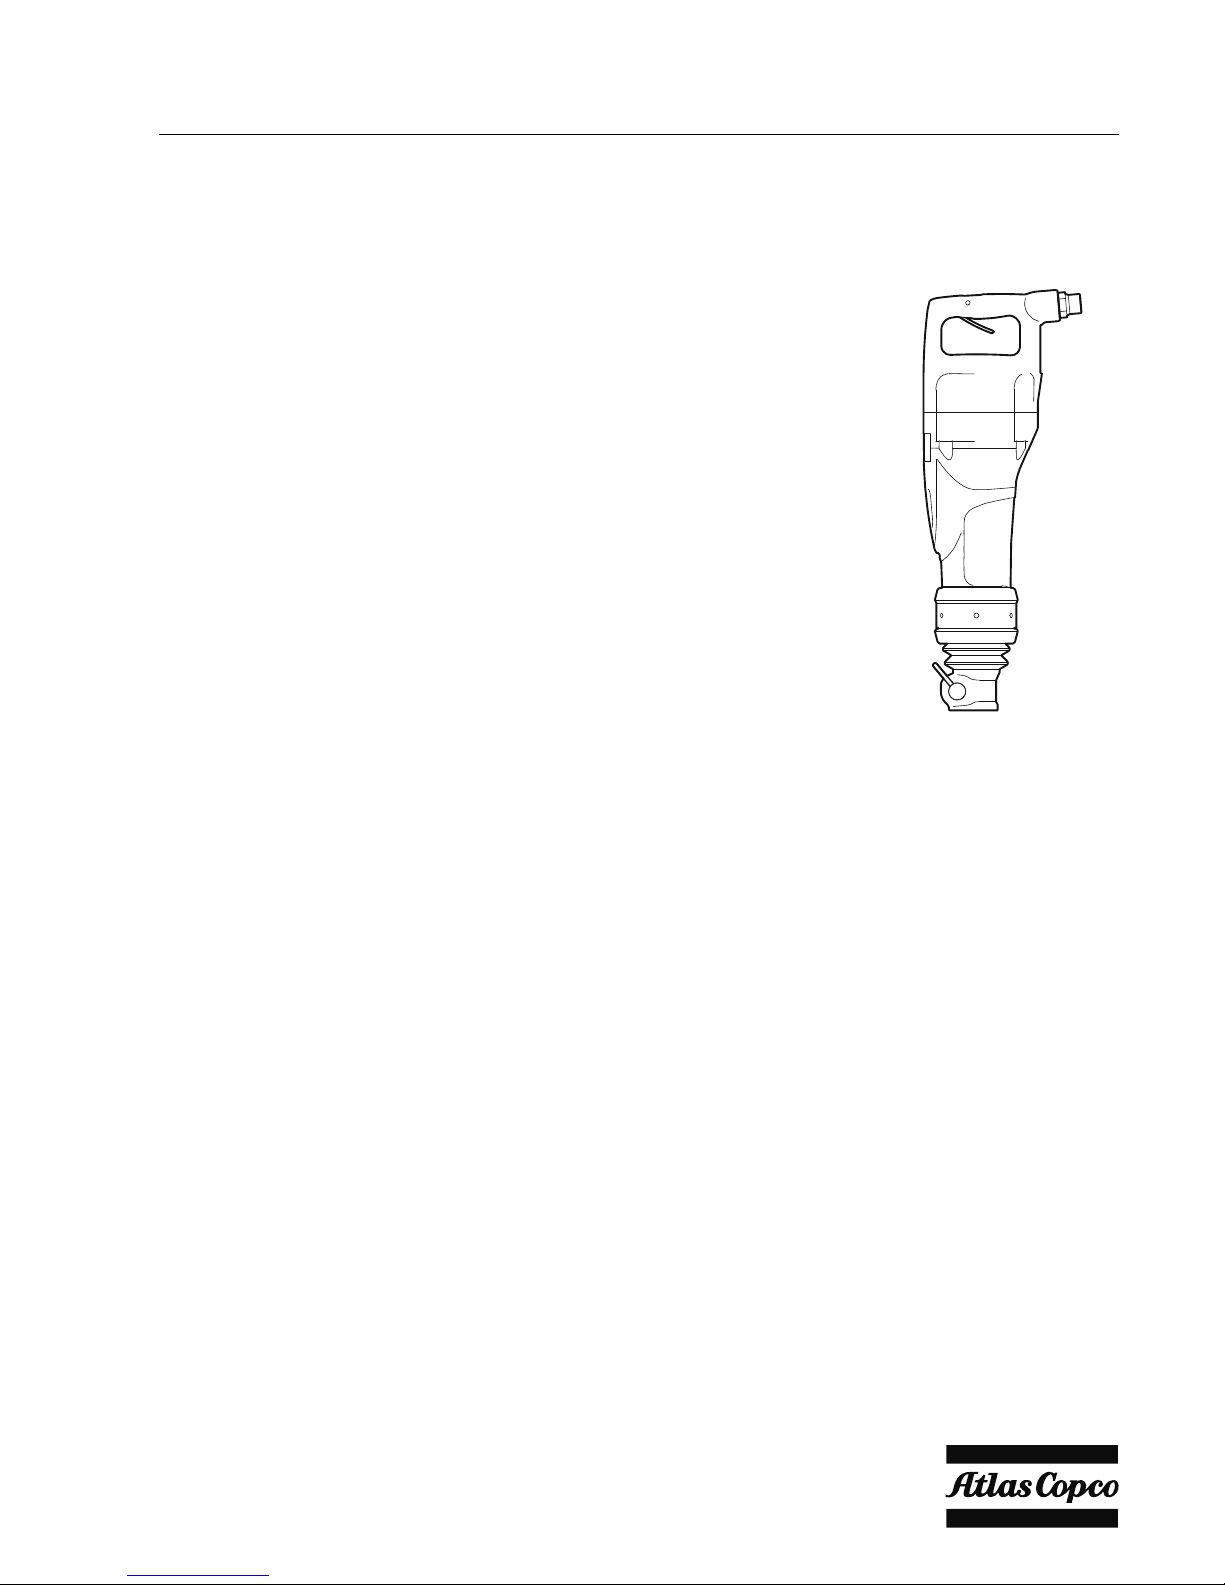
Handheld pneumatic pick hammers
© 2010 Atlas Copco Construction Tools AB | No. 9800 0812 01c | 2010-01-01
Original instructions
TEX
05PE, 09PE, 12PE


Contents
Introduction. . . . . . . . . . . . . . . . . . . . . . . . . . . . . . . . . . . . . . . . . . . . . . . . . . . . . . . . . . . . . . . . . . . . . . . . 5
About the Safety and operating instructions. . . . . . . . . . . . . . . . . . . . . . . . . . . . . . . . . . . . . . . . . . 5
Safety instructions. . . . . . . . . . . . . . . . . . . . . . . . . . . . . . . . . . . . . . . . . . . . . . . . . . . . . . . . . . . . . . . . . 6
Safety signal words. . . . . . . . . . . . . . . . . . . . . . . . . . . . . . . . . . . . . . . . . . . . . . . . . . . . . . . . . . . . . . 6
Personal precautions and qualifications. . . . . . . . . . . . . . . . . . . . . . . . . . . . . . . . . . . . . . . . . . . 6
Personal protective equipment. . . . . . . . . . . . . . . . . . . . . . . . . . . . . . . . . . . . . . . . . . . . . . . . . . . 6
Drugs, alcohol or medication. . . . . . . . . . . . . . . . . . . . . . . . . . . . . . . . . . . . . . . . . . . . . . . . . . . . 6
Installation, precautions. . . . . . . . . . . . . . . . . . . . . . . . . . . . . . . . . . . . . . . . . . . . . . . . . . . . . . . . . . 6
Operation, precautions. . . . . . . . . . . . . . . . . . . . . . . . . . . . . . . . . . . . . . . . . . . . . . . . . . . . . . . . . . . 7
Maintenance, precautions. . . . . . . . . . . . . . . . . . . . . . . . . . . . . . . . . . . . . . . . . . . . . . . . . . . . . . . 10
Storage, precautions. . . . . . . . . . . . . . . . . . . . . . . . . . . . . . . . . . . . . . . . . . . . . . . . . . . . . . . . . . . . 10
Overview. . . . . . . . . . . . . . . . . . . . . . . . . . . . . . . . . . . . . . . . . . . . . . . . . . . . . . . . . . . . . . . . . . . . . . . . . 11
Design and function. . . . . . . . . . . . . . . . . . . . . . . . . . . . . . . . . . . . . . . . . . . . . . . . . . . . . . . . . . . . 11
Choosing the correct pneumatic hammer for a task. . . . . . . . . . . . . . . . . . . . . . . . . . . . . . . 11
Main parts. . . . . . . . . . . . . . . . . . . . . . . . . . . . . . . . . . . . . . . . . . . . . . . . . . . . . . . . . . . . . . . . . . . . . 11
Labels. . . . . . . . . . . . . . . . . . . . . . . . . . . . . . . . . . . . . . . . . . . . . . . . . . . . . . . . . . . . . . . . . . . . . . . . . 12
Data plate. . . . . . . . . . . . . . . . . . . . . . . . . . . . . . . . . . . . . . . . . . . . . . . . . . . . . . . . . . . . . . . . . . . . 12
Noise level label. . . . . . . . . . . . . . . . . . . . . . . . . . . . . . . . . . . . . . . . . . . . . . . . . . . . . . . . . . . . . . 12
Safety label. . . . . . . . . . . . . . . . . . . . . . . . . . . . . . . . . . . . . . . . . . . . . . . . . . . . . . . . . . . . . . . . . . 12
Installation. . . . . . . . . . . . . . . . . . . . . . . . . . . . . . . . . . . . . . . . . . . . . . . . . . . . . . . . . . . . . . . . . . . . . . . . 12
Hoses and connections. . . . . . . . . . . . . . . . . . . . . . . . . . . . . . . . . . . . . . . . . . . . . . . . . . . . . . . . . 12
Methods to prevent freezing. . . . . . . . . . . . . . . . . . . . . . . . . . . . . . . . . . . . . . . . . . . . . . . . . . . . . 12
Connecting a water separator. . . . . . . . . . . . . . . . . . . . . . . . . . . . . . . . . . . . . . . . . . . . . . . . . . . 13
Lubrication. . . . . . . . . . . . . . . . . . . . . . . . . . . . . . . . . . . . . . . . . . . . . . . . . . . . . . . . . . . . . . . . . . . . . 13
Insertion tool. . . . . . . . . . . . . . . . . . . . . . . . . . . . . . . . . . . . . . . . . . . . . . . . . . . . . . . . . . . . . . . . . . . 13
Selecting the right insertion tool. . . . . . . . . . . . . . . . . . . . . . . . . . . . . . . . . . . . . . . . . . . . . . . . . 13
Narrow chisel. . . . . . . . . . . . . . . . . . . . . . . . . . . . . . . . . . . . . . . . . . . . . . . . . . . . . . . . . . . . . . . . . 13
Moil point . . . . . . . . . . . . . . . . . . . . . . . . . . . . . . . . . . . . . . . . . . . . . . . . . . . . . . . . . . . . . . . . . . . . 13
Wide bladed chisel. . . . . . . . . . . . . . . . . . . . . . . . . . . . . . . . . . . . . . . . . . . . . . . . . . . . . . . . . . . . 13
Fitting and removing the insertion tool. . . . . . . . . . . . . . . . . . . . . . . . . . . . . . . . . . . . . . . . . . . 13
Operation. . . . . . . . . . . . . . . . . . . . . . . . . . . . . . . . . . . . . . . . . . . . . . . . . . . . . . . . . . . . . . . . . . . . . . . . . 14
Start and stop. . . . . . . . . . . . . . . . . . . . . . . . . . . . . . . . . . . . . . . . . . . . . . . . . . . . . . . . . . . . . . . . . . 14
Operating. . . . . . . . . . . . . . . . . . . . . . . . . . . . . . . . . . . . . . . . . . . . . . . . . . . . . . . . . . . . . . . . . . . . . . 14
Starting a cut. . . . . . . . . . . . . . . . . . . . . . . . . . . . . . . . . . . . . . . . . . . . . . . . . . . . . . . . . . . . . . . . . 14
Breaking. . . . . . . . . . . . . . . . . . . . . . . . . . . . . . . . . . . . . . . . . . . . . . . . . . . . . . . . . . . . . . . . . . . . . 15
When taking a break. . . . . . . . . . . . . . . . . . . . . . . . . . . . . . . . . . . . . . . . . . . . . . . . . . . . . . . . . . . . 15
Maintenance. . . . . . . . . . . . . . . . . . . . . . . . . . . . . . . . . . . . . . . . . . . . . . . . . . . . . . . . . . . . . . . . . . . . . . 15
Every day. . . . . . . . . . . . . . . . . . . . . . . . . . . . . . . . . . . . . . . . . . . . . . . . . . . . . . . . . . . . . . . . . . . . . . 15
Periodic maintenance. . . . . . . . . . . . . . . . . . . . . . . . . . . . . . . . . . . . . . . . . . . . . . . . . . . . . . . . . . . 15
Tightening torques. . . . . . . . . . . . . . . . . . . . . . . . . . . . . . . . . . . . . . . . . . . . . . . . . . . . . . . . . . . . . 16
Assembly and disassembly of the valve housing. . . . . . . . . . . . . . . . . . . . . . . . . . . . . . . . . . 16
Troubleshooting. . . . . . . . . . . . . . . . . . . . . . . . . . . . . . . . . . . . . . . . . . . . . . . . . . . . . . . . . . . . . . . . . . . 16
Storage. . . . . . . . . . . . . . . . . . . . . . . . . . . . . . . . . . . . . . . . . . . . . . . . . . . . . . . . . . . . . . . . . . . . . . . . . . . 17
Disposal. . . . . . . . . . . . . . . . . . . . . . . . . . . . . . . . . . . . . . . . . . . . . . . . . . . . . . . . . . . . . . . . . . . . . . . . . . 17
Technical data. . . . . . . . . . . . . . . . . . . . . . . . . . . . . . . . . . . . . . . . . . . . . . . . . . . . . . . . . . . . . . . . . . . . . 18
Machine data. . . . . . . . . . . . . . . . . . . . . . . . . . . . . . . . . . . . . . . . . . . . . . . . . . . . . . . . . . . . . . . . . . . 18
Noise and vibration declaration statement. . . . . . . . . . . . . . . . . . . . . . . . . . . . . . . . . . . . . . . . 18
3© 2010 Atlas Copco Construction Tools AB | No. 9800 0812 01c | 2010-01-01
Original instructions
ContentsTEX 05PE, 09PE, 12PE

Additional vibration information. . . . . . . . . . . . . . . . . . . . . . . . . . . . . . . . . . . . . . . . . . . . . . . . . 18
Noise and vibration data. . . . . . . . . . . . . . . . . . . . . . . . . . . . . . . . . . . . . . . . . . . . . . . . . . . . . . . . 19
EC Declaration of Conformity. . . . . . . . . . . . . . . . . . . . . . . . . . . . . . . . . . . . . . . . . . . . . . . . . . . . . . 20
EC Declaration of Conformity (EC Directive 2006/42/EC). . . . . . . . . . . . . . . . . . . . . . . . . . . 20
© 2010 Atlas Copco Construction Tools AB | No. 9800 0812 01c | 2010-01-01
Original instructions
4
TEX 05PE, 09PE, 12PEContents

Introduction
Thank you for choosing a product from Atlas Copco. Since 1873, we have been
committed to finding new and better ways of fulfilling our customers' needs.
Through the years, we have developed innovative and ergonomic product
designs that have helped customers improve and rationalize their daily work.
Atlas Copco has a strong global sales and service network, consisting of
customer centers and distributors worldwide. Our experts are highly trained
professionals with extensive product knowledge and application experience.
In all corners of the world, we can offer product support and expertise to ensure
that our customers can work at maximum efficiency at all times.
For more information please visit: www.atlascopco.com
Atlas Copco Construction Tools AB
105 23 Stockholm
Sweden
About the Safety and operating
instructions
The aim of the instructions is to provide you with knowledge of how to use the
pneumatic pick hammer in an efficient, safe way. The instructions also give
you advice and tell you how to perform regular maintenance on the pneumatic
pick hammer.
Before using the pneumatic pick hammer for the first time you must read these
instructions carefully and understand all of them.
5© 2010 Atlas Copco Construction Tools AB | No. 9800 0812 01c | 2010-01-01
Original instructions
Safety and operating instructionsTEX 05PE, 09PE, 12PE

Safety instructions
To reduce the risk of serious injury or death to
yourself or others, read and understand the Safety
and operating instruction before installing, operating,
repairing, maintaining, or changing accessories on
the machine.
Post this Safety and operating instruction at work
locations, provide copies to employees, and make
sure that everyone reads the Safety and operating
instruction before operating or servicing the machine.
In addition, the operator or the operator's employer
must assess the specific risks that may be present
as a result of each use of the machine.
Safety signal words
The safety signal words Danger, Warning and
Caution have the following meanings:
Indicates a hazardous situation
which, if not avoided, will result
in death or serious injury.
DANGER
Indicates a hazardous situation
which, if not avoided, could
result in death or serious injury.
WARNING
Indicates a hazardous situation
which, if not avoided, could
result in minor or moderate
injury.
CAUTION
Personal precautions and
qualifications
Only qualified and trained persons may operate or
maintain the machine. They must be physically able
to handle the bulk, weight, and power of the tool.
Always use your common sense and good
judgement.
Personal protective equipment
Always use approved protective equipment.
Operators and all other persons in the working area
must wear protective equipment, including at a
minimum:
● Protective helmet
● Hearing protection
● Impact resistant eye protection with side protection
● Respiratory protection when appropriate
● Protective gloves
● Proper protective boots
● Appropriate work overall or similar clothing (not
loose-fitting) that covers your arms and legs.
Drugs, alcohol or medication
WARNING Drugs, alcohol or medication
Drugs, alcohol or medication may impair your
judgment and powers of concentration. Poor
reactions and incorrect assessments can lead to
severe accidents or death.
► Never use the machine when you are tired or
under the influence of drugs, alcohol or
medication.
► No person who is under the influence of drugs,
alcohol or medication may operate the machine.
Installation, precautions
DANGER Whipping air hose
A compressed air hose that comes loose can lash
around and cause personal injury or death. To reduce
this risk:
► Check that the compressed air hose and the
connections are not damaged, replace if
necessary.
► Check that all compressed air connections are
properly attached.
► Never carry a pneumatic machine by the air hose.
► Never attempt to disconnect a compressed air
hose that is pressurized. First switch off the
compressed air at the compressor and then bleed
the machine by activating the start and stop
device.
► Never point a compressed air hose at yourself or
anyone else. To avoid the risk of getting injured,
never use compressed air to blow for example
dust, dirt etc. from your clothes.
► Do not use quick disconnect couplings at tool inlet.
Use hardened steel (or material with comparable
shock resistance) threaded hose fittings.
► Whenever universal twist couplings (claw
couplings) are used, we recommend that lock pins
are installed and whipcheck safety cables are used
to safeguard against possible hose to tool and
hose to hose connection failure.
© 2010 Atlas Copco Construction Tools AB | No. 9800 0812 01c | 2010-01-01
Original instructions
6
TEX 05PE, 09PE, 12PESafety and operating instructions

WARNING Ejected insertion tool
If the tool retainer on the machine is not in a locked
position, the inserted tool can be ejected with force,
which can cause personal injury.
► Never start the machine while changing the
insertion tool.
► Before changing the insertion tool or accessories,
stop the machine, switch off the power supply and
bleed the machine by activating the start and stop
device.
► Never point the inserted tool at yourself or anyone
else.
► Make sure that the insertion tool is fully inserted
and the tool retainer is in a locked position before
the machine is started.
► Check the locking function by pulling the inserted
tool outwards forcefully.
WARNING Moving or slipping insertion tool
An incorrect dimension of the inserted tool’s shank
can result in that the inserted tool is lost or is slipping
out during operation. Risk of severe injury or crushed
hands and fingers.
► Check that the insertion tool has the shank length
and dimensions that the machine is intended for.
► Never use an insertion tool without a collar.
Operation, precautions
DANGER Explosion hazard
If an insertion tool comes into contact with explosives
or explosive gases, an explosion could occur. When
working on certain materials and when using certain
materials in machine parts, sparks and ignition can
occur. Explosions will lead to severe injuries or death.
► Never operate the machine in any explosive
environment.
► Never use the machine near flammable materials,
fumes or dust.
► Make sure that there are no undetected sources
of gas or explosives.
WARNING Unexpected movements
The inserted tool is exposed to heavy strains when
the machine is used. The inserted tool may break
due to fatigue after a certain amount of use. If the
inserted tool breaks or gets stuck, there may be
sudden and unexpected movement that can cause
injuries. Furthermore, losing your balance or slipping
may cause injury.
► Make sure that you always keep a stable position
with your feet as far apart as your shoulder width,
and keeping a balanced body weight.
► Always inspect the equipment prior to use. Never
use the equipment if you suspect that it is
damaged.
► Make sure that the handles are clean and free of
grease and oil.
► Keep your feet away from the inserted tool.
► Stand firmly and always hold on to the machine
with both hands.
► Never start the machine when it is lying on the
ground.
► Never ‘ride’ on the machine with one leg over the
handle.
► Never strike or abuse the equipment.
► Check regularly for wear on the insertion tool, and
check whether there are any signs of damage or
visible cracks.
► Pay attention and look at what you are doing.
7© 2010 Atlas Copco Construction Tools AB | No. 9800 0812 01c | 2010-01-01
Original instructions
Safety and operating instructionsTEX 05PE, 09PE, 12PE

WARNING Dust and fume hazard
Dusts and/or fumes generated or dispersed when
using the machine may cause serious and permanent
respiratory disease, illness, or other bodily injury (for
example, silicosis or other irreversible lung disease
that can be fatal, cancer, birth defects, and/or skin
inflammation).
Some dusts and fumes created by drilling, breaking,
hammering, sawing, grinding and other construction
activities contain substances known to the State of
California and other authorities to cause respiratory
disease, cancer, birth defects, or other reproductive
harm. Some examples of such substances are:
● Crystalline silica, cement, and other masonry
products.
● Arsenic and chromium from chemically-treated
rubber.
● Lead from lead-based paints.
Dust and fumes in the air can be invisible to the
naked eye, so do not rely on eye sight to determine
if there is dust or fumes in the air.
To reduce the risk of exposure to dust and fumes,
do all of the following:
► Perform site-specific risk assessment. The risk
assessment should include dust and fumes
created by the use of the machine and the
potential for disturbing existing dust.
► Use proper engineering controls to minimize the
amount of dust and fumes in the air and to
minimize build-up on equipment, surfaces,
clothing, and body parts. Examples of controls
include: exhaust ventilation and dust collection
systems, water sprays, and wet drilling. Control
dusts and fumes at the source where possible.
Make sure that controls are properly installed,
maintained and correctly used.
► Wear, maintain and correctly use respiratory
protection as instructed by your employer and as
required by occupational health and safety
regulations. The respiratory protection must be
effective for the type of substance at issue (and if
applicable, approved by relevant governmental
authority).
► Work in a well ventilated area.
► If the machine has an exhaust, direct the exhaust
so as to reduce disturbance of dust in a dust filled
environment.
► Operate and maintain the machine as
recommended in the operating and safety
instructions
► Select, maintain and replace consumables/
inserted tools/ other accessory as recommended
in the operating and safety instructions. Incorrect
selection or lack of maintenance of consumables/
inserted tools/ other accessories may cause an
unnecessary increase in dust or fumes.
► Wear washable or disposable protective clothes
at the worksite, and shower and change into clean
clothes before leaving the worksite to reduce
exposure of dust and fumes to yourself, other
persons, cars, homes, and other areas.
► Avoid eating, drinking, and using tobacco products
in areas where there is dust or fumes.
► Wash your hands and face thoroughly as soon as
possible upon leaving the exposure area, and
always before eating, drinking, using tobacco
products, or making contact with other persons.
► Comply with all applicable laws and regulations,
including occupational health and safety
regulations.
► Participate in air monitoring, medical examination
programs, and health and safety training programs
provided by your employer or trade organizations
and in accordance with occupational health and
safety regulations and recommendations. Consult
with physicians experienced with relevant
occupational medicine.
► Work with your employer and trade organization
to reduce dust and fume exposure at the worksite
and to reduce the risks. Effective health and safety
programs, policies and procedures for protecting
workers and others against harmful exposure to
dust and fumes should be established and
implemented based on advice from health and
safety experts. Consult with experts.
WARNING Projectiles
Failure of the work piece, of accessories, or even of
the machine itself may generate high velocity
projectiles. During operating, splinters or other
particles from the working material may become
projectiles and cause personal injury by striking the
operator or other persons. To reduce these risk:
► Use approved personal protective equipment and
safety helmet, including impact resistant eye
protection with side protection.
► Make sure that no unauthorised persons trespass
into the working zone.
► Keep the workplace free from foreign objects.
► Ensure that the work piece is securely fixed.
© 2010 Atlas Copco Construction Tools AB | No. 9800 0812 01c | 2010-01-01
Original instructions
8
TEX 05PE, 09PE, 12PESafety and operating instructions
 Loading...