

Page 1
3.1 HSB
High Performance
Front Channel Speaker Base
with powered H-PAS Subwoofer
Instruction Manual
Page 2

2
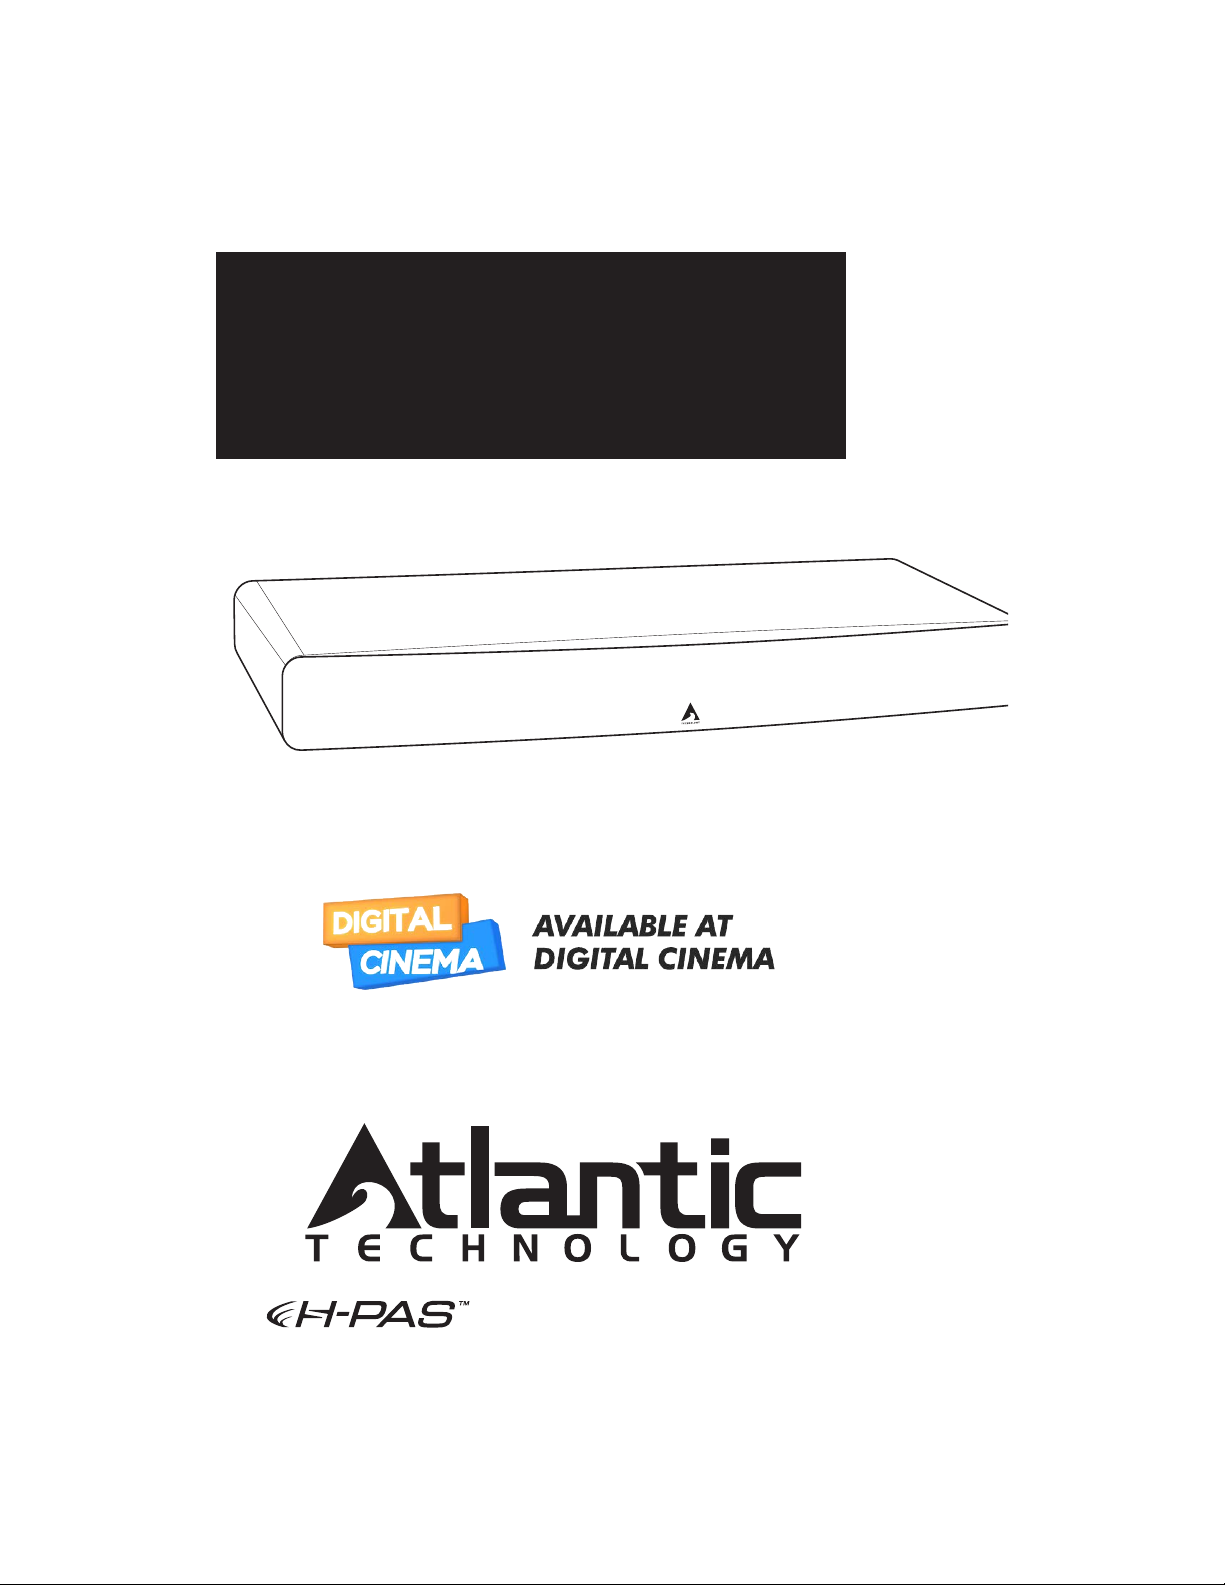
3.1 HSB Speaker Base System with H-PAS
Model: 3.1 HSB
H-PAS SPEAKER BASE SYSTEM
Thank you for choosing Atlantic Technology products. Your new speaker is
precision-crafted to give you years of enjoyable, trouble-free service. This manual
covers the Atlantic Technology 3.1 HSB H-PAS Speaker Base system. It will show you
how to incorporate this speaker into your home theater setup.
The 3.1 HSB can be used with current and past sound formats from Dolby, DTS and
Auro.
Table of Contents
3 Important Safety information
5 Description
5 Placement
6 Connecting Your System
8 Recommended set up
9 Care of your Speaker
9 Trouble shooting guide
10 Specifi cations
11 Warranty
For Future Reference
Record the serial number and date of purchase for the speaker here.
The serial number is found on the back of the enclosure.
Serial Number Date of Purchase
The contents of this manual are Copyright © 2015 by Atlantic Technology International, Corp., and may not
be duplicated or reproduced by any means, whether physical, electronic or otherwise without prior written
consent from Atlantic Technology International, Corp.
Atlantic Technology and the Atlantic Technology logo are registered trademarks of Atlantic Technology
International, Corp.
U.S. Patent: 8,094,855 B2 H-PAS is a trademark of Atlantic Technology International, Corp. All rights reserved.
Specifi cations are those in effect at the time of printing. As part of our ongoing program of continuous
product improvement, Atlantic Technology reserves the right to change specifi cations or appearance at any
time without notice or obligation to modify existing product.
Page 3

Instruction Manual
Important Safety Information
This product was designed and manufactured to
meet strict quality and safety standards. There are,
however, some installation and operation precautions which you should be particularly aware of.
1. Read Instructions. All the safety and operating
instructions should be read before the system
is operated.
2. Retain Instructions. The safety and operating
instructions should be retained for future
reference.
3. Heed Warnings. All warnings on the appliances and in the operating instructions should
be adhered to.
4. Cleaning. Unplug the appliance from wall
outlet before cleaning. Do not use liquid
cleaners or aerosol cleaners. Use a damp
cloth for cleaning.
5. Attachments. Do not use attachments not
recommended by the product manufacturer
as they may cause hazards.
6. Water and Moisture. Do not use this appliance near water: for example, near a bath
tub, washbowl, kitchen sink, or laundry tub,
in a wet basement, or near a swimming pool,
and the like.
7. Accessories. Do not place this appliance on an
unstable stand, bracket, or table. The product
may fall, causing serious injury to a child or
adult, and serious damage to the product.
8. Power Sources. This product should be
operated only from the type of power source
indicated on the marking labels. If you are not
sure of the type of power supply to your home,
consult your dealer or local power company.
9. Grounding or Polarization. This product may
be equipped with polarized alternating-current
line plugs (plugs having one blade wider than
the other). This plug will fi t into the power
outlet only one way. This is a safety feature.
If you are unable to insert the plug fully into
the outlet, try reversing the plug. If the plug
should still fail to fi t, contact your electrician
to replace your obsolete outlet. Do not defeat
the safety purpose of the polarized plug.
3
10. Power Cord Protection. Power-supply cord
should be routed so that it is not likely to be
walked on or pinched by items placed upon
or against it, paying particular attention to
cords at plugs, convenience receptacles, and
the point where they exit from the appliances.
11. Lightning. Unplug the product from the
wall outlet for added protection during a
lightning storm, or when it is left unattended
and unused for long periods of time. This
will prevent damage to the product due to
lightning and power-line surges.
12. Overloading. Do not overload wall outlets and
extension cords as this can result in a risk of
fi re or electric shock.
13. Object and Liquid Entry. Never push objects of
any kind into this product through openings,
as they may touch dangerous voltage points
or short out parts that could result in a fi re or
electric shock. Never spill liquid of any kind
on this product.
14. Servicing. Do not attempt to service this
product yourself, as opening or removing
covers may expose you to dangerous voltage or other hazards. Refer all servicing to
qualifi ed service personnel.
15. Damage Requiring Service. Unplug this
product from wall outlets and refer servicing to qualifi ed service personnel under the
following conditions:
a. When the power supply cord or plug is
damaged.
b. If liquid has been spilled, or objects have
fallen into the product.
c. If the product has been exposed to rain
or water.
d. If the product does not operate normally
by following the operating instructions. Adjust only those controls that are covered by
the operating instructions, as an improper
adjustment of other controls may result in
damage and will often require extensive
work by a qualifi ed technician to restore
the product to its normal operation.
e. If the product has been dropped or the
Page 4

4 Important Saftey Information (cond't)
3.1 HSB Speaker Base System with H-PAS
cabinet has been damaged.
f. When the product exhibits a distinct
change in performance this indicates a need
for service.
16. Replacement Parts. When replacement parts
are required, be sure the service technician
has used replacement parts specifi ed by the
manufacturer or that the parts have the same
characteristics as the original part. Unauthorized substitutions may result in fi re, electric
shock or other hazards.
17. Safety Check. Upon completion of any service
or repairs to this product, ask the service
technician to perform safety checks to determine that the product is in proper operating
condition.
18. This product is not intended for use outdoors.
CAUTION: To prevent electric shock, match
wide blade of plug to wide slot, insert
fully.
CAUTION: No naked flame sources,
such as candles, should be placed on
the product.
PRODUCT DISPOSAL: Certain international, national and/or local
laws and/or regulations may apply
regarding the disposal of this product. For further detailed information,
please contact the retailer where you
purchased this product or the Atlantic Technology
Importer/Distributor in your country. A listing of
Atlantic Technology Importer/Distributors can be
found on the Atlantic Technology website www.
atlantictechnology.com or by contacting Atlantic
Technology at: 343 Vanderbilt Avenue, Norwood,
MA 02062, USA. Phone: 781.762.6300.
NOTE: This equipment has been tested and found to
comply with the limits for a Class B digital device,
pursuant to part 15 of the FCC Rules. These limits
are designed to provide reasonable protection
against harmful interference in a residential installation. This equipment generates, and can radiate
radio frequency energy, and, if not installed and
used in accordance with the instructions, may cause
harmful interference to radio communications.
However, there is no guarantee that interference
will not occur in a particular installation. If this
equipment does cause harmful interference to radio
or television reception, which can be determined
by turning the equipment off and on, the user is
encouraged to try to correct the interference by one
or more of the following measures:
• Reorient or relocate the receiving antenna.
• Increase the separation between the equipment
and receiver.
• Connect the equipment into an outlet on a circuit
different from that to which the receiver is connected.
• Consult the dealer or an experienced technician
for help.
Unpacking the Speaker
Use care when unpacking the speaker.
Remember to save all packing materials
until you are certain that the speaker
has not suffered damage in shipment. If
you fi nd such damage, either visible or
internal, contact your dealer immediately.
We recommend you save the carton,
packing pieces and plastic bags that came
with your speaker. They may be useful if
you move or need to ship your speaker for
any reason.
Page 5

Description
Instruction Manual
5
Description
The 3.1 HSB Speaker Base is an integrated high-performance loudspeaker system containing all three front channel speakers (LCR) and a powered subwoofer in a single
elegant, slim enclosure. Used in tandem with any A/V receiver and you have a spectacular full featured home theater system. The subwoofer is powered by an internal 80
watt amplifi er that uses the SUB line level output from the A/V receiver. The subwoofer
also incorporates H-PAS technology to produce the lowest frequency response possible
from a cabinet this size, down to room shaking 35 Hz. The front channels require the
external amplifi ers, found in all A/V receivers to power them. All this is wrapped up in a
4 3/4" tall cabinet designed to fi t directly under your fl at screen TV.
The 3.1HSB is designed for use with the latest generation of fl at screen video displays.
The advanced design of this speaker base delivers detailed, articulate sound for a dramatic viewing experience. Each of the three separate internal chambers contains a
complete speaker system. Each speaker system is comprised of two 3 ½-inch (89mm)
composite paper cone woofers, and an advanced 3/4-inch (19mm) ferrofl uid-cooled,
damped soft-dome tweeter.
The drivers are mounted in an acoustically inert, heavily braced MDF enclosure that will
support a fl at screen display weighing up to 100lbs.
Placement
The 3.1 HSB Speaker Base is designed to support the weight of
today's fl at-panel video displays, in sizes up to 65 inches weighing up
to 100 lbs (45kg), and must be placed upon a fl at, level, and sturdy
surface, capable of safely supporting the total weight involved.
Cautions:
• The video display's stand or feet must rest fully within the fl at area of the top of the 3.1 HSB speaker base,
and not on its grille. This fl at area is 33 x 14 5/8" (838 x 372mm).
• As recommended by many display makers, we also strongly suggest that you tether the display to the wall,
especially if there are children in your home.
• Do not place objects between the speaker base and the surface it sits on - they could interfere with the
downward fi ring woofer.
• This unit contains non-magnetic shielded speakers. Do not place magnetically sensitive items (hard disk
drive, CRT TVs, etc.) near the unit.
Page 6

6 Connecting Your System
3.1 HSB Speaker Base System with H-PAS
Rear View
8
Tested to Comply with FCC Standards for Home or Office Use.
U.S. Patent 8,094,855 B2. H-PAS is a trademark of AT Int’l Corp,
all rights reserved. Designed in USA. Made in CHINA.
234567
1
1. Standby/Status: Controls and indicates the
power and auto sensing circuit
2. DC IN: Input connector for power supply
3. Lowpass Control: Controls the internal low pass
fi lter
4. Bypass switch: Activates the Lowpass control
5. Phase switch: Controls the phase of the subwoofer
6. Level control: Controls the subwoofer output level.
(volume control)
7. Input: Subwoofer input (RCA connector)
8. Front Left, Center, Right Speaker Inputs
Connecting Your System
Follow the SYSTEM WIRING DIAGRAM to connect the 3.1HSB to your system.
SUBWOOFER: Use a quality RCA cable to connect from the SUB output on your A/V
receiver to the subwoofer INPUT (7) on the back of the 3.1 HSB.
FRONT CHANNEL SPEAKERS: Using high quality dual conductor stranded wire of
16 gauge or heavier, connect the speaker wires from the output terminals on the A/V
Receiver to the appropriate speaker input terminals on the back of the 3.1 HSB. The
lower the gauge number, the heavier the wire. Use heavier gauge wire for runs over 25'
(7.62m).
Remove ½ inch (6mm) of insulation from the end of each wire. Push down on the terminal connector and an opening will appear in the connector that is capable of holding heavy gauge wire. Insert the bare wire into the opening and release the terminal. Be
sure to observe correct polarity, connecting the positive (+) leads to the red terminals and
Page 7

7
Instruction Manual
the negative (-) leads to the black terminals. Look carefully at the wires you are using and
note that one of the conductors of each pair will typically be identifi ed by color printing on the outer jacket, ridges on the outer jacket, or a thread intertwined with the wire
strands. By convention, the marked wire is connected to the red (+) terminal. Also be
sure that no stray strands of wire touch across any terminals.
WARNING: To prevent risk of electrical shock or damage to your equipment, always
switch off the amplifi er or receiver when making any system connections.
POWER SUPPLY:
A separate power supply and power supply cable have been
included with your system. After the audio connections have been made, connect the
cable from the power supply to the DC IN jack on the rear of the speaker base. Then
connect the power supply cable to the power supply and plug it into an active outlet.
NOTE:
The power supply provided is capable of operating from 100-240 volts 50-60Hz.
WARNING: Before turning on the A/V receiver, be certain that no stray wire strands are
touching across any terminals as this might damage it.
Finally, recheck the polarity of your front speakers by listening to some music with
good bass content. If the sound seems “hollow”, unusually spread out, or seem to
have weak bass, reinspect your connections for proper polarity and correct any out of
phase connections.
SYSTEM WIRING DIAGRAM
Tested to Comply with FCC Standards for Home or Office Use.
U.S. Patent 8,094,855 B2. H-PAS is a trademark of AT Int’l Corp,
all rights reserved. Designed in USA. Made in CHINA.
POWER SUPPLY
A/V RECEIVER
LEFT
RIGHT
SURROUND
SURROUND
RIGHT CENTER LEFT
optional surround speakers
(not included)
contact Atlantic Technology for recommondations
SUB OUT
Page 8

8
3.1 HSB Speaker Base System with H-PAS
RECOMMENDED SETUP
Use your A/V receiver to handle all the low and high-pass functions.
Set the 3.1 HSB's subwoofer amp settings as follows:
Standby: Auto
Lowpass Bypass
Phase: Normal
Level: 11 o'clock position
Refer to your A/V receiver's instructions to set its speaker confi guration as follows:
L, C, R, SR size: Small
L, C, R, SR Hi-pass: 125Hz
Subwoofer: ON
Subwoofer Low-pass 125 Hz
ALTERNATE SETUP
Should you wish to fi ne-tune the subwoofer manually, begin with the above settings, then:
• Change the A/V receiver's subwoofer lowpass frequency to its highest setting.
• Enable the 3.1 HSB's lowpass fi lter by moving its rear-panel switch to the
LOWPASS position.
• Adjust the Lowpass Frequency and Phase controls on the 3.1 HSB.
LOWPASS FREQUENCY
We recommend using an initial setting of 125Hz (around 2 o'clock) for the
3.1 HSB, and adjusting from that point. The goal is to obtain a smooth transition
between the subwoofer and the front channels, and produce a cohesive and well
integrated sound “picture.”
To do this, play something with a "walking bass line", where some of the bass
notes are played by the front channels, and some by the subwoofer. A good example of this is Van Morrison's "Into the Mystic."
While listening, adjust the lowpass control to avoid excessive overlap (too-loud
notes) or acoustic gap (missing or weak notes) in the cross-over area.
In the end, a little time spent fi ne-tuning will generally result in dramatically better
bass response.
PHASE CONTROL
This switch allows precise acoustic matching of the subwoofer with the front channels. Try in both positions, and use the position that results in the strongest bass
output, especially in the front channel-to-subwoofer cross-over area.
Page 9

Trouble Shooting Guide
Instruction Manual
9
Care of Your Speaker
Clean your cabinet using a soft, lint-free cloth. If you wish, you can slightly moisten
the cloth with plain water. Do not use any other cleaning agents or chemicals. Be careful not to get any water on the driver cones or tweeter domes. After carefully removing
the grille from the speaker, gently clean it with a very slightly damp, lint-free cloth.
To remove the grille; gently pull the grille straight forward from the cabinet starting
at both ends working towards the middle until it is fully free from the cabinet. Do not
use a tool or pick as this may cause damage.
Troubleshooting Guide
Once your speaker base is set up, you should have many years of maintenance free
enjoyment from your system. However, if you should encounter a problem, refer to
the following guide to help you fi nd the solution. If a problem persists, you should
contact your local authorized Atlantic Technology dealer.
Problem Possible Cause Possible Solution
No output from Left, Center or Right
channel
No bass output Standby switch in the OFF position Move switch to either AUTO or ON position.
No bass or weak bass output LEVEL control set too low. Turn LEVEL control up.
Audible buzz or hum Input cable not securely connected or
Input wire dislodged. Reconnect wire and move speaker base away
AC power cord unplugged or plugged
into a non-working outlet.
Input cables not securely connected or
defective.
defective.
Ground loop through antenna or cable
TV system input.
from wall.
Plug into a working outlet.
Check all connections, then try another
input cable.
Check all connections, then try another
input cable.
Test by disconnecting antenna and/or cable
system input leads. If hum goes away, install
isolation balun(s) at that point.
Page 10

10
Specifi cations
3.1 HSB Speaker Base System with H-PAS
Specifi cations
Front Channels
Woofers (6) Heavy-duty 3 1/2" (115mm) composite paper cone
Tweeters (3) 3/4" (19mm) soft dome, Ferrofl uid cooled
Frequency Response 125Hz-20kHz
Nominal Impedance 6 Ohms per channel
Crossover frequency 3.75kHz, 2nd order
Sensitivity 89dB
Recommended
Amplifi er Power
Magnetic Shielding No
Powered Subwoofer
Subwoofer Down fi ring 6 1/2" (165mm) long-throw composite paper cone
Amplifi er Power Internal; 80 Watts RMS <.2% distortion
Frequency Response 35 Hz - 220 Hz
Peak Output 106dB SPL
Input (1) RCA line level
Power Requirements 110-240V, 50/60Hz 2.5A (24VDC 4A Power Supply included)
10 - 150 Watts RMS per channel
System
Dimensions
(WxHxD)
Weight 29 lbs.
IMPORTANT NOTE:
The power recommenda on for this speaker assumes that you will not operate your amplifi er/receiver in a way that produces
distor on. Even rugged speakers like ours can be damaged by an amplifi er driven into audible distor on. The harsh amplifi er
distor on (“clipping”) that occurs in this situa on will eventually cause damage to the speaker system. This type of damage may
be cumula ve and can build up over me, as the amplifi er is driven into overload again and again. Such damage is easily iden fi -
able through examina on of the damaged speaker’s voice coil and is not covered by the warranty
Specifi ca ons are those in eff ect at the me of prin ng. Atlan c Technology Interna onal, Corp. reserves the right to change
specifi ca ons or designs at any me without no ce and without obliga on to modify exis ng units.
35 3/4" x 4 3/4" x 16 3/4" (including grille)
910mm x 120mm x 426mm
Page 11

Warranty
Instruction Manual
11
Warranty
Thank you for purchasing an Atlantic Technology product. We wish you many
years of enjoyment and satisfaction from it.
You do not need to send in anything to be covered by the Limited Warranty. All
you need to do is keep your original Invoice or Bill of Sale for proof of purchase,
meet the stated requirements, and follow the instructions listed within the Warranty. Please attach your Original Invoice or Bill of Sale to this manual as proof of
purchase and keep them in a safe place.
VERY IMPORTANT NOTE: PLEASE NOTE THAT ATLANTIC TECHNOLOGY PRODUCTS
CARRY ONLY A 90 DAY LIMITED WARRANTY. YOU MUST MEET ALL THE FOLLOWING REQUIREMENTS AND REGISTER ONLINE IN ORDER TO BE COVERED BY THE
FREE EXTENDED SERVICE AGREEMENT TO ASSURE EXTENDED FREE PROTECTION!!
Free Extended Service Agreement
Atlantic Technology offers a free Extended Service Agreement that provides
enhanced protection against product defects. In order to qualify for the free
Extended Service Agreement you must:
1. Have purchased your Atlantic Technology products from an Authorized Atlantic
Technology Reseller or Installer.
2. Go to www.atlantictechnology.com and click on Support>Register Your Warranty. Fill out the required information. Be sure to have your home address, name,
address and invoice from the business you purchased, and the serial numbers
of all Atlantic Technology products purchased. THIS MUST BE DONE WITHIN 30
DAYS OF PURCHASE.
If you purchased multiple Atlantic Technology products you will be able to enter
them all using one online form. Model and Serial numbers can be found on the
back of each unit and on the outside of their respective boxes.
Once all the criteria have been met, you qualify for a free Extended Service Agreement that entitles you to additional coverage against defects in workmanship and
manufacturing for a period of up to 5 years on non-powered product and up to 1
year on powered product. This coverage is in addition to the 90 Day Limited Warranty included with all Atlantic Technology products.
If you are not able to register your product using the internet, please call customer service at 781.762.6300.
Page 12

12Warranty
3.1 HSB Speaker Base System with H-PAS
Limited Warranty
Statement of Warranty: Atlantic Technology International Corp. warrants Atlantic Technology Products to
be free from defects in material and workmanship for 90 days from the time of original purchase. This Warranty covers the original retail purchaser of this product only and is valid only in the Continental United States,
Alaska, and Hawaii and all US Possessions.
Extended Service Agreement (only available in the Continental United States, Alaska, and Hawaii
and all US Possessions): You must Register your Warranty online, and have purchased your product(s)
from an authorized Atlantic Technology reseller to receive the Extended Service that covers your Atlantic
Technology products beyond the standard 90 day Warranty.
To obtain Warranty service: Please contact your local Atlantic Technology reseller to determine if they are an
Authorized Repair Center for Atlantic Technology products. You will need your original Invoice or Bill of Sale to
prove Warranty eligibility. If your local dealer is not an Authorized Warranty Center you may contact us at 781762-6300 for further help or to send the product to us for service and repair. You must fi rst request a Return
Authorization Number from us to ship the product back, so it is imperative that you call us fi rst.
What we are responsible for: We will pay for all labor and parts for covered items. If the repairs are eligible
for coverage under the terms of this Warranty we will also pay for return shipping charges to you.
What you are responsible for: You must pack the product properly for safe shipping to your Authorized Dealer
or us. You are responsible to pay for all packing, shipping, and insurance costs to get the unit(s) back to
Atlantic Technology or your Authorized Dealer.
Optional replacement: We, at our option, may replace rather than repair your Atlantic Technology product
with a new or reconditioned one of the same or similar design. The repair or replacement will be warranted for
90 days from date of receipt back to you. All details in terms of eligibility for an Extended Service Agreement
will carry over from the original purchase to the replacement item.
What this Warranty does not cover: This Warranty does not cover defects resulting from accidents, damage
while in transit, alterations, unauthorized repair, failure to follow instructions, misuse, fi re, fl ood, and Acts of
God. This Warranty will be void if the product’s serial number has been altered or removed or if the product
has been modifi ed or defaced.
Exclusions and Limitations: Implied warranties, including those of fi tness for a particular purpose and merchantability (an unwritten warranty that the product is fi t for ordinary use) are limited to the period of any
Warranty granted hereby. We will not pay for loss of time, inconvenience, loss of use, or property damage
caused by your Atlantic Technology product or its failure to work, or any other incidental or consequential
damages.
State law rights: Some states do not allow the exclusion or limitation of incidental or consequential damages,
so the above limitation or exclusion may not apply to you. This Warranty gives you specifi c legal rights, and
you may have other rights which vary from state to state.
This Warranty is valid only when Atlantic Technology products are purchased from an Authorized Atlantic
Technology Reseller in the Continental United States, Alaska, and Hawaii and all US Possessions. If you purchase Atlantic Technology products outside the United States please consult your local distributor or reseller
for applicable Warranty coverage and restrictions.
Should you have any questions or problems please feel free to contact us at 781-762-6300 or through our
web site, www.atlantictechnology.com.
343 Vanderbilt Avenue Norwood, MA 02062 (781) 762-6300 www.atlantictechnology.com
 Loading...