

Page 1
Compliance Notes
The Delta 810 may be connected to the following
types of installation:
1. Direct Exchange Lines (DEL)
2. Compatible Private Automatic Branch
Exchanges (PABX). Please contact the
supplier of your Delta 810 to confirm
compatibility with your PABX.
Whilst the Delta 810 is compliant as an extension to
a compatible PABX system, it cannot be guaranteed
to operate under all possible conditions of
connection. Any case of difficulty should be referred
in the first instance to the supplier of your telephone.
Guarantee
Your Delta 810 telephone is designed and
manufactured to exacting quality standards. This
enables ATL Telecom Limited to offer a 1 year
guarantee from the date of purchase. This
guarantee protects against faulty material or
workmanship, applies to the UK only and is not
transferable.
The terms and conditions under which the guarantee
will be valid are as set out below.
1. Misuse or any modification carried out to
the telephone, or operation other than in
accordance with the instructions supplied,
will invalidate the guarantee.
2. Damage arising from incorrect installation,
accidental damage or consequential loss,
are not covered under the guarantee.
3. In the event of a fault developing during
the period of the guarantee, the complete
telephone should be returned to your
supplier, adequately and safely packed,
together with proof of date of purchase.
4. The liability of ATL Telecom Limited will
be limited to the cost of repair or complete
replacement of the same defective
instrument, at the discretion of the
company. In the event that the same item
is not available, a suitable alternative will
be offered.
5. The terms of this guarantee do not affect
your statutory rights.
Manufacturer’s Declaration
ATL Telecom Limited declares that this product
conforms with the essential requirements of the
‘R&TTE directive 1999/5/EC’
Note: A copy of the Declaration of Conformity is
available upon request from ATL Telecom Limited.
ATL Telecom Limited,
Lakeside,
Fountain Lane,
St Mellons,
Cardiff
CF3 0FB
Telephone: 0330 333 8250
Facsimile: 0330 333 8251
www.atltelecom.com
1/435/001/610 Issue 01 August 2013
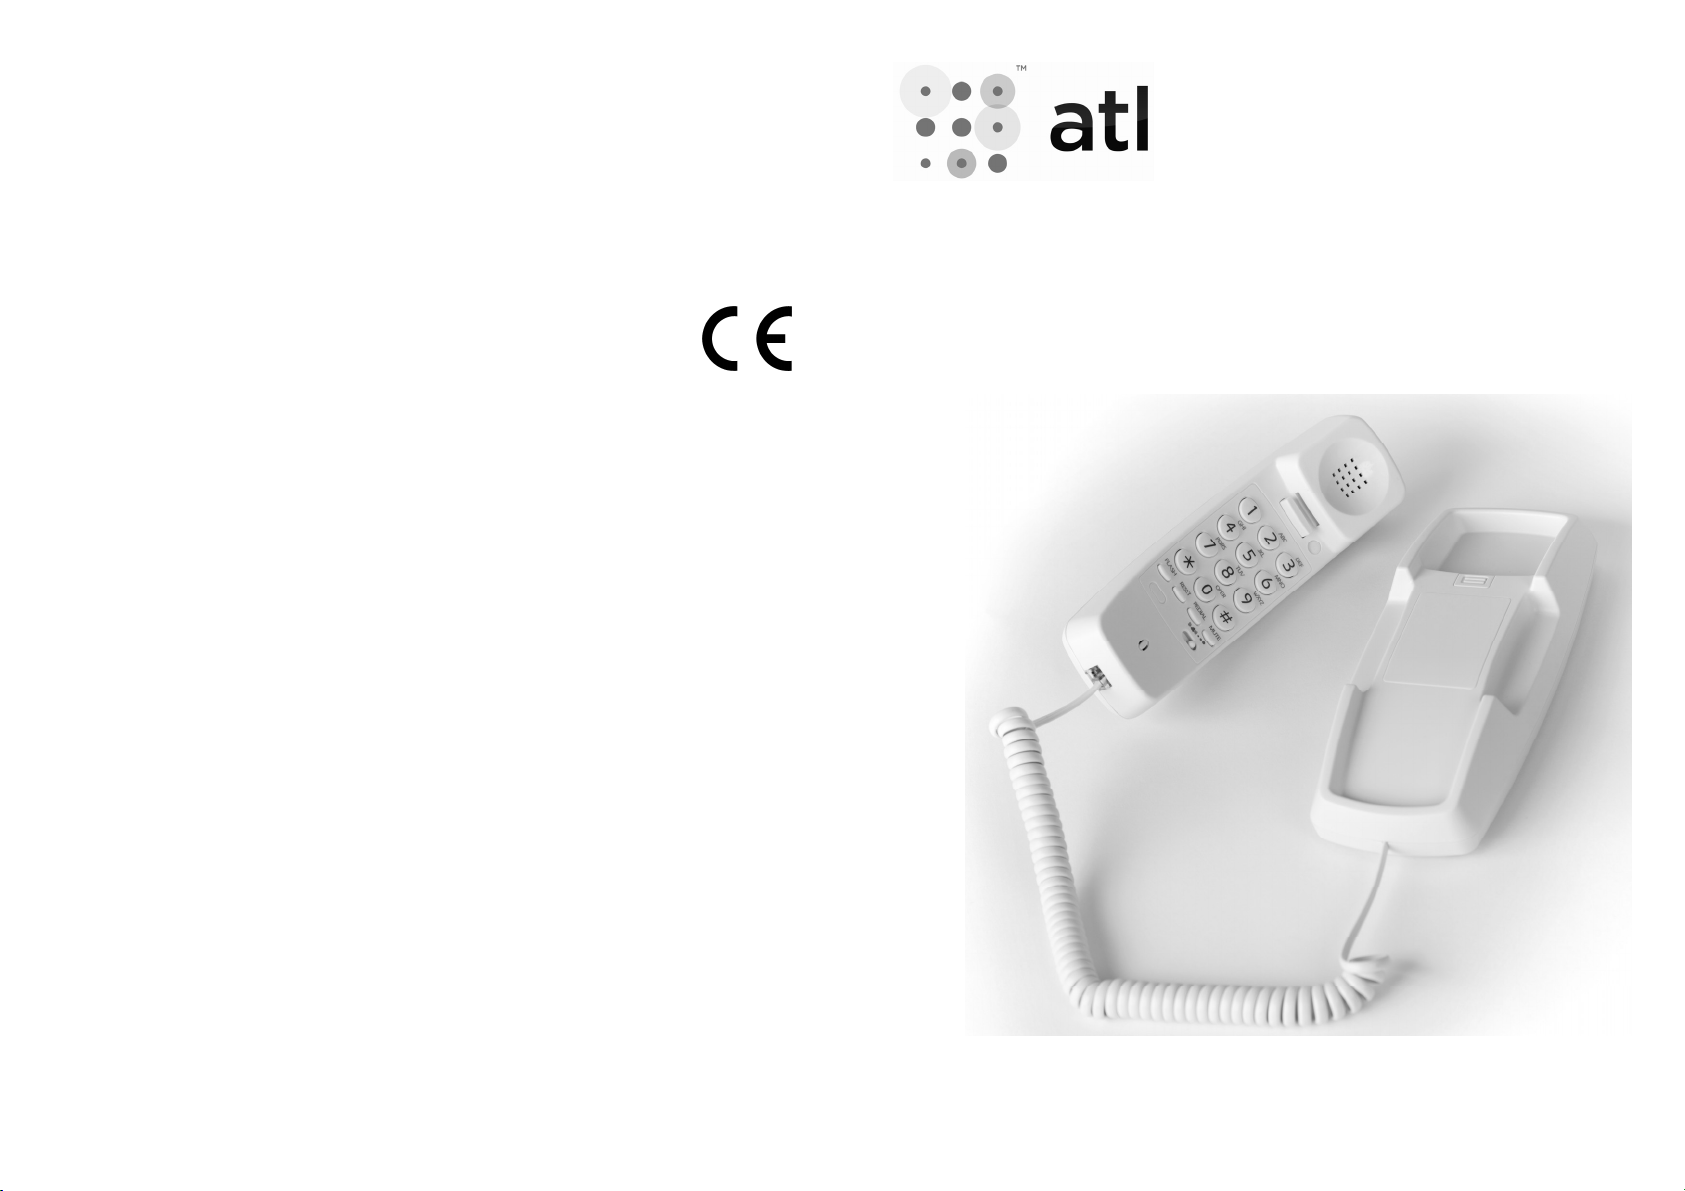
Thank you for choosing the Delta 810 telephone. You have selected a
carefully designed telephone that incorporates the very latest technology,
offering a stylish instrument and providing many years of excellent service.
This booklet will ensure you obtain the best use of your telephone.
Delta 810
Preparing to use your
User Guide
Page 2

Delta 810
INITIAL CHECK
Our telephones are checked, tested and leave us in
perfect condition. If yours is damaged, please return
it to your supplier with proof of purchase, for a
replacement.
CONNECTION
The Delta 810 telephone can be connected either to
a Direct Exchange Line, or as an extension to a
compatible company exchange (PABX).
HANDSET CORD
Connect the curly cable to the base of the handset.
LINECORD
The Delta 810 arrives with a linecord for connection
to a standard BS6312 BT-socket. The line socket
can be found on the underside of the base, plug
your linecord into this port first and the other end into
your telephone line termination point.
An RJ11 or an RJ45 linecord are available as an
option, ask your supplier for details.
Using your Delta 810
RECEIVING CALLS
Incoming calls will be announced by the audible
ringer. To answer the call, simply lift the handset.
ADJUSTING YOUR RINGER VOLUME
The ringer volume is controlled by a 3 position
switch located at the bottom of the telephone keypad
and indicated by a bell symbol.
MAKING A CALL VIA THE HANDSET
Pick up the handset and listen for dial tone
Dial the required telephone number
(Note: making external calls from a company
exchange (PABX) may require the number to be
prefixed by an access digit, normally ‘9’)
Features and Facilities
TRANSFER KEY (RECALL / FLASH)
The Delta 810 telephone is provided with a
‘TRANSFER’ key, required by modern public and
private exchanges, in order to gain access to various
features such as ‘transferring a call’.
REDIAL KEY
If you wish to redial the last number you dialled, you
can do so by lifting the handset and pressing the
‘REDIAL’ button.
MUTE KEY
The microphone in the handset can be turned off
(mute) Pressing and holding the ‘MUTE’ button turns
off the microphone, releasing the ‘MUTE’ button
turns the microphone back on.
RESET KEY
Pressing this key will terminate the current call and
present the user with dial tone, ready to make
another call
WALL MOUNTING
The phone can be wall mounted. The handset hook
guide will need to be adjusted. This is achieved by
sliding it upwards, rotated it by 180 degrees and
returning it to its slot. The base of the phone can be
secured to a suitable surface; screws should be
83mm apart.
Help
If the telephone appears to be faulty when first
connected, a few simple checks may help to identify
some possible problems, as listed below:
NO DIAL TONE
• Ensure you are using the cables that
came with this phone.
• Check that the telephone plug is fully
inserted in the socket
• If it is, try connecting the telephone into
another socket, if available. If dial tone is
now heard, the original socket is faulty.
• Alternatively, try connecting another
telephone into your socket. If this
telephone gives dial tone, then your new
telephone is probably faulty.
Further concerns may also be addressed by
calling our Technical Support Department on
0845 421 0730 or visiting our website,
www.atltelecom.com/support
 Loading...