

Page 1

P75229
Wireless G USB Network Adapter
Adaptateur réseau G
sans fil USB
Adaptador de red USB Wireless G
Ativa Tech Support
US: 1-866-91-ATIVA (1-866-912-8482)
© 2006 Ativa. All rights reserved. All trade names are registered trademarks of respective manufacturers listed.
Windows is either a registered trademark or trademark of Microsoft Corporation in the United States and/or
other countries.
© 2006 Ativa. Toutes les marques de commerce sont des marques déposées des fabricants respectifs énumérés.
Windows est soit une marque de commerce, soit une marque déposée de Microsoft Corporation aux États-Unis
et/ou dans d’autres pays.
© 2006 Ativa. Todos los nombres comerciales son marcas comerciales registradas de los respectivos fabricantes
enumerados. Windows es ya sea una marca comercial registrada o una marca comercial de Microsoft Corporation
en EE.UU. y/u otros países.
www.ativasupport.com
Page 2
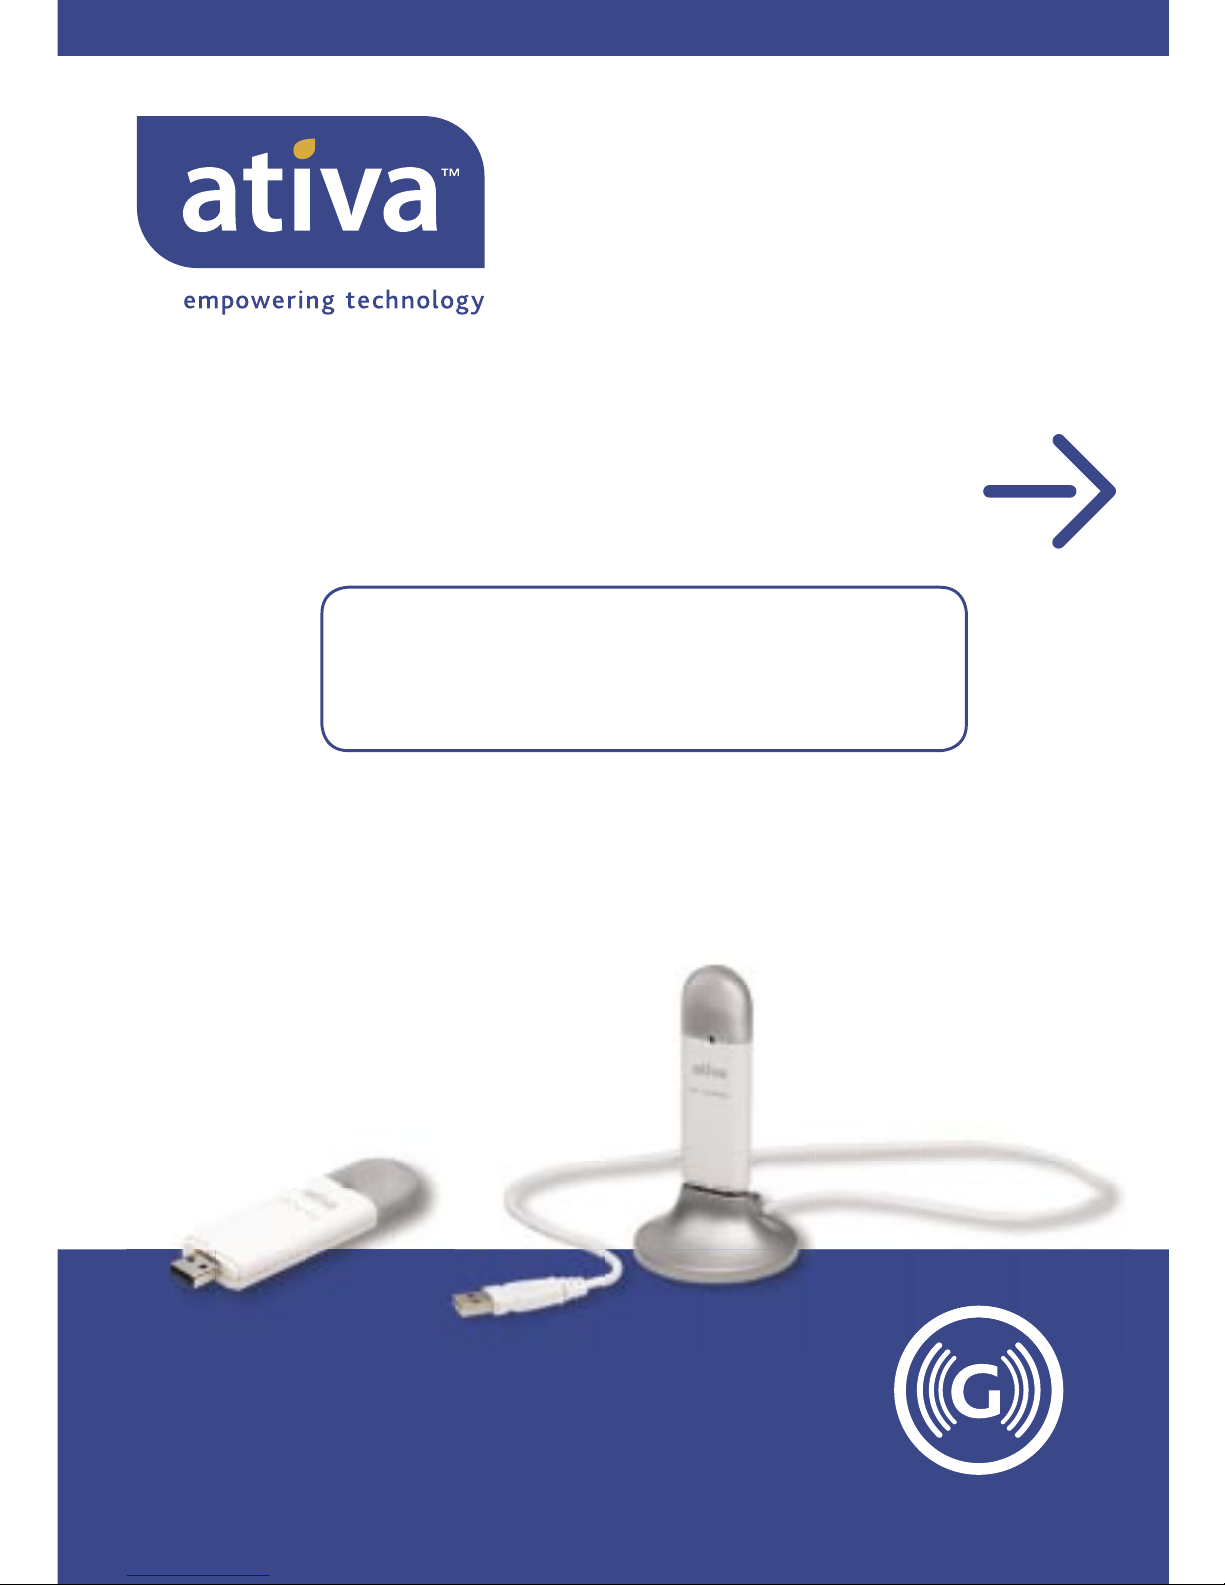
AWGUA54
Quick Installation
Guide
Wireless G USB
Network Adapter
Start Here
If installing numerous networking devices at
the same time, always install your Router fi rst
before installing other network components,
such as notebook cards and desktop cards.
Page 3
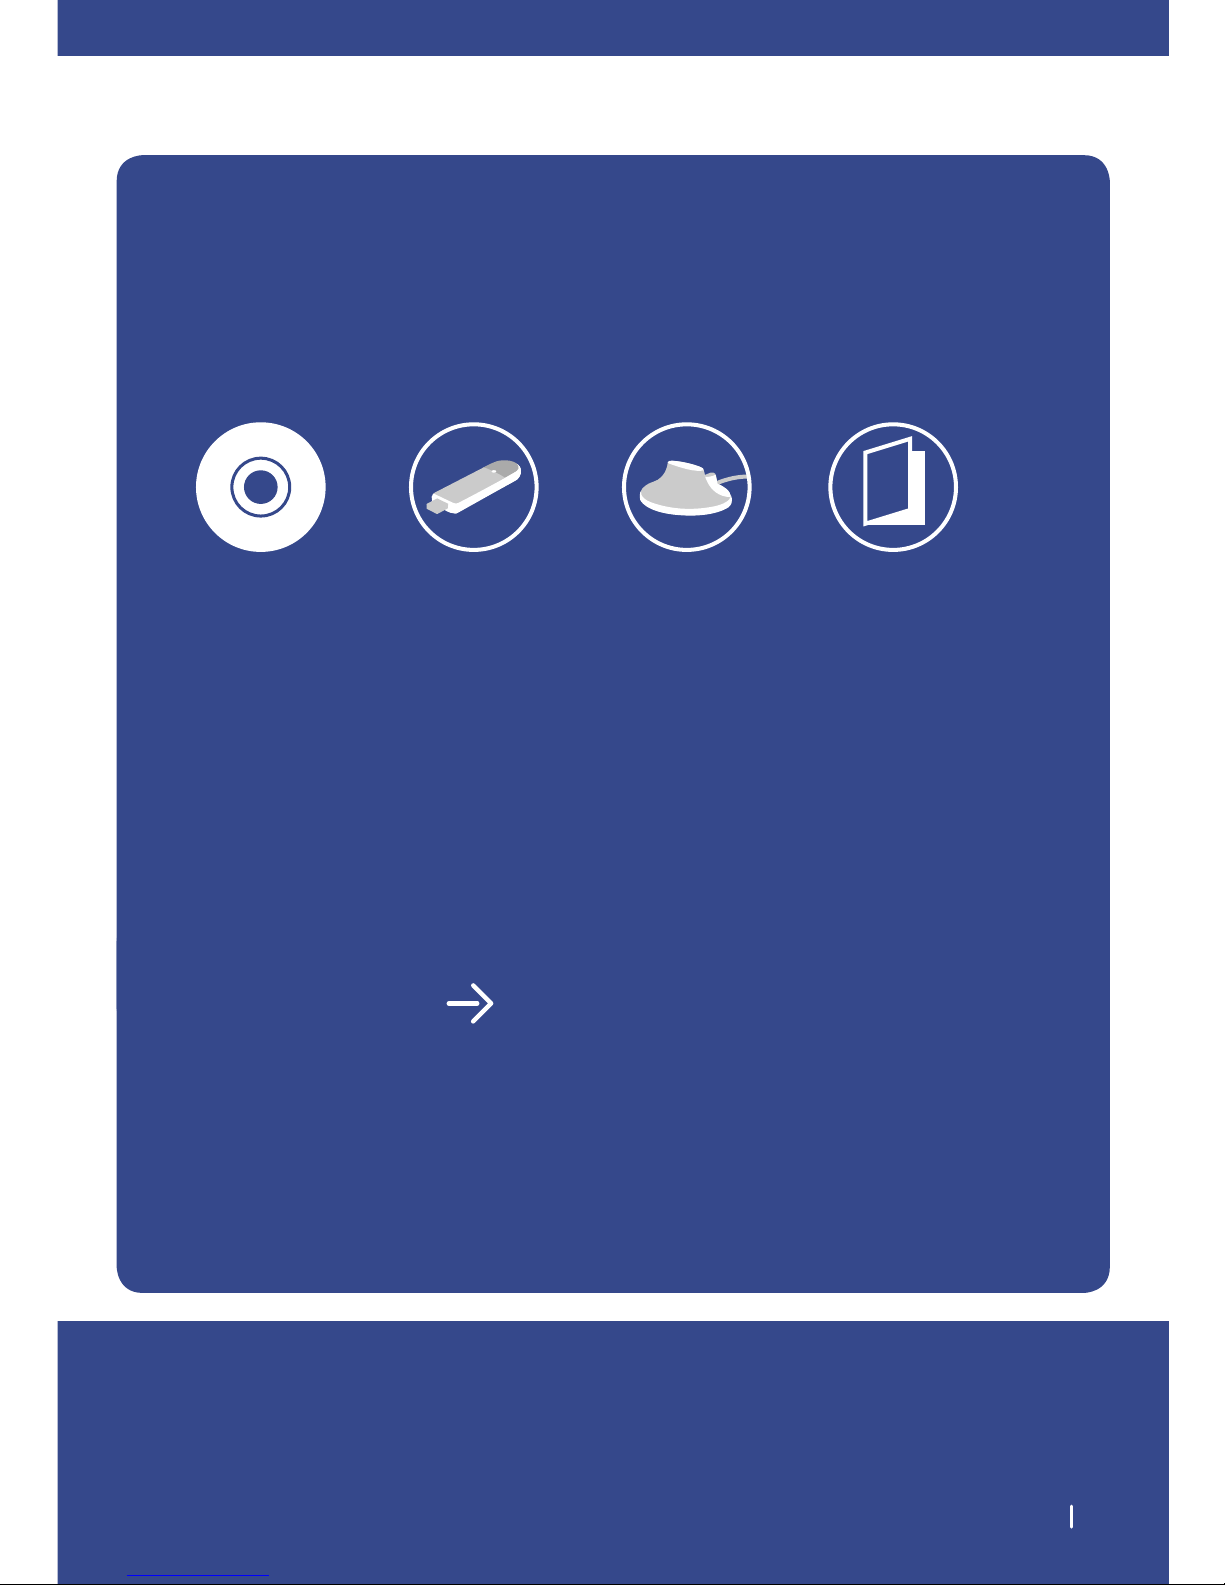
Make sure you have the following 1
Make sure you have
the following:
Installation
Software CD
Wireless G USB
Network Adapter
System Requirements
PC-compatible laptop computer with one
available USB slot CD-ROM drive
Windows® 2000 and XP
Quick Setup
Desktop
Stand
User Manual
on CD
Page 4
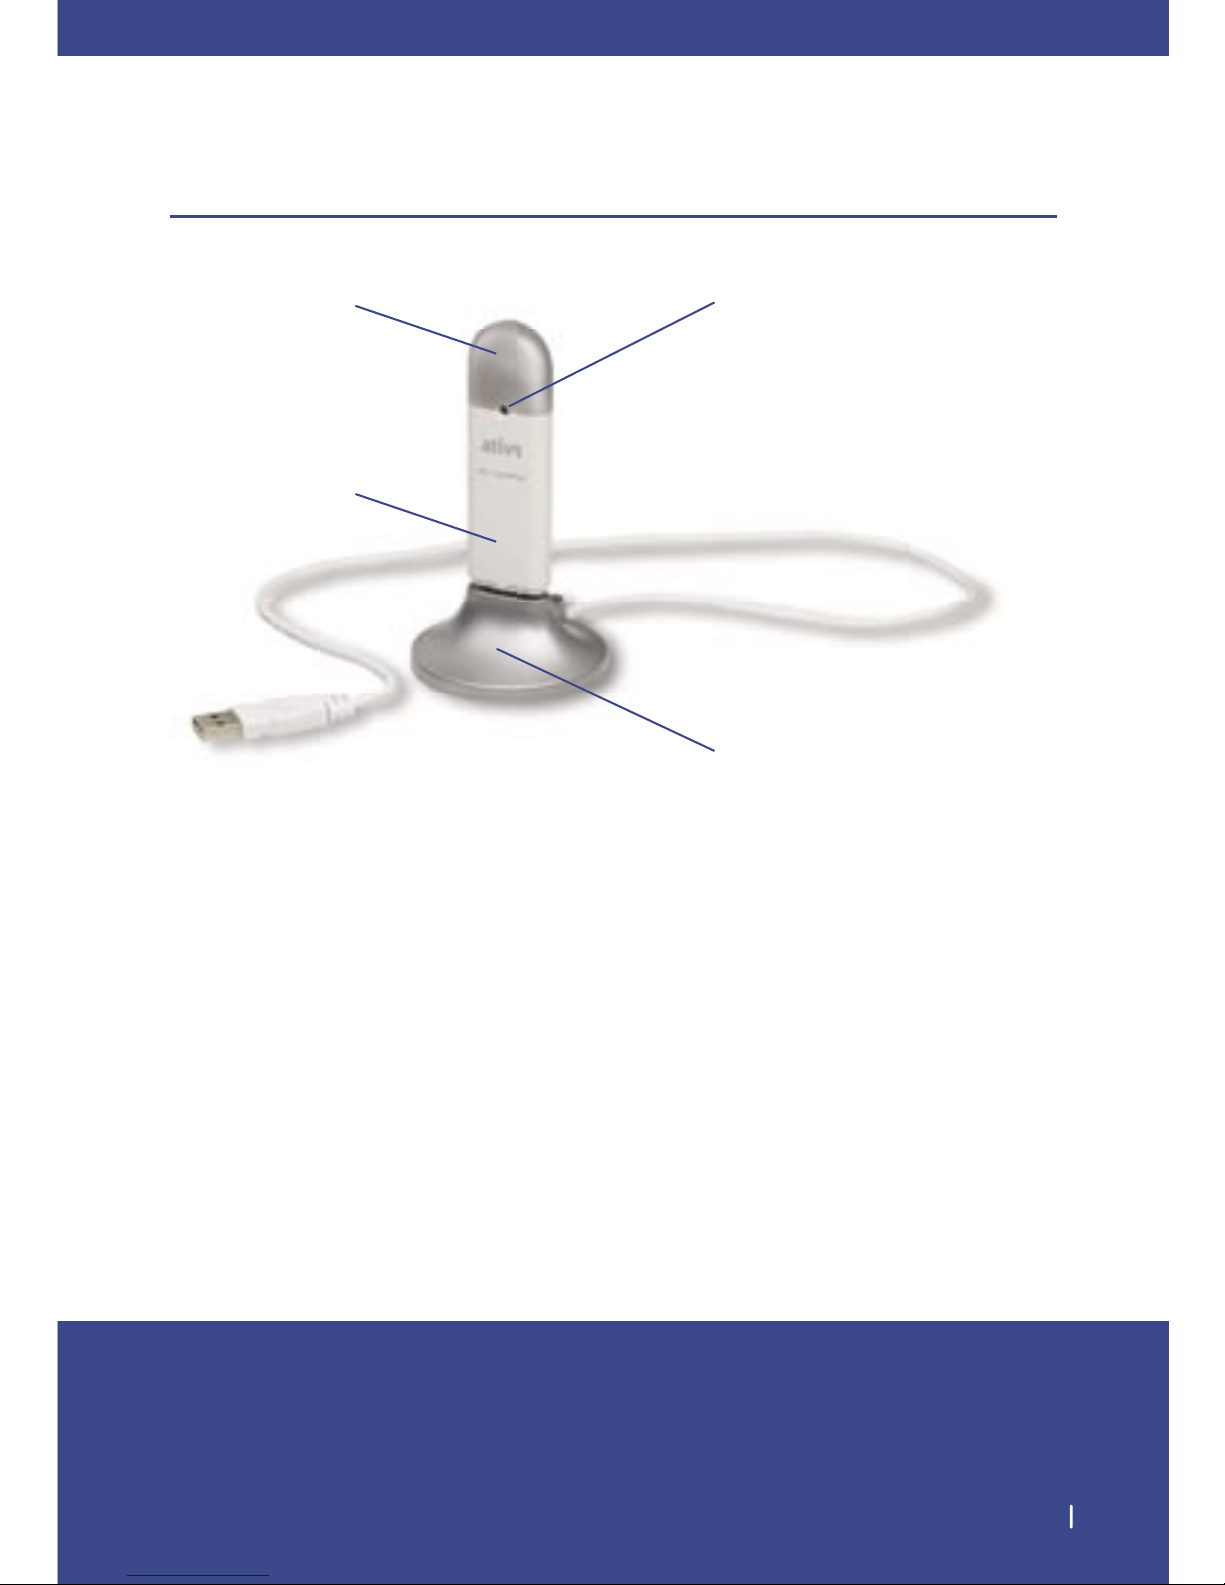
Knowing your Wireless G USB Network Adapter 2
Knowing your Wireless G USB Network Adapter
Product Placement: The best location for your Adapter is on top of your
computer’s monitor. Placing the Adapter on your desktop is acceptable;
however, avoid placing the Adapter near metal objects such as a computer
case or speakers. Any object that is metal has the ability to block the radio
signals from the Adapter.
Protective Cap
Activity LED
Desktop Adapter Base
(Optional use)
USB Adapter
Page 5
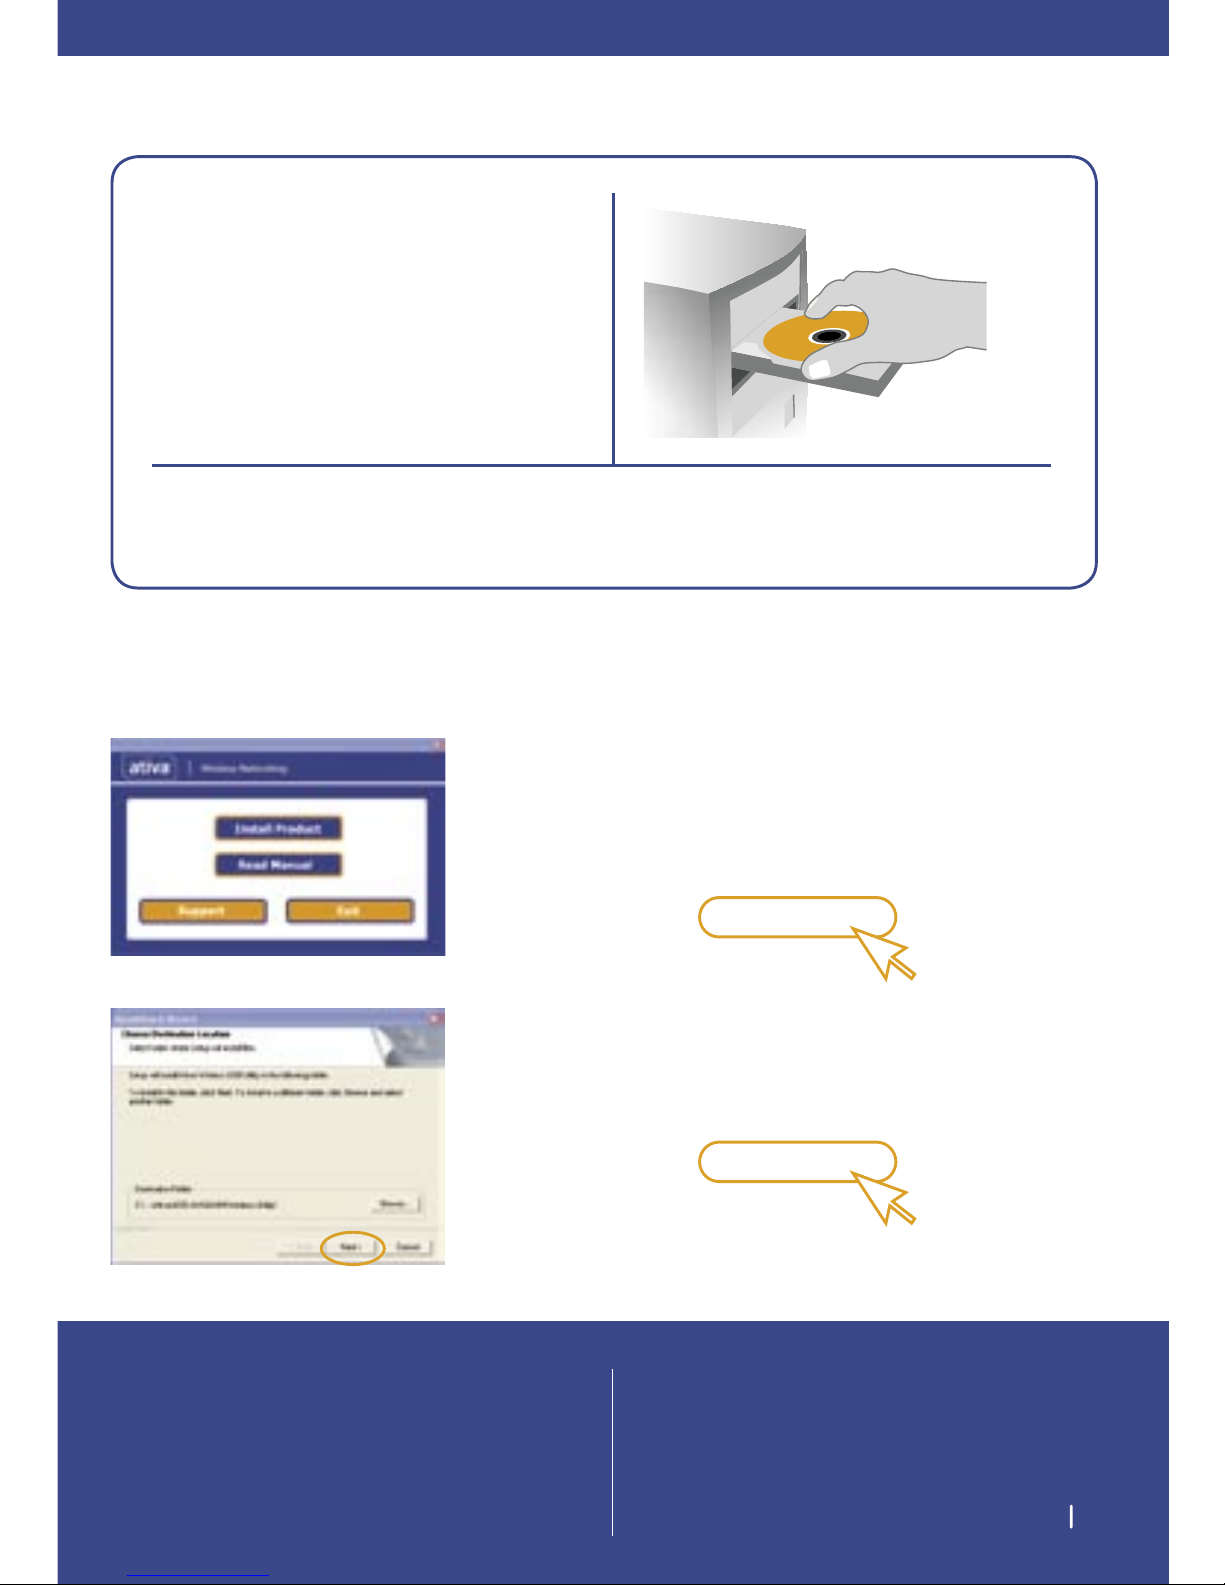
Install 3
1. Install
Important Note: Install the software before inserting
the Adapter.
NOTE for Windows Users:
If the Ativa Wireless Networking Utility setup
screen does not appear within 20 seconds, access
your CD-ROM drive: double-click on the “My
Computer” icon and then double-click on the
CD-ROM drive into which you have placed the
installation CD. Double-click on the folder
named “Files”, then double-click on the icon
named “setup.exe”.
1.1 Insert the installation software CD into your
CD-ROM drive.
1.2 The Ativa Wireless Networking Utility setup
screen will automatically appear (may take
15–20 seconds to appear).
1.3 Click “install” from the menu.
Install
(click)
1.4 Choose an installation location, and click
“Next” to accept the default location; click
“Browse” to select a different location before
clicking “Next”.
Next
(click)
Page 6
Connect
4
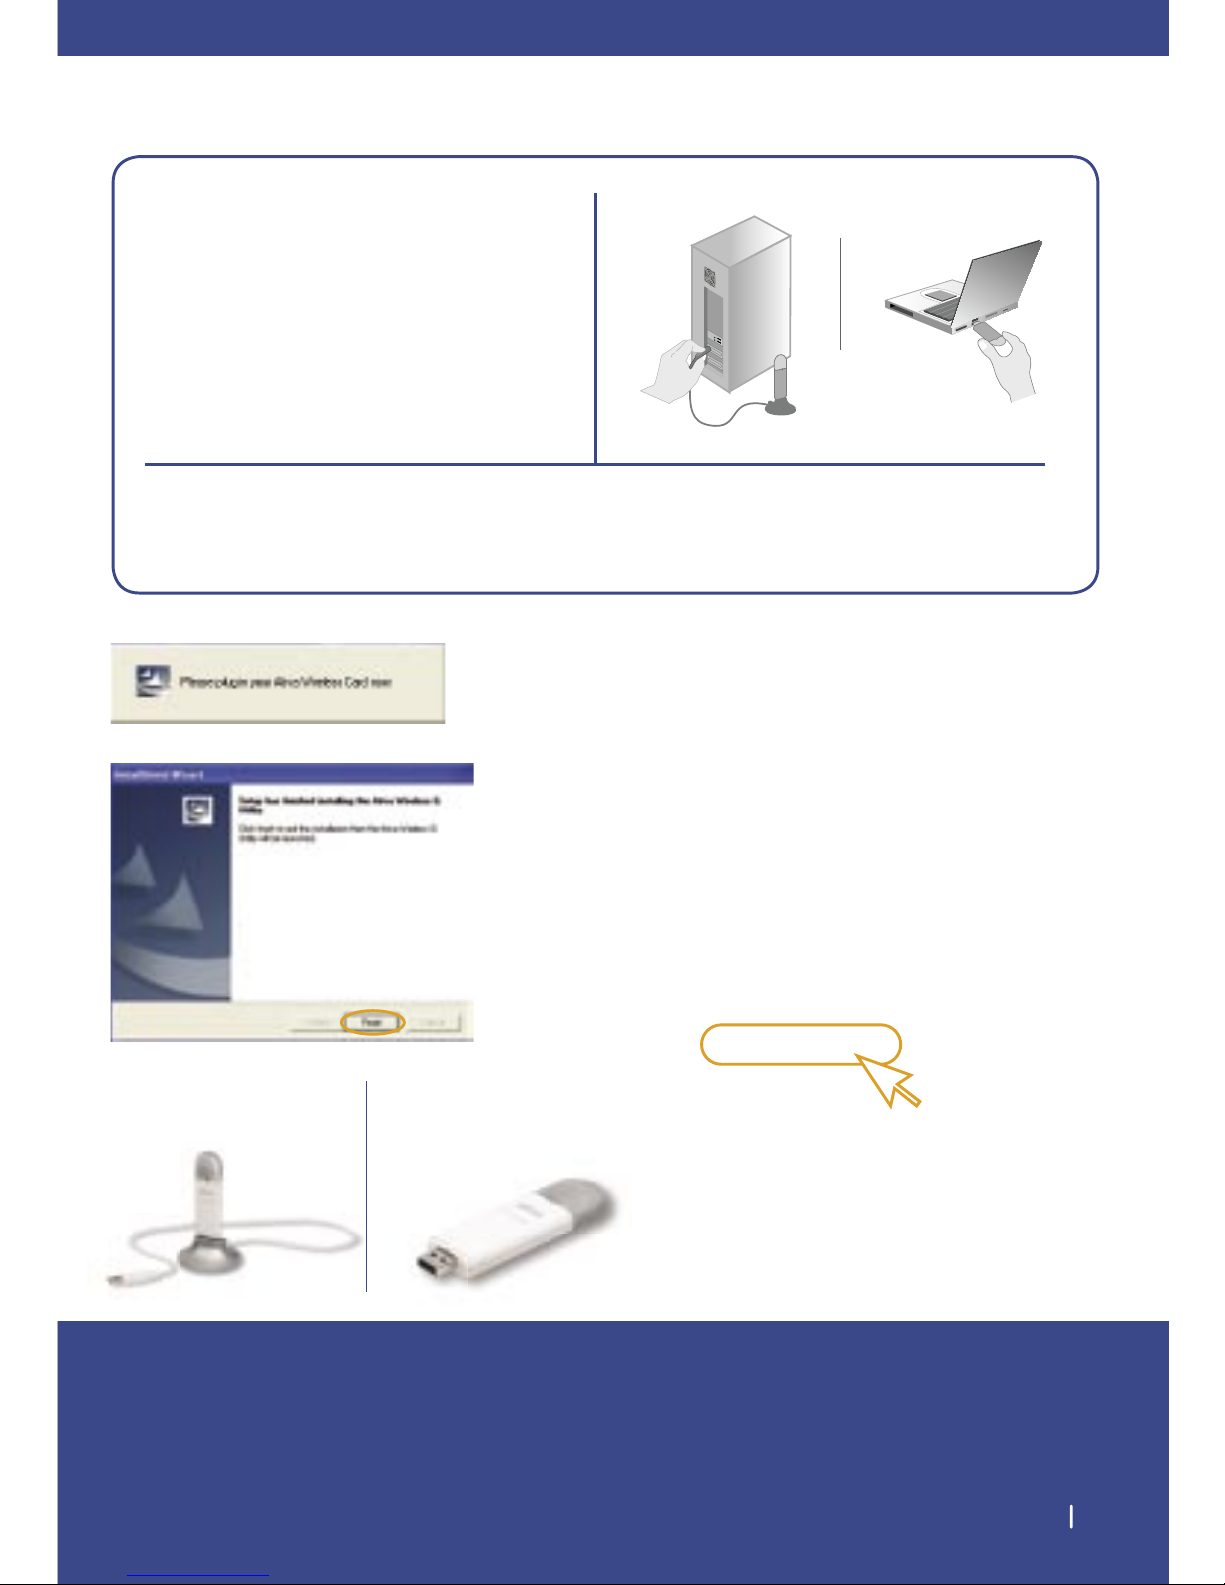
2. Connect
Plug the Adapter into an available USB slot on your
notebook computer
2.1 During the install process, you will be
prompted to insert your Adapter. Plug
the Adapter into an available USB port
on your computer and follow the
on-screen instructions.
Note: If your system did not prompt you to
insert your Adapter after the installation is
completed, please do so now.
2.2 Ativa Wireless Networking Utility installation
is now complete. Click “Finish” to close
the Wizard.
Finish
(click)
For Desktops: For Notebooks:
Page 7
Configure 5
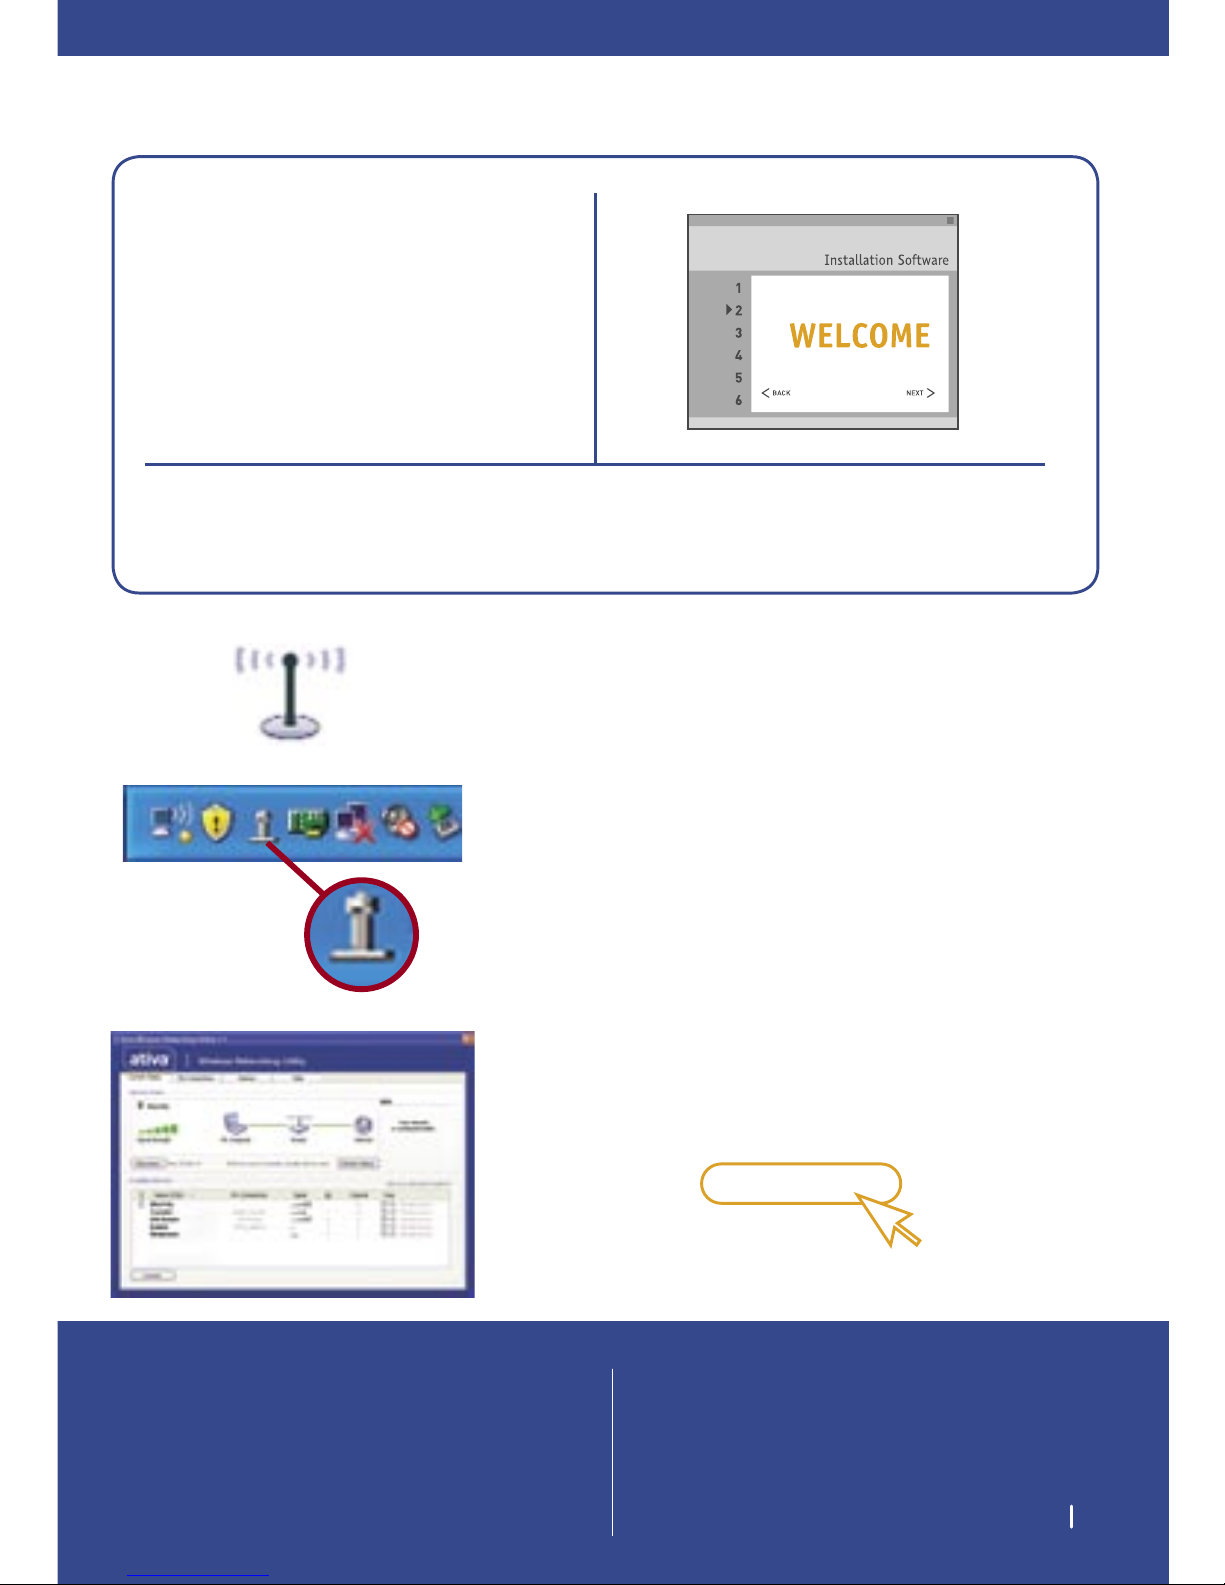
3. Configure
Use the Ativa Wireless Networking Utility
3.1 After successfully installing the Adapter,
double-click the Ativa Wireless Networking
Utility icon on the desktop screen.
3.2 The Ativa Wireless Networking Utility icon
can also be found on the system tray.
3.3 The Ativa Wireless Networking Utility
screen will appear. Select a network to
connect to from the “Available Networks”
list and click “Connect”.
Connect
(click)
NOTE:
In order to see your available networks, you
must be near a working wireless router or
access point.
Page 8

For further information regarding the installation
of this product, please check your User Manual,
visit www.ativasupport.com or call our free
technical-support line.
Ativa Tech Support
US: 1-866-91-ATIVA (1-866-912-8482)
Page 9

Page 10

AWGUA54
Guide
d’installation rapide
Adaptateur réseau
G sans fil USB
Commencez ici
Si vous installez plusieurs périphériques réseau
en même temps, tels que cartes pour ordinateur
portatif ou de bureau, installez toujours le
routeur en premier.
Page 11

Assurez-vous d’avoir ceci 1
Assurez-vous
d’avoir ceci :
CD contenant
le logiciel
d’installation
Adaptateur
réseau G sans
fil USB
Configuration requise
Ordinateur portatif compatible PC, avec
un emplacement USB libre
Windows® 2000 et XP
Configuration rapide
Support
de montage
sur bureau
Guide
d’utilisation
sur CD
Page 12

Connaître votre adaptateur réseau G sans fil USB 2
Connaître votre adaptateur réseau G sans fil USB
Choix d’un emplacement : Le meilleur endroit pour placer l’adaptateur
est le dessus de votre moniteur. Vous pouvez aussi le placer sur votre
bureau mais évitez de l’installer près d’objets métalliques tels que
boîtier d’ordinateur, haut-parleurs, etc. En effet, les objets métalliques
peuvent bloquer les signaux radioélectriques provenant de l’adaptateur.
Capuchon
protecteur
Voyant d’activité
Socle pour montage sur bureau
(utilisation facultative)
Adaptateur USB
Page 13

Installez 3
1. Install
Note importante : Installez le logiciel avant
d’insérer l’adaptateur.
Note à l’intention des utilisateurs Windows :
Si l’écran de l’utilitaire n’apparaît pas dans les 20
secondes qui suivent, double-cliquez d’abord sur l’icône
« My Computer » (Poste de travail), puis sur le lecteur
correspondant à votre lecteur de CD-ROM où se trouve
le programme d’installation. Ensuite, double-cliquez sur
le dossier « Files » (Fichiers), puis sur l’icône
« setup.exe ».
1.1 Insérez le CD contenant le programme
d’installation dans votre lecteur de CD-ROM.
1.2 L’écran de l’utilitaire de configuration
de réseau sans fil Belkin apparaîtra
automatiquement (dans les 15 à 20 secondes
qui suivent).
1.3 Cliquez sur « Install » (Installer) au menu.
Install Product
(cliquez sur)
1.4 Choisissez un emplacement d’installation, puis
cliquez sur « Next » (Suivant) pour accepter
le répertoire par défaut, ou sur « Browse »
(Parcourir) pour choisir un autre répertoire
avant de cliquer sur « Next » (Suivant).
(cliquez sur)
Next
Page 14

Raccordez
4
2. Raccordez
Branchez l’adaptateur dans un emplacement USB libre sur
votre ordinateur bloc-notes.
2.1 Au cours de l’installation, on vous demandera
d’insérer votre adaptateur. Branchez-le sur un
port USB libre sur votre ordinateur et suivez
les instructions à l’écran.
Remarque : Si vous n’avez pas été invité à
insérer l’adaptateur une fois l’installation
terminée, faites-le maintenant.
2.2 L’installation de l’utilitaire pour réseau sans
fil Belkin est maintenant terminée. Cliquez
sur « Finish » (Terminer) pour quitter
l’Assistant et redémarrer votre ordinateur.
(cliquez sur)
Finish
Ordinateurs de bureau : Ordinateurs portatifs :
Page 15

Configurez 5
3. Configure
Exécution de l’utilitaire pour réseau sans fil Activa
3.1 Après avoir correctement installé
l’adaptateur, double-cliquez sur l’icône de
l’utilitaire réseau sans fil Ativa à l’écran.
3.2 L’icône de l’utilitaire pour réseau sans fil
Activa apparaît également dans la barre
d’état système.
3.3 L’écran de l’utilitaire apparaît. Sélectionnez
un réseau dans la liste des réseaux disponibles
et cliquez sur « Connect » (Connecter) pour
vous y connecter.
(cliquez sur)
Connect
REMARQUE :
Pour pouvoir afficher les réseaux
disponibles, vous devez être près d’un
routeur ou d’un point d’accès sans fil qui
fonctionne.
Page 16

Pour obtenir de plus amples renseignements sur
l’installation de ce produit, vous pouvez consulter
le guide d’utilisation, visiter le site Web de Activa
(www.ativasupport.com)ou encore, appeler sans
frais le Soutien technique.
Assistance technique Activa
US: 1-866-91-ATIVA (1-866-912-8482)
Page 17

Page 18

AWGUA54
Guía de
instalación rápida
Adaptador de red
USB Wireless G
Empiece Aquí
Si instala numerosos dispositivos de red al
mismo tiempo, instale siempre su enrutador
primero, antes de instalar otros componentes
de la red, como tarjetas para laptop y tarjetas
para computadora de escritorio.
Page 19

Asegúrese de que tenga lo siguiente 1
Asegúrese de que tenga
lo siguiente:
CD con el
software de
instalación
Adaptador de red
USB Wireless G
Requisitos del sistema
Computadora laptop compatible con PC
con una ranura USB disponible
Windows® 2000 y XP
Configuración rápida
Base para
poner sobre el
escritorio
Manual del
usuario en
el CD
Page 20

Conozca su adaptador de red USB Wireless G 2 2
Conozca su adaptador de red USB Wireless G
Ubicación del producto: La mejor ubicación para su adaptador es
en la parte superior del monitor de su computadora. No obstante,
es aceptable ubicar el adaptador sobre su escritorio, siempre y
cuando se evite situarlo cerca de objetos metálicos como una caja de
computadora o altavoces. Cualquier objeto de metal puede bloquear
las señales de radio del adaptador.
Tapa protectora
Indicador LED
de actividad
Base adaptador para poner
sobre el escritorio
(uso opcional)
Adaptador USB
Page 21

Installez 3
1. Install
Note importante : Installez le logiciel avant
d’insérer l’adaptateur.
Note à l’intention des utilisateurs Windows :
Si l’écran de l’utilitaire n’apparaît pas dans les 20
secondes qui suivent, double-cliquez d’abord sur l’icône
« My Computer » (Poste de travail), puis sur le lecteur
correspondant à votre lecteur de CD-ROM où se trouve
le programme d’installation. Ensuite, double-cliquez sur
le dossier « Files » (Fichiers), puis sur l’icône
« setup.exe ».
1.1 Inserte el CD de instalación en la unidad
de CD-ROM.
1.2 Aparecerá automáticamente la pantalla de la
Utilidad de instalación de red inalámbrica de
activa (puede tardar unos 15-20 segundos
en aparecer).
1.3 Pulse en “Install” (Instalar) en el menú.
Install Product
(pulse)
1.4 Seleccione una ubicación para la instalación
y pulse en “Next” (Siguiente) para aceptar la
ubicación por defecto o pulse en “Browse”
(Examinar) para seleccionar una ubicación
diferente antes de pulsar en “Next” (Siguiente).
(pulse)
Next
Page 22

Conecte
4
2. Conecte
Enchufe el adaptador en una ranura USB disponible en su
computadora laptop.
2.1 Durante el proceso de instalación se le
pedirá que inserte su adaptador. Conecte el
adaptador en un puerto USB disponible en
su computadora y siga las instrucciones que
aparecen en la pantalla.
Nota: Si su sistema no le solicita insertar
su adaptador después de que termine la
instalación, por favor insértela ahora.
2.2 La instalación de la Utilidad de red
inalámbrica de Belkin ya está terminada. Pulse
en “Finish” (Finalizar) para cerrar el asistente
y reiniciar su computadora.
(pulse)
Fisnish
Para computadoras de
escritorio:
Para laptops:
Page 23

Configuración 5
3. Configuración
Use la Utilidad de red inalámbrica Activa
3.1 Después de instalar el adaptador
correctamente, pulse dos veces en el icono
de utilidad de trabajo en red inalámbrica
de Altiva que se encuentra en la pantalla
del escritorio.
3.2 El icono de la Utilidad de red inalámbrica
de Belkin también se puede encontrar en la
bandeja del sistema.
3.2 La pantalla de la utilidad de la red inalámbrica
Activa aparecerá automáticamente.
Seleccione una red a la cual conectarse en la
lista “Available networks” (Redes disponibles)
y pulse en “Connect“ (Conectar).
NOTA:
Para ver sus redes disponibles, debe estar
cerca de un enrutador inalámbrico o punto
de acceso inalámbrico que funcione.
Page 24

Para más información acerca de la instalación
de este producto, por favor consulte su manual
del usuario, www.ativasupport.com, o llame a
nuestro número gratuito de asistencia técnica.
Asistencia técnica de Activa
US: 1-866-91-ATIVA (1-866-912-8482)
 Loading...