

Page 1
User Manual
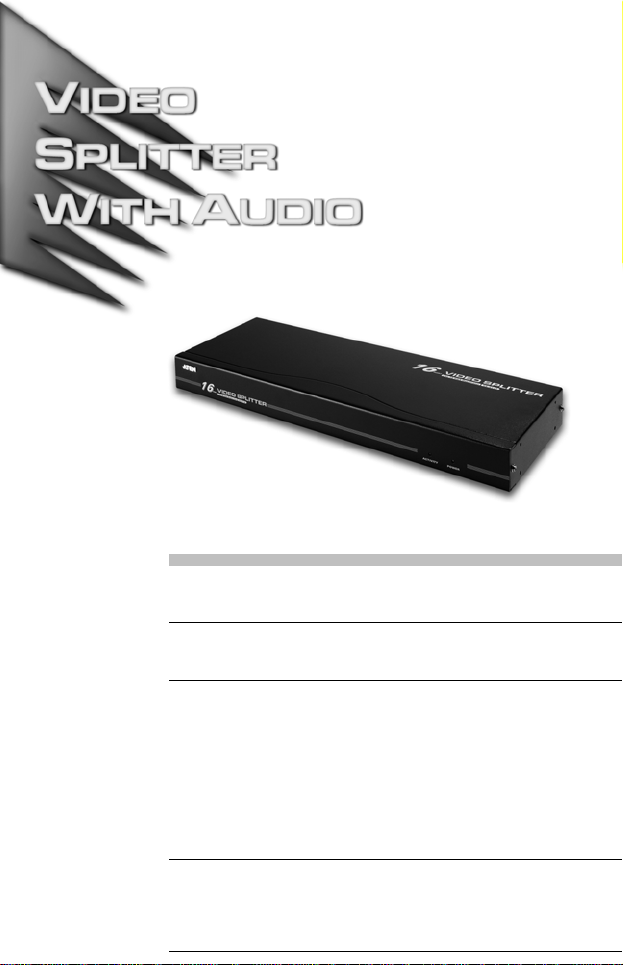
VS-0116
Read this guide thoroughly and follow the installation and operation
procedures carefully in order to prevent any damage to the units and/ or
any devices that connect to them.
This package contains:
1 VS-0116 16 Port Video Splitter with Audio
1 VGA/Audio Cable (1.8m)
1 Power Adapter
1 Rack Mount Kit
1 Quick Start Guide
1 User Manual
If anything is damaged or missing, contact your dealer.
Copyright
Manual Part No. PAPE-1277-100G
Printing Date: 03/2006
ATEN and the ATEN logo are trademarks of ATEN International Co., Ltd. All rights
reserved. All other trademarks are the property of their respective owners.
© 2006 ATEN
®
International Co., Ltd.
Page 2
Note: This is an FCC Class A product. In a domestic
environment this product may cause radi o interferenc e in
which case the user may be required to take adequate
measures.
This equipment has been tested and found to comply with
the limits for a Class A digital device , pursuan t to Part 15
of the FCC Rules. These limits are designed to provide
reasonable protection against harmful interference when
the equipment is operated in a commerci al environment.
This equipment generates, uses and can radiate radio
frequency energy and, if not installed and used in
accordance with the instruction manual, may cause
harmful interference to radio communications. Operation
of this equipment in a residential area is likely to cause
harmful interference in which case the user will be
required to correct the interference at his own expense.
This product is RoHS compliant.
Page 3

Overview
The VS-0116 16 Port Video Splitter with Audio duplicates the
video and audio signals from an input source (i.e. a computer)
and routes them to up to 16 output devices (monitors, projectors,
etc.). Furthermore, it can be cascaded to additional ATEN video
splitters to support thousands of monitors.
The VS-0116 goes beyond being merely a duplicator , however, in
that it also enhances the video signals over distances up to 65
meters.
The VS-0116 provides fast, flexible, reliable solutions for
installations that require audio-visual information to be delivered
to multiple destinations – such as:
Broadcasting information to public locations (news, airline and
train schedule and arrival/departure information)
Sporting events
Theater and lecture overflow rooms
Classroom and company training facilities.
The VS-0116 is your best choice to achieve multiple, highresolution video signals over long distances.
- 3 -
Page 4

Features
Supports up to 250 MHz bandwidth
High resolution video—1920x1440@60Hz
Supports VGA, SVGA, XGA, SXGA, and Multisync video
cards and monitors
Supports DDC, DDC2, DDC2B (Port 1 only)
Stereo audio support
Maintains high video resolution over long distances
Duplicates and enhances video signals up to 65m (max.)
Cascades 3 levels to support thousands of monitors
Adjustable video gain ensures high quality video
Hot pluggable
All metal exterior case
No additional hardware or software needed
Rack mountable in 19″ system rack (1U)
Applications
Ideal for Public Broadcasting, Remote Monitoring, and
Classroom and Training Facilities
Cost effective solutions for professional applications, school
campuses and large scale video splitting
Perfect for television wall displays, computer shops, and
individual seat mounted video displays in buses and trains
- 4 -
Page 5

System Requirements
A VGA, SVGA, XGA, SXGA, or Multisync monitor for each
output port you will be using capable of the highest resolution
that you will be using in the installation.
Speakers for each output port you will be using (optional).
A video cable with HDB-15 connectors (male on one end and
female on the other end) for the computer you will be
installing.
An audio cable for the computer you will be inst alling.
Note: 1. If you connect a DDC type monitor, all other monitors
must be able to support the highest resolution that the
DDC monitor can provide.
2. These products are designed for VGA, SVGA, XGA,
SXGA, and Multisync monitors. They are neither
suitable for CGA and EGA monitors nor should they be
used with MONO type monitors that use digital video
signals.
3. For best video quality, we recommend using ATEN
brand video cables.
- 5 -
Page 6

VS-0116 Front View
1 2
No. Description Function
1 Activity LED Lights to indicate that the unit is in use.
2 Power LED Lights to indicate that the unit is receiving power.
- 6 -
Page 7

VS-0116 Rear View
12 3
4 5
No. Description Function
1 Cable Tie Slot Attach a cable tie here to fasten the cables.
2 Video Gain Switch Low, Medium, and High settings provide fine
3 Video / Audio Output
Ports
4 Power Jack The Power Adapter cable plugs in here.
5 Video / Audio Input
Port
tuning of the VGA video signal quality.
The video and audio cables from the monitors
and speakers plug into any available ports.*
If this is a stand alone (Single Stage) unit, or the
First Stage unit of a cascaded installation, the
cables from the computer’s video and speaker
output ports plug in here.
If this is a cascaded unit, the cables from one of
the Video/Audio Output ports of the parent unit
plug in here.
* If you connect a DDC type monitor, all oth er monitors must be able to support the
highest resolution that the DDC monitor can provide.
- 7 -
Page 8

Hardware Installation
Before you Begin
1. Make sure that the power to all the devices you will
be connecting up has been turned off.
2. Make sure that all devices you will be connecting
up are properly grounded.
Single Stage
Setting up the Video Splitter is simply a matter of plugging in the
cables. Refer to the installation diagram on the next page (the
numbers in the diagram correspond to the numbered steps) and
do the following:
1. Use a high density HDB-15 male/female VGA cable to connect the computer’s video port to the video input port on the
VS-0116.
2. Use a male/male audio cable to connect the computer’s
speaker port to the audio input port on the VS-0116.
3. Connect a monitor to any available video output port on the
VS-0116.
4. Connect speakers to the audio output port that corresponds
to the video output port you connected in step 3.
Note: Repeat steps 3 and 4 for any additional monitor(s) and
speakers that you wish to connect.
5. Plug the power adapter that came with the VS-0116 into an
AC power source, then plug the power adapter cable into the
splitter’s Power Jack.
6. Power on the attached equipment.
- 8 -
Page 9

Single Stage Installation Diagram:
2
3
1
5
4
- 9 -
Page 10

Cascading
To provide video display to additional monitors, the VS-0116
supports cascading up to 3 levels of video splitters.
Cascading additional Video Splitters involves the following six
steps. Refer to the installation diagram on the next page (the
numbers in the diagram correspond to the numbered steps) and
do the following:
1. Use a high density HDB-15 male/female VGA cable to connect a video output port on the parent video splitter to the
video input port on the child VS-0116.
2. Use a male/male audio cable to connect an audio output port
on the parent video splitter to an audio input port on the child
VS-0116.
Note: Repeat steps 1 and 2 for any additional video splitter(s)
you wish to cascade.
3. Connect a monitor to any available video output port on the
child VS-0116.
4. Connect speakers to the audio output port that corresponds
to the video output port you connected to in step 3.
Note: Repeat steps 3 and 4 for any additional monitor(s) and
speakers that you wish to connect.
5. Plug the power adapter(s) that came with the VS-0116(s) into
an appropriate AC power source, then plug the power
adapter cable(s) into the Video Splitter’s power jack(s).
6. Power on the attached equipment.
- 10 -
Page 11

Cascaded Installation Diagram:
1 2
5
3
4
- 11 -
Page 12

Specifications
Model VS-0116
Connection Computer 1
Monitors 16
Connectors Input 1 x HDB-15 (male)
Output 16 x HDB-15 (female)
Power DC Jack
LEDs Activity 1 (green)
Power 1 (blue)
Signal Type VGA
Video Bandwidth 250 MHz
Cable Distance
(splitter to monitor)
Video 1920x1440@60Hz; DDC2B (Port 1 only)
Power Supply DC 5.3V, 2.4A
Power Consumption 3.3W (maximum)
Environment Operating
Physical
Properties
Temperature
Storage
Temperature
Humidity 0 ~ 80% RH, Non-condensing
Housing Metal
Weight 2.8 kg
Dimensions
(L x W x H)
1 x 3.5mm Mini Stereo Jack (female)
16 x 3.5mm Mini Stereo Jack (female)
65m (maximum)
0°~ 50°C
-20°~ 60°C
43.2 x 15.7 x 4.4 cm
- 12 -
Page 13

VGA Pin Assignments
Pin Signal Pin Signal Pin Signal
1 Red Video 6 Analog Ground 11 ID0
2 Green Video 7 Analog Ground 12 ID1
3 Blue Video 8 Analog Ground 13 Horizontal Sync
4 ID2 9 NC 14 Vertical Sync
5 Ground 10 Ground 15 ID3
Getting Help
If you need to contact ATEN technical support with a problem,
visit our website at www.aten.com.
Limited Warranty
IN NO EVENT SHALL THE DIRECT VENDOR'S LIABILITY EXCEED
THE PRICE PAID FOR THE PRODUCT FROM DIRECT, INDIRECT,
SPECIAL, INCIDENTAL, OR CONSEQUENTIAL DAMAGES RESULTING
FROM THE USE OF THE PRODUCT, DISK, OR ITS DOCUMENTATION.
The direct vendor makes no warranty or representation, expressed, implied, or
statutory with respect to the contents or use of this documentation, and especially
disclaims its quality, performance, merchantability, or fitness for any particular
purpose.
The direct vendor also reserves the right to revise or update the device or
documentation without obligation to notify any individual or entity of such
revisions, or update. For further inquiries, please contact your direct vendor.
- 13 -
 Loading...