

Page 1
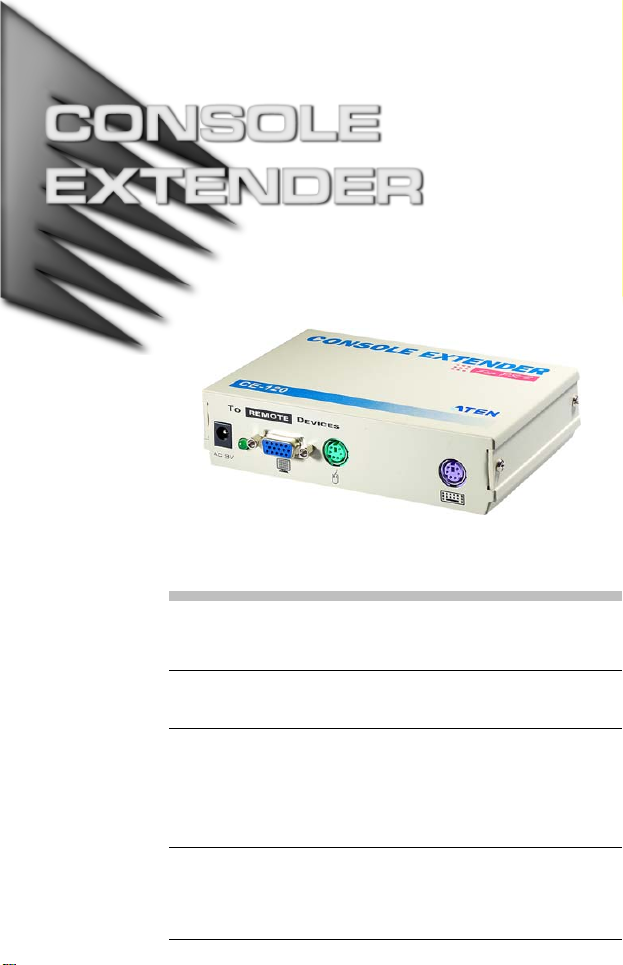
User Manual
CE-110 / CE-120
Read this guide thoroughly and follow the installation and
operation procedures carefully in order to prevent any damage to
the units and/or any devices that connect to them.
This package contains:
1 CE-110 or CE-120 Console Extender
1 Power Adapter
1 User Manual
If anything is damaged or missing, contact your dealer.
© Copyright 2006 ATEN
Manual Part No. PAPE-1086-100
Printing Date: 11/2006
ATEN and the ATEN logo are trademarks of ATEN Internat ional Co., Lt d. All ri ght s
reserved. All other trademarks are the property of their respective owners.
®
International Co., Ltd.
Page 2
Warning!!! This equipment generates, uses and can
radiate radio frequency energy, and if not installed and
used in accordance with the instruction manual, may
cause interference to radio communications. It has been
tested and found to comply with the limits for a Class A
computing device, pursuant to Subpart J of Part 15 of the
FCC Rules, which are designed to provide reasonable
protection against such interference when operated in a
commercial environment. Operation of this equipment in a
residential area is likely to cause interference in which
case the user at his own expense will be required to take
whatever measures may be required to correct the
interference.
This product is RoHS compliant.
Page 3

Overview
Console extenders allow users to increase the distance between
the computer’s system box and the user’s console (keyboard,
monitor, and mouse). It is perfect for any type of installation
where the console needs to be in a conveniently accessible
location, but you want the system equipment to reside in a safe
place - away from dust, dirt, and harsh environmental influences.
The CE-110 and CE-120 are fundamentally similar - except that
the CE-110 is for use with PC/AT type computers, whereas the
CE-120 is for use with PS/2 type computers.
Features
Supports SVGA, VGA, and Multisync monitors
Automatic power saving mode turns off the console when the
computer is off
Transmission distance of up to 80m (262ft)
CE-110 for PC/AT computers
CE-120 for PS/2 computer
- 1 -
Page 4

Cables
Although it is possible to use standard KVM cables to link
computers to the console extender, for optimum signal integrity
and to simplify the layout, we strongly recommend that you use
high quality CS Custom3-in-1 KVM Cables. To purchase cables,
contact your dealer.
CE-110 Cables
1. To computer ports:1.8m (6ft)SL-1001A
2. To console:10m (33ft)SL-1010A20m (66ft)SL-1020A
CE-120 Cables
1.To computer ports:1.8m (6ft)SL-1001P
2.To console:10m (33ft)SL-1010P20m (66ft)SL-1020P
Connection Diagram
CE-110
or
80 m 1.8 m
CE-120
6'262'
Remote
- 2 -
Page 5

CE110 (for PC/AT)
Front and Rear Panels
CE120 (for PS/2)
Front and Rear Panels
- 3 -
Page 6

Installation
The CE-110 and CE-120 have identical installation procedures.
Therefore, the steps described below apply to both of them.
Setting up the Console Extender is simply a matter of plugging in
the cables:
1. Make sure that all the equipment to be connected up is powered Off.
2. Plu g the cables from the console devices (mouse, keyboard,
monitor), into their ports on the Remote Devices side of the
Console Extender. Each port and connector is marked with
an appropriate icon to indicate which it is.
3. Plug the appropriate connectors on one end of the KVM cable
(see Cables on p. 2 for details) into the Computer Ports side
of the Console Extender. Each port and connector is marked
with an appropriate icon to indicate which it is.
Note: The female monitor connector is the one that plugs into
the Console Extender.
4. Plu g the connectors on the other end of the cable into the
appropriate ports on the computer system. Each connector is
marked with an appropriate icon to indicate which it is.
5. Plu g the power adapter (supplied with this package) into an
AC source; plug the adapter’s power cable into the Console
Extender’s AC 9V Power Jack.
6. Turn on the power to your equipment.
This completes the installation.
- 4 -
Page 7

Specifications
Function CE-110 CE-120
Computer Type PC/AT PS/2
Connectors Keyboard 1 x 5-pin DIN 1 x 6-pin Mini-DIN
Monitor 1 x HD-15
Mouse 1 x 9-pin D 1 x 6-pin Mini-DIN
LEDs 1 x Power
Power Consumption AC 9 V; 300 mA (max.)
Cable Length 1.8 m to computer
Physical
Properties
Housing Metal
Weight 0.27 kg
Dimensions (L x W x H) 13.7 x 10.3 x 3.4 cm
80 m to KVM console
Troubleshooting
Problem Action
No video Make sure that all cables are securely plugged
into their sockets.
Poor video quality. The video quality can be improved by reducing
the refresh rate.
- 5 -
Page 8

Limited Warranty
IN NO EVENT SHALL THE DIRECT VENDOR'S LIABILITY EXCEED THE PRICE
PAID FOR THE PRODUCT FROM THE DIRECT, INDIRECT, SPECIAL,
INCIDENTAL OR CONSEQUENTIAL DAMAGES RESULTING FROM THE USE
OF THE PRODUCT, DISK OR ITS DOCUMENTATION.
The direct vendor makes no warranty or representation, expressed, implied, or
statutory with respect to the contents or use of this documentation, and specially
disclaims its quality, performance, merchantability, or fitness for any particular
purpose.
The direct vendor also reserves the right to revise or update the device or
documentation without obligation to notify a ny individual or ent ity of such revisions,
or update. For further inquires please contact your direct vendor.
- 6 -
 Loading...