Page 1

PRECISION THICKNESS GAGES
NONDESTRUCTIVE TESTING
GE Panametrics
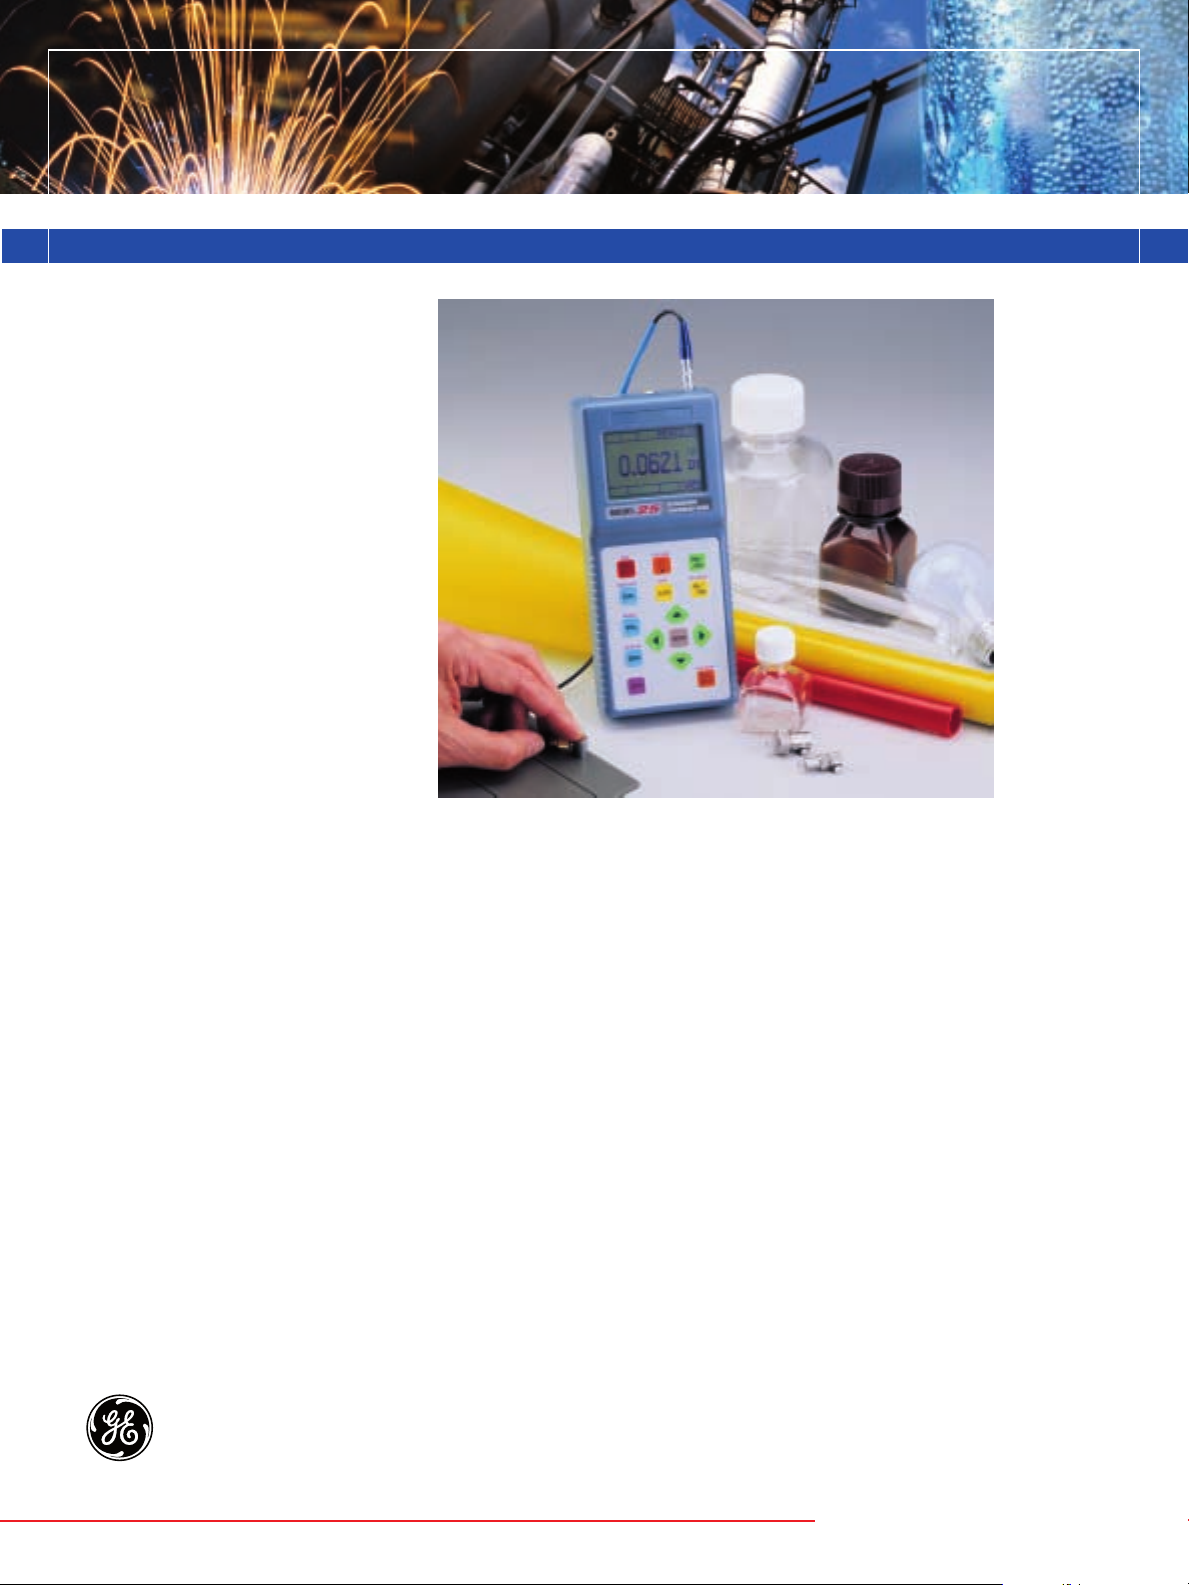
The Model 25 ultrasonic precision
thickness gage provides cost-effective
solutions in applications where the
opposite side of the test material is difficult or impossible to reach. An
important benefit of this handheld
unit is its ability to make thickness
measurements on many materials in a
wide variety of shapes, sizes, and
geometries. A 5-digit LCD with backlight provides easy viewing of thickness
measurements. Operation of this
handheld gage is intuitive with a colorcoded keypad. The Model 25 offers
measurement features typically found
in more complicated and expensive
units but at a lesser cost.
One of the many unique features of
this gage, Application Auto-Recall,
allows the user to select and recall any
of the stored standard or custom
transducer setups in the gage’s
memory. This permits easy switching
among GE Panametrics’ full line of
contact, delay line, and immersion
transducers to solve an almost infinite
number of measurement problems.
Model 25
ULTRASONIC PRECISION THICKNESS GAGE
PRECISION THICKNESS GAGES
920-012
FEATURES
• General purpose thickness gage for
metals, plastics, glass, rubber,
composites and other materials
• Wide thickness range from 0.003"
to 20" (0.080mm to 500mm),
depending on material
• Resolution up to 0.0001"
(0.001mm)
•Uses contact, delay line, and
immersion transducers
• Application Auto-Recall with
default and custom setups
• Handheld, weighs only 1 lbs. 3oz.
(0.59Kg)
•Min/Max mode
•Hi-Low alarm
• Inches/mm
• Long battery life
Page 2

GE Panametrics
Headquarters GE Panametrics
221 Crescent Street • Waltham, MA 02453 USA
TEL 781-899-2719 FAX 781-899-1552
www.panametrics.com
e-mail: panametrics@ps.ge.com
GEA-13572
Printed 05-2003 U.S.A
© 2003 GE Panametrics. All Rights Reserved. *All specifications are subject to change for product improvement without notice.
Other company or product names mentioned in this document may be trademarks or registered trademarks of their respective companies
MEASUREMENTS
Mode 1: Time interval between excitation pulse and first backwall echo.
Using contact transducers
Mode 2: Time interval between the
first interface echo after the excitation
pulse and the first backwall echo.
Using delay line or immersion
transducers
Mode 3: Time interval between successive backwall echoes following the first
interface echo after the excitation
pulse. Using delay line and immersion
transducers
Thickness Measurement Range:
Steel: 0.006 - 20 inches
(0.15 - 500mm)
Plastic: 0.003 - 2 inches
(0.08 - 50mm)
Thickness range depends on material,
transducer, surface condition and setup selected,
extended thickness ranges are possible using
custom setups
Material Velocity Range:
0.02000 - 0.55110 inch/µS
(0.5080 - 13.9979mm/µS)
Resolution, keypad selectable:
LOW: 0.01" 0.1mm
STANDARD: 0.001" 0.01mm
HIGH: 0.0001" 0.001mm
Measurement Rate:
1, 2, 5, or 10 measurements per
second
Transducer Frequency Range:
2.25 - 30MHz
Min/Max Mode:
Displays current thickness, minimum
thickness, or maximum thickness
depending on setting
Display Hold/Blank:
Display blanks after last reading or
holds reading
Alarm Mode:
Programmable Hi-Low alarm setpoints
with audible and visual indicators
Differential Mode:
Displays thickness difference between
actual measurement and preset
reference value
Application Auto-Recall:
Automatically adjusts internal parameters and zero offset for a wide variety
of transducers. Stores 7 standard
transducer setups and up to 5 custom
transducer setups.
PC Scope (Optional):
Allows measurement waveform with
gates and thickness readings to be
viewed live on a computer
Other Standard 25 Features:
Calibration Lock Mode, Internal
Diagnostic Test Mode, Metric/English
Units
POWER SUPPLY
Battery:
6V Rechargeable NiCad battery pack.
Optional replaceable alkaline “AA”
cells
Battery Life:
30 hrs nominal (normal operation),
Nicad. Optional alkaline “AA” cells
approximately 70 hours
Low Battery Indicator:
Active display shows percentage of
remaining battery life
Battery Charge Time:
7 hours using provided charger
Charger:
External wall plug-in charger/AC
Adapter for 100/115/230 VAC inputs
Auto Power On/Off
GENERAL
Keypad:
Sealed color coded keypad with tactile
and audible feedback
Thickness Display:
5-Digit LCD with Backlight. 0.5"
(12.7mm) numerals. Viewable area
2.2" x 1.5" (56.3 x 38.4mm)
Backlight: Electroluminescent backlit
display. Contrast keypad adjustable
Multi-Language Display:
Keypad selectable display languages.
Included are English, French,
German, and Spanish
Operating Temperature:
-10°C to +50°C (+14°F to 122°F)
Size:
L7.70" x W3.39" x D1.70",
L195.6 x W86.2 x D66.9mm.
Depth at display is slightly larger
Weight:
1 lbs 3oz. (0.59Kg)
STANDARD INCLUSIONS
Model 25 Digital Ultrasonic
Multi-Mode Thickness Gage with
Application Auto-Recall, AC or Battery
Operation, 50-60Hz
Including:
Charger/AC Adapter (100, 115,
230VAC)
Transducer Cable
Test Block
Couplant
Carrying Case
Manual
Two Year Limited Warranty
OPTIONAL ACCESSORIES
25/SPC/KIT Protective Pouch with
Neck Strap
25EW Extended Limited
Warranty, 3rd Year.
25SM PC Scope, DOS
Version
WIN25DL Windows PC Scope
Program
25DL/RETRO Full upgrade to 25DL
including Datalogger
2214E** 5-Step Test Block, 1018
steel, English Units:
.100", .200", .300",
.400", .500"
2213E** 5-Step Test Block,
Aluminum, English
Units: .100", .200",
.300", .400", .500"
26DL/OCC Heavy Duty Shipping
Case
**Test Blocks are available in metric units.
MODEL 25 SPECIFICATIONS
*
 Loading...