

ATCOM Rainbow2 Quick Start Manual

Rainbow2 Quick Start Guide
Version 1.0
2014-03-21

Rainbow2 Quick Start Guide
ATCOM TECHNOLOGY CO., LIMITED
Content
1. Installation and access.......................................................................................................3
1.1 Connection.............................................................................................................................. 3
1.2 Stand bracket installation instruction......................................................................................3
1.3 Programmable keys’ paster using instruction.........................................................................7
1.4 Check IP.................................................................................................................................. 8
1.5 Login to web........................................................................................................................... 8
2. Configure phone to register SIP account....................................................................8
2.1 Network Configuration........................................................................................................... 8
2.2 Account Configuration..........................................................................................................10
Rainbow2 Quick Start Guide
ATCOM TECHNOLOGY CO., LIMITED
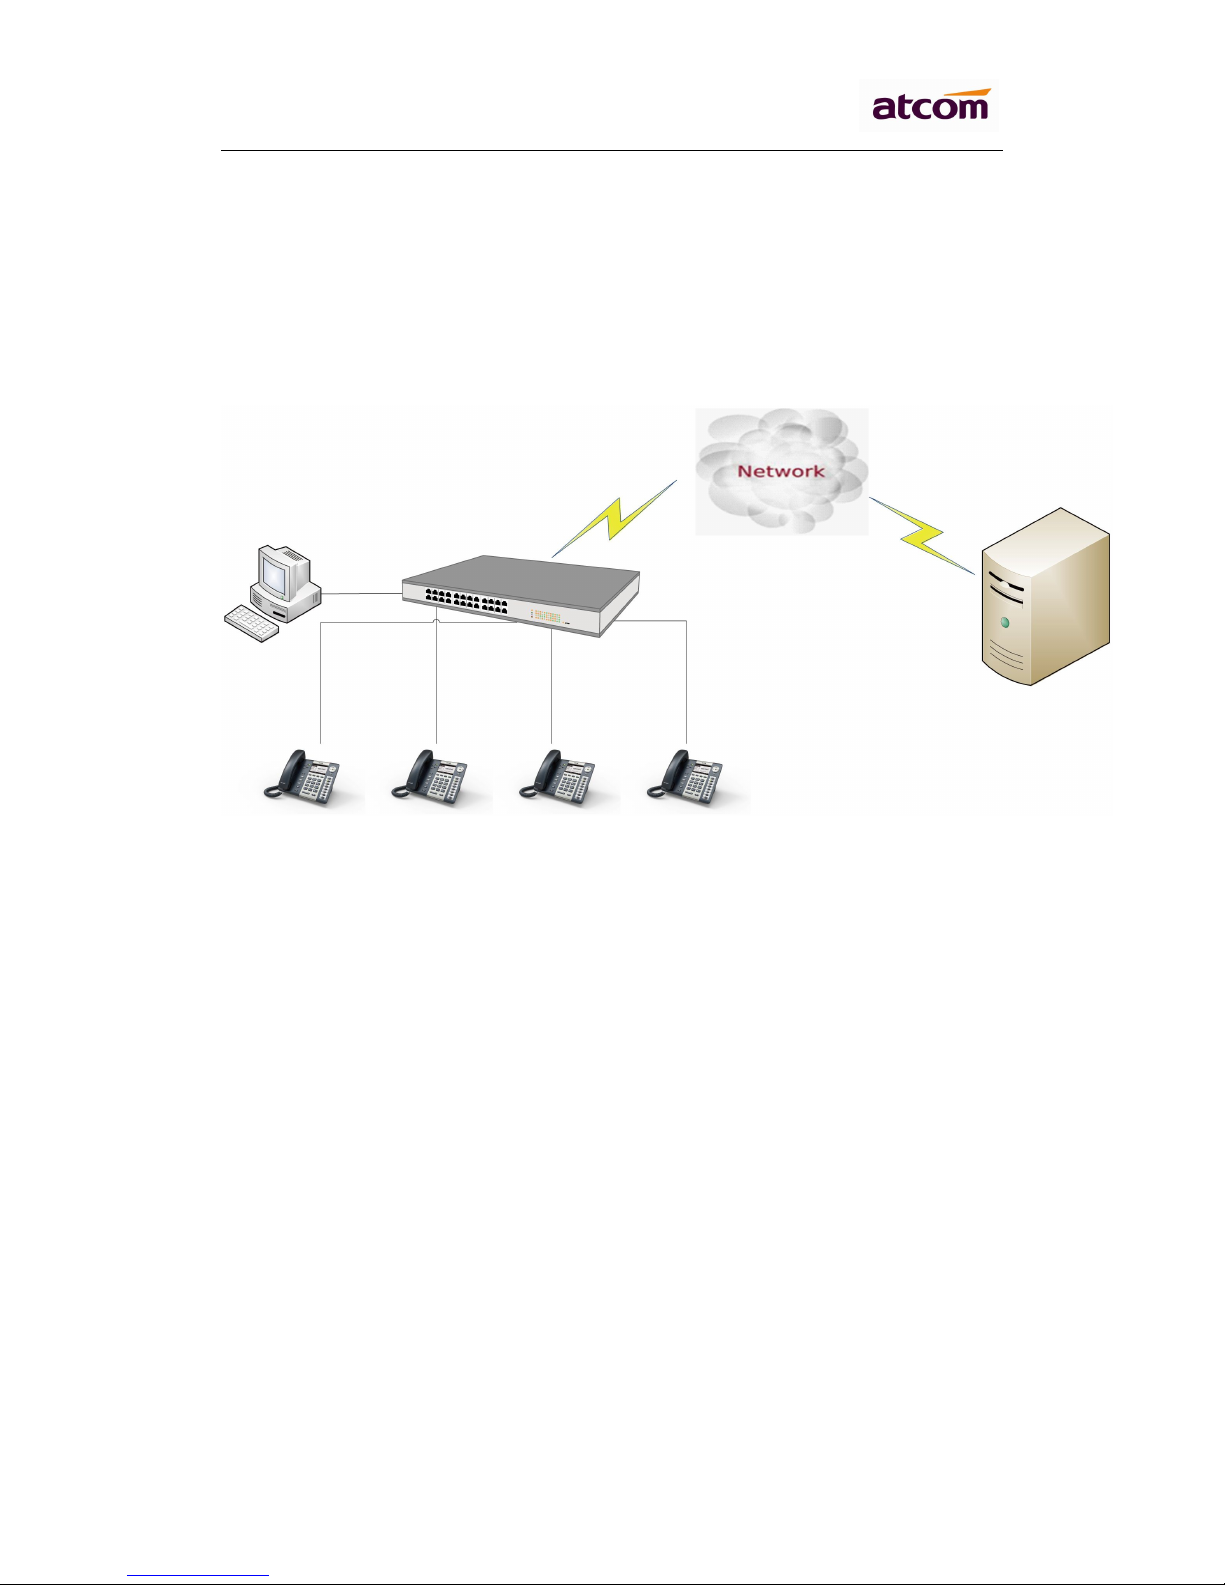
1. Installation and access
1.1 Connection
Set up Rainbow2 as below:
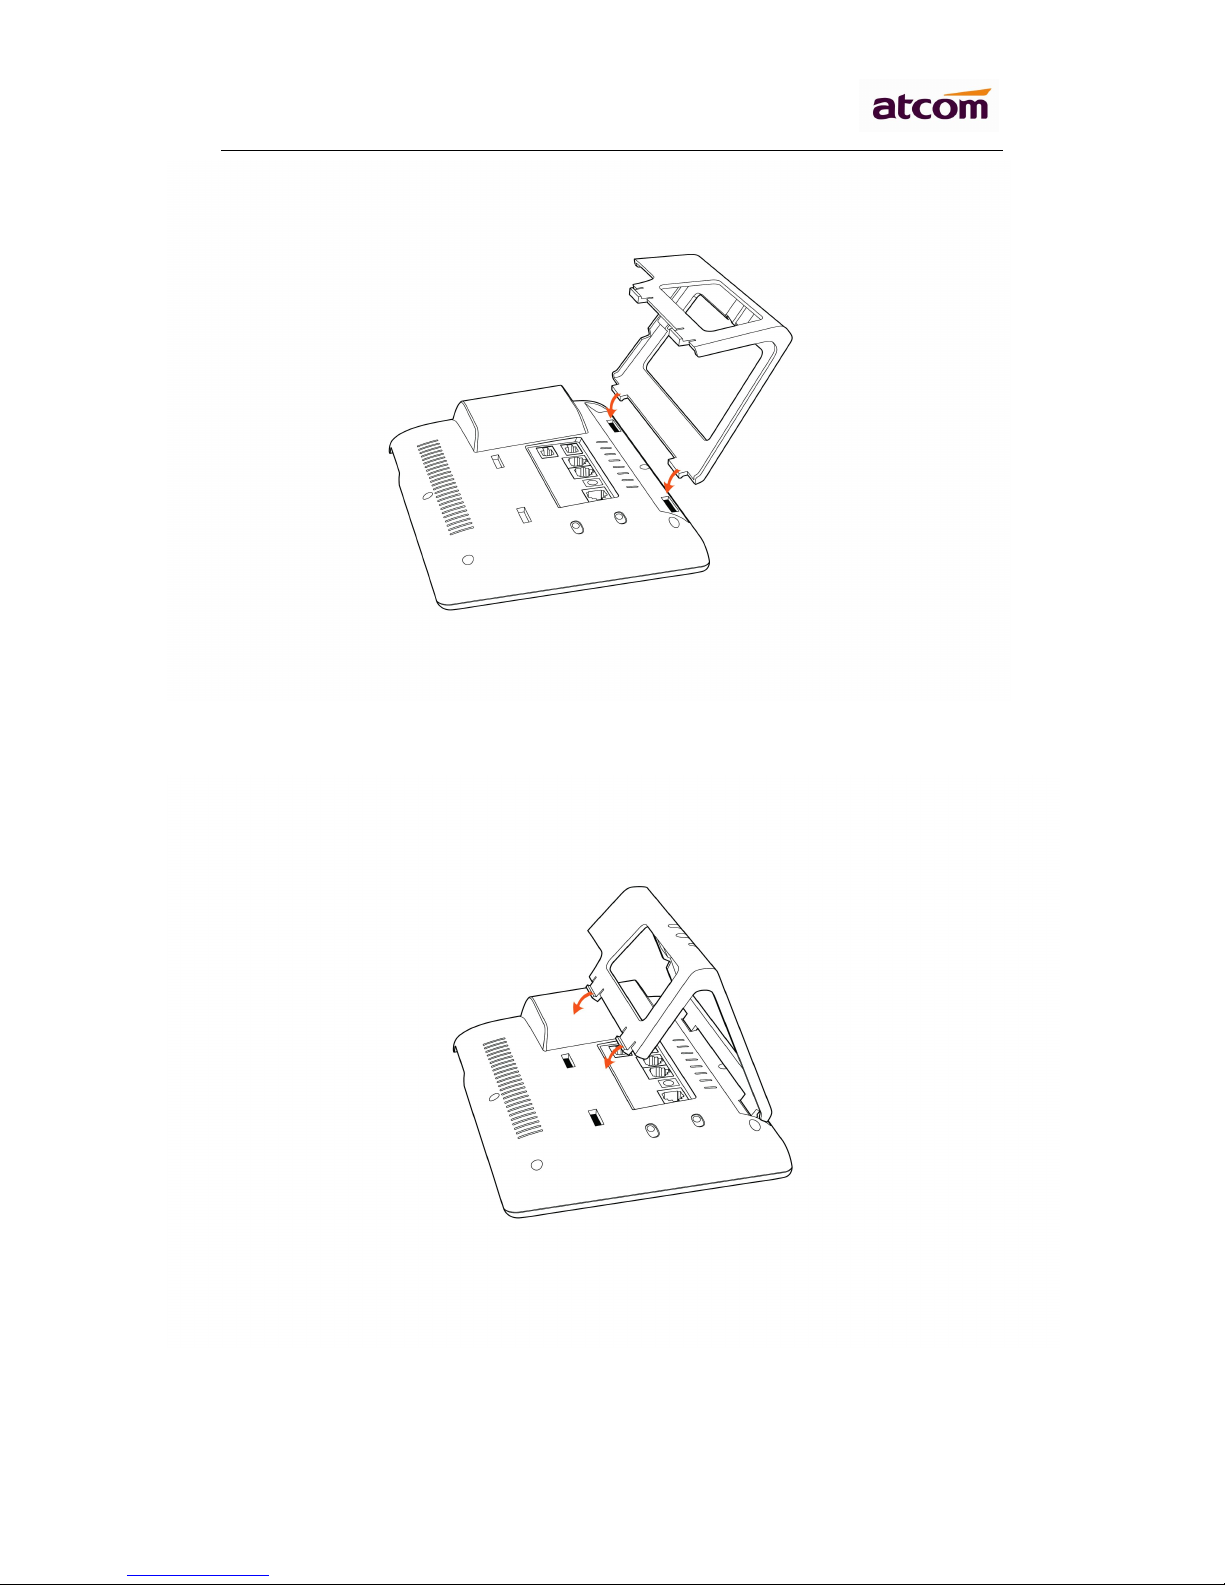
1.2 Stand bracket installation instruction
A. Put the bottom side of the IP phone upside and press one-side joints of stand
bracket into the slot, please refer the picture as below:
Rainbow2 Quick Start Guide
ATCOM TECHNOLOGY CO., LIMITED
B. Press the other side joints into the slot according to the direction of the
arrow:
C. It is the right picture after fixing the stand bracket below:
 Loading...