

Page 1
Page 2
Page 3
Page 4
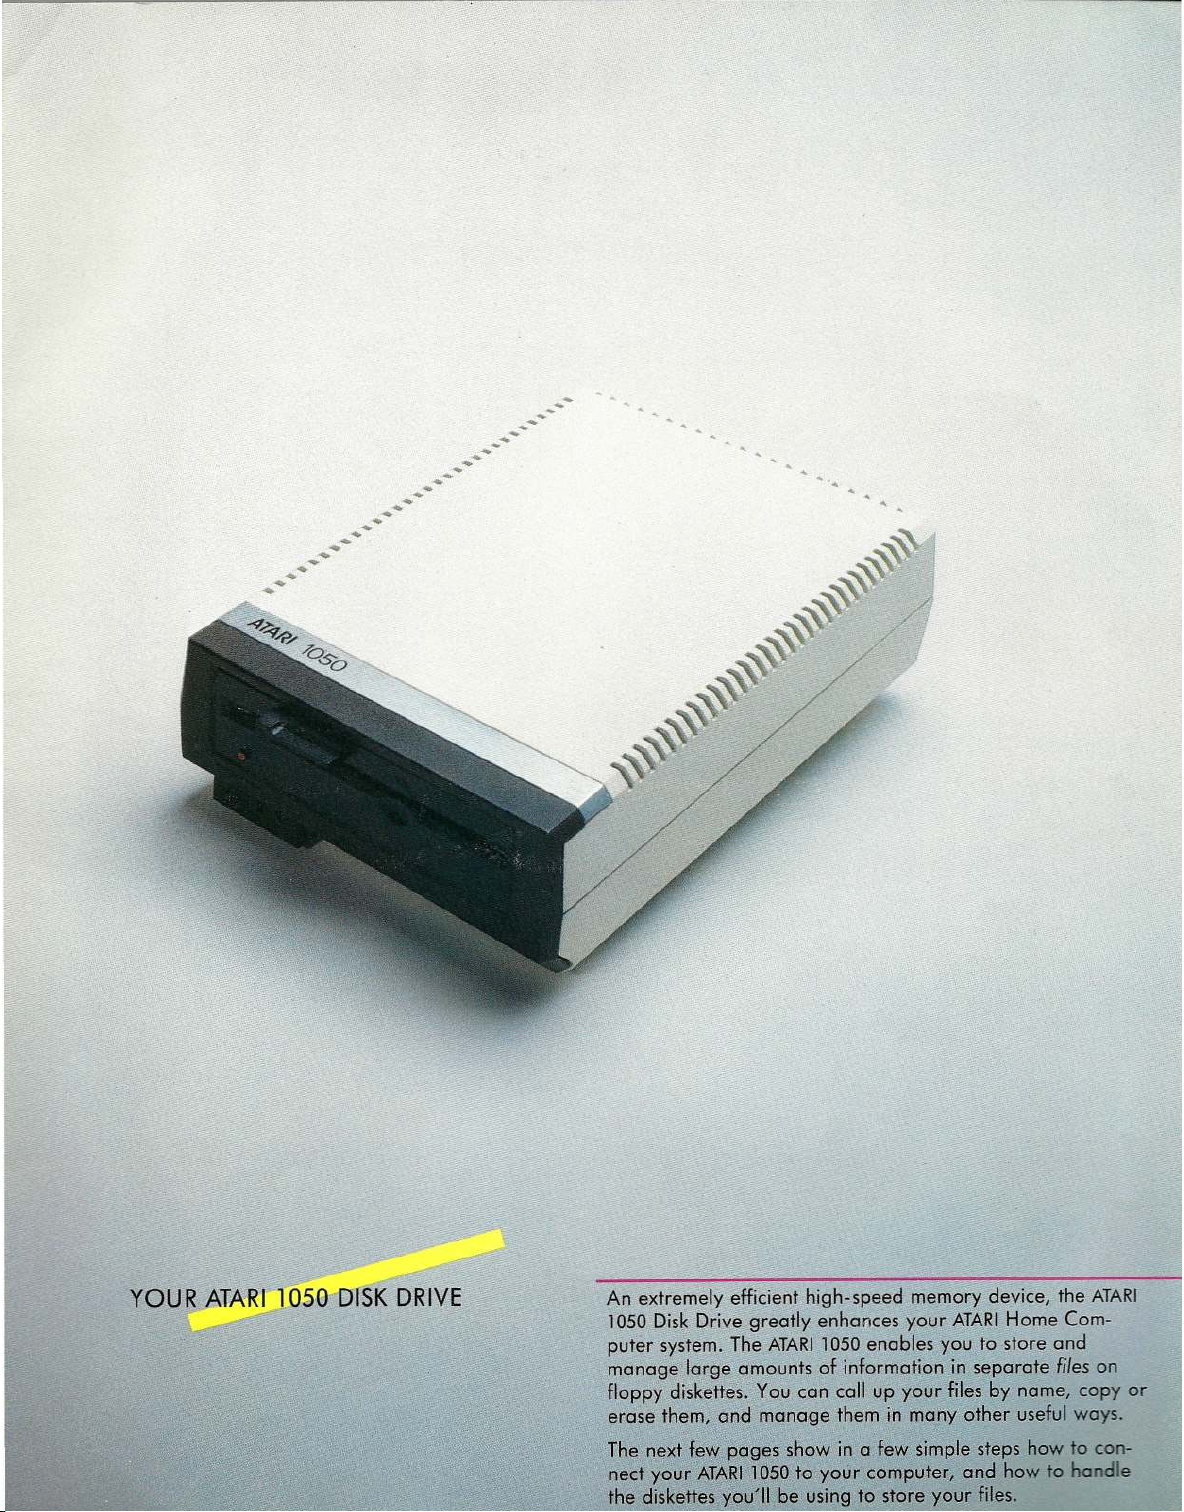
An ex tre m e ly efficien t hig h -sp e ed m em or y d e v ic e, the
Disk Driv e g rea tly e nhan c e s you r
10 5 0
pu ter sy ste m . Th e
mana g e I011 g eam ou n ts of infor m a tion in sep a rate
flo p py d is kettes . Y o u ca n ca ll up y o u r file s by name, copy or
er ase the m ,.
ne d y o ur
the dis kette s yo u'H be us in g to sto re yo ur file s.
AlA R I 1050
d
mana g e th e m in man y o th e r use ful w a ys.
es s how in a few sim ple ste ps ho w to co n -
~8 1 1 050
to yo ur co m p u ter , ana h ow to
en a b le s yo u to s to re a n d
AlA R I
Hom e C o m -
files
handle
AlA R I
on
Page 5
1
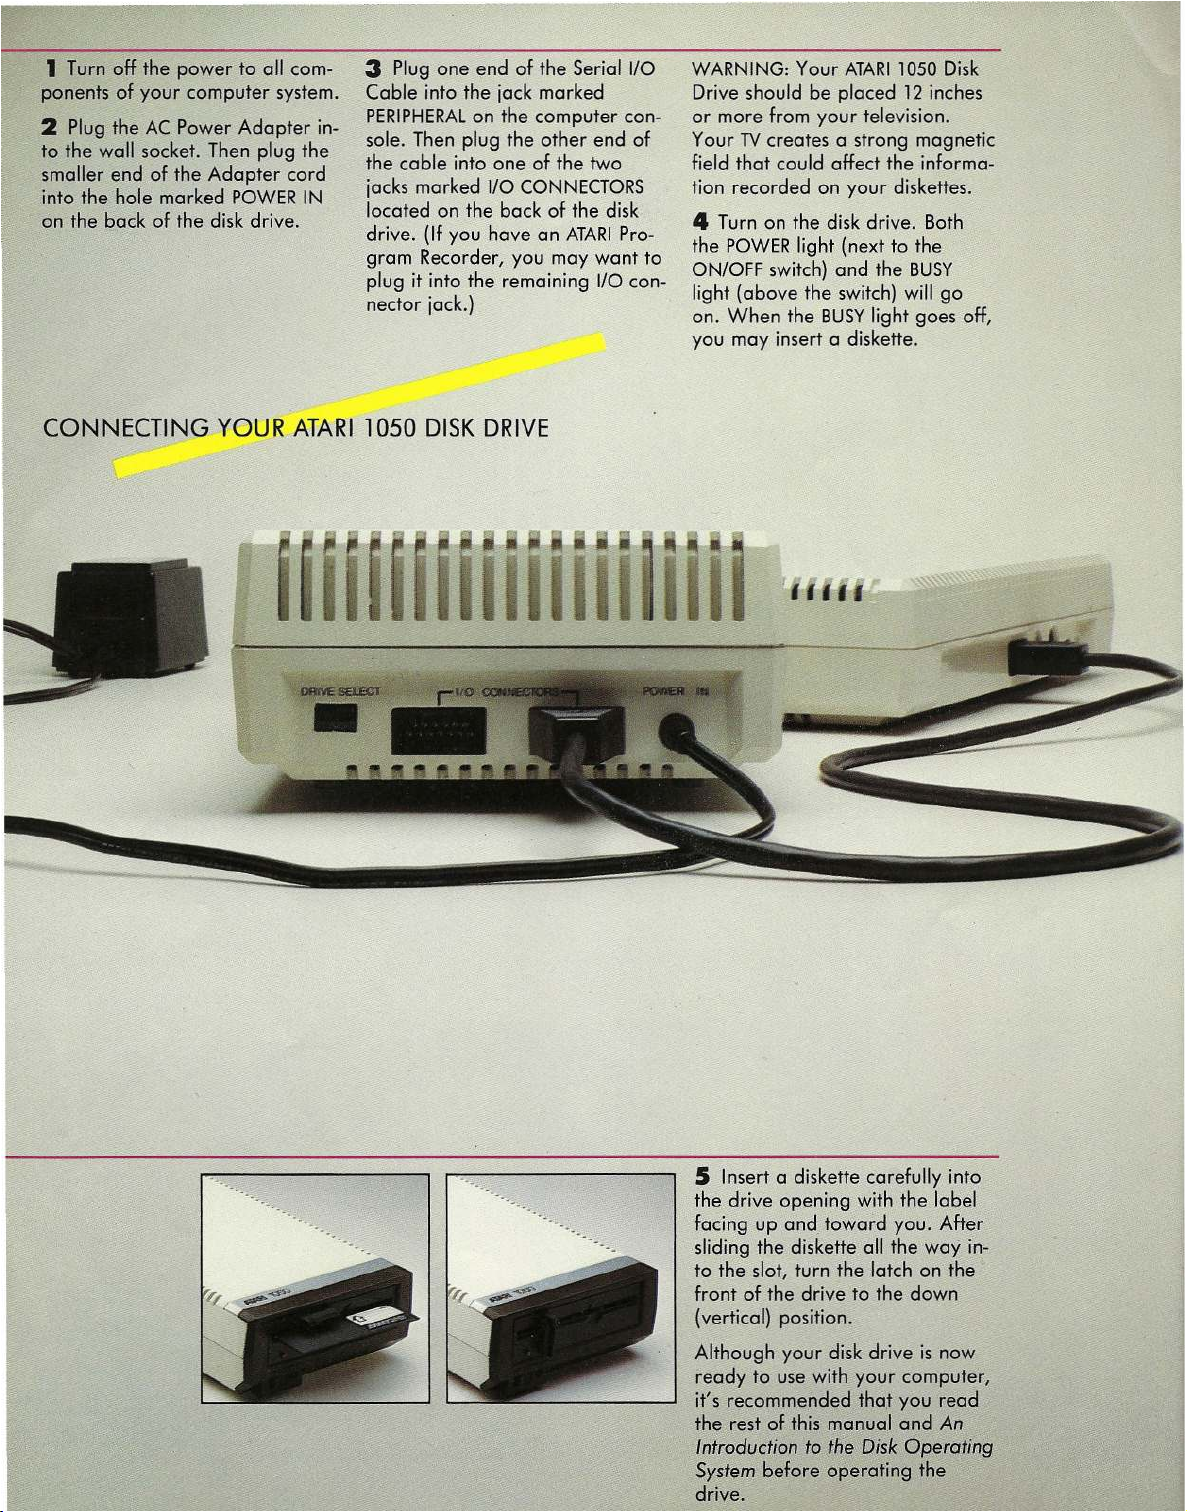
Tu rn o ff th e po w e r to all c om -
po n e nts of y our c om pute r s y ste m .
2
Plug theAC Power Ada p ter in-
to th e w all s ocke t. The n p lu g th e
sm aller en d o f th e A d a pte r cord
into th e h ole m ark e d PO W E R IN
on the back of th e d is k d rive.
3
Plug on e e n d of the S e ria l I/O
Cab le into the ja c k m ar ked
PERIP H E R A Lon the co m p u ter co n -
so le . Th e n plug the oth e r e n d o f
the c able into one of the tw o
1/0
jack s m ark ed
loca ted on t he b ack of the disk
dr iv e. (If you hav e an A T A R IP ro-
gr am Rec o rd e r, yo u m ay want to
plug it in to th e rem aining
ne c to r ja c k.)
CON N E C T O R S
CONNECTING YOUR ATARI 1050 DISK DRIVE
W A R N ING: Your A T A R I105 0 Dis k
Driv e sh o uld be pla ced 12 inc h es
or m o re fro m your te lev ision .
You r TV creat es a stro n g m a g netic
fie ld th at cou ld a ffect the info rm a-
tio n re cord ed on you r diske ttes.
4
Tu rn on the disk d rive. B o th
the P O W ER light (n e xt to th e
1/0
co n -
a
t
ONIO F F switc h ) an d the B U S Y
lig h t (ab o ve th e sw itch ) w ill go
on . W h en the B U S Ylig ht goe s off,
yo u m ay in sert a diske tte .
t:
I
5
Inser t a d is kette ca refully in to
the drive op e nin g w ith the lab e l
facing u p and toward you . A fter
slidin g th e d is k ette a ll th e w a y in -
to th e slot, tu rn th e latc h on th e
fro n t o f th e d rive to the down
(vertical) po s itio n.
Alth o ugh yo u r disk dr iv e is now
re ady to use with y o ur co m p u te r,
it's re comm ended thot y ou read
the rest o f th is m a n u al and
I n tr o d u c t i o n t o th e D is k O p er a t i n g
S y st e m
dr iv e.
be for e o pera ting th e
AA n
Page 6
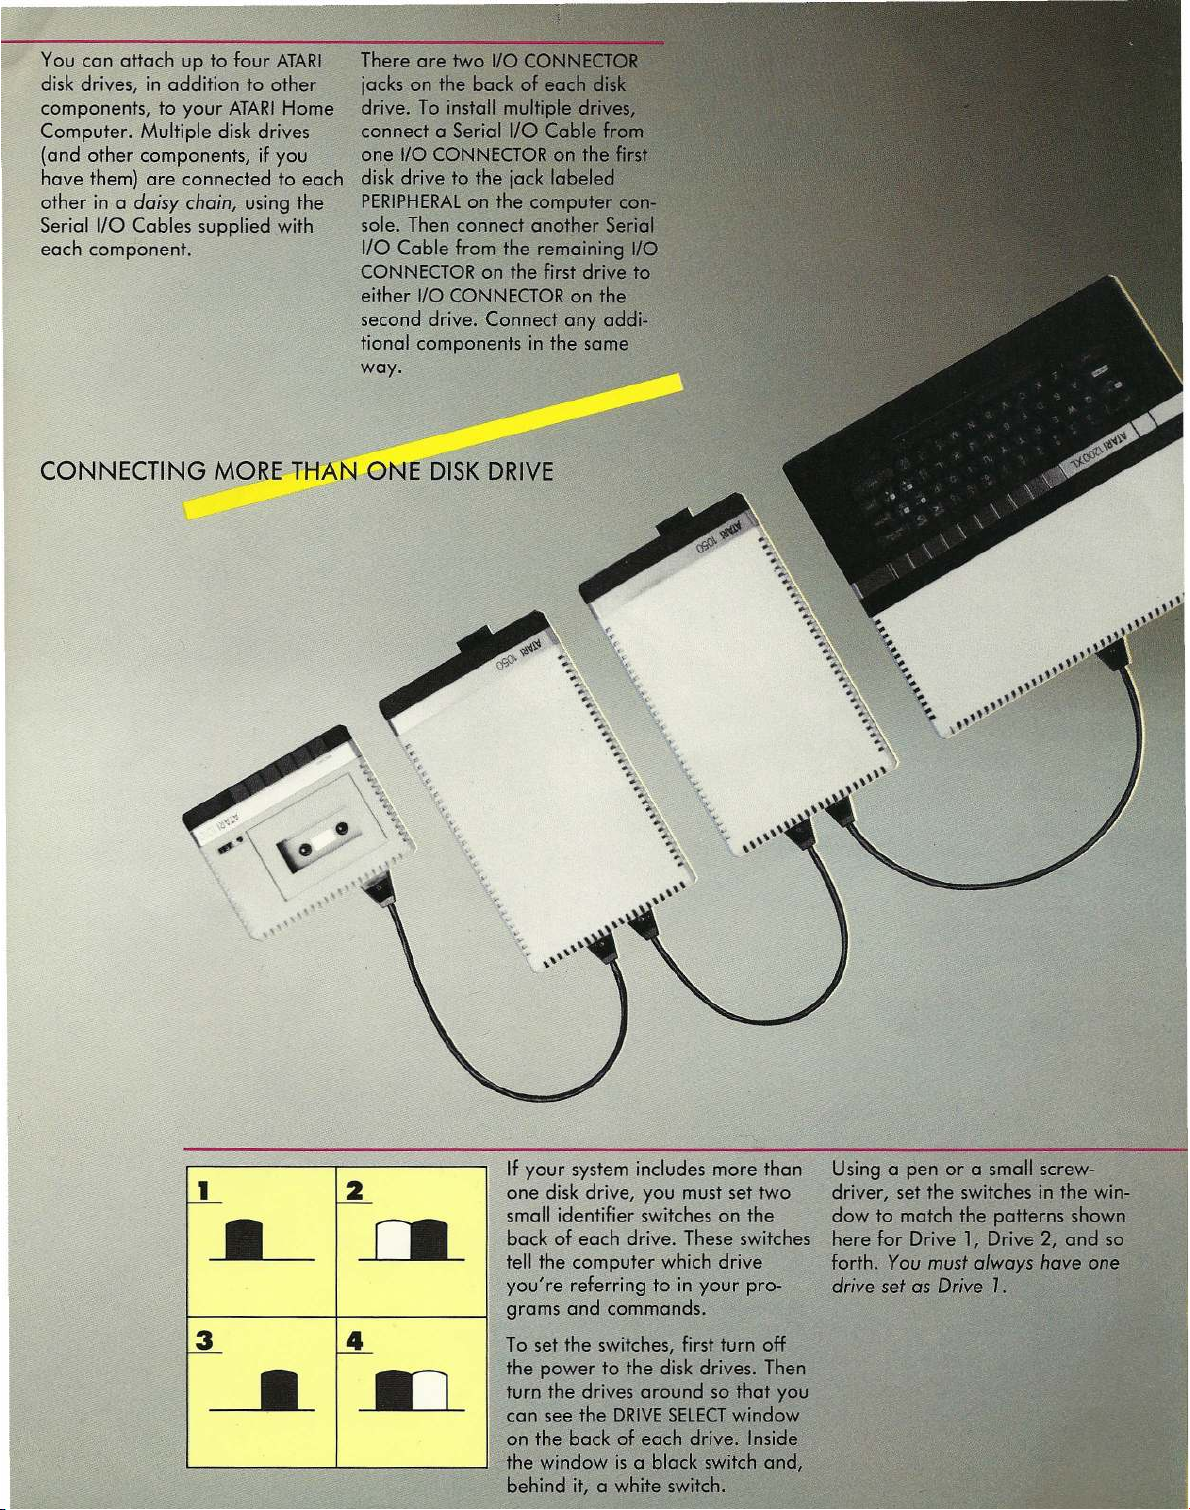
You can attach up to four
disk drives, in addition to other
components, to your
Computer. Multiple disk drives
(and other components, if you
have them) are connected to each
other in aAd a is y c h a in , using the
Serial I/O Cables supplied with
each component.·
ATA R I
ihgfedcbaZYXWVUTSRQPONMLKJIHGFEDCBAATA R I
Home
There are two
jacks on the back of eac
drive. To install multiple d
connect a Serial I/O Cable
I/O C O N N E C T O R
one
dis'k drive to the jack labele
PERIP H E R A L
sole. Then connect another Serial
1/0 Cable from the remaining
CON N E C T O R
either
I/O CONNEC TO R
second drive ..Connect any addi .•
tional components in the same
way.
I/O 0
on th
on the computer co
I/O
on the first drive to
on the
CONNECTING MORE l~N
'\
ON E
D1SK DRIVE
<
'<
-s .
c
~
,
~( '<
's
,
,
,
r--L
.a.
~ ~
---
If your. system includes more than
I~
~
~
~
one disk drive, you must set two
I;
small identifier switches on the
back of each drive. These switches
tell the computer which drive
you're referring to in your pro-
grams and commands.
To set the switches, first turn off
the power to the disk drives. Then
turn the drives around so that you
c;an see the
on the back of each drive. Inside
the window is a black s'1.jtch end,
behind it, a white switch.
DRIV E SELECT
window
Using a pen or a small screw-
driver, set the switches in the win-
dow to match the patterns shown
1,
here for Drive
forth. Y o u m u s t a l w a ys h a v e o n e
d r i ve s - e tasD r iv e
Drive 2, and so
J.
Page 7
Qflc ;:e
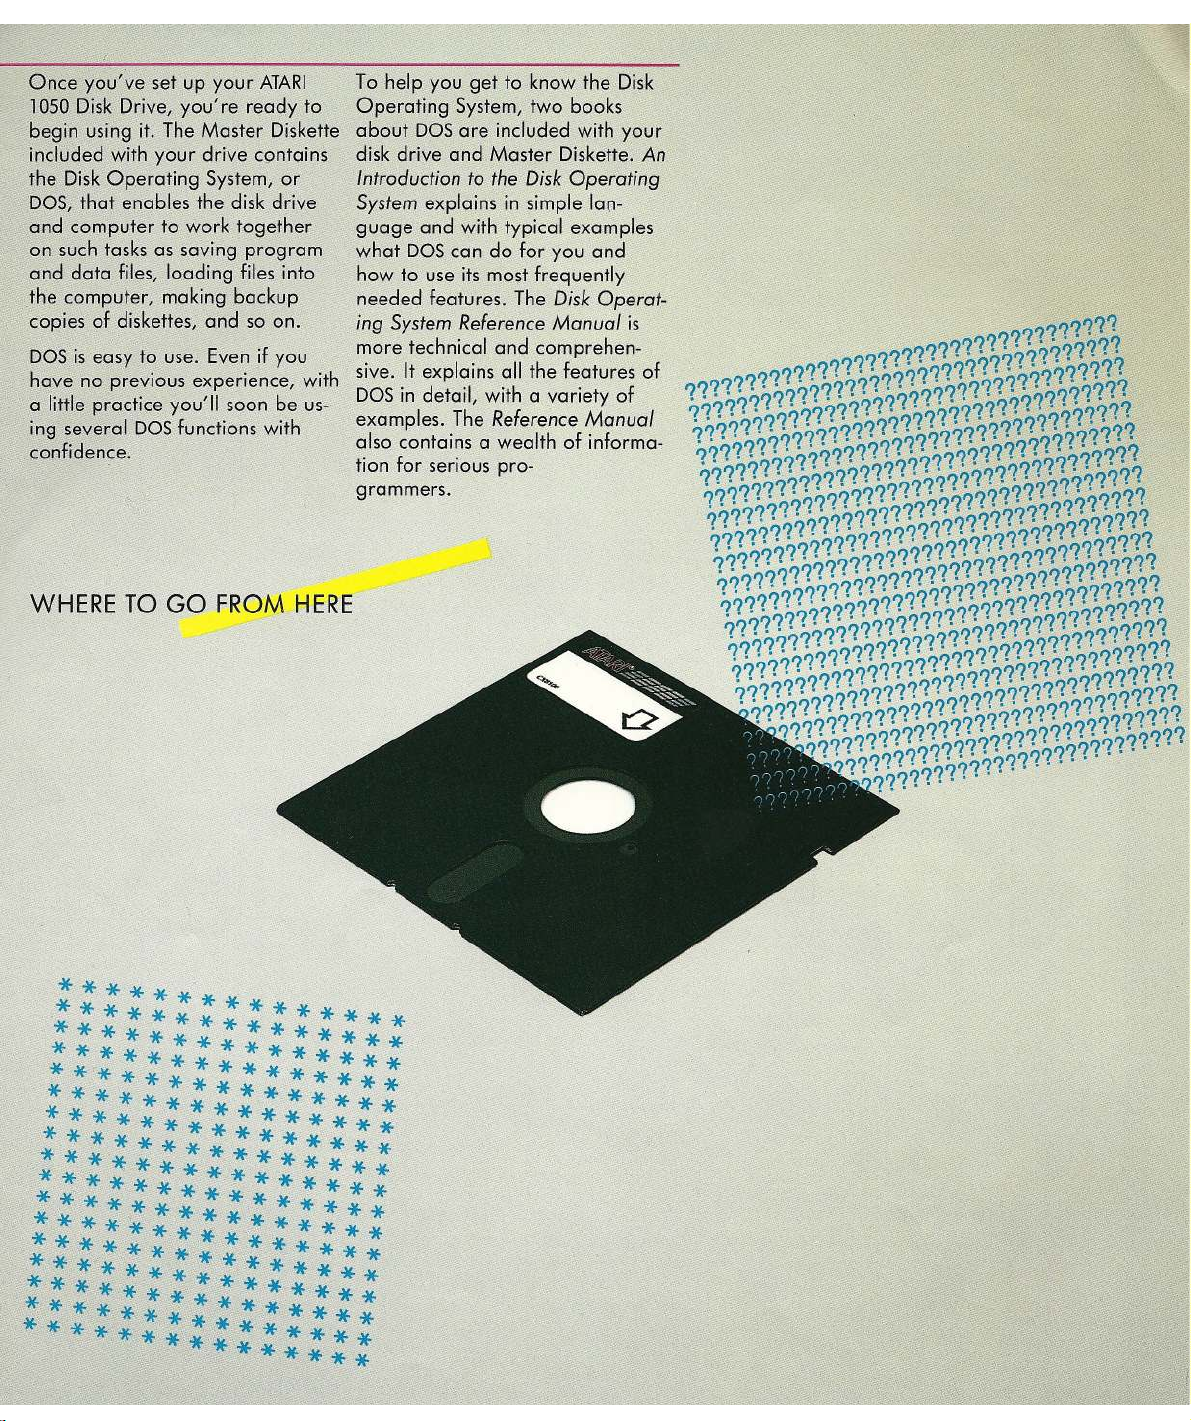
you've set up your
1050 Disk Drive, you're ready to
. begin using it. The Master Diskette
included with your drive contains
the Disk Operating System, or
DOS,
that enables the disk drive
and computer to work together
on such tasks as saving program
end data files, loading files into
the computer, making backup
copies of ~iskettes, and so on.
D0Sis easy to use. Even if you
,hdye noprevious experience/with
ohttle practice you'll soon be us-
ing several
confidence.
W H ER E T O G O F R O M H ER E
pas
functions with
AlARI
To help you get to know the Disk
Operating System, two books
DOS
abbut
disk drive and Master Diskette.
I n tr o d u cti o n t o t he D i sk O p er a ti n g
S y st e m explains in simple lan-
guage and with typic:al examples
what
how to use its most frequently
needed features. The D is k O p er a t-
in g S y ste m R e f er e n c e M a n u a l is
more technical and comprehen-
sive. It explains oll the features of
DOS
examples. The R e f er e n c e M a n u al
also contains a wealth of informa-
tion for serious pro-
grammers.
are included with your
DOS
cando for you and
in detail, with a variety of
A A n
*******
,******* ********
***** . ******,
*,******* *******
*** **
***************
******* ******'*
****** *******
** **** *
,****** *****
******iF* *******
: ~,* * *' * * * ! * * * * * *
,* * ** '**' ",* * * * * *
**'**'*' ***'*'**
*' *' *' *'* '*" , .* *
",,*,* ** * " '* * * * '* *
*'*'
-3f'
* *' ,*' *' '* '* *',' * *
*,.*' '* *' * * if.*'* * '* '**' *
'* '*
* * ,,' * * '* '* * *'
. **' * * *. * *' *' **'
* y .* ,, . *
*' '*!,,! **
-3f
*' *' *
*'*'*'*,*,,*
if
Page 8
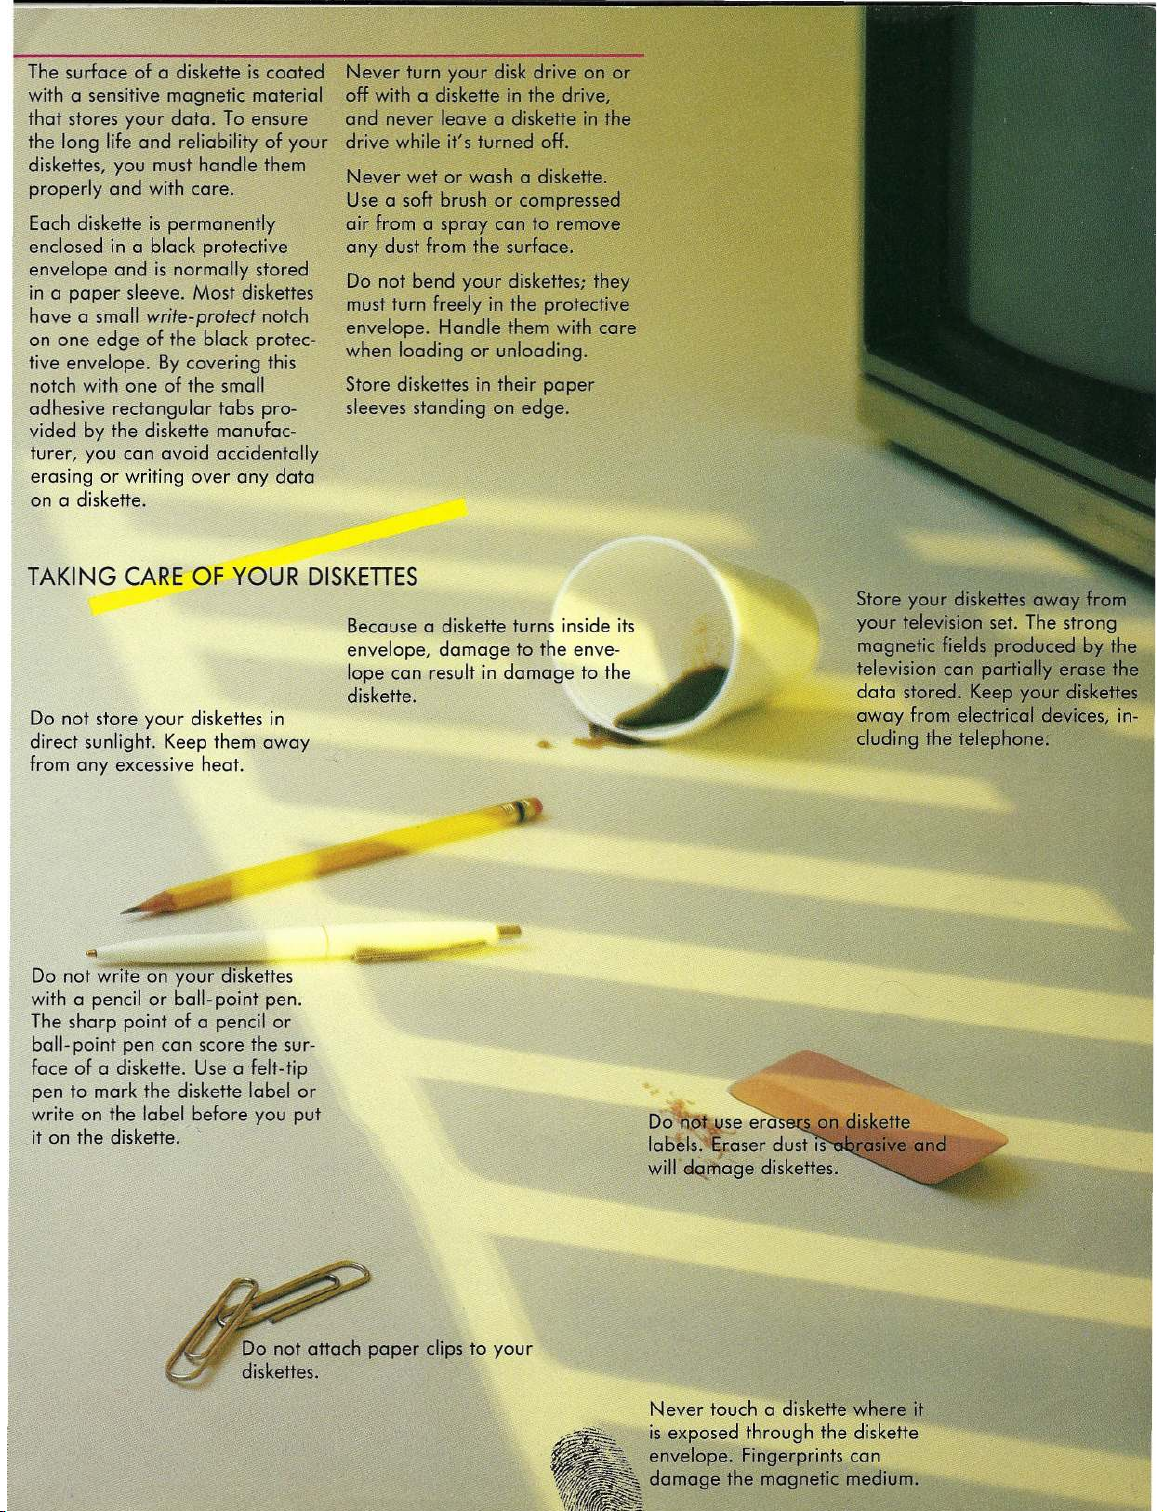
The surface of a diskette is coated
with a sensitive magnetic material
that stores your data. To ensure
the long life and reliability of your
diskettes, you must handle them
properly and with care.
Each diskette is permanen,tly
enclosed in a black protective
envelope and is normally stored
in a paper sleeve. Most diskettes
have a small
write-protect
notch
on one edge of the black protec-
tive envelope. By covering this
notch with one of the small
adhesive rectangular tabs pro-
Never turn your disk drive on or
off with a diskette in the drive,
and never leave a diskette in the
drive while it's turned off.
Never wet or wash a diskette.
Use a soft brush or compressed
air from a spray can to remove
any'dust from the surface.
Do not bend your diskettes; they
must turn freely in the protective
envelope. Handle them with care
when loading or unloading.
Store diskettes in their paper
sleeves standing on edge.
vided by the diskette manufac-
turer, you can avoid accidentally
erasing or writing over any data
on a diskette.
TAKING CARE OF YOUR DISKETTES
Because a diskette turns inside its
envelope, damage to the enve-
lope can result in damage to the
diskette.
Do not store your diskettes in
direct sunlight. Keep them away
from any- excessive heat.
ihgfedcbaZYXWVUTSRQPONMLKJIHGFEDCBA
Store your diskettes away fra
your television set. The strong
magnetic fields produced by the
television can partially erase the
data stored. Keep your diskettes
away from electrical devices, in-
cluding fhe telephoner
'i1i ij, "',
;3"
Do not writ~· 8~ y6u~ disk~ttes
with a pencil or ball-point pen.
The sharp point of a pencil or
ball-point pen can score the sur-
face of a diskette. Use a felt-tip
pen to mark the diskette label or
write on the label before you put
.it
on the diskette. ~',
Do not attach paper clips to your
diskettes.
Never touch a diskette where it
is exposed through the diskette
envelope. Fingerprints can
"_ damage the magnetic medium.
Page 9
,===O Iie*1~ 9 8 ,z ,,H A ~I,IN ~AlkRoI(,i'l'TcS - R ~S~R ¥~[)= ==== = = === = = ==== = = === = = ==== = =
pI< INTm IN H ONG KO NG C 06ij 509 R EV. B
~.
A Warner
~o mmu nica tio ns
C0mpan
y
Q
 Loading...