

Page 1
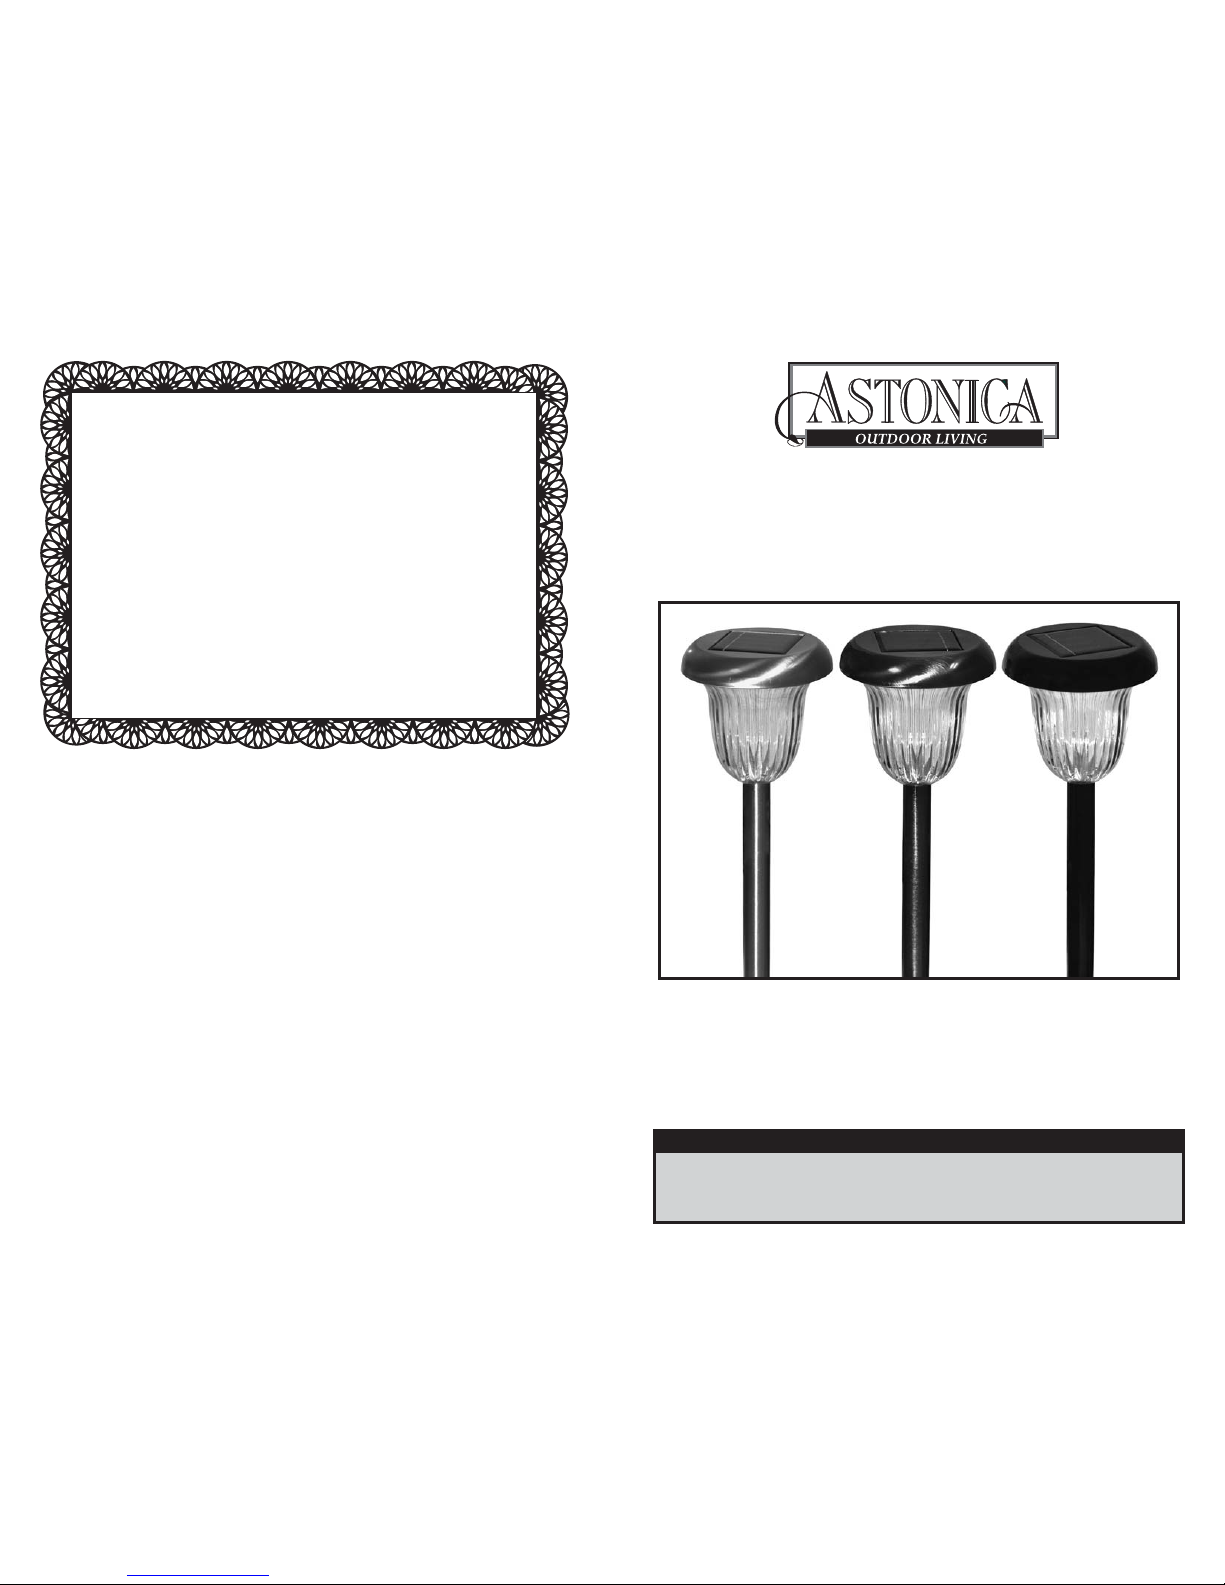
6-Pack Mini Stainless Steel
Solar Lights
Instruction Manual
Model Nos. 50402521, 50402522, 50402523
Please keep this instruction manual for future reference
Read the instructions and precautions before use of this product
081110rev1
Due to ongoing product development
the actual product or products may vary from
the illustrations or photos shown within this manual.
For warranty information, please refer to the back page of
this instruction manual.
Limited Warranty
World Factory Inc. Products for Home Use
World Factory, Inc. (Seller) warrants to the original Buyer only, that this Sunergy Product will be free
from defects in material and workmanship for a period of one (1) year from date of purchase.
SELLER’S SOLE OBLIGATION AND BUYER’S EXCLUSIVE REMEDY UNDER THIS LIMITED
WARRANTY SHALL BE THE REPAIR OR REPLACEMENT OF PARTS, WITHOUT CHARGE, WHICH
ARE DEFECTIVE IN MATERIAL OR WORKMANSHIP. ANY PARTS AS DETERMINED BY THE
SELLER WHICH HAVE BEEN MISUSED; ABUSED OR DAMAGED EITHER DIRECTLY OR
INDIRECTLY FROM REPAIRS OR ALTERATIONS ATTEMPTED BY UNAUTHORIZED PERSONS;
IMPROPER MAINTENANCE, NEGLECT OR ACCIDENT ARE NOT COVERED BY THIS LIMITED
WARRANTY. This warranty does not apply to damage, heat-induced coloration changes, scratching or
alteration due to normal use or weathering. To make a claim under this Limited Warranty, you must return
the complete product with proof of purchase, transportation prepaid, to any World Factory, Inc. authorized
service center. Call 1-888-422-7800 for the location of the nearest authorized service center.
Additional Limitations
THIS LIMITED WARRANTY DOES NOT APPLY TO ACCESSORY OR CONSUMABLE ITEMS,
INCLUDING BATTERIES, RELATED TO THIS PRODUCT. ALL IMPLIED WARRANTIES SHALL BE
LIMITED IN DURATION TO TWO YEAR FROM DATE OF PURCHASE. IN NO EVENT SHALL SELLER
BE LIABLE FOR ANY INCIDENTAL OR CONSEQUENTIAL DAMAGES, INCLUDING BUT NOT LIMITED
TO LIABILITY FOR LOSS OF PROFITS, ARISING FROM THE SALE OR USE OF THIS PRODUCT.
If any provision of this Limited Warranty is for any reason held to be invalid or unenforceable, such
provision shall not affect any other provision herein, this Limited Warranty shall be construed as if
such invalid and/or unenforceable provision had never been contained herein.
This warranty gives you special legal rights, and you may also have other rights which vary from
state to state.
This Warranty contains the entire agreement between Seller and Buyer and supersedes any and all
prior agreements, arrangements, or understandings between the parties relating to product warranty.
Made in China
©2010 World Factory, Inc.
Distributed by:
World Factory, Inc.
Westlake, TX 76262
®
Page 2
CAUTION: Do not over tighten fasteners.
Solar Lamp Assembly
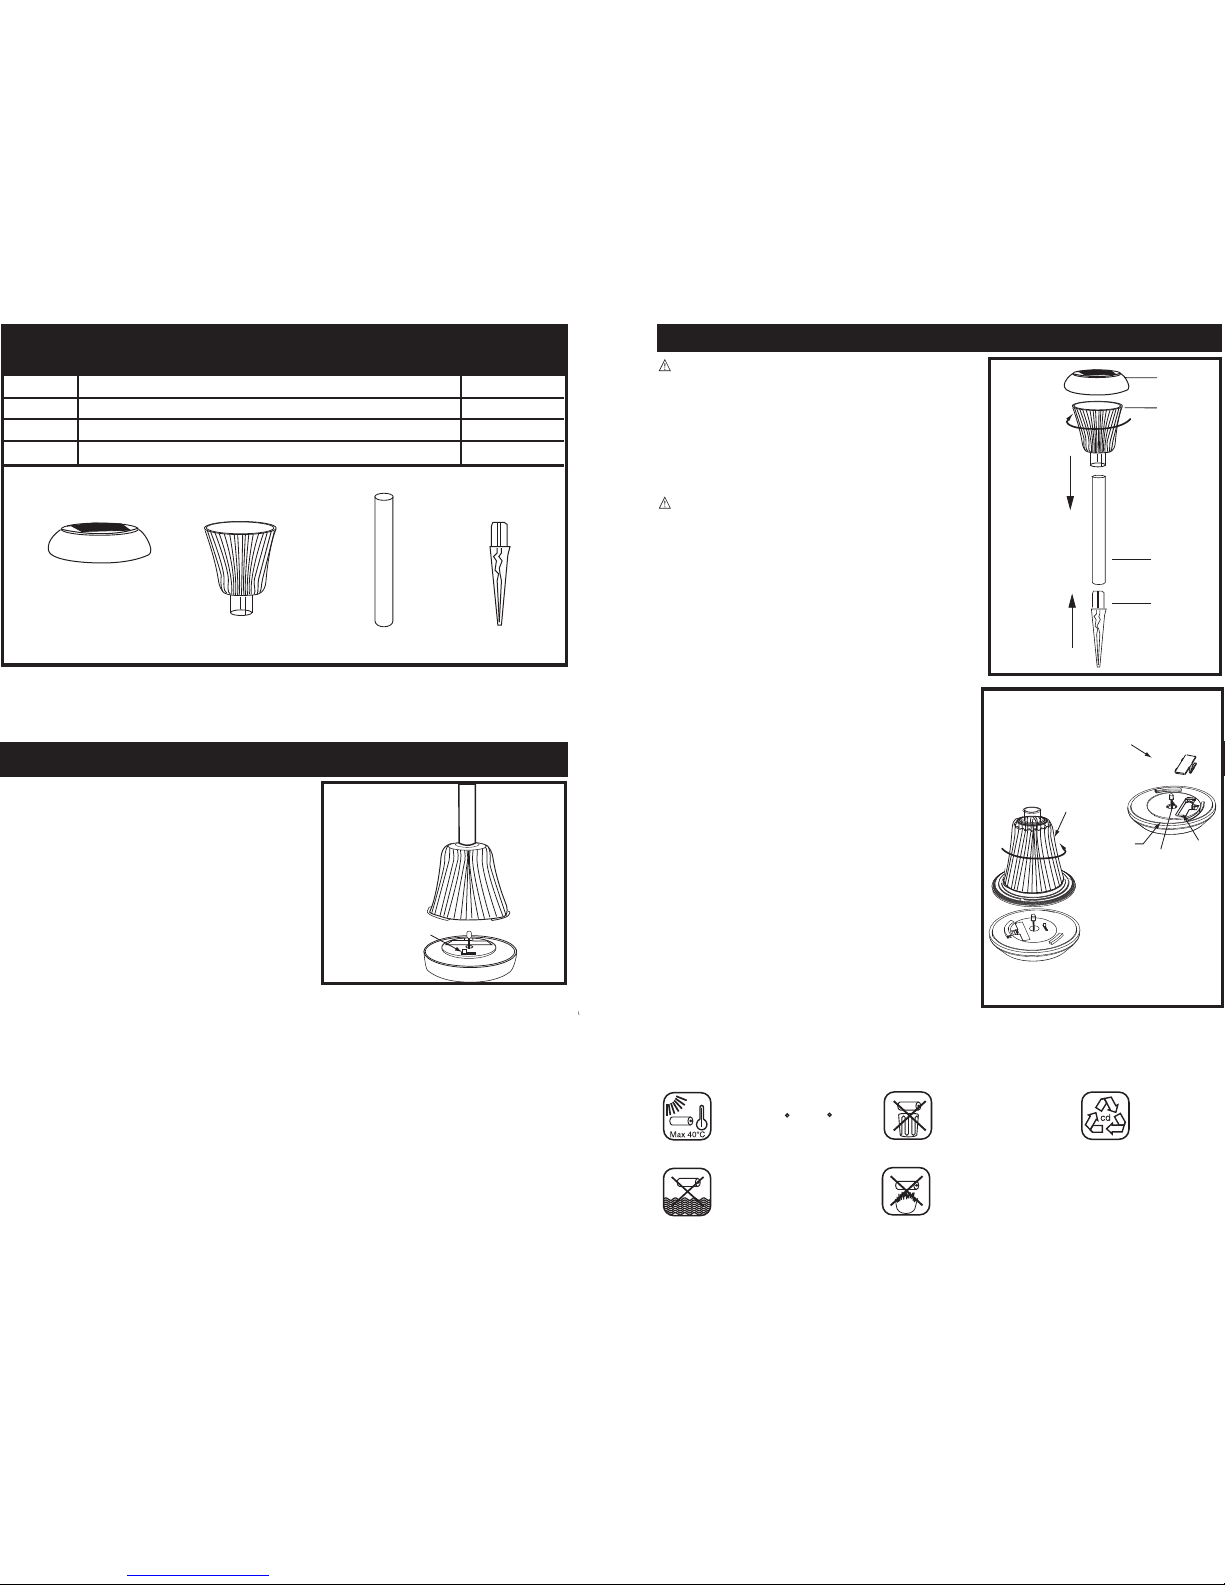
1. (SEE FIGURE 2) Attach light top (A) to plastic
len (B). Turn light top (A) clockwise to lock.
2. Carefully push stake (C) into bottom of solar
light plastic lens (B).
3. Insert ground spike (D) into of bottom stake (C).
CAUTION: In compacted, clay or hard soils,
moisten the ground with water before
inserting the ground stake to avoid breakage.
4. Holding the light by the center section,
carefully push stake into the soil. DO NOT
push down on the light top, doing so
may cause damage.
5. Reference section entitled "Operating Solar
Light" to charge rechargeable batteries.
Battery Replacement
NOTE: Battery is located on the underside
of light top.
1. (SEE FIGURE 3) Turn solar light top over.
Remove solar light top by turn counterclockwise.
2. Place the On/Off switch to the "OFF" position.
3. Remove the battery cover, then remove and
replace old batteries with a new battery
of the same rating.
4. Install new battery in proper direction,
reference polarity (+/-) markings inside
battery compartment for correct placement.
6. Refer to section entitled "Charging
Rechargeable Batteries" to restore solar
lights to full operation.
B
A
D
C
Figure 2
Figure 3
PARTS & HARDWARE LIST
PART # DESCRIPTION QUANTITY
ASSEMBLY INSTRUCTIONS
DABC
Carefully remove the contents from the package. If any parts are missing do not
attempt to use the product until they have been obtained and correctly installed.
ON/OFF
Switch
Battery
Cover
Battery
Charging Rechargeable Batteries
NOTE: The rechargeable batteries are
preinstalled from the factory. Before
operating, the batteries need to be fully
charged. The batteries require at least
8-hours of full sunlight to charge.
1. (SEE FIGURE 1) Turn solar light top over.
Place the On/Off switch to the "OFF" position.
2. Place the solar light in full sun, away from
streetlights or other light sources where it
will receive direct sunlight for at least
8 hours per day.
3. After batteries are fully charged, place light switch to the “ON” position. The light will
automatically turn on at dusk and off at dawn.
NOTE: The number of hours light is illuminated is directly proportional to the number of hours
of sunlight it receives. The solar panels cannot recharge the batteries if light is obstructed.
Care Instructions
1. Clean any dirt and debris from the solar panels. Panels cannot recharge if light is obstructed.
Use a soft cloth to clean the panels. Do not use abrasive or chemicals that might scratch or
destroy the UV coating on solar panels.
2. In a region where the light assembly is covered with snow for an extended period of time
the batteries will require recharge for at least 8 hours.
OPERATING SOLAR LIGHT
Figure 1
1
Parts Detail
Recycling
Please dispose of batteries properly. Consult you local telephone listings or a battery
recycling center in your area.
2
LED
On / Off Switch
Protect Ni-Cd batteries
against heat and fire
risk of explosion
Recycling
Do not dispose of
Ni-Cd batteries in
household waste
Do not throw
Ni-Cd batteries
into water!
Ambient temperature
maximal 40 C (105 F)
Solar
Light Top
A Solar Light Top 6
B Fluted Plastic Lens 6
C Stake 6
D Ground Spike 6
 Loading...