

Page 1
TH-300
User's Guide
TEMPERATURE&HUMIDITY METER
STRUMENTI & SERVIZI
per il sistema qualità
V
ia S. Silvestro, 92 21100 Varese
Tel + 39 0332 - 213045
212639- 220185
Fax +39 0332 - 822553
www.assicontrol.com
e-mail: [email protected]
C.F. e P.I. 02436670125
Page 2

2
Introduction
Congratulations on your purchase of the Precision HygroThermometer. This device measures Humidity, Air
Temperature. Advanced features include Auto Power Off, and
MAX/MIN reading. Careful use of this meter will provide years
of reliable service.
Page 3

3
Specifications
Function
Range and
Resolution
Accuracy
Humidity
0.0 to 100.0%RH
±3.5%RH (40% to 60%)
±4%RH (20 to 40% and 60
to 80%)
±5%RH (0 to 20% and 80 to
100%)
Temperature
-4.0 to 140.0oF
(-20.0 to 60.0
o
C)
±2°C(-40 to -10 and +40 to
+70°C)
±1°C(-10 to +40°C)
Display Dual LCD
Response Time: <15 sec. (90% of final value in moving air)
Sensor Type Humidity: Precision capacitance sensor
Temperature: Thermistor
Absolute Humidity 0 to 500g/m3, 0 to 218.5gr/ft3
(calculated from RH and Air temperature measurements)
Operating Conditions 32 to 122
o
F (0 to 50oC); < 80% RH
non-condensing
Storage Conditions -40 to 185
o
F (-40 to 85oC); <99% RH
non-condensing
Power Supply 9 Volt battery
Battery Life Approx. 48 hours
Dimensions 210(L) x 55(W) x 32(H)mm;
Weight 135g (including battery)
Page 4
4
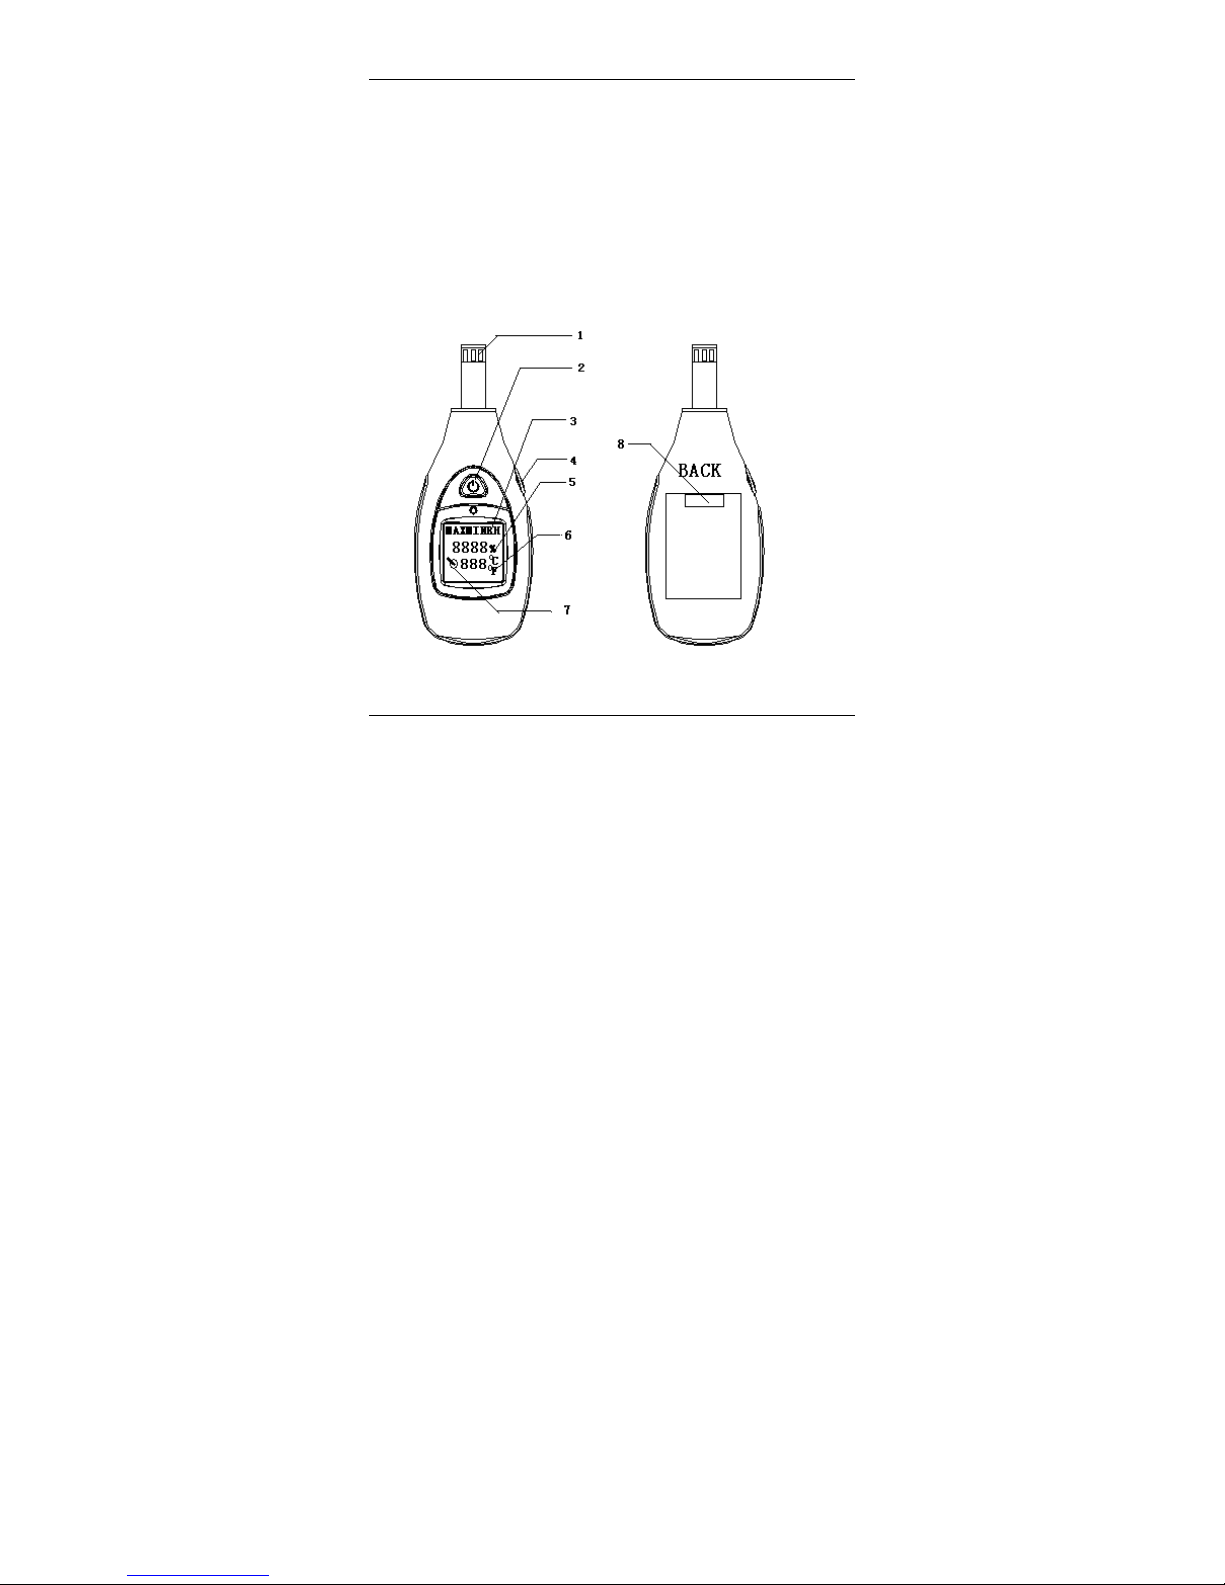
Meter Description
1. Humidity & Temperature Sensor
2. LCD Display
3. Power ON/OFF button
4. Auto Backlight
5. °C/°F button(back of meter)
MIN/MAX button
Note: The battery compartment is located
on the rear of the instrument
Page 5

5
Display Description
1. Humidity & Temperature Sensor
2. Power ON/OFF butoon
3. MAX/MIM/RH display
4. MAX/MIN button
5. %
6. °C/°F
7. LOW VOLTAGE
8. °C/°F button
Page 6
6
Operation
Power
Press the power button( ) to turn power on or off.
Taking measurements
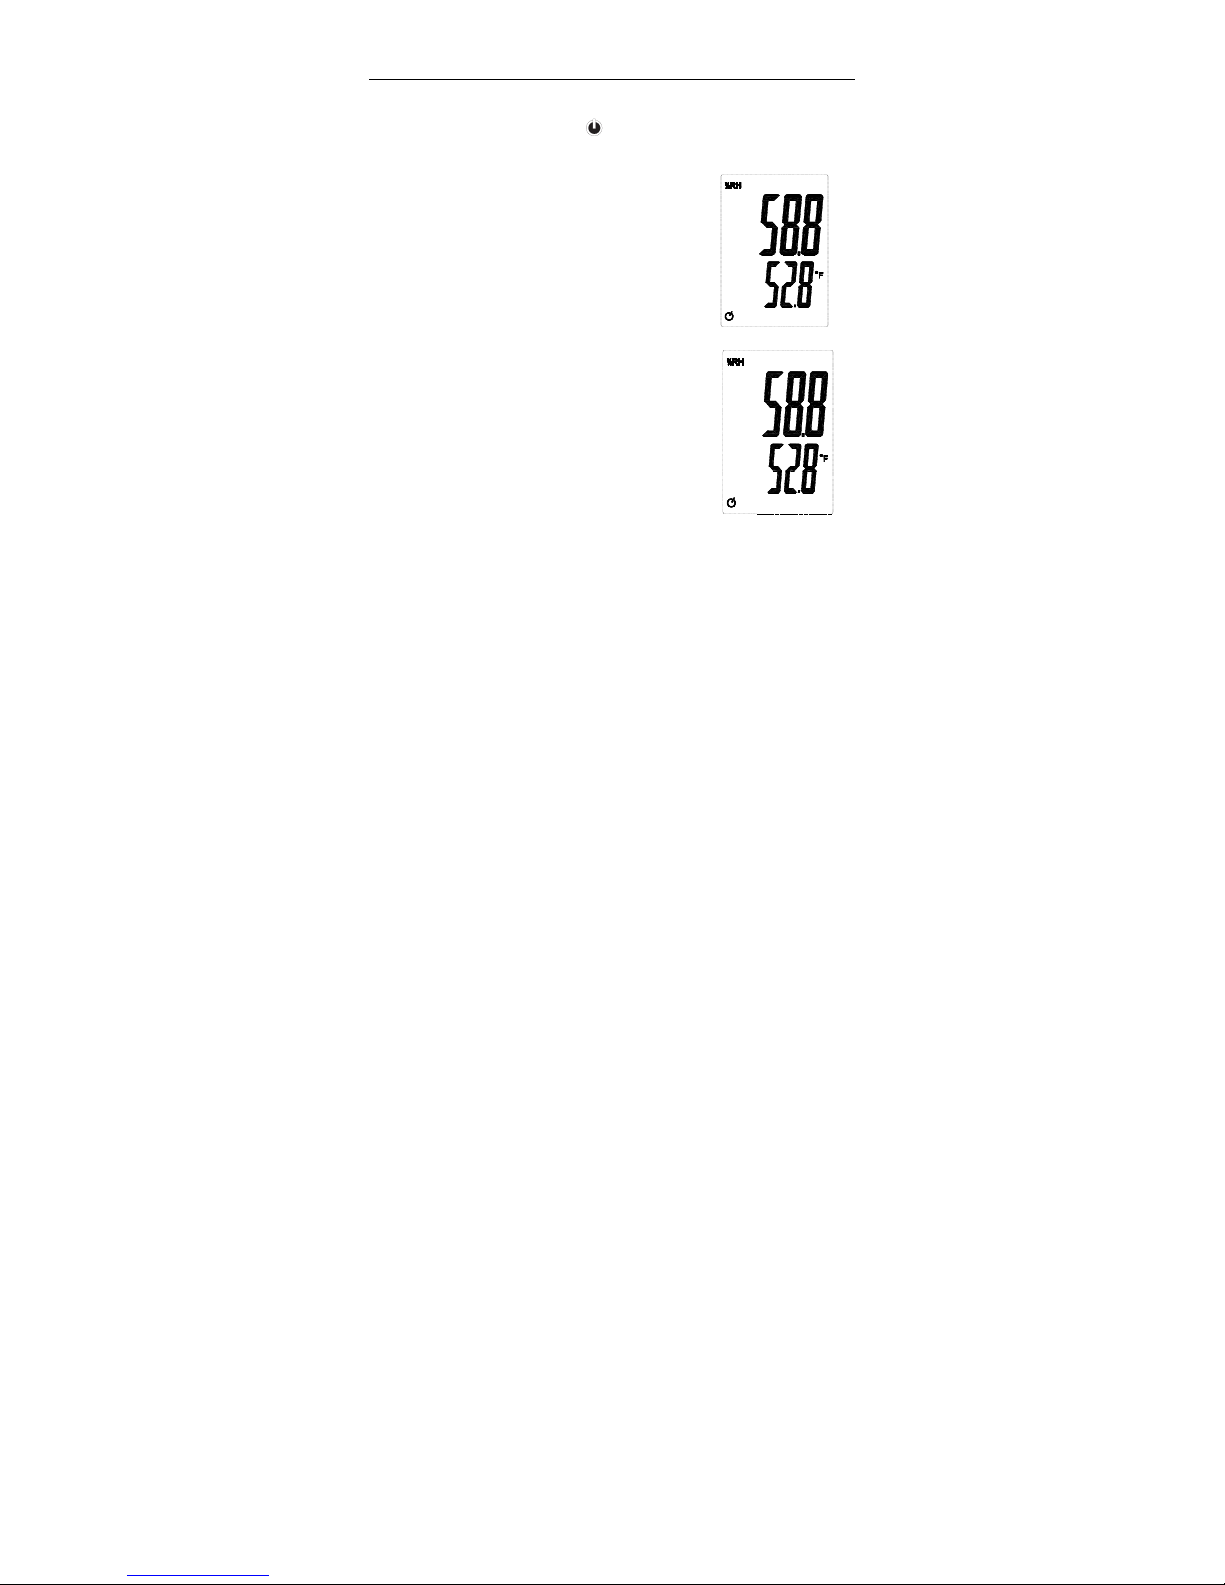
1. Hold the probe in the area to be
tested.
2. Allow adequate time for readings to
stabilize.
3. Pressing the °C/°F button toggles the
display between Temperature (°F),
Temperature (°C).
Temperature measurements
1. To select the temperature
measurement, press the °C/°F
button(back of meter) until °C or °F
appears in the lower right.
2. Temperature is now displayed.
Page 7

7
Minimum (MIN) Maximum (MAX)
Function
The MIN/MAX mode allows the user to
view only the lowest (MIN) or highest
(MAX) readings.
Press the MIN/MAX button once and
“MAX” appears on the display. The LCD
is now displaying the maximum reading
of the selected parameter in the display. The display will not
change until a higher reading is registered.
Press the MIN/MAX button again and “MIN” appears on the
display. The LCD is now displaying the minimum reading of
the selected parameter in the display. The display will not
change until a lower reading is registered.
Press the MIN/MAX button for 3 seconds to exit the MIN/MAX
mode, and the “MAX” or “MIN” icon will disappear.
Note: While powering on the meter per time, it restarts
recording Minimum and Maximum and the recordings
don’t stop until the meter is turned off.
Backlight
Auto-Backlight.
Automatic Power OFF
Page 8

8
The meter has a default
setting that automatically
shuts the meter off after 30
minutes (indicated by the
symbol on the display). This
battery saving feature can be
disabled. To disable the auto
power off function, simply
press and hold the MAX/MIN
button while powering on. The
symbol will not appear when
auto power off has been
disabled.
You can enable it in the same
way.
Page 9

9
Maintenance
Cleaning and storage
1. The meter should be cleaned with a damp cloth and mild
detergent when necessary. Do not use solvents or
abrasives.
2. Store the meter in an area with moderate temperature and
humidity (refer to the operating and storage range in the
specifications chart earlier in this manual).
Battery Replacement
When the battery power falls low, the battery symbol will
appear on the LCD. Replace the three 9Volt batteries by
removing the battery compartment cover to access the
battery compartment. Ensure that the compartment cover is
securely fastened when finished.
 Loading...