

Page 1

Important:
Read all Instructions before using the appliance.
The machine must be Installed by a qualified
electrician.
The machine must not be started until the transit
packing has been removed. (It prevents the tub from
shaking while the machine Is being transported.)
to Use th
Printi
Page 2
Contents:
How to use the machine 2
Guide to parts
The controi panel 3
Opening the door 3
Sorting the washing 4
Detergent 5
Which program should 1 use?
Program examples
Care of the machine 8
Safety 9
If the machine won't work 9
Technical details
Installation
6-7
10
10-11
Removing the transport braces
Adjusting the feet
Building in the machine
Electrical installation
Water supply
Draining connection
Problems ans Solutions 12-14
IMPORTANT SAFETY INSTRUCTIONS14
Warranty 15
Instructions summary 16
How to use the machine
Choosing the right program
How to use
the machine
Follow the figures in the strip through this
booklet for brief instructions on how to use
the machine.
Full detaiis and comments can be found below the strip and must be fully read before operating the washing machine.
Guide to parts
2
6
Detergent and fabric
conditioner compartment
Door
Environment facts
Choose the right program
You can save considerable energy by not using ’stronger’ programs
than necessary.
• Using the normal cycle of this washer wiil enable the higher spin
speed to be used to reduce the amount of moisture that must be
removed by tumble drying the clothes.
Detergent
Using more detergent does not improve the washing performance, but
merely imposes an extra load on the environment.
Try reducing the amount of detergent you use, and increase it only if
the results are unsatisfactory.
Page 3

The control panel
Indicating lamp
Lights to
show that
the power is
turned on.
Program control knob
The program control knob
must be turned clockwise
only.
ASKO Artaks in Swsáan
r\
V-y
wash Quick Open Cold
Temperature
options
X-Hot He« WarmlMI-
r\ r\
|MI
Icati
Off
Permanent
Program selector
with On/Off switch
Main ON/OFF Switch
Must not be on "Off"
when opening the door
Temperature
You can select four different temperatures:
Extra hot: Gives 160° F, during main wash, works only when
Hot is pressed as well
Hot: Gives 140° F, during main wash
Warm: Gives 105° F, during main
wash
Cold: Gives cold water during main wash
Quick
When you put in the Quick-button you get a short program, with three
rinses and a short spin.
ifO
The door can be opened oniy when the program control knob is at
the end of a program. If it has stopped anywhere else, turn it drain
to pump out the water. The door can be opened about two minutes
after pumping out.
Page 4

... and press the door shut.
(It cannot be slammed
shut.)
Sort the washing
Sort clothes by color, fiber content, amount of soil, lint
shedding properties (cotton, chenile, and terrycioth
shed), lint attracting properties (permanent press,
corduroy, velveteen, flannel and synthetics attract) and
those requiring a delicate cycle. Most clothes and other
washable items have permanent care labels. Read
these labels carefullyl Care label instructions and
warnings should be followed for the best cleaning
results.
Load the Washer Properly
The following chart shows how full to load the washer
for the best results. The load size depends on what
types of fabrics you are washing.
Permanent press items need room to move freely
during washing for the most wrinkle-free results.
Therefore, fill the machine only half full for permanent
press loads. These items should only have a brief spin
cycle after which they should be promptly removed from
the washer for drying, follow the guidelines on the
Program Charts for "permanent press, synthetics*.
How much is in a full load ?
If the drum is filled without packing it tightly, it will hold the
equivalent of two sheets, pillow cases and mattress pad
or thin blanket off of a queen size bed or two king size
sheets, two pillow cases and two to four bath towels.
Water level in the washer
There is no need to set a load size or water level because
the Asko Automatic Level Control System automatically
selects the correct amount of water for each load.
Preparing ciothes for washing
• Turn delicate items, sweaters and t-shirts inside out to
prevent pilling and to protect the prints.
• Empty pockets and turn them inside out.
• Remove any sharp ornaments, pins or buckles to prevent
snags.
• Close zippers and hooks to prevent snagging
• Tie saches and strings to prevent tangling.
• Mend any small rips or tears to prevent them from getting
Machine washable wool loads should only be one-third
full for the cleanest results in this shortened cycle.
Recommended load sizes
Full load
Cotton
Linen
Half load
Permanent Press
Synthetics
Acrylics
Special finish
cottons
^
-------------
Full load
Third Load
Wool (machine washable)
Silk
Acetates
9
:
m
Half load
O
1/3 load
New colored items
Read labels carefully! If a label says “Wash Separately",
the item will lose color (excess dye) for the first few
washings. To minimize the possibility of this color
transferring to white or lighter colored items, wash new
colored garments with items of similar color or alone
before wearing. Bright reds and oranges on cottons are
the dyes most likely to transfer colors to the wash load.
Fluorescent colors should always be washed separately.
Prewash or not?
When washing items that are only slightly soiled, the
prewash cycle can be omitted. Starting the machine at
the main wash stage will save about 25 minutes.
Page 5

4. Pour detergent (and fabric
conditioner if used) into the
appropriate sections of the
detergent compartment.
Detergents - What kind - How much?
Use oniy sudsing iaundry detergents!
Detergents are available in low, normal and full sudsing formulas. A detergent's ability to clean Is not relate, to the amount of
suds it produces. Excess suds in a front loading washer actually interfere with cleaning action because they cushion the
tumbling of clothes. High sudsing detergents are also more difficult to completely rinse out.
Use 1/4 to 1/2 of the recommended U.S. detergents
Because of the Asko washer's low water consumption and the fact that all
the wash wafer and detergent are completely circulated repeatadly through
the laundry, ensuring that all the detergent is fully utilized, detergent usage
is cut by 50% to 75%.
Different brands of detergents recommend using different amounts. Read
all package labels carefully. The first time you use any detergent, start
with 1/4 of the recommended amount. (For example: If the label says use
1 cup, use 1/4 cup.)
If the detergent produces a good, low level of suds, you may add slightly
more detergent if you have very hard water or if your clothes are not
getting perfectiy ciean. It is advisable to check your water hardness with
the local water department.
Recommended detergents
Avoid normai and fuil sudsing detergents. The chart below lists several low
sudsing detergents that have been successfully tested in the Asko washer,
aiong with the recommended amounts.
Recommended Detergente
Fab (powder)
Amway SA8 (powder)
Fresh Start (powder)
All (powder)
Main Wash Detergent Amount*
1/4 cup to 1/2 cup
1-2 tablespoons (1/6 cup)
2 tablespoons (1/8 cup) to 1/4 cup
1/4 cup to 1/2 cup
‘ Add sNghlly less additional detergent lor prewash
in general, liquid detergents tend to be higher sudsing than powders. Do
not use powder detergents that do not wash completely out of the
detergent cup as the machine fills with water.
Liquid detergents
Liquid detergents tend to more suds than powder
detergents. When trying a detergent for the first
time, start out with a very smail amount, such as 1
to 2 tablespoons.
Liquid detergent can used for all programs without
pre-wash. Add it into the main wash compartment.
Bleach
The use of bleaches is not necessary with these
machines, nor is it recommended.
Note: Detergents: Using more detergent does not
improve the washing performance, but merely
imposes an extra load on the environment. Try
reducing the amount of detergent you use, and
increase it only if the results are unsatisfactory.
Pre-wash detergent
Fabric
condition(
Fabric softeners
Use 1/3 to 1/2 of the recommended amount of
fabric softener, because of the low water usage
of the Asko washer. Fabric softeners are
available in several concentrations.Read the
labels carefully and use only 1/3 to 1/2 of the
recommended amount. (For example: If the
label says to use 1 capful, use 1/4 capful.) If
more softening is desired, try adding slightly
more the next time.
Oversudsing
The use of anything other than a low sudsing
detergent can cause severe oversudsing. If this
happens, run the wash through one or more
rinse programs (starting on 5) until Items are
thoroughly rinsed. Then, run the empty washer
through an entire wash program (starting on 1)
to clear the machine of any remaining high
sudsing detergent.
Clean the detergent
compartment regularly
1. Pull out the compartment and
remove the fabric conditioner
insert.
2. Seiect any program.
3. Clean the compartment with a
brush while water flows through
it.
4. When finished, select Drain to
pump the water out of the
machine.
Main wash
detergent
Page 6

5. Press the required
temperature button
X-HOT HOT
WARM
6. Turn the program knob
to the point where you
want the machine to
start.
w
QUICK
a
OPEN COLD
What the figures on the program knob mean
Spin
1-5 minutes at 800
or 1000 rpm
depending on
program selection
Drain
Pumping out
Drain
Prewash
If you want a program
with prewash, you can
select between three
start-points: 12, 9,6 or 3
minutes of Prewash
Remember - turn the program knob
clockwise only.
Rinse
Four rinses or less
of cold water,
depending on
program selection.
Main wash
8 startpoints give 24,
21,18,15,12, 9,6or3
minutes of Main wash.
(Cold water inlet)
У V
Page 7

7. The machines starts and
works through the stages
shown below.
If you change your mind ...
... and want a different program:
Turn the program knob and program selector to the required
positions, and press any temperature switches that you want.
... or want to interrupt the program
Turn the program knob to Drain to make the machine pump
out. After about two minutes, you can open the door. If you
add more washing and restart the machine, check that there
is detergent left in the detergent compartment.
Which program should I choose?
You can naturally select a standard program or, by combining
your prefered temperature setting, program and option
selection, produce p program to suit your requirements.
Program
Normal
Permanent
Press
Delicate
Prewash
1 11 1
1 11 1
1 11
Main wash Rinses
□ □□
□ □□□
□ □□
Spin
1000 rpm
® 800 rpm
^ 800 rpm
Point to note: Before starting to spin, the machine checks that the load
is evenly distributed in the drum. If not, it redistributes the
load by turning at normal drum speed and then makes
another attempt to start spinning.
Action
Normal
Normal
Gentle Normal
Water level
Normal
Normal
Page 8

8 When the machine has stopped:
Open the door by pressing
I
Open
User -Maintenance instructions - Care of the machine
Check the needie trap and outiet pump
The machine has a needle trap which
will trap needles, hairpins, coins and
similar items. Clean it at intervals as
follows:
1. Open the lower cover in front of the
pump, pull the small drain hose and
drain off water into a shallow bowl
after removing the plug from the end
of the hose (1).
2. Turn the pump cover anticlockwise to
the position shown in (2). This un
covers the drain holes and water will
run out into the bowl.
3. When the water has finished draining
out, turn the pump cover further and
pull it off. Clean out the needle trap,
and clean the pump rotor at the back
of the pump housing (3).
4. Check that there is no grii or small
objects in the pump, and replace the
pump cover. Turn it clockwise in two
stages: when you hear a click, turn it
a little more to Its end stop, as shown
in (4).
(D
Bottom
Closed
Bottom
0
Access openings under the drum paddles
If an object has fallen between the drum and the outer
container, you can get it out as follows:
1. Undo the screw on top of the paddle with a screwdriver
(three turns).
2. Pull the paddle towards you and lift it upwards.
3. Remove the object. Be careful not to bend the immersion
heater elements.
4. Locate the paddle in its fixing hole, with the F-mark to the
front (i.e. facing you). Slide the paddle backwards as far
as it will go. Check that its clips are properly located in the
slots In the drum, and retighten the screw.
Page 9

9. After use:
Safety
Turn off the machine at the
On/Off button.
NB! Don't close the door after using the machine: leave it ajar.
The machine incorporates a door safety
switch which prevents it from being
started if the door is open. The door is
also interlocked to prevent it from being
opened when the machine is running or
when it has stopped with water in.
If the machine won’t work
Problem
The door will not open. 1. Check that the main On/Off switch is turned on.
Response
2. If the indicater lamp is not lit, there is no power supply. Check the plug and
fuses. The door cannot be opened normally if there is no power supply.
3. If the door cannot be opened in the normal manner, it can be opened as
follows. Insert a small screwdriver in the hole to the left of the door and
press the door catch upwards to release the door.
If the door still cannot be opened in the normal way afterwards, call a sen/ice
engineer.
The machine does not fill with water
when started.
The machine does not start when the
program knob is turned to the starting
position.
The machine wiil not spin.
A lot of foam in the final rinse water, or
water ieft in the machine after spinning
and pumping out.
1. Is the tap In the supply line open?
2. Is the strainer in the inlet connection blocked? Unscrew the hose and check.
Remember to turn off the water supply first.
1. Is the door properly closed? Press it shut firmly - don't slam it.
2. Is the main On/Off switch turned on?
3. Has the power supply failed? Check the plug and fuses.
1. Is the pump or outlet hose blocked? Clean if necessary, as described on
page 8.
2. Has the power supply failed? Check the plug and fuses.
3. The machine will make up to 30 attempts to start, redistributing the washing
if the drum is out of balance. After that, it passes on to the next stage of the
program.
1. Is anything blocking the outlet hqse? A button or a coin can do so. Make
sure that no part of the hose (including any joints) is less than 15 mm in
diameter.
2. Is the pump blocked? Clean it as described on page 8.
3. Is the outlet hose kinked?
9
Page 10

Technical data
Dimensions, mm 34 1/4" X 23 1/2" X
23 1/2"
Weight 170 lbs
Spin speed 800/1000 r/min
Installation Instructions
Removing the shipping brace
The shipping brace consists of two tubes
which prevent the barrel from moving
around inside the machine during
transport. The tubes are secured to a
cross beam at the back of the machine.
Two tubes
inside
the machine
Rated load 3505 W/240 V
3240 W/230 V
Supply voltage 208-240 V, 60 Hz
single-phase
Heater rating 3265W/240V
3000 W/230 V
Material of drum
and barrel
Material of
outer casing
Mounting
Water suppiy
hose
Supply pressure 0.1-1 MPa
Stainless steel
Stove-enamelled
hot-dip-galvanised
steel sheet
Stationary: four
adjustable rubbercovered feet
5 ft pex hose
(10-100 N/cm*,
1-10 kp/cm*,
15-146 PSI)
Remove the shipping brace as follows:
1. Remove the bolts and special
washers which retain the beam,
and remove the beam.
2. Replace the washers on the flattened
part of the tubes. Use them as tools
to turn the tubes through about 45°,
as shown in the drawing, and pull out
the tubes.
3. Turn the washers so that
they cover the holes
where the tubes were
fitted and replace the
bolts.
Save the tubes and cross beam,
which will be needed if the machine
has to be transported elsewhere.
Fit them in the reverse order to that
described above.
Cross beam
Boit
Washer
Tube
Outlet 5.5 ftof poly-
propene hose,
3/4" internal
diameter
Accessories
The machine is supplied with:
• Operating instructions and
installation instructions.
• Guarantee card.
• Type-approved inlet hose for
connection to water supply.
Optional extras:
• Decor frames
• Edging frame by stacked
machines
• Frame set with pull-out shelf by
stacked machines.
Adjusting the feet
It is important that the machine
does not move around when it is
spinning. This means that it must
be standing firmly and level on the
floor. The four feet are individually
adjustable. Set them carefully so
that the machine is standing level,
and tighten the locknuts securely.
Positioning the machine
The machine can be installed beneath a
worktop with a height of 33 1/2"-35 1/2".
There must be a gap of about 1/4" all round
the machine, including between the rear ^
edge of the machine top panel and the wall
behind. This is important: if no space is left,
the machine may hit the wall when it starts
to spin.
Lock nut
NOTE
Height adjustment: 32 1/4"-33 1/2'
Do noty raise Higher than 33 1/2*
10
Page 11

Electrical installation
The machine is delivered ready-fitted with a plug, and is
intended for connection to an Asko Dryer. The Asko Dryer is
equipped with a matching receptical. The plug supplied with
the washer can only be used with an Asko Dryer. If the
washer is used seperately or with another dryer, it must be on
its own separate 220 V single phase circuit.
If the machine is to be used in a wet area, the supply must be
protected by a residual current device.
Connection to a permanently wired supply point must be
made only by a qualified electrician.
GROUNDING INSTRUCTIONS
This appliance must be grounded. In the event of malfunction or breakdown, grounding will reduce the risk
of electric shock by providing a path of least resistance for electric current. This appliance is equipped with
a cord having an equipment-grounding conductor and a grounding plug. The plug must be plugged into an
appropriate outlet that is properly Installed and grounded in accordance with all local codes and ordinances.
WARNING - Improper connection of the equipment-grounding conductor can resuit in a risk of electric
shock. Check with a quaiified electrician or senriceman if you are in doubt as to whether the appliance is
property grounded.
Do not modify the piug provided with the appliance - if it will not fit the outlet, have a proper outlet Installed
by a qualified electrician.
As supplied:
208-240 V, 60 Hz
3265 W heater rating,
15 A fuse required
Water supply connection
The water supply connections must be made by
a person having the necessary competence.
Water pressure must be in the range
15-146 PSI.
A tap must be fitted in the supply pipe for the
hose.
If a new supply pipe has been installed for the
machine, it should be flushed through thoroughly
in order to remove any particles of dirt which
might otherwise block the strainer in the water
inlet of the machine.
Drain outlet connection
The machine is supplied with the outlet hose
ready fitted. The hose should be hung over a
suitable sink edge or drain pipe at a height of
15 3/4"-35 1/2“ above the floor: the lower
height is preferable. Make sure that the hose
is not kinked.
NB! If the hose is extended, the internal
diameter of the coupling must not be less
than 1/2“.
Cold water supply
15 3/4"-35 1/2"
11
Page 12

Problems ?
Try the following remedies. Poor result may not always be caused by the machine.
Read through the chart below before contacting your servicer.
Problem
Door will not open
Machine wiil not start
Machine wili not fill with water
Foam in final rinse,water left in
machine
Water leaks
Extrem vibration during spin
cycle
Oversudsing
Washer stops during cycle
Possible Cause
Hoses
Transit packing not
removed
Machine not level
Wrong detergent Use only low sudsing detergents. See page 5. Run clothes
Too much detergent
Nomal pauses
Suggested Remedy
See "If the machine doesen't work", page 9.
All hoses, especially the inlet hose should be inspected at
least once a year. Replace if they show signs of cracking.
Check to see if hose connections at faucets are tight.
Properly insert and secure end of drain facility.
Remove transit packing. See page 10.
Adjust machine feet and tighten locknuts.
throough extra rinse cycles.
Run empty machine through complete cycle
Use recommended amounts. See page 5.
It is normal for the machine to pause occasionally during
operation, especially between cycles and during the
delicate wash program.
Greying clothes
Lint, residue left on clothes
Not enough detergent
Water not hot enough
Improperly prewashed or
presoaked
Washer overloaded
Soap used In hard water
areas.
Improper sorting of
clothes
Nonphosphate detergent
Non-phosphate detergents
Fabric softener used
improperty
You may need to add slighly more detergent if clothes are
heavily soiled, have oily stains, or if your water is very hard.
Select hot temperature setting for each type of load. See
charts page 6 and 16.
Be sure to add a prewash and/or presoak for heavily soiled
oily items.
Once wet, the clothes must have room to tumble freely,
especially synthetics and permanent press.
Be sure you use a laundry "detergent" and not a "soap".
Soaps react with the minerals in hard water to form a soap
curd, which can be desposited on clothes.
Separate clothes that shed lint (cheniie and terrycloth)
from clothes that attract lint (synthetics, corduroy,
velveteen).
can combine with minerals in hard water and form a
preciptate which can appear to be lint. Use a tow
phosphate detergent, if possible. Install a water softener.
Read labels. Most softeners should only be used in the
final rinse. Add softener to the softener compartment, if
added to the wash cycle, softeners can have a reaction
with detergents producing a white residue.
12
Piiling
Pilling, which can look like lint, is produced by normal
wear on cotton/polyester blend fabrics. To reduce, wash
synhetics and cotton /polyester blends inside out. For
the best results, wash cotton/polyester knits using the
delicate cycle.
Page 13

Problems ?
Tt7 the following remedies. Poor result may not always be caused by the machine.
Read through the chart below before contacting your servicer.
Problem
Yellowing of clothes
Shrinkage
Knit shrinkage
Rips,snags,excess wear
Possible Cause
Not enough detergent,
water not hot enough
Iron or manganese in
water
Improver washing or
drying
Overheating
Delayed or gradual
shrinkage
Poor construction
Sharp objects in pockets
Hooks,
snaps,zippers,buckles
Suggested Remedy
Caused by body oils not completely removed. Use hoHest
recommended temperature for each type of load and add
slightly more detergent.
Install a filter to remove iron or manganese from water. A small
amount of Calgon or other non-precipitating water conditioner
added once a week is advisable in hard water areas.
Follow garment car label instructions carefully. Some fabrics
will shrink no matter how they are washed. Some may be
machine washed but not machine dried.
KnHs tend to shrink more than woven fabrics. If a knit has been
heat shaped, wash in cool or warm water. Dry with the low
setting.
Can occur when special stabilizing finishes are reduced from
wear or repeated washings. Garment may sometimes be
reshaped by pressing after washing and drying.
Shrinkage can occur If the knit fabric was not stretched
properly by the manufacturer. Press back into shape
each time garment is washed and dried.
Empty all pockets and turn inside out before laundering.
Fasten all hooks,snaps and zippers before laundering to avoid
snags. Remove sharp buckles. Turn knits inside out.
Fading and discoloring
Stains not removed
Harsh chemicals
Existing rips and tears
Permanent press Kerns
Inproper sorting
Crayons or pens in
pockets.
Water too hot
Incorrect water
temperature
Protein stains, such as
Before washing, rinse harshchemicals, such as battery acid,
permanent wave solution, hair bleach, dyes and toilet bowl
cleaners, from towels and other articles to avoid holes in
fabrics. Do not allow these unrinsed items to contact other
fabrics.
Mend all garments before laundering to prevent
enlarging of rips.
These items fray at edges from the permanent press process
and from normal wear, not from the washer. Only wash in half
loads. Do not wash in the same load with very heavy items,
such as towels or jeans.
Dark clothes, especially cottons, can bleed excess dyes
into wash water. White or light colored clothes can
absorb the dye and discolor. Separate light from dark
items.
Empty all pockets before washing.
Cool or cold water Is best for retaining dark or bright colors.
milk,egg,blood and soy formula should be removed in
cold water. Oily stains should be washed in the hottest
water recommended for each fabric type.
Old stains The longer a stain remains on a fabric, the harder it is to
remove. Treat stains promptly. Do not set stains by
machine drying or ironing fabrics until stains are
completely removed.
13
Page 14

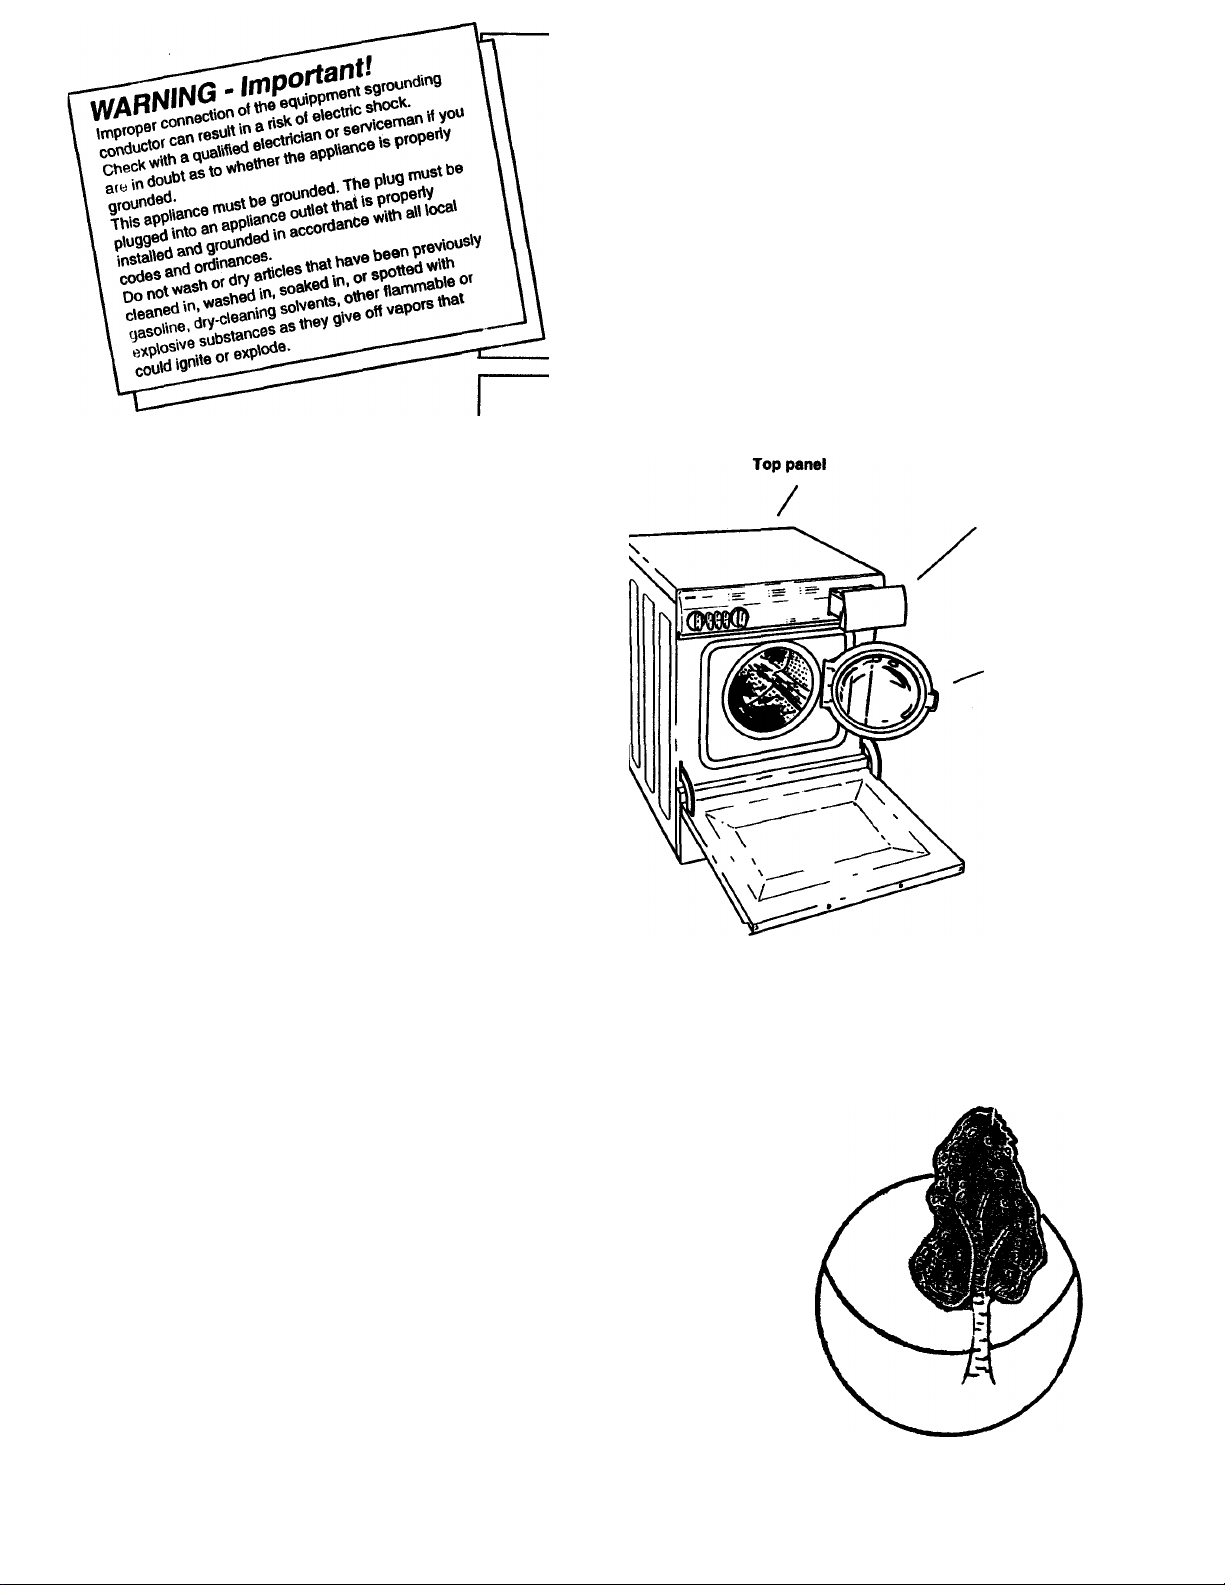
IMPORTANT SAFETY INSTRUCTIONS
WARNING - To reduce the risk of fire, electric shock, or injury to persons when using your
appliance, follow basic precautions, including the following:
1. Read all instructions before using the appliance.
2. Do not wash or dry articles that have been previously cleaned in, washed in, soaked in, or
spotted with gasoline, dry-cleaning solvents, other flammable or explosive substances as they
give off vapors that could ignite or explode.
3. Do not allow children to play on or in the appliance. Close supervision of children is necessary
when the appliance is used near children.
4. Before the appliance is removed from service or discarded, remove the door to the washing or
drying compartment.
5. Do not reach into the appliance if the drum is moving.
6. Do not install or store this appliance where it will be exposed to the weather.
7. Do not tamper with controls.
8. Do not repair or replace any part of the appliance or attempt any servicing unless specifically
recommended in the user-repair instructions or in published user-repair instructions that you
understand and have the skills to carry out.
9. Do not add gasoline, dry-cleaning solvents, or other flammable or explosive substances to the
wash water. These substances give off vapors that could ignite or explode.
10. Under certain conditions, hydrogen gas may be produced in a hot water system that has not
been used for 2 weeks or more. HYDROGEN GAS IS EXPLOSIVE. If the hot water system has
not been used for such a period, before using a washing machine or combination washer-dryer,
turn on all water faucets and let the water flow from each for several minutes. This will release
any accumulated hydrogen gas. As the gas is flammable, do not smoke or use an open flame
during this time.
14
Page 15

m
ASKO Product Warranty
Home Clothes Washers and Dryers
For Residential Installations
Length of warranty
ONE YEAR FULL
WARRANTY
From date of purchase
FIVE YEAR LIMITED
WARRANTY
One year full plus second through
fifthyear limited from date of purchase.
TWENT-FIVE YEAR LIMITED
WARRENTY
One year full plus second through
twentyfive year limited from date of
purchase.
For Non-Residential Installations
SIX MONTHS FULL WARRANTY
FROM DATE OF PURCHASE
ASKO will pay for:
ASKO replacement parts and/or repair labor to correct
defect in materials or workmanship. Service must be
provided by an authorized ASKO sen/ice outlet.
ASKO replacement parts (repair labor costs not included)
for any defective solid state controls, timers,motors,
pumps.
ASKO replacement parts (repair labor costs not included)
for the stainless steel inner and outer drum/tub if it fails
to hold water due to a manufacturing defect such as cracking
or rusting.
ASKO replacement parts and/or labor to correct defect in
materials or workmanship. Service to be provided by an
authorized ASKO service outlet.
ASKO will not pay for:
A. Service calls to; 1. Correct the installation of the washer or dryer
2. Instruct how to use the washer or dryer
3. Replace house fuses or correct housing wiring
4. Correct house plumbing
5. Cleaning or senricing of the button trap, outlet pump of the washer
6. Cleaning or serving of the lint filter or condensing unit of the dryer
B. Repair and/or parts for failure of product if washer or dryer is used in other than normal use.
C. Damage resulting from accident, fire, floods, acts of God, alteration, misuse abuse, improper
installation or instailation not in accordance with local electrical or plumbing codes.
D. Any labor or shipping costs for parts during the limited warranty.
E. Replacement parts or repair labor costs for units operated outside the Continetal United States.
F. Pick-up and delivery. ASKO products are designed to be repaired in the home.
IN NO EVENT SHALL ASKO INC. BE RESPONSIBLE FOR ANY
INCIDENTAL OR CONSEQENTIAL DAMAGES.
Some states will not allow the exclusion or limitation of incidental or consequential damages, so this
exclusion or limitation may not apply to you. This warranty gives you specific legal rights and you may also
have other rights which vary from state to state.
For warranty service, contact the dealer from whom you purshased the unit or an authorized ASKO service
outlet. Service will be provided during normal business hours. Should you have a service problem that is not
resolved locally write:
ASKO USA INC.
PO Box 851805
Richardson, TX 75085-1805
15
Page 16

Summary of washing instructions
OI
Turn the main p ^
On/Off selector to the L i
required program.
b~
___
2
Open the door
by pushing
u
Open
Load the washing and ic:r
close the door firmly. |
Set the temperature with
the thermostate buttons, p
When the machine stops:
* After a program that has finished by pumping out the
water, you can open the door after about two
minutes.
Open the door by pressing
IlM
M
i
Omu *
1
u
Open
Pour detergent and
fabric conditioner
into the detergent
compartment.
Turn the program
N
o
knob to the required
start and the machine
wiil start.
After using the machine:
Turn off the main switch,
* |o«s-
LbT
UJ
Choosing
the right
program
Program
Normai
Permanent
Press
Deiicate
We reserve the right to make changes.
Prewaah
1 1
1 1
1 1 1 1
Main waah RInaaa
1 J
1 1
□ □ □ □
□ □ □
□ □ □
Spin
1000 rpm
800 rpm
800 rpm
Action
Normal
Normal
Gentle
Watar laval
Normal
Normal
Normal
Art nr 80 623 30
WM 140
CM
'1’
(Ó
o>
<
Û
z
Ü
s
 Loading...