

Artesia PE88 White, PE88 Black Owner’s Manual
PE-88
Owner s Manual
Virgin Musical Instruments

Precaution
Thank you fo r pur chasi ng th is digi tal instru ment. Fo r corre ct op era tion an d saf ety, plea se
read th e man ual carefu lly and keep i t for f uture r efe rence .
Safety Precautions
CA UTI ON
RISK OF ELECTRIC SHOCK
DO NOT OPEN
The lig htn ing fla sh wi th arro whe ad symb ol wi thin an e qui lateral tr ian gle is
inten ded t o alert t he us er to the pres ence of unin sulated “da ngerous vo lta ge”
withi n the p roduc t's e nclos ure t hat may be of su ffi cient m agn itude t o con stitu te
a risk of elec tric sh ock .
The exclam ati on poin t within an eq uilateral tri angle is int ended to ale rt the user
to the pr ese nce of impor tant operatin g and mainte nance (ser vicing) in struc tio ns in
the lit era tur e accom pan ying the pro duc t.
Important Safety Instructions
1) Read these instructions.
2) Keep these instructions.
3) Heed all warnings.
4) Follow all instructions.
5) Do not use this apparatus near water.
6) Clean only with dry cloth.
7) Do not block any ventilation openings; install in accordance with the manufacturer's instructions.
8) Do not install near any heat sources such as radiators, heat registers, stoves, or other apparatus (including
amplifiers) that produce heat.
9) Do not defeat the safety purpose of the polarized or grounding-type plug. A polarized plug has two blades with
one wider than the other. A grounding-type plug has two blades and a third grounding prong. The wide blade
or the third prong is provided for your safety. If the provided plug does not fit into your outlet, consult an
electrician for replacement of the obsolete outlet.
10) Protect the power cord from being walked on or pinched, particularly at plugs, convenience receptacles, and
the point where they exit from the apparatus.
11) Only use attachments/accessories specified by the manufacturer.
12) Use only with the cart, stand, tripod, bracket, or table specified by the manufacturer, or sold with the apparatus.
When a cart is used, use caution when moving the cart/apparatus combination to avoid injury from tip-over (Figure 1).
13) Unplug this apparatus during lightning storms or when unused for a long periods of time.
14) Refer all servicing to qualified service personnel. Servicing is required when the apparatus has been damaged
in any way, such as the power-supply cord or plug is damaged, liquid has been spilled or objects have fallen
into the apparatus, the apparatus has been exposed to rain or moisture, does not operate normally, or has been
dropped.
(Figure 1)
WARNING: To reduce the risk of fire or electric shock, do not expose this apparatus to rain or moisture.
CAUTION: Apparatus shall not be exposed to dripping or splashing, and no objects filled with liquids, such as
vases, shall be placed on the apparatus.
Always make sure all batteries are .
Always replace at the same time.
types, as this can cause overheating, or fire, or battery fluid leakage.
Remove the batteries from the instrument if it is not to be used for a long time.
WARNING: This product contains chemicals, including lead, known to the State of California to cause cancer
and birth defects or other reproductive harm. Wash hands after handling.
all of the batteries Do not combine old and new batteries, also do not mix battery
inserted the correct way around to match the +/- polarity markings

Your portable 88 note piano not only contains leading and innovative technology
but it also is developed by and for musicians of all playing levels. Featuring a
natural balanced, semi-weighted keyboard action and an advanced acousta ridge tone
generation sound technology, that will provide you with a rich performing and
playing experience.
This PE-88 offers many features and connection possibilities. To get the most out
of your instrument, please read this manual and try out the various functions that
can compliment your playing style.
Whether it is on stage, studio or home, your new portable piano is
designed to give you a lifetime of musical enjoyment.
Thank you for choosing Artesia!
Features Include:
. 88 Key Natural Balanced, semi-weighted Keyboard
. DSP Functions for additional realism
. USB to Host and USB Audio Connection
. All Connectivity Jacks including Aux. In and Out Jacks
. Battery Operated (6 D Cell Batteries are not included)
. Includes AC Adaptor, Sustain Pedal, Music Rack and more
FCC Statement
1. This device complies with Part 15 of the FCC Rules. Operation is subject to the
following two conditions:
(1) This device may not cause harmful interference.
(2) This device must accept any interference received, including interference that
may cause undesired operation.
2. Changes or modifications not expressly approved by the party responsible for
compliance could void the user's authority to operate the equipment.
NOTE: This equipment has been tested and found to comply with the limits for a
Class B digital device, pursuant to Part 15 of the FCC Rules. These limits are
designed to provide reasonable protection against harmful interference in a
residential installation. This equipment generates uses and can radiate radio
frequency energy and, if not installed and used in accordance with the instructions,
may cause harmful interference to radio communications. However, there is no
guarantee that interference will not occur in a particular installation. If this
equipment does cause harmful interference to radio or television reception, which
can be determined by turning the equipment off and on, the user is encouraged
to try to correct the interference by one or more of the following measures:
. Reorient or relocate the receiving antenna.
. Increase the separation between the equipment and receiver.
. Connect the equipment into an outlet on a circuit different from
that to which the receiver is connected.
. Consult the dealer or an experienced radio/TV technician for help.

Contents
Panel Control
Basic Operation
Connections
Voice
Effect
Function
Auto Accompaniment
Registration Memory
Song Recording
Play Alone Songs .....................................................................
Factory Reset
Appendix
Specifications
Warranty .................................................................................
.....................................................................................
....................................................................................
..........................................................................
.......................................................................
............................................................................
.................................................................................
...............................................................
................................................................
.......................................................................
......................................................................
................................................................................
..........................................................................
3
4
6
9
12
14
30
35
37
39
41
42
46
47
1

GM VOICE
USER
CHORUS
31
FILL IN 2/
VARATION
FILL IN 1
START/STOPSYNCHRO
INTRO/
ENDING
VOLUME
-
FREEZE
M1 M2 M3 M4 M5
/BANK
REGIST
REVERB
SUSTAIN
LAYER
DUET
SPLIT
RECORD
TRACK 1 TRACK 2
ENTER PLAY
FUNCTION
17
30
29
USER
USER
DANCE
POP LATIN GOSPEL WORLD
BALLAD
SWING
R&B
STYLE
+
-
CHORUS
REVERB
SUSTAIN
LAYER
DUET
SPLIT
RECORD
TRACK 1 TRACK 2
ENTER PLAY
FUNCTION
GM VOICE
GM VOICE
28
27
26
VIBES ORGAN STRINGS N.GUITAR BASS CHOIR
25
24
PIANO E.PIANO
VOICE
DATA CONTROL
23
19
FILL IN 2/
VARATION
FILL IN 1
/TAP
TEMPO
START/STOPSYNCHRO
18
SONG
TUTOR
16
EQUALIZER
VOLUME
CHORD ACC.VOLMETRONOME HARMONY
+-+
TRANSP.
PLAY
RIGHT
LEFT
TREBLE
BASS
DEMO
POWER
INTRO/
ENDING
VOLUME
-
FREEZE
M1 M2 M3 M4 M5
/BANK
REGIST
PITCH BEND
DANCE
40
DC12V 1A
22
POP LATIN GOSPEL WORLD
VIBES ORGAN STRINGS N.GUITAR BASS CHOIR
38 39
MIC.VOL LINE OUT PHONES POWER
MIC
DC12V 1A
AUX IN
MIC.VOL LINE OUT PHONES POWER
MIC
AUX IN
SOFT/VOL SUS/SOS
SOFT/VOL SUS/SOS
USB TO HOST
USB TO HOST
37
36
35
34
33
32
BALLAD
SWING
R&B
PIANO E.PIANO
STYLE
VOICE
+
21
-
20
DATA CONTROL
14 15
13
/TAP
TEMPO
12
11
CHORD ACC.VOLMETRONOME HARMONY
+-+
10
TRANSP.
9
PLAY
8
RIGHT
SONG
TUTOR
7
LEFT
6
TREBLE
EQUALIZER
5
BASS
4
DEMO
3
VOLUME
2
POWER
1
PITCH BEND

Panel Control
Front Panel
1. PITCH BEND
2. POWER
3. VOLUME
4. DEMO
5. BASS EQUALIZER
6. TREBLE EQUALIZER
7. LEFT
8. RIGHT
9. PLAY
10. -TRANSP.+
11. CHORD
12. METRONOME
13. TEMPO/TAP
14. ACC.VOL
15. HARMONY
16. REGIST/BANK
M1-M5
FREEZE
17. -VOLUME+
18. SYNCHRO
INTRO/ENDING
START/STOP
FILL IN 1
FILL IN 2/VARATION
19. LCD
20. DATA CONTROL
21. -/+
22. VOICE/STYLE
23. FUNCTION
24. ENTER
25. PLAY
TRACK 1
TRACK 2
RECORD
26. SPLIT
27. DUET
28. LAYER
29. SUSTAIN
30. REVERB
31.CHORUS
Rear Panel
32. USB TO HOST
33. SOFT/VOL
34. SUS/SOS
35. AUX IN
36. MIC
37. MIC.VOL
38. LINE OUT
39. PHONES
40. DC12V
3

Basic Operation
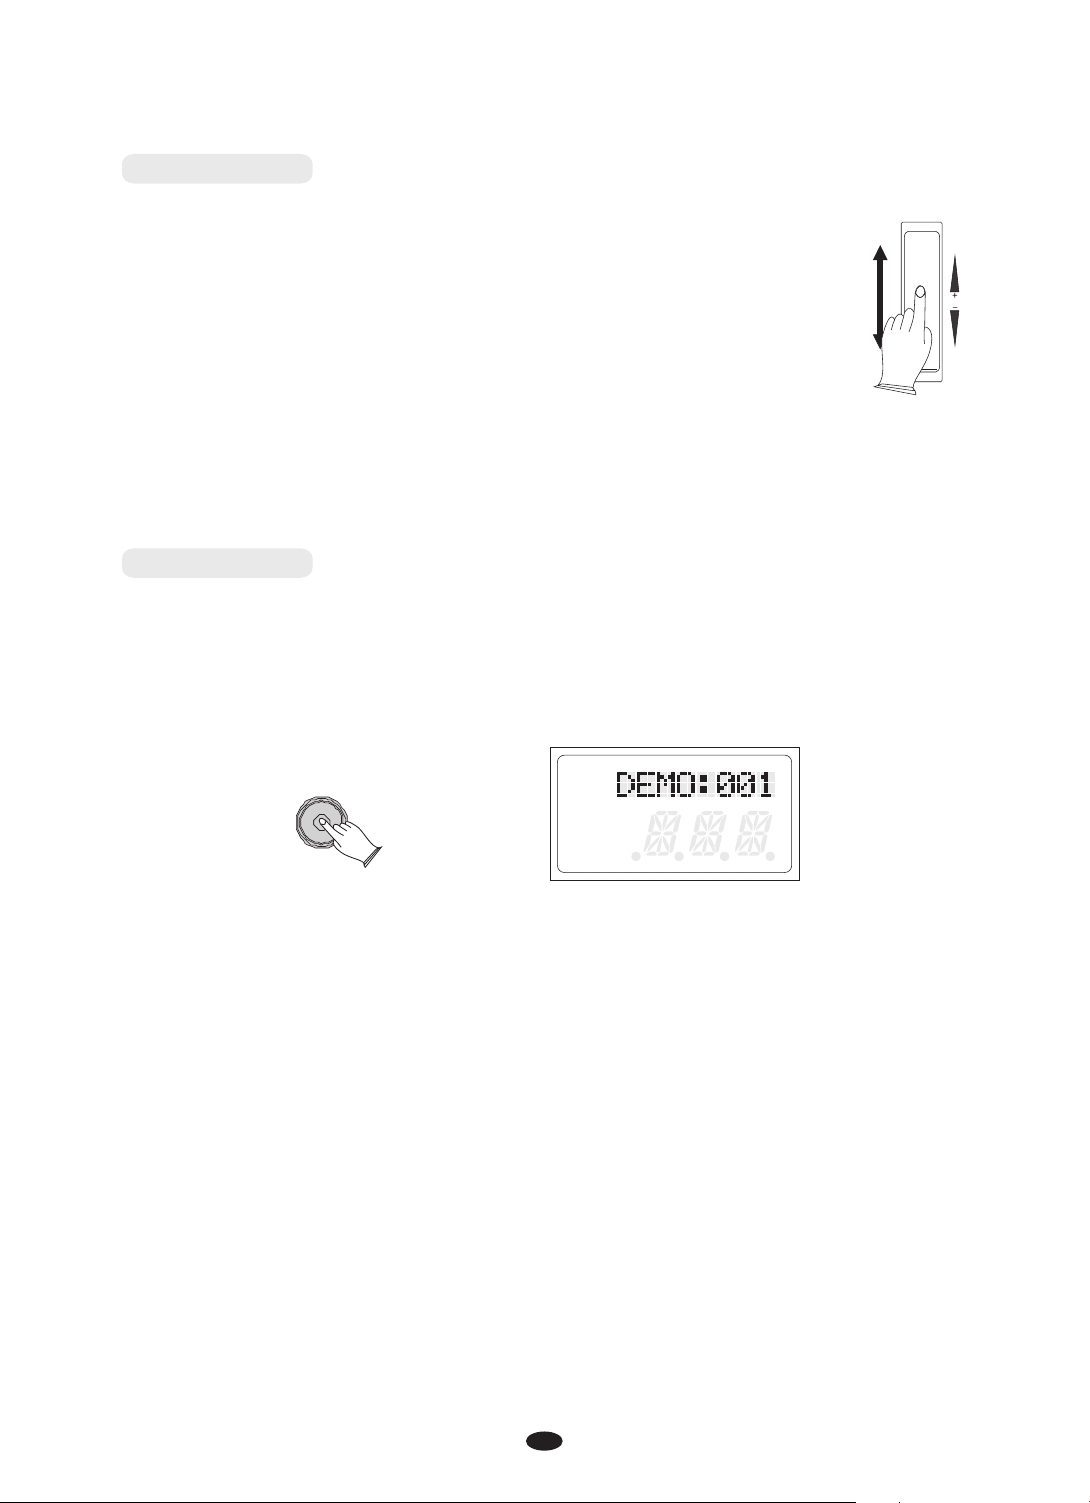
Turn on the power
Turn the power on by pressing the POWER switch, the panel LED will light.
POWER
NOTE
If you don't play or make any operational changes then the piano will
automatically turn off in 30 minutes.
Adjust the Main Volume
Use [VOLUME] control to adjust the volume to your desired level.
VOLUME
The Music Desk
Insert the two stickings of the music stand into the holes located at the rear of the
piano control panel.
Bass&Treble
With the Bass and Treble controls you can adjust the sound of your piano to
your room or according to your taste. Press the [BASS] button, then
button
Press the [TREBLE] button, then or
to
set the value.
the [DATA CONTROL] knob to
or set the value .
use [+/-] button
EQUALIZER
the [DATA CONTROL] knob
use [+/-]
BASS
TREBLE
4
Pitch Bend
(1)The PITCH BEND can be used to adjust the pitch of the keyboard.
PITCH BEND
Push the wheel upward, the keyboard pitch will be increased and
pull wheel downward to decrease the keyboard pitch.
(2)Pull the wheel to the downward position for about 2 seconds,
LCD will display the pitch range (pitch sensitivity). You can use the
[+/-] buttons or data control to set the pitch sensitivity:0~12
semitones.
When the power is turned ON, the preset sensitivity is +/- 2
semitones.
Demo Play
There are 10 preset demo songs that you can play individually. Here's how you
can select and play the demo songs .
1. Press [DEMO] button to play the demo songs in sequence.
DEMO
L
R 1 2
USB DISK
SONG
2. Use the data dial or +/- button to select a demo song.
3.Press [DEMO] button again to stop playing.
5
Connections
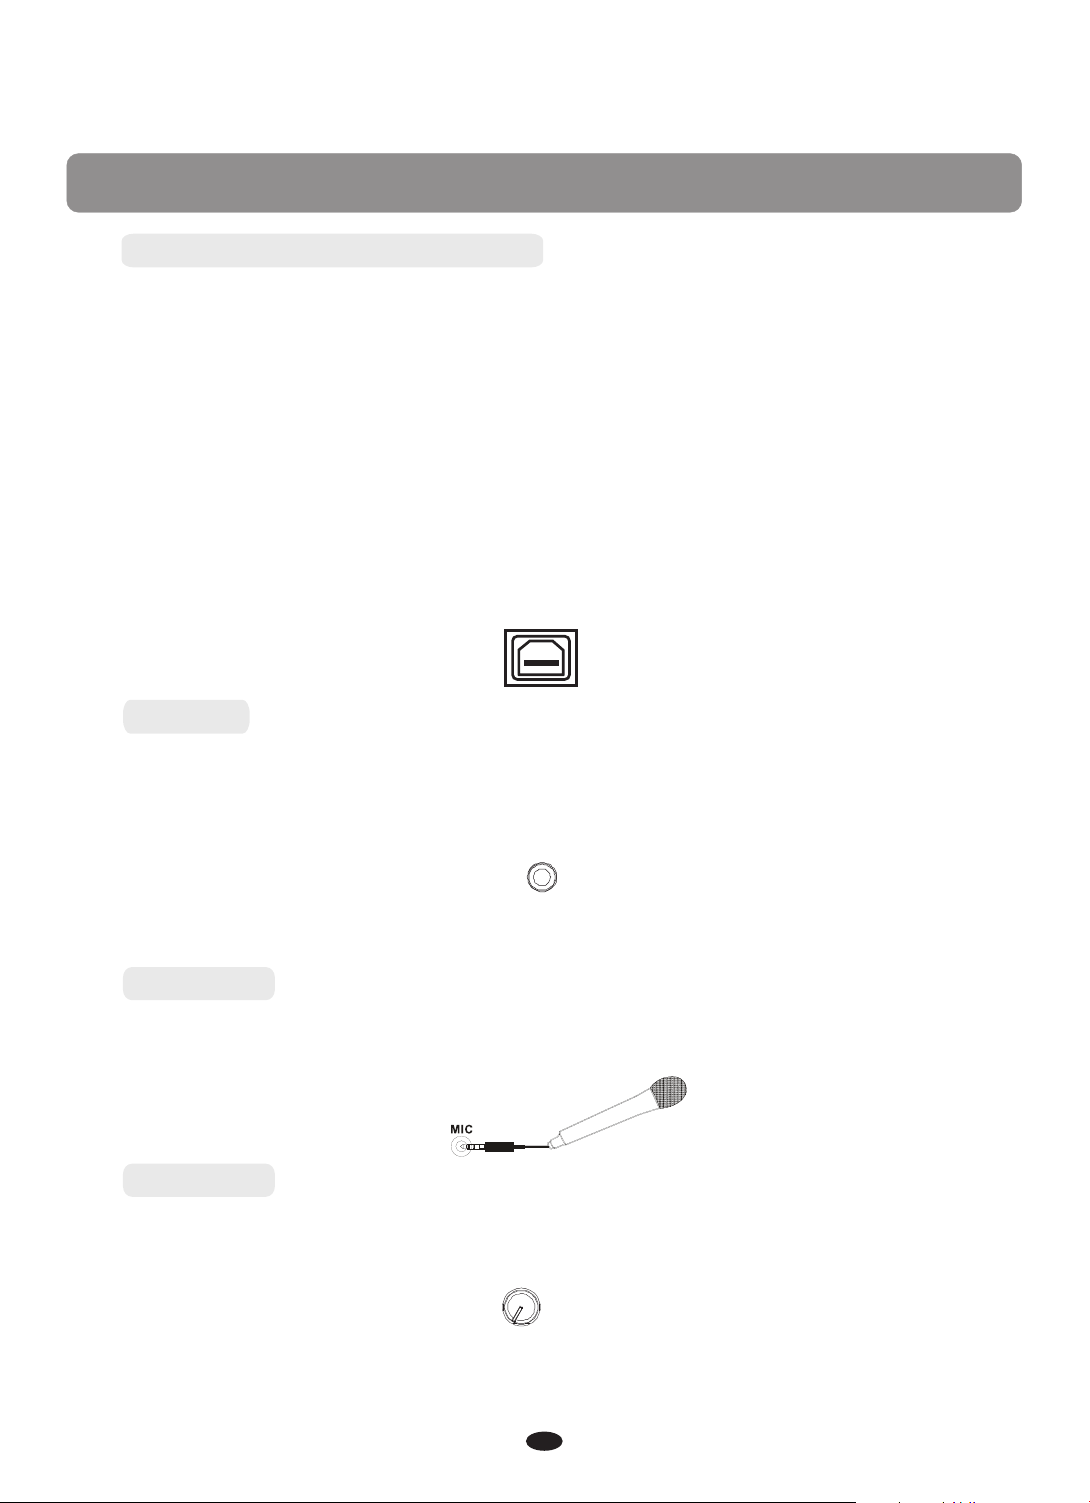
Using USB-MIDI/USB Audio
This product allows the transfer of MIDI information over USB to a laptop, tablet
or smartphone. As complicated as this might sound, it's actually pretty straight
forward. This piano is USB Class Compliant; therefore there is no need to install
a driver to enable it to work with a computer. Simply just plug it in and the
computer's operating system will do the rest. The piano will work with all standard
MIDI based computer software.
USB AUDIO interface is a digital audio interface. By USB cable, you can digitally
transfer intact audio signals from a Laptop, Tablet or Smartphone to
and enjoy it on this instrument or use it for accompaniments
instrument; likewise, you can transfer intact audio signals of the instrument to
Laptop, Tablet or Smartphone to record and edit music.
when you play this
this instrument,
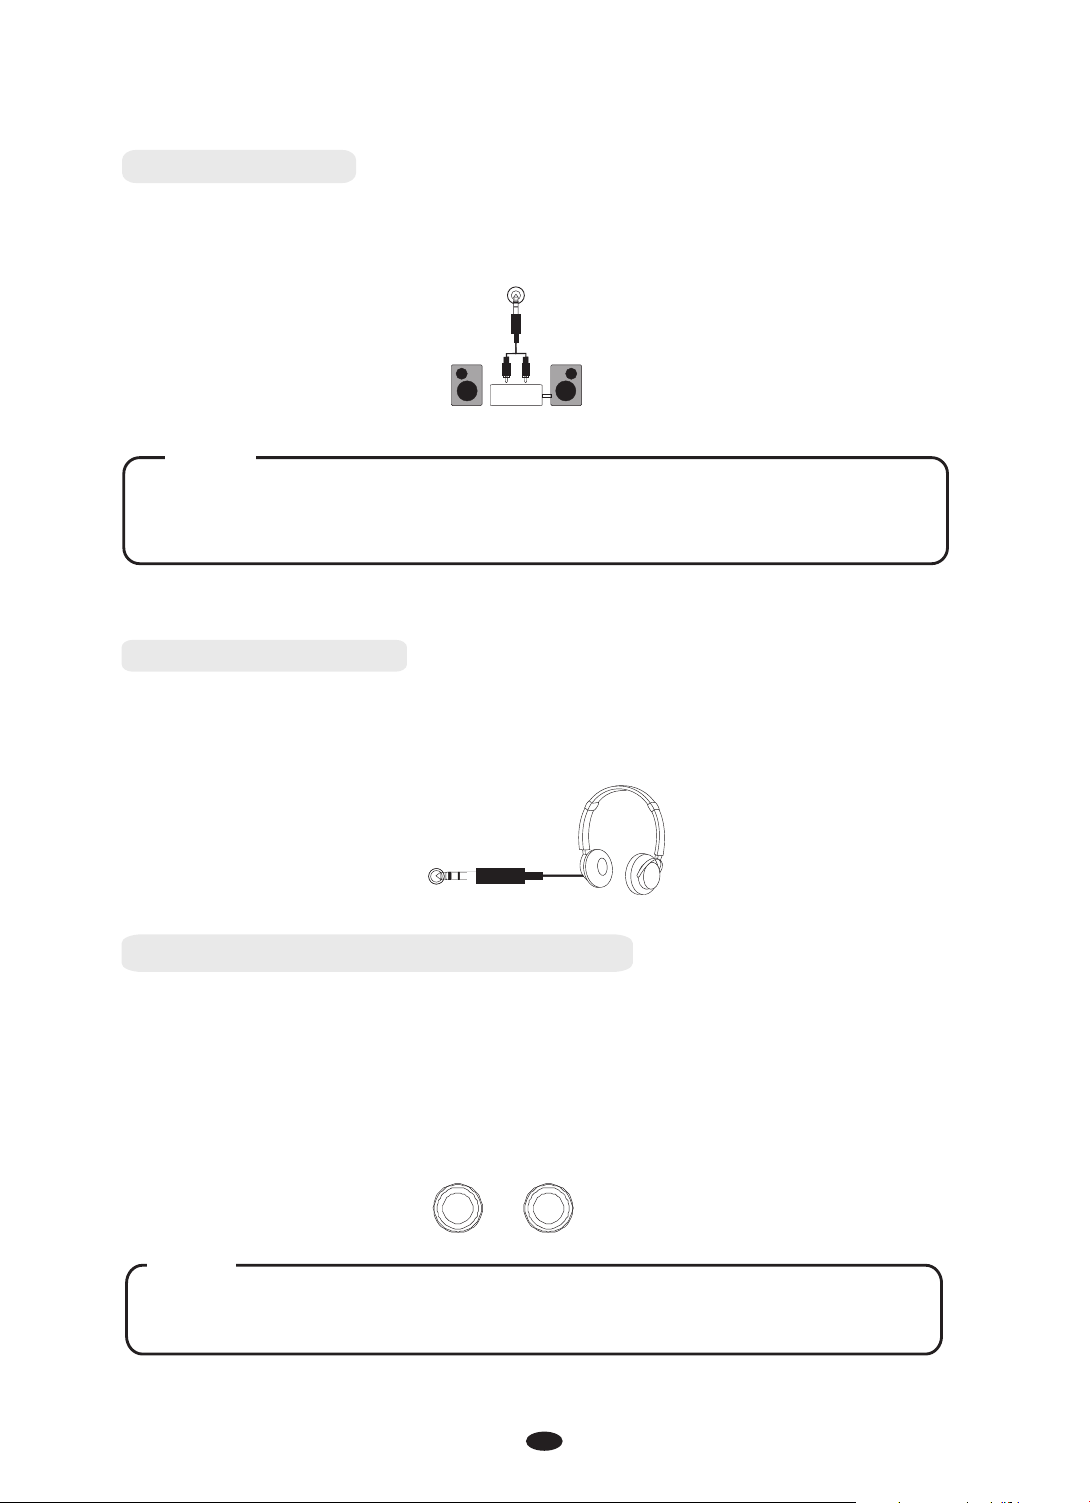
Aux In
The Aux In stereo Mini-Plug Connector allows you to play from an external sound
source (such as a output) through the piano's built-in
speakers or headphone outputs.
The Aux In Jack is on the back of the piano.
Laptop, Tablet or Smartphone
USB TO HOST
AUX IN
Mic jack
A Microphone with a 1/4" plug can be attached into the rear panel [MIC] jack.
Mic.vol
Use [MIC.VOL] control to adjust the volume of the microphone to your desired level.
MIC.VOL
6
Line Out jack
The Line out jack can be used to deliver the output of the piano to a keyboard
amplifier, stereo sound system, mixing console or recording device.
Line Ou t
Stereo
System
NOTE
To avoid damaging the speakers, please ensure that the volume has been
set to the minimum level before connecting the power and other devices.
Using Headphones
One standard stereo headphones can be plugged in here for private practice or
late-night playing. The internal speaker system is automatically shut off when
a pair of headphones is plugged into the PHONES jacks.
PHONES
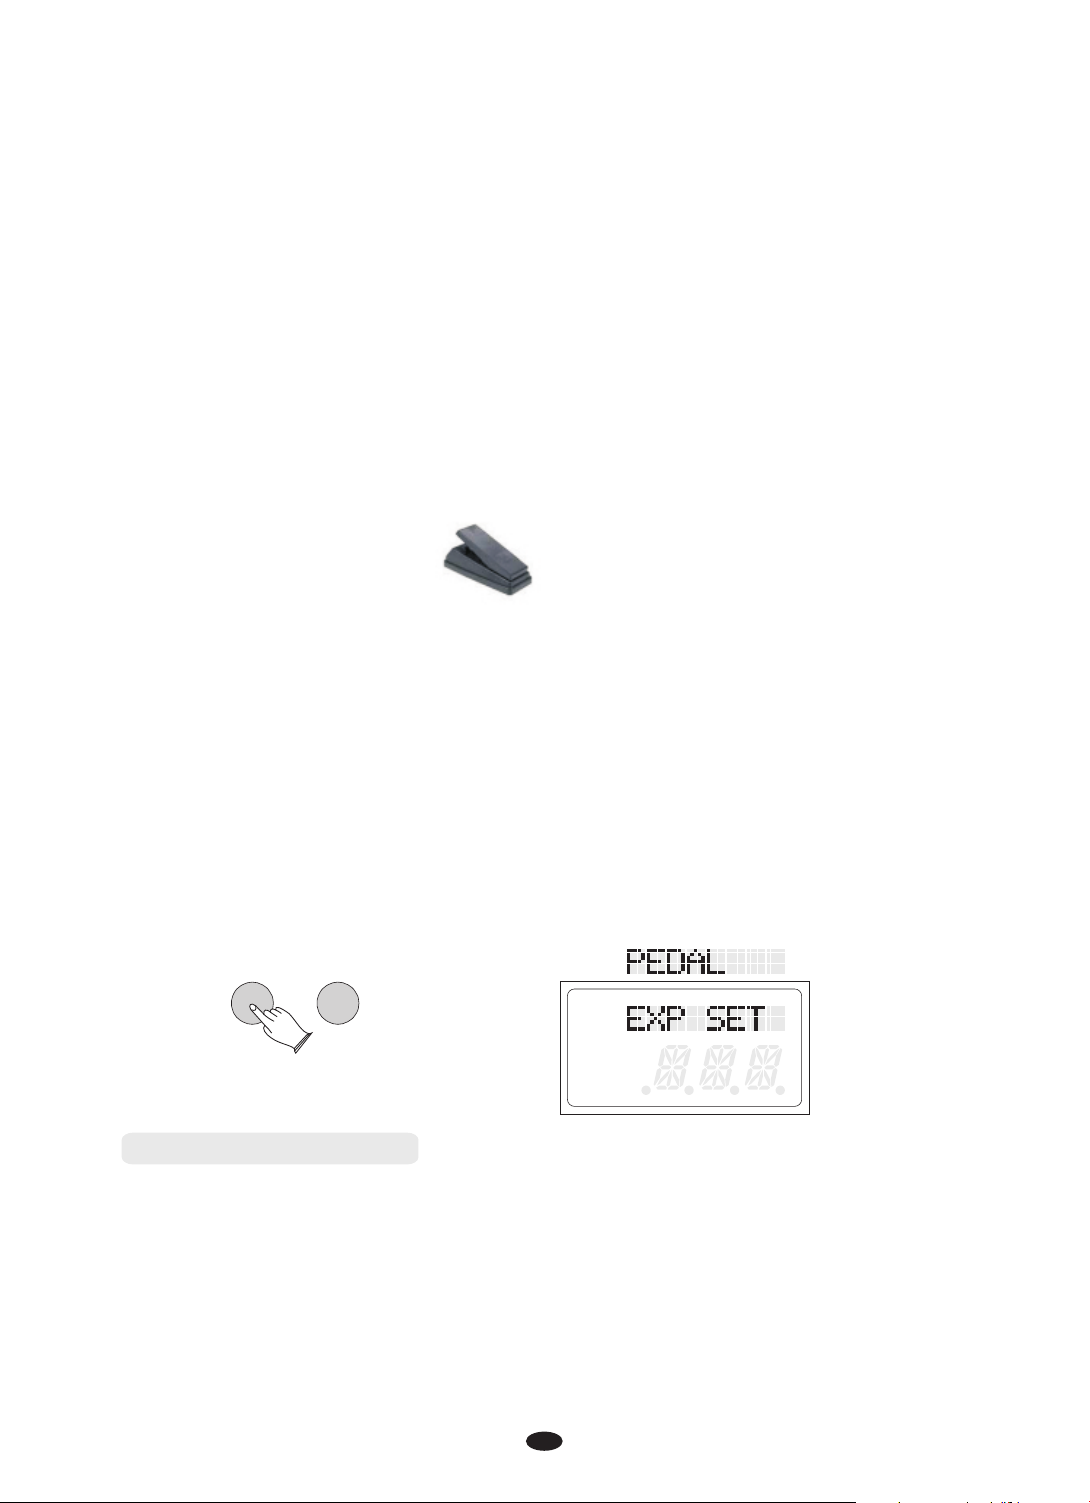
SOFT/SOSTENUTO/SUSTAIN PEDAL
Connect the Sustain Pedal to the Pedal Input [SUS/SOS] to obtain the Sustain
effect when used. It has the same function as the ''sustain'' pedal on the
acoustic piano.
It provides sustain and lets the sound slowly decay after the keys have been
released.
SOFT/VOL SUS/SOS
NOTE
If you want to insert the pedal, you should ensure the power is turned off.
7
When connecting a pedal, the piano will function accordingly.
SOFT: gives the piano voices a ''lower, softer'' sound.
SOSTENUTO: this allows only the notes pressed on the keyboard before the
Sostenuto pedal is activated to sustain and no subsequent notes played
afterwards.
SUSTAIN: has the same function as the ''sustain'' pedal on the acoustic piano.
It provides sustain and lets the sound slowly decay after the keys have been
released.
Volume Pedal
If necessary it is possible to connect a Volume Pedal or a two pedal system to the
piano, but it is necessary to program the instrument (See Below).
Press the [FUNCTION] button repeatedly to select PEDAL , then press
the [ENTER] button to confirm, use [+/-] button
knob to
select , [ENTER] button to confirm, the LCD
will display ,use [+/-] button
select , then press the [FUNCTION] button , the LCD will display
"Pd3 EXP”
"PEDAL”,press the or
CONTROL] knob to "EXP SET", press
"PEDAL3” then press the
"PD3 SOFT” or
[ENTER] button to confirm, use [+/-] button
select then press the
[ENTER] button,
" ”
the [DATA CONTROL]
or
the [DATA CONTROL] knob to
the [DATA
the [+] button to select "EXP-VAL1", press one side of the pedal, then press
the [-] button to select "EXP-VAL2", press another side of the pedal,
press the the pedal will be set and the LCD wil display
"EXP_OK!"
[ENTER] button,
.
FUNCTION ENTER
L
R 1 2
USB DISK
SONG
and then
Using DC Power Jack
The Connection is for the included DC power adapter. Please use only the provided
adapter.
8
Voice
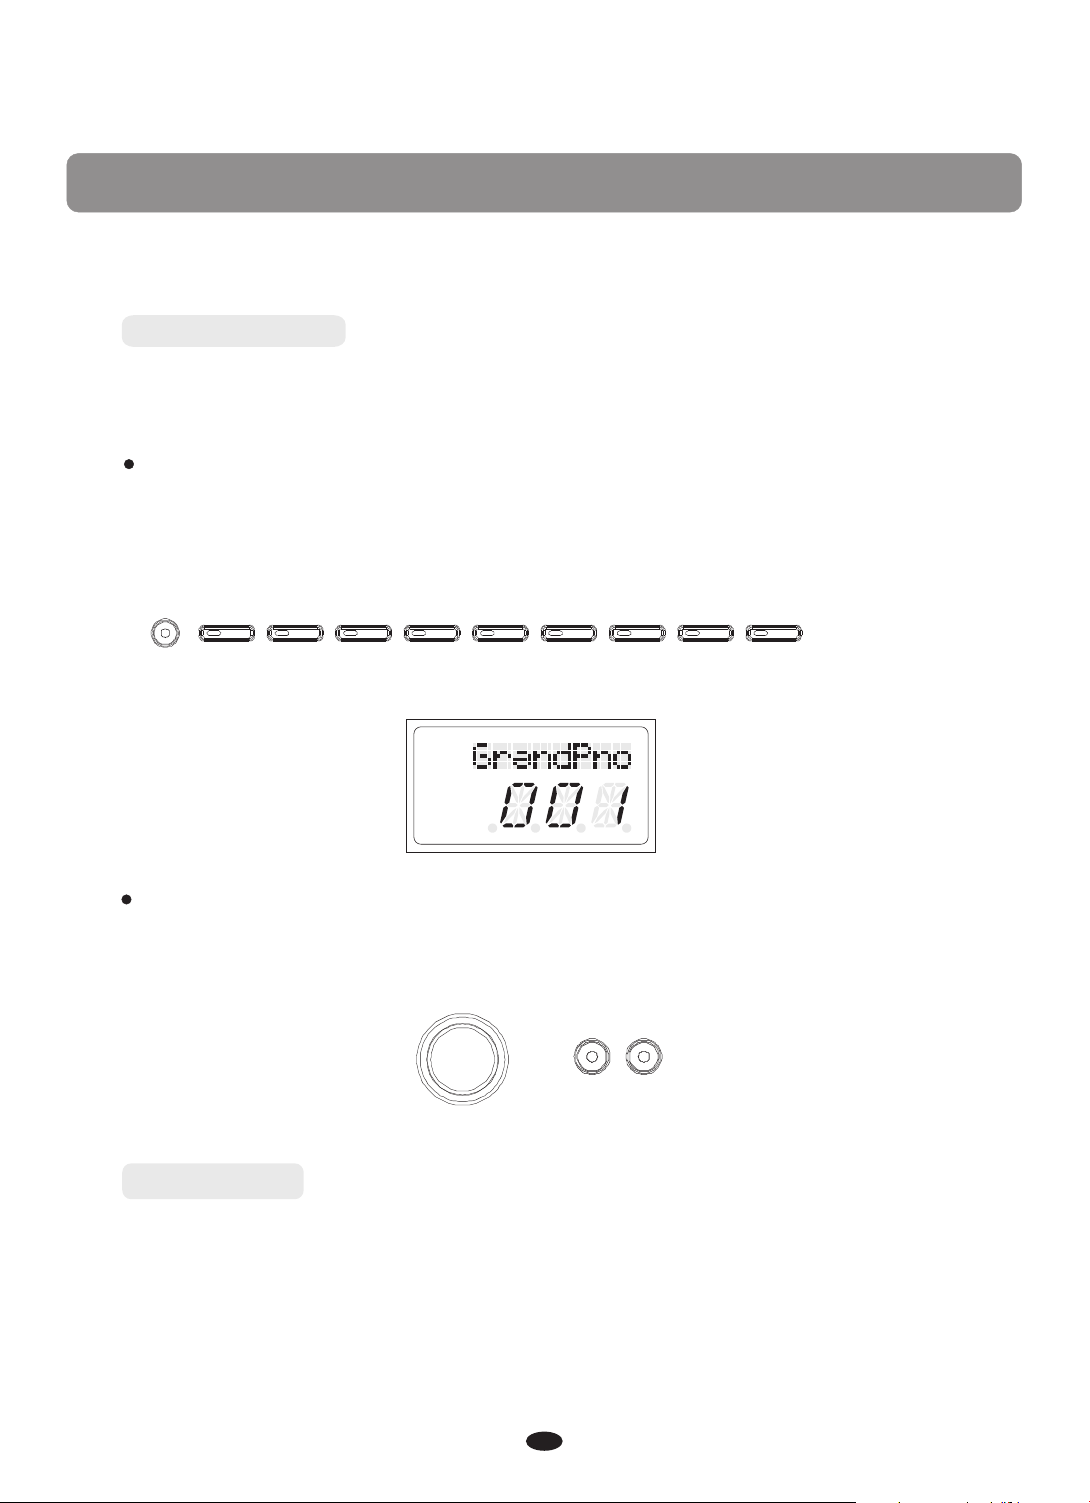
13 7 voices in t otal (see voic e list: P.43)
Select a Voice
You can use the voice button on the panel, or the [+/-] button and the data dial to
select voices.
Direct Select Button
When th e [VOICE /STYLE] button i s not lit , yo u can use the D ire ct Se lec t
Button to select the voice.
VOICE
STYLE
PIANO E.PIANO
R&B
SWING
VIBES ORGAN STRINGS N.GUITAR BASS CHOIR
BALLAD
POP LATIN GOSPEL WORLD
L
R 1 2
USB DISK
SONG
DANCE
GM VOICE
USER
Use Data Dial and [+/-] Button
In voice mode, using data dial or [+/-] buttons can select voice quickly.
DATA CONTROL
+
-
Split Button
Press the [SPLIT] button to select split mode, your keyboard will be split into two
sections which means different voices can be played with the left and right hands
at the same time.
9
Split Voice
Press the [SPLIT] button, the Split cursor will flash, and the split voice will appear
in the LCD display for 3 seconds, press the[+/-] buttons or turn the dial to select
the left voice.
L
R 1 2
USB DISK
SPLIT
SONG
Press [SPLIT] button again to turn off the split voice.
Adjusting Split Voice Volume
Reference : Split Voice Volume(P 20). .
Changing the Split Point
1.Hold down the [SPLIT] button. the LCD will display “SPLT PT”, you can use the[+/-]
buttons or [ ] knob to move the split point.
2.Reference : Split Point(P.18).
DATA CONTROL
Duet Button
This mode is great for using with teacher and student or anytime two people want to
play at the piano at the same time.
Press the [ ] button to select mode. In this mode, the keyboard will be
DUET DUET
split into two playing areas.
Right: from C#3 to C7
Left: from A-1 to C3
L
R 1 2
USB DISK
DUET
SONG
Layer Button
Press the [LAYER] button to select Layer mode, and then two instruments will
sound when you play the keyboard. simultaneously.
Select Layer Voice
Press the [LAYER] button
or the [DATA CONTROL] knob to select the second voice.
the second voice within 3 seconds,
and its indicator will flash. Use the [+] and [-] buttons
If you don' t choose
the LCD will return to display the Main voice.
10

L
R 21
LAYER
USB DISK
SONG
Set Dual(Layer) Voice Volume
Refer ence: (P.20 ).Dual Voice Volume
Exi t Layer Mode
Press the [LAYER] again button to exit Dual mode and its indicator will turn off.
User Button
User Voice-You can chos e any i nstr ument voice to b e the USER qu ick start
vo ice butto n.
In the voice mode, the [VOICE/STYLE] button will be unlighted, hold down the [GM
VOICE/ USE] button, the indicator will light. Then you can
or the [DATA CONTROL] knob to select the desired voice the voice will
automatically save.
,
GM VOICE
[+] and [-] buttons
USER
User Style-You can ch ose any instru ment styl e to be the USE R quick sta rt
style bu tto n.
In the style mode, hold down the [GM
VOICE/ USE] button, the indicator will light
he [VOICE/STYLE] button will light,
. Then you can
[+] and [-] buttons
or the [DATA CONTROL] knob to select the desired style, the style will
automatically save.
11
Effect
Digital Effect
These ef fects add a ddition al realis m to the overal l soun ds.
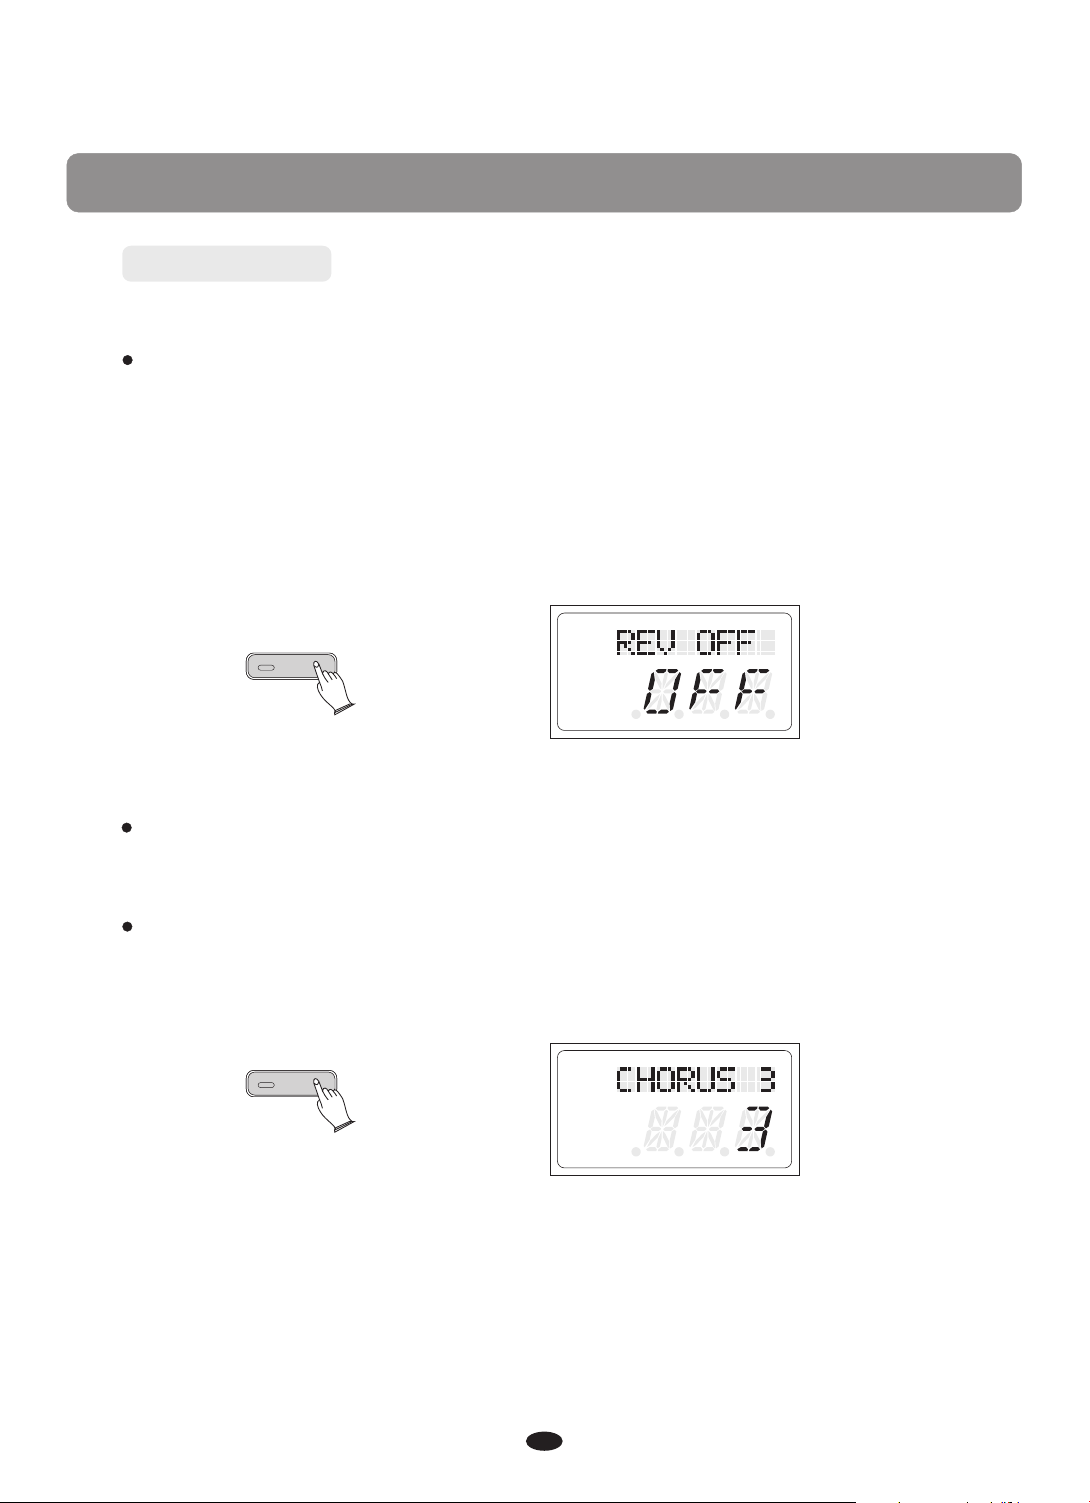
Reverb
The [REVERB] button selects digital Reverb effects that you can use for extra
depth and expressive power.
Press the [REVERB] button, to engage this effect.
Press the [REVERB] button, use [+]and[-] buttons or turn the Control Knob to
select a different Reverb type. Default type:2Hall 2.
L
R 1 2
REVERB
USB DISK
SONG
The piano has 8 reverb types:
1Hall1; 2Hall2; 3Room1; 4Room2; 5Room3; 6Stage1;
7Stage2; 8Plate.
Adjusting Reverb Level
Reference: Reverb level (P.23).
Cho usr
Press the [CHORUS] button to turn on or turn off the function.
The Default is Off. Press the [CHORUS] button, the LCD display:3chorus3.
L
R 1 2
CHORUS
The piano has 13 chorus types :
1Chorus1; 2Chorus2; 3Chorus3;4Chorus4; 5Feed
back; 6Flanger1; 7ShrtDely; 8ShrtDIFb; 9Flanger2; 10Flanger3;11Celeste1;
12Celeste2; 13Celeste3.
Press the [CHORUS] button, use [+]and[-] button or turn the [DATA
CONTROL] knob to select chorus type.
USB DISK
SONG
12
 Loading...