

Page 1
PPeerrssoonnaall PPrroocceessssoorr SSeerriieess
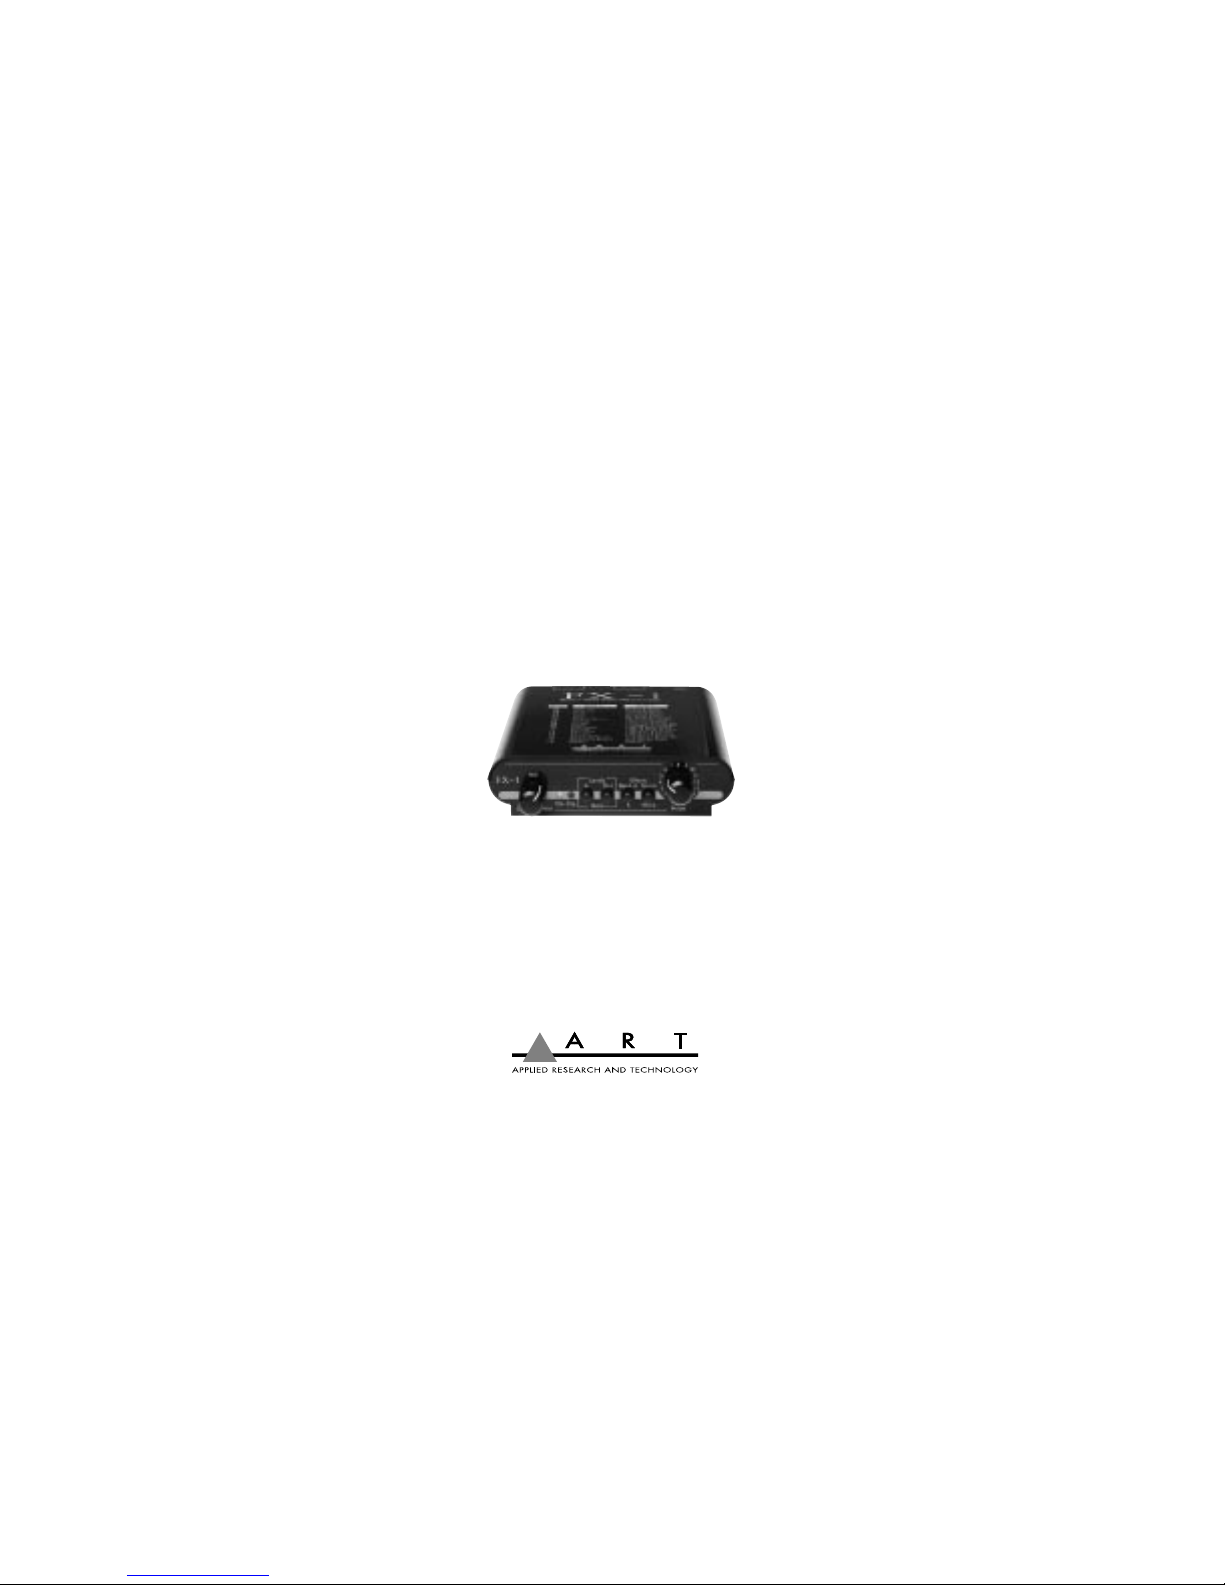
FFXX--11
UUSSEERR’’SS GGUUIIDDEE
Page 2

CCoonnnneeccttiioonnss::
Despite the FX-1’s sophistication, it’s easy to interface the unit with
other equipment. All connections are made at the back of the
FX-1. Standard 1/4” inputs and outputs make patching simple.
Note: For best audio quality, always use high quality cables.
IInnppuutt
The input is single-ended (unbalanced) with an impedance of 470k
ohms.
NOTE: Because the FX-1 is designed for line-level or instrument
operation, we don’t recommended plugging microphones directly
into it. This is because most microphones have a very low output
and need to run into a mic preamp before anything. Use either a
mic preamp (like the A R T Tube MP), a mixer, or an amp’s preamp
section to boost the level first (use the effects loop output, reverb
send or channel insert from a mixer or amp). A higher signal level
from a preamp or effects loop assures an optimum signal-to-noise
ratio in the FX-1, keeping hiss and distortion to a minimum.
OOuuttppuutt
The output is single-ended (unbalanced) with a source impedance
of 1k ohm.
PPoowweerr
Insert the supplied 9 Volt AC adapter’s plug into the input labeled
POWER on the FX-1’s back panel. The FX-1 is powered by an external 9 Volt AC adapter. Always make sure that its output plug is
securely plugged into the rear of the FX-1, and that the adapter is
held firmly in an electrical outlet. Never operate the FX-1 or AC
adapter in the rain or in wet locations. If the AC adapter’s cord is
ever cut or damaged, discontinue using it and replace the adapter
with a new one. To prolong its life, unplug the adapter when the
FX-1 is not in use. Refer to the label on the adapter or the specifications later in this manual for the appropriate operating voltages.
3322
IInnttrroodduuccttiioonn
Thank you for purchasing the FX-1—and congratulations: You now own one
of the coolest and most sophisticated pieces of audio signal-processing available. Offering a superb level of processing and sound quality, the FX-1’s specially designed integrated circuits and straightforward user interface quickly
and easily gives you access to all of its features.
FFeeaattuurreess::
Two banks of 15 studio crafted presets.
30 effects algorithms including: reverb, delay, chorus, phase shifting, pitch
shifting, tremolo, panning, multi-effect combinations, and true
stereo effects.
Multi-effects processing offering up to three effects at once.
Dual Processing effects for processing each channel individually.
“More” options for each preset for more of the processing you need!
Adjustable input and output levels.
1/4” stereo inputs and outputs.
Portable design - Put it anywhere, take it anywhere.
Very low noise and wide dynamic range.
Designed & Manufactured in the USA.
Fill in the following information for your reference:
Date of purchase: _________________________________
Purchased from: _________________________________
Serial number: 121-______________________________
This is a great time to fill out the User Registration Card included with your
FX-1 to become a completely informed A R T Artist. Completing and returning the card to us ensures you of becoming the first to know about exciting
new A R T products as well as any further developments from
A R T.
121-5004-101
Page 3

BBaannkk SSeelleecctt SSwwiittcchh
There are two banks of 15 presets in the FX-1. Bank A is selected
when the bank select switch is in its Out position. Bank B is selected when the bank select switch is pressed In.
MMoorree EEffffeeccttss SSwwiittcchh
Pressing the More switch in any preset gives you an enhanced version of the preset. For example, if you’ve currently selected a hall
reverb, pressing the More switch will increase the decay time, alter
the predelay and alter the EQ characteristics of that reverb. The
result is a completely new sound for you to work with. Use the
More function for those times when the preset you’ve selected is
“almost” what you need.
BByyppaassss
Each bank of presets has one Bypass setting. To bypass the FX-1,
simply select the BY option with the preset encoder.
AApppplliiccaattiioonnss::
If using the FX-1 with a single (mono) input, connect the cable to
the left input. The FX-1 will automatically send this signal to both
processors and will produce a stereo image at the output.
WWiitthh aa mmiixxeerr:: RReevveerrbb SSeenndd aanndd RReettuurrnn
Connect a cable between your mixer’s send and the FX-1’s left
input. If using a stereo send, or two sends, connect the second
send to the FX-1’s right input. Connect the FX-1’s left and right
outputs to your mixer’s returns. Set the FX-1’s Mix control to Wet.
IInnppuutt CChhaannnneell LLoooopp
Some mixers are designed to accommodate effects on each input
channel via “channel inserts,” or “patch points.” These often consist of a single 1/4” phone jack acting as both send and return,
requiring a dual-mono-to-TRS (tip/ring/sleeve) plug configuration.
Check your mixer’s owner’s manual to determine which plug of
the dual-mono-to-TRS cable acts as a send, and which acts as a
return. Connect the insert send to the FX-1’s left input and the FX1’s left output to the insert’s return. Adjust the mix control for the
55
CCoonnttrroollss,, SSwwiittcchheess aanndd IInnddiiccaattoorrss::
MMiixx
You can vary the mix of dry (unprocessed) and wet (processed) signals with this knob. When the Mix knob is set fully counterclockwise, no effect is present at the output. Turning the Mix control
fully clockwise produces effected signal only. Use this control to set
the desired effect level to your sound.
OOnn aanndd CClliipp LLEEDDss
When power is applied to the FX-1, the On LED lights green. The
Clip (Clp) LED serves as the signal clip indicator. If to much signal
is applied to the FX-1, this LED lights red. If the LED is constantly
lit, reduce the input level to the FX-1 or set the In Level switch to
the normal (Out) position.
IInnppuutt aanndd OOuuttppuutt LLeevveell sswwiittcchheess
Input and Output level switches are provided for you to optimize
the operating level of the FX-1 to your system. On initial set up,
start with these switches in their Out position. As the panel reads,
if you need more level either into or out of the FX-1 press the
appropriate switch to its In position.
To optimize your levels, set the switches so your Effect signal level
is the same as your Bypass level.
NOTE: When using the FX-1 in an effects loop of an amplifier,
depending on the amplifier, you may have to set the input and output level switches in different positions to optimize your amplifier
(i.e. your input switch may be set to the “more” (in) position and
the output switch may be set to the normal (out) position or vice
versa).
PPrreesseett SSeelleeccttoorr
Select which preset you want by turning the Preset Selector knob
to the preset number. The number corresponds to the preset chart
printed on the top panel of the FX-1.
44
Page 4

77
desired blend of dry and processed signal.
WWiitthh aann aammpplliiffiieerr:: SSttrraaiigghhtt iinnttoo aann aammpp
When patching the FX-1 into a guitar (or other instrument) amplifier’s input, plug the instrument into the FX-1’s input. Connect a
cable from the FX-1’s output to the amp’s input. Adjust the mix
control for the desired blend of dry and processed signal.
IInn aann eeffffeeccttss lloooopp
If you’re patching the FX-1 into an amplifier’s effects loop, use one
cable between the amp’s effects Send jack and the FX-1’s Input.
Run a second cable from the FX-1’s Output to the amp’s Effects
Return jack. If the return is stereo, connect the FX-1’s other output
to the second Return jack. Set the FX-1’s mix control to its midpoint to start. Set the Input/Output Inst/line switches to match the
Bypass level. Use the Mix control to set the desired effect level.
PPrreesseett DDeessccrriippttiioonnss::
BBaannkk AA::
0011 -- HHaallll RReevveerrbb
- Bright hall with 2.5 sec decay
More option:
Warm hall with 4.0 sec decay
0022 -- CChhaammbbeerr RReevveerrbb --
Bright chamber with 1.8 sec. decay
More option
: Warm chamber with 3.0 sec decay
0033 -- PPllaattee RReevveerrbb --
Dark plate with 1.4 sec. decay
More option:
Bright plate with 2.5 sec decay
0044 -- RRoooomm RReevveerrbb --
Dark room with .8 sec. decay
More option:
Ambient room with 1.6sec decay
0055 -- GGaattee RReevveerrbb --
Med. room size, 100ms gate
More option:
Med. hall size, 200ms bright gate
0066 -- RReevveerrssee RReevveerrbb --
150ms reverse
More option:
200ms reverse
0077 -- SStteerreeoo CChhoorruuss --
Slow, wide (67%) chorus
More option:
Med., narrow (6%) chorus
0088 -- SStteerreeoo FFllaannggee --
Slow, wide (85%) with 25% regen.
More option:
Med., wide (67%) with 50% regen.
0099 -- DDeellaayy --
260ms delay, no regeneration
More option:
420ms delay with 15% regen.
66
1100 -- DDuuaall DDeellaayy --
175 ms stereo delay
More option:
250ms stereo delay
1111 -- DDoouubblliinngg DDeellaayy --
55ms stereo doubling delay
More option:
70ms stereo doubling delay
1122 -- PPiittcchh SShhiifftt --
Octave down
More option:
5th up
1133 -- TTrreemmoolloo --
slow, med. depth
More option:
med., deep depth
1144 -- RReevveerrbb && PPaannnneerr --
1.0 sec room with slow panning
More option:
1.4 sec room with med panning
1155 -- TTrreemmoolloo && RReevveerrbb --
slow tremolo with 1.0 sec. room
More option:
med. tremolo with 1.6 sec. room
1166 -- BByyppaassss
BBaannkk BB::
0011 -- RReevveerrbb && DDeellaayy
- 2.0 sec. dark hall with 70ms delay
More option:
1.2 sec. bright room with 180ms delay
0022 -- FFllaannggee && DDeellaayy --
Slow flange with 250ms delay
More option
: Med. flange with 420ms delay
0033 -- CChhoorruuss && RReevveerrbb --
Slow chorus with 1.0 sec. room
More option:
Med. chorus with 2.5 sec. hall
0044 -- CChhoorruuss && DDeellaayy -- SS
low chorus with 300ms delay
More option:
MMeedd..
chorus with 420ms delay
0055 -- RReevveerrbb && DDeellaayy && CChhoorruuss --
80ms slap, .5s room, slow chorus
More option:
200ms delay, 1.0s room, med. chorus
0066 -- RReevveerrbb && DDeellaayy && FFllaannggee -- 66
0ms slap, .8s room, slow flange
More option:
100ms delay, 1.2s room, med. flange
DDuuaall PPrroocceessssiinngg AAllggoorriitthhmmss::
0077 -- LLeefftt cchhaannnneell -- DDuuaall ddeellaayy --
150ms delay
RRiigghhtt cchhaannnneell -- GGaattee rreevveerrbb --
100ms gated reverb
More option:
Left channel - 300ms delay
Right channel - 200ms gated reverb
0088 -- LLeefftt cchhaannnneell -- CChhoorruuss -- SSllooww cchhoorruuss
RRiigghhtt cchhaannnneell -- GGaattee rreevveerrbb -- 115500mmss ggaatteedd rreevveerrbb
More option:
Left channel - Med. chorus
Right channel - 200ms gated reverb
Page 5

AARRTT FFXX--11 SSppeecciiffiiccaattiioonnss
Dimensions 5.0”H X 5.5”W X 2.0”H
Weight 1.5 Lbs
Connections Stereo In/Out 1/4” phone
Presets 30 (60 with “more” options)
Input impedance 470k ohms
Output impedance 1k ohm
Maximum input level +6dBv Line, -4dBv Inst
Maximum output level +6dBv Line, -4dBv Inst
Dynamic range dry >100dB (20-20kHz)
wet >90dB (20-20kHz)
Total harmonic distortion (THD) dry <.01% @ 1kHz
wet <.015% @ 1kHz
Power Requirements 9 Volts A.C. @ 250ma (typ)
ART retains a policy of constant product improvement. Therefore,
specifications are subject to change without notice.
ART reserves the right to make changes in design or make additions to or improvements upon this product without any obligation
to install the same on products previously manufactured.
Designed and manufactured in the United States of America.
AApppplliieedd RReesseeaarrcchh && TTeecchhnnoollooggyy,, IInncc..
221155 TTrreemmoonntt SSttrreeeett
RRoocchheesstteerr,, NNYY 1144660088
((771166)) 443366--22772200
((771166)) 443366--33994422 ((FFAAXX))
9988
0099 -- LLeefftt cchhaannnneell -- FFllaannggee --
Slow flange
RRiigghhtt cchhaannnneell -- GGaattee rreevveerrbb --
100ms gated reverb
More option:
Left channel - Med. flange
Right channel - 150ms gated reverb
1100 -- LLeefftt cchhaannnneell -- RReevveerrbb && ssllaapp ddeellaayy --
65ms delay & .8s room
RRiigghhtt cchhaannnneell -- FFllaannggee --
Slow flange
More option:
Left channel - 80ms delay & .5s room
Right channel - Med. flange
1111 -- LLeefftt cchhaannnneell -- RReevveerrbb && ssllaapp ddeellaayy --
60ms delay & 1.0s room
RRiigghhtt cchhaannnneell -- CChhoorruuss --
Slow chorus
More option:
Left channel - 75ms delay & .8s room
Right channel - Med. chorus
1122 -- LLeefftt cchhaannnneell -- RReevveerrbb --
0.5 sec room
RRiigghhtt cchhaannnneell -- FFllaannggee --
Slow flange
More option:
Left channel - 1.2 sec. room
Right channel - Med. flange
1133 -- LLeefftt cchhaannnneell -- RReevveerrbb --
0.8 sec room
RRiigghhtt cchhaannnneell -- CChhoorruuss -- MMeedd
. chorus
More option:
Left channel - 1.5 sec. room
Right channel - Slow chorus
1144 -- DDuuaall rroooomm rreevveerrbb --
0.4 sec. true stereo room reverb
More option:
0.8 sec. true stereo room reverb
1155 -- DDuuaall ppllaattee rreevveerrbb --
0.6 sec. true stereo plate reverb
More option:
1.0 sec. true stereo plate reverb
1166 -- BByyppaassss
Page 6

SSeerrvviiccee
The following information is provided in the unlikely event that
your unit requires service. Use this procedure to return units in the
United States only. For service outside the United States, please
contact your authorized A R T distributor.
1) Be sure that the unit is the cause of the problem. Check to make
sure the unit has power supplied, all cables are connected correctly, and the cables themselves are in working condition.
2) If you find the unit to be at fault, write down a description of
the problem, including how and when the problem occurs.
3) Call the factory for a Return Authorization (RA) number.
4) Pack the unit in its original carton or a reasonable substitute.
The packing box is not recommended for a shipping carton. Put
the packaged unit in another box for shipping. Print the RA number clearly under the address.
5) Include with your unit: a return shipping address (we cannot
ship to a P.O. Box), a copy of your purchase receipt, a daytime
phone number, and a description of the problem.
6) Ship the unit to:
APPLIED RESEARCH & TECHNOLOGY, INC.
215 TREMONT STREET
ROCHESTER, NY 14608
ATTN: REPAIR DEPARTMENT
RA # ___________________
7) Contact our customer service department at (716) 436-2720 for
your Return Authorization number or questions regarding repairs.
Customer Service hours are 9:00 AM to 4:00 PM Eastern Time,
Monday through Friday.
1111
WWAARRRRAANNTTYY && SSEERRVVIICCEE IINNFFOORRMMAATTIIOONN
LLIIMMIITTEEDD WWAARRRRAANNTTYY
Warranty service for this unit will be provided by Applied Research
& Technology, Inc. in accordance with the following warrant statement.
Applied Research & Technology, Inc. (ART) warrants to the original
purchaser that this product and the components thereof will be
free from defects in workmanship and materials for a period of
three years from the date of purchase. Applied Research &
Technology, Inc. will, without charge, repair or replace, at its
option, defective product or component parts upon prepaid delivery to the factory service department or authorized service center,
accompanied by proof of purchase date in the form of a valid sales
receipt.
EXCLUSIONS: This warranty does not apply in the event of misuse
or abuse of the product or as a result of unauthorized alterations
or repairs. This warranty is void if the serial number is altered,
defaced, or removed.
ART reserves the right to make changes in design or make additions to or improvements upon this product without any obligation
to install the same on products previously manufactured.
ART shall not be liable for any consequential damages, including
without limitation damages resulting from loss of use. Some states
do not allow limitation of incidental or consequential damages, so
the above limitation or exclusion may not apply to you. This warranty gives you specific rights and you may also have other rights
which vary from state to state.
For units purchased outside the United States, service will be provided by an authorized distributor of Applied Research &
Technology, Inc.
1100
Page 7

APPLIED RESEARCH AND TECHNOLOGY, INC.
215 TREMONT STREET
ROCHESTER, NEW YORK 14608 USA
716-436-2720 voice
716-436-3942 fax
artroch@aol.com
artroch@cis.compuserve.com
World Wide Web: http://www.artroch.com
121-5004-101
FX-1
Personal Stereo Digital
Effects Processor
 Loading...