

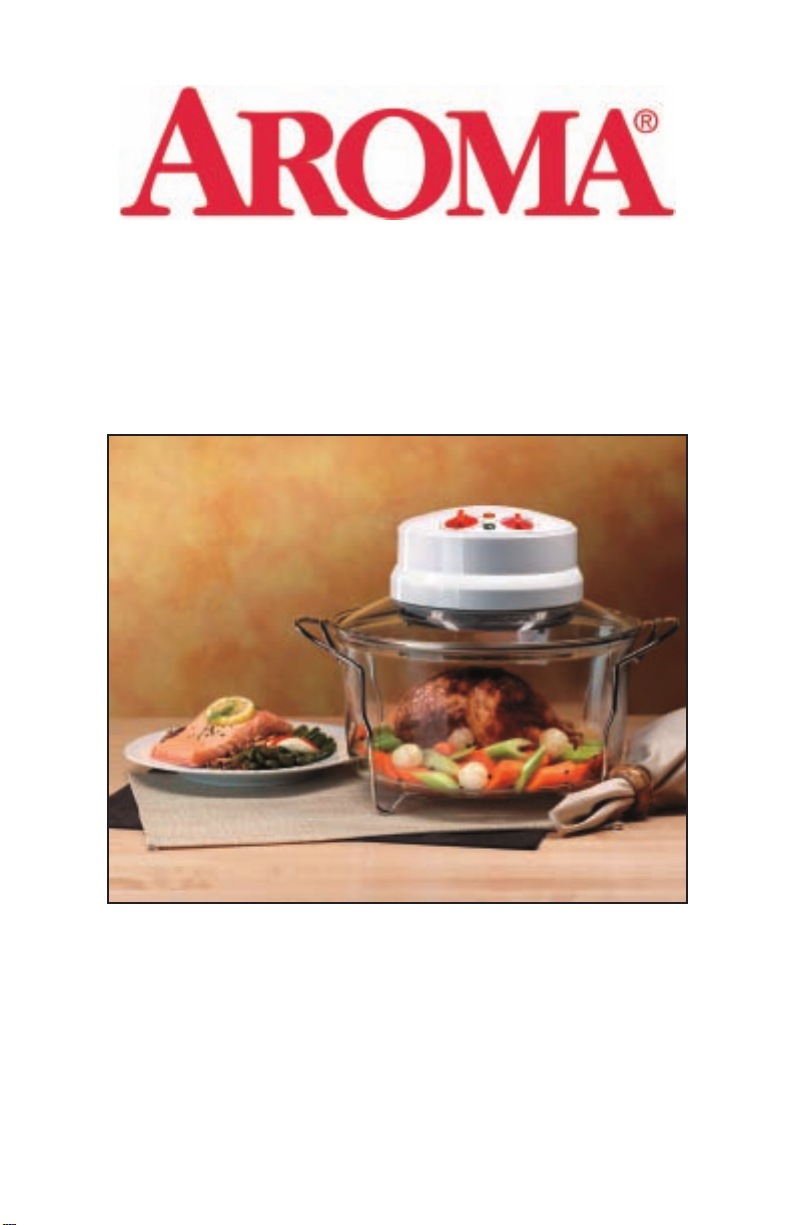
Aroma AST-900E Instruction Manual
AeroMatic
TM
Convection Oven
Instruction Manual &
Recipe Guide
AST-900E
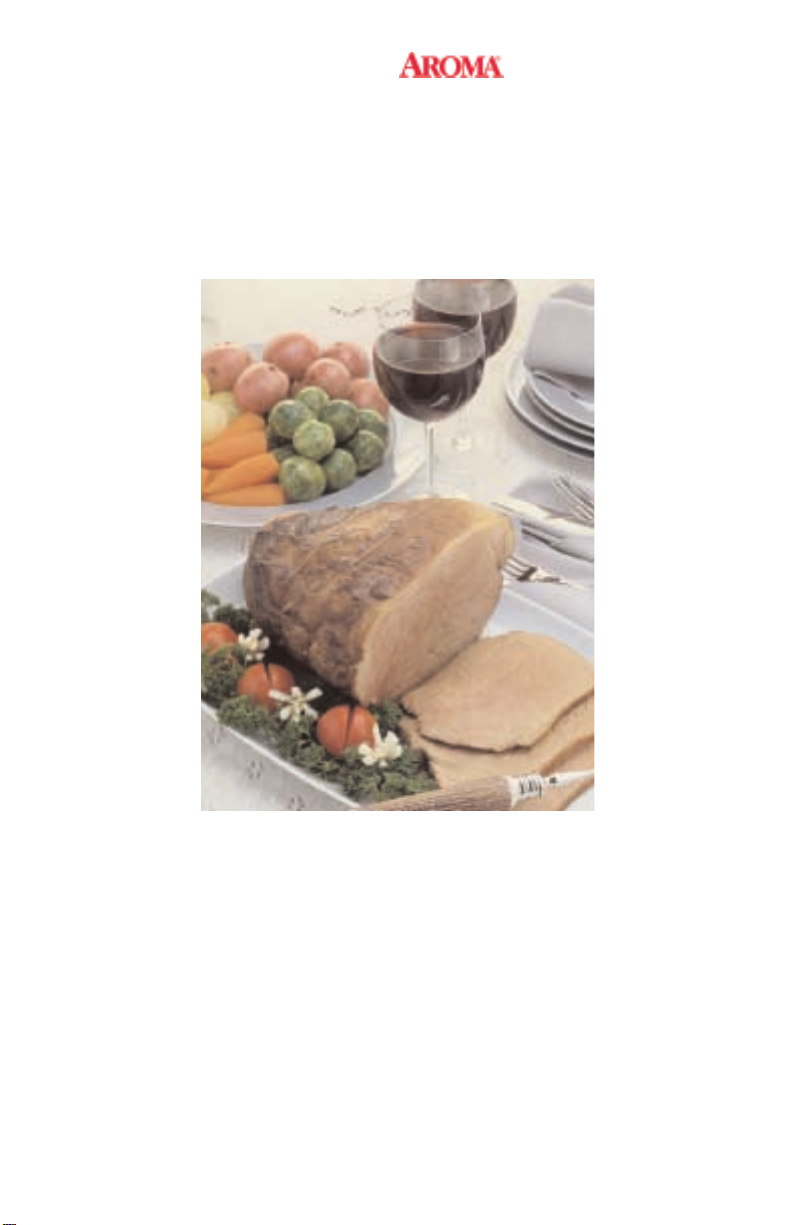
Congratulations on your purchase of the AeroMaticTMOven. It will
surely become one of the most useful and versatile appliances in your modern
kitchen.
Please read all instructions before your first use.
Published By:
Aroma Housewares Co.
6469 Flanders Drive
San Diego, CA 92121
U.S.A.
1-800-276-6286
www.aromaco.com
© 2004 Aroma Housewares Company. All rights reserved.

IMPORTANT SAFEGUARDS
Basic safety precautions should always be followed when using electrical appliances,
including the following:
1. Important: Read all instructions carefully before first use.
2. Do not touch hot surfaces. Use handles or knobs.
3. To protect against electrical shock, do not immerse cord, plug or the appliance itself
in water or any other liquid.
4. Close supervision is necessary when the appliance is used by or near children. This
appliance is not intended to be used by children.
5. Unplug from outlet when not in use and before cleaning. Allow unit to cool before
putting on or taking off parts, and before cleaning the appliance.
6. Do not operate any appliance with a damaged cord or plug or after the appliance
malfunctions or has been damaged in any manner. Return appliance to the nearest
authorized service facility for examination, repair or adjustment.
7. Do not use attachments or accessories other than those supplied or recommended
by the manufacturer. Incompatible parts create a hazard and may cause injury.
8. Do not use outdoors.
9. Do not let cord hang over edge of table or counter, or touch hot surfaces.
10. Do not place on or near a gas or electric burner or in a heated oven.
11. Do not use the appliance for other than intended use.
12. Always unplug from the base of the wall outlet. Never pull on the cord.
13. Extreme caution should be exercised when using or moving the appliance
containing hot oil or other hot liquids.
14. The oven should be operated on a separate electrical circuit from other operating
appliances. If the electric circuit is overloaded with other appliances, this appliance
may not operate properly.
15. Store in a cool, dry place.
16. To disconnect, move the handle up to OFF position then unplug the oven from the
electric outlet.
17. When moving and setting the top unit down, always rest it on the metal rack.
18. Do not place the oven too close to the edge of the table or countertop as the oven
might be knocked off.
19. The glass cooking bowl and other parts become very hot. Be sure to use the
handles and wear protective oven mitts or gloves.
20. Do not use the glass cooking bowl for other purposes.
21. Wait until glass cooking bowl and top unit have completely cooled before moving or
cleaning.
22. Do not use this appliance as a fryer. Do not fill with oil or attempt to deep fry. Such
actions may cause fire and injury.
SAVE THESE INSTRUCTIONS
1
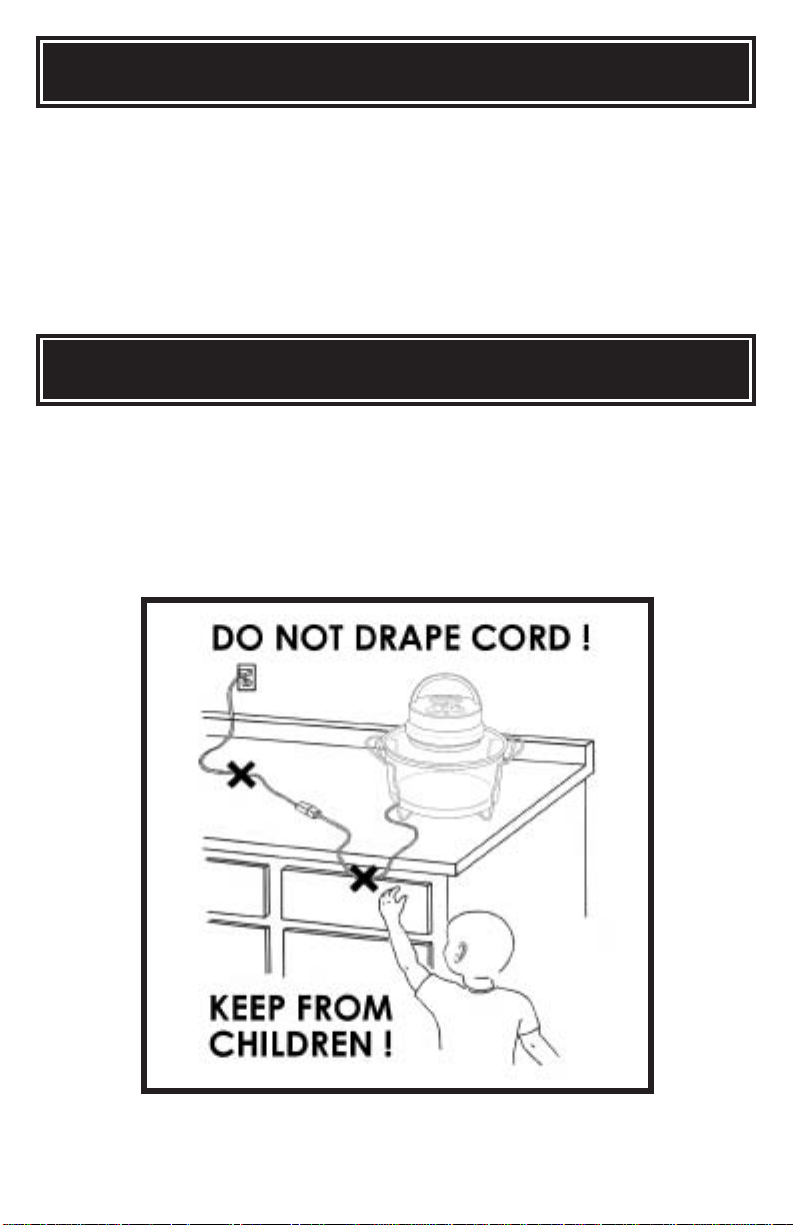
SHORT CORD INSTRUCTIONS
1. A short power-supply cord is provided to reduce risk resulting from entanglement or
tripping over a longer cord.
2. Longer extension cords are available and may be used if care is exercised.
3. If a longer extension cord is used:
a. The marked electrical rating of the extension cord should be at least as great as
the electrical rating of the appliance.
b. The longer cord should be arranged so that it will not drape over the counter top or
tabletop where it can be pulled by children or tripped over unintentionally.
POLARIZED PLUG
This appliance has a polarized plug (one blade is wider than the other); follow the
instructions below:
To reduce the risk of electric shock, this plug is intended to fit into a polarized outlet only
one way. If the plug does not fit fully into the outlet, reverse the plug. If it still does not fit,
contact a qualified electrician. Do not attempt to modify the plug in any way.
This appliance is for household use only.
2
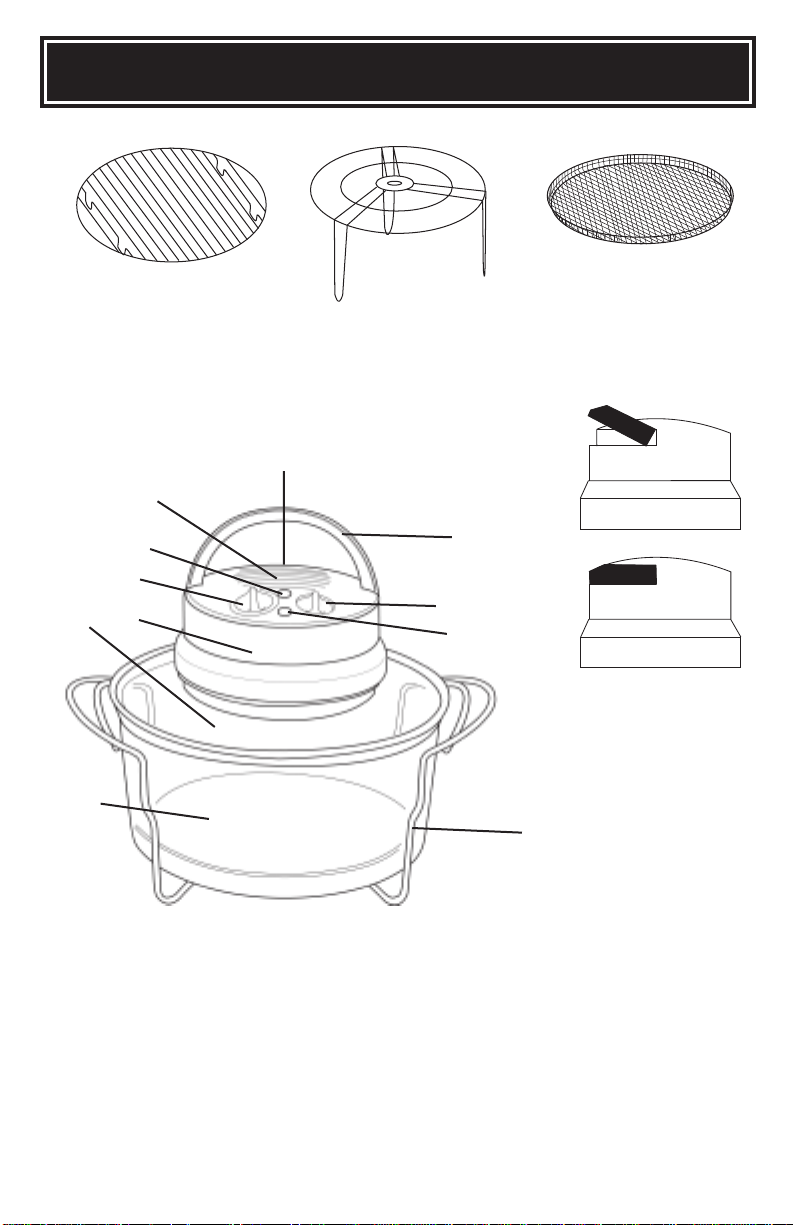
PARTS IDENTIFICATION
Low Rack:
for cooking food
2
3
4
5
6
7
High Rack(2):
for browning food and
as a stand for the hot
lid after cooking
Steam Rack:
for small foods
1
8
Handle up: Power off
9
10
Handle down: Power on
11
1. Power control switch
2. Oven/ lid top
3. Power indicator light
4. Timer
5. Oven body
6. Tempered glass lid
7. Glass cooking bowl
8. Handle
9. Temperature control switch
10. Temperature indicator light
11. Steel stand
3

HOW TO USE
Before First Use:
1. Read all instructions and important safeguards.
2. Remove all packaging materials and make sure items are received in good condition.
3. Tear up all plastic bags as they can pose a risk to children.
4. Wash the glass cooking bowl in warm, soapy water. Rinse and dry thoroughly.
5. Place oven on a dry, level countertop or table. Keep the edge of the oven 2-4
inches away from any walls and objects on the countertop or table.
6. Place the lid securely on the unit.
6. Set the timer for 5 minutes and preheat the oven to maximum temperature.
7. After the timer has turned off and the oven has cooled, wipe the inside of the glass
bowl again.
Ø Do not use abrasive cleaners or scouring pads.
Ø Do not immerse the lid, cord or plug in water at anytime.
To Use:
1. Place the low rack in the glass container and put food on the center of the rack. Allow
a 3 inch space between food and top of oven. You may use the high rack for
achieving crispiness or browning of food. The other high rack is provided to support
the oven top/ lid unit after cooking.
2. Place the oven top unit on the glass container securely.
3. Insert the power cord into the proper electrical outlet.
4. To turn oven on, push the handle down until it securely snaps into place. If the handle
is not down securely, the power will not turn on.
5. Set the timer to the desired time. The power light will illuminate.
6. Turn the temperature switch to the desired temperature. The temperature light will
illuminate and cooking will begin. Ablinking temperature light indicates temperature is
being adjusted automatically.
7. When the cooking time has elapsed, the oven will turn off automatically. To ensure
safety, when the handle is lifted up, the power will turn off automatically. To turn the
power back on, push the handle down.
Note:
• During the first use, you may detect the scent of lubricant coming from the top unit.
The odor is not harmful to you or the appliance and will disappear after
approximately 10 minutes of use.
• Wooden, heat proof plastic, and nylon utensils are recommended for use with this
AeroMatic
TM
Oven. Metal utensils may scratch the glass.
4
 Loading...