

Page 1

Cadillac
Front/Rear Shock Kit.
New Front/Rear Shock Kit.
Installation Guide
Arnott part #
93-CR
96-CR
97-NER
93-CF
95-CF
96-CF
97-CF
Copyright © 2004 Arnott Inc. All Rights Reserved.
Page 2

Arnott Inc.
Front Cadillac Strut Kit Instillation Guide
1. Raise vehicle with proper lifting equipment. The tires must be off the ground. Suspension must be fully
down with no load. ALWAYS USE EXTREME CAUTION WHEN LIFTING VEHICLE! (Refer to
shop manual for lifting instructions
2. Remove front wheel(s).
3. Unbolt the 2 side brackets from the strut. 4. Remove the position sensor from upper and
(These brackets hold the brake lines and other lower ball studs.
cables)
5. Remove nut from stabilizer link 6. Remove stabilizer link from strut.
Page 3

7. Remove strut damper solenoid cable from 8. Unplug the strut damper solenoid.
mounting brackets.
9. Remove the two nuts at the bottom of the 10. Remove the two strut-to-knuckle bolts.
strut.
11. Knuckle will fall away from strut. 13. Remove 3 nuts attaching top of strut
assembly to body.
Page 4
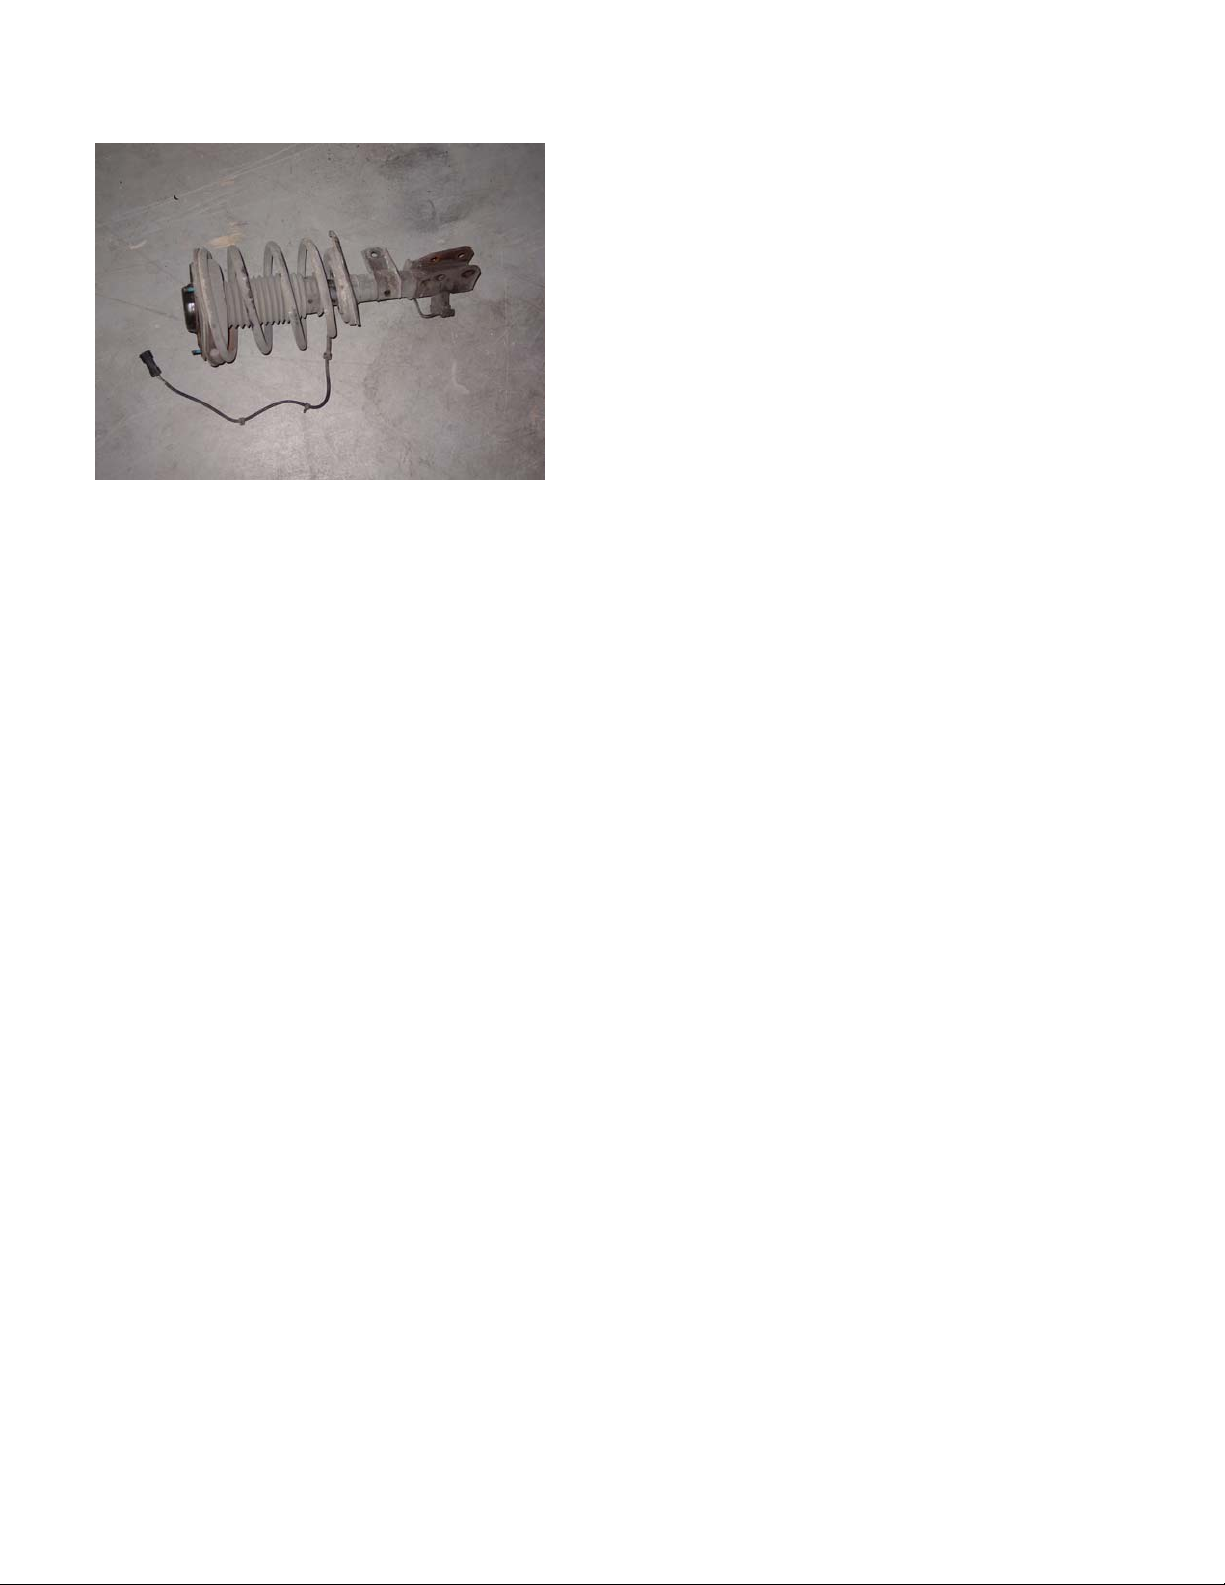
14. Remove old strut from vehicle.
Notice: Before you can install the new strut, you must first remove the coil spring with a spring
compressor. Coil springs can be very dangerous. Make sure you follow all of the safety guidelines
illustrated with the spring compressor.
15. Replace 3 nuts attaching top of strut assembly to body. (Reverse step 13)
16. Replace the two strut-to-knuckle bolts. (Reverse steps 9 and 10)
17. Plug in the new strut solenoid and hook the cable back to the mounting brackets. (Reverse steps 7 and 9)
18. Bolt stabilizer link to strut. (Reverse steps 5 and 6)
19. Replace the position sensor back to the upper and lower ball studs. (Reverse step 4)
20. Replace the brackets to the bottom of the strut. (Reverse step 3)
21. Replace wheel and lower suspension.
Notice:
causing premature tire wear.
Wheel alignment is highly recommended. Changing your front struts will throw your alignment out of adjustment
Thank you for purchasing an Arnott suspension product.
Copyright © 2004 Arnott Inc. All Rights Reserved.
Page 5

Arnott Inc.
Cadillac Rear Air Shock Kit
Installation Guide
1. Raise vehicle with proper lifting equipment. The tires must be off the ground. Suspension must be fully
down with no load. ALWAYS USE EXTREME CAUTION WHEN LIFTING VEHICLE! (Refer to
shop manual for lifting instructions
2. Remove rear wheel(s).
3. Remove air line by rotating steel clip. 4. Support lower control arm with floor jack to
relieve spring load.
5. Remove lower nut and bolt. 6. Remove upper nut, retainer, and insulator
Page 6

7. Unplug strut damper solenoid, and remove 8. Compress shock and remove through
cable from mounting brackets. upper control arm.
9. Position top of shock absorber with insulator 10. Replace lower nut and bolt.
and install through upper control arm.
11. Replace upper shock absorber insulator, 13. Clip air hose back on air shock fitting.
retainer, and nut.
Page 7

14. Plug in new strut damper solenoid and New air shock installed on vehicle.
install cable back to factory mounting
brackets.
Replace wheel(s) and lower suspension.
Thank you for purchasing an Arnott suspension product.
Copyright © 2004 Arnott Inc. All Rights Reserved.
 Loading...