

Page 1
Charging Station
Quick Start Guide
Page 2
Welcome
Thank you for choosing an
Arlo battery charging station.
Charging Arlo batteries is easy.
What’s Included
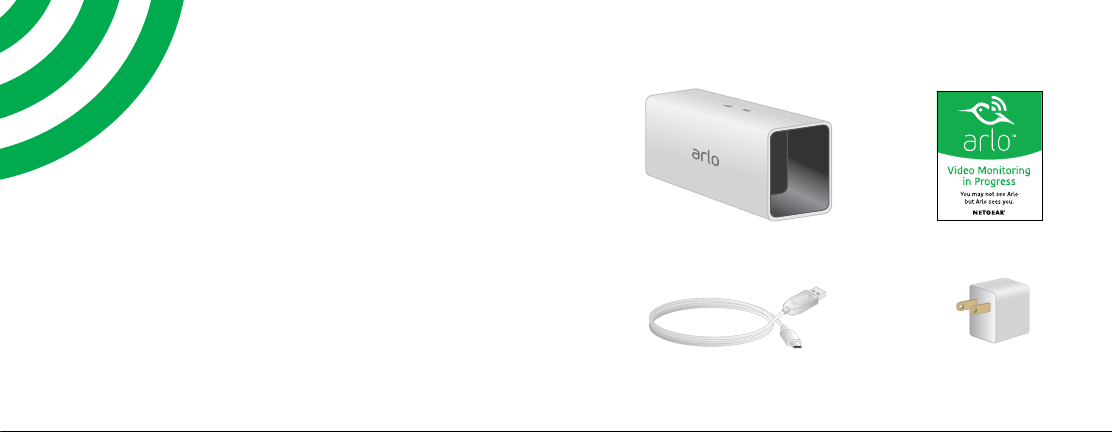
Charging station
Window decal
Power cable
Power adapter
(varies by region)
32
Page 3
Charge the Batteries
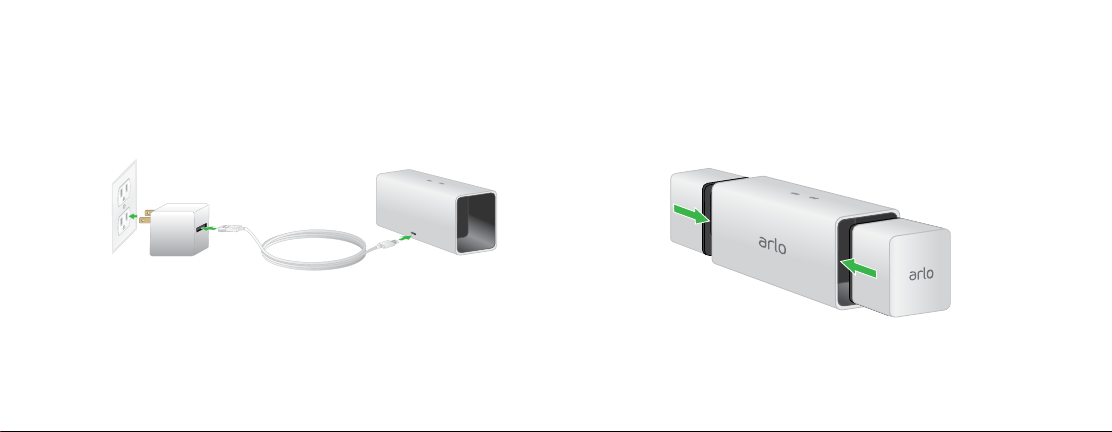
2. Connect the cable to the charging station
and plug it in.
1. Plug the power adapter into an electrical
outlet.
Note: You must use the Arlo Charging Station
adapter and cable or the Arlo Pro camera power
adapter and cable when you use the charging
station.
3. Insert a battery (not included) into a charging
station bay.
Align the battery with the grooves inside the
charging station bay.
54
Page 4
4. Press the battery into the charging bay until
you hear a click.
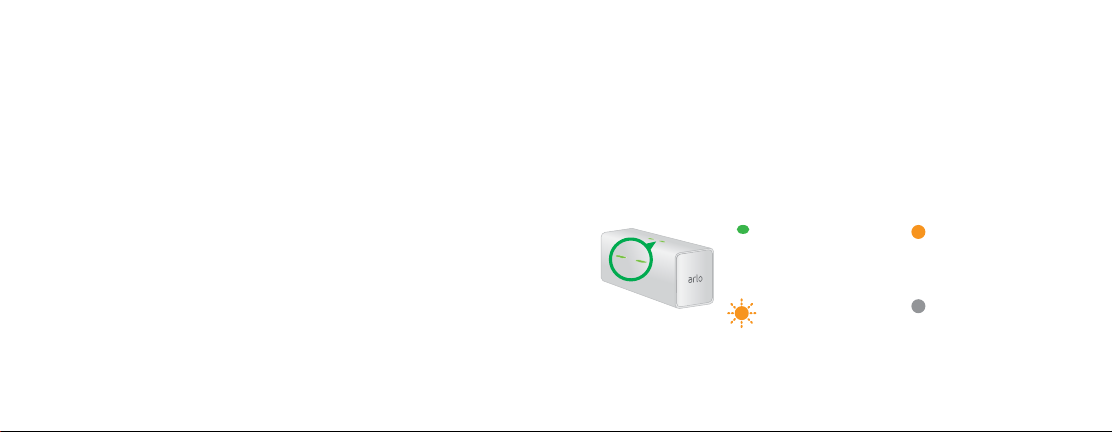
The LED lights solid amber to indicate that
the battery is fully inserted and is charging.
5. To charge a second battery, insert another
battery into the other charging station bay.
When the batteries are fully charged, the
LED lights solid green.
You’re Done!
To view useful tutorial videos, find troubleshooting
tips, or get support, visit support.arlo.com.
Charging Station LED Guide
Solid green
A battery is inserted
and is fully charged.
Solid amber
A battery is inserted
and is charging.
6. To remove a battery from a charging bay,
press the battery and release it.
A click sound indicates that the battery is
disengaged and can be removed.
Fast blinking amber
A battery is inserted
and the charge failed.
O
The charging station
is powered o or no
batteries are inserted.
76
Page 5
©NETGEAR, Inc., NETGEAR, the NETGEAR Logo, and Arlo are
trademarks of NETGEAR, Inc.
Compliance
For the current EU Declaration of Conformity, visit
http://kb.netgear.com/app/answers/detail/a_id/11621/.
For regulatory compliance information, visit
http://www.netgear.com/about/regulatory/.
NETGEAR INTL LTD
Building 3, University Technology Centre
350 East Plumeria Drive
San Jose, CA 95134, USA
March 2017
Curraheen Road, Cork, Ireland
 Loading...