

Aries Automotive 5057 User Manual
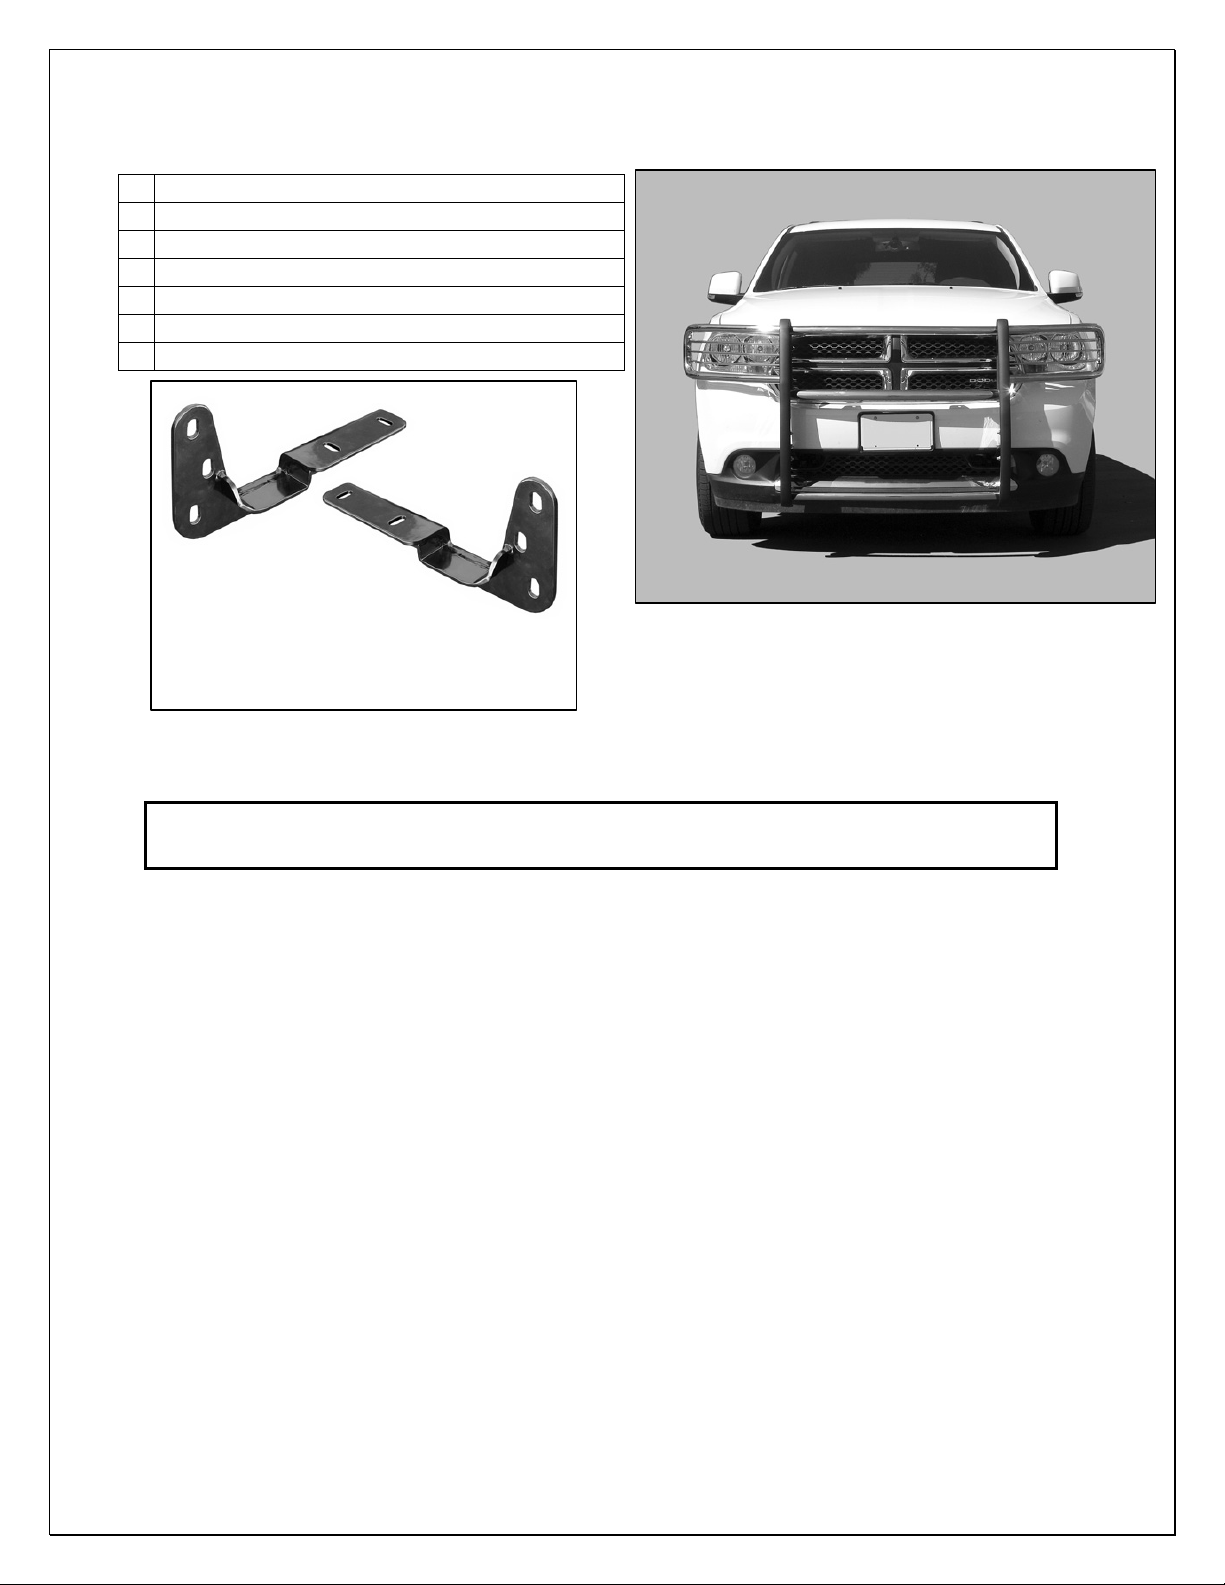
GRILLE GUARD
2011 DODGE DURANGO
PARTS LIST:
1 Grille Guard
1 Driver/Left Side Frame Mounting Bracket
1 Passenger/Right Side Frame Mounting Bracket
10 10-1.5mm x 35mm Hex Bolts
16 10mm x 30mm OD x 2.5mm Flat Washers
10 10mm Lock Washers
6 10mm Hex Nuts
PROCEDURE:
1. REMOVE CONTENTS FROM BOX. VERIFY ALL PARTS ARE PRESENT. READ INSTRUCTIONS
Passenger/Right
Side Mounting
Bracket
Driver/Left Side
Mounting Bracket
Complete Installation
CAREFULLY BEFORE STARTING INSTALLATION. ASSISTANCE IS RECOMMENDED.
IMPORTANT: This Grille Guard may interfere with optional Adaptive Cruise Control-
Forward Collision Warning Systems featuring grille mounted laser control sensor.
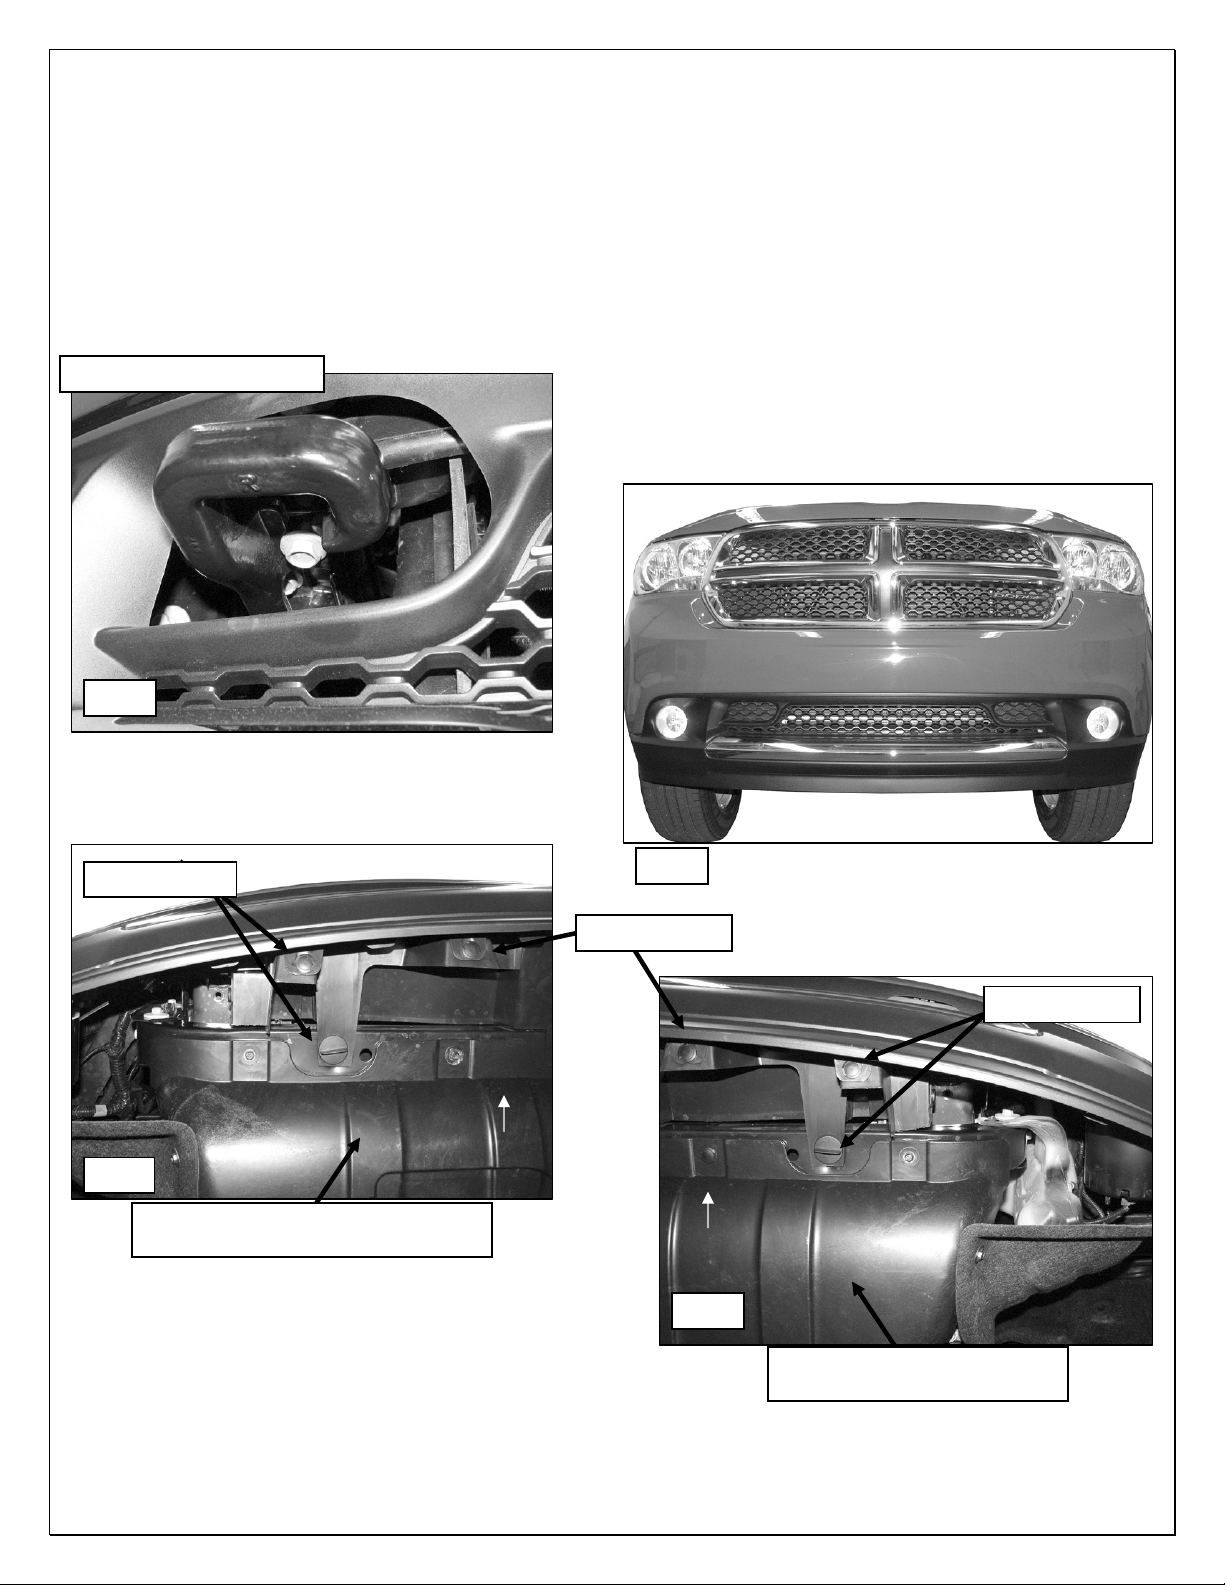
2. Determine if the vehicle is equipped with, (Figure 1) or without factory tow hooks, (Figure 2). Remove
the plastic splash guard, (Figures 3 & 4). Pay close attention to the type and location of all factory
hardware for easier reinstallation. If vehicle is equipped with tow hooks, remove both tow hooks and
skip ahead to Step 3. NOTE: Tow hooks cannot be reinstalled with the Grille Guard.
a. On vehicles without factory tow hooks: Release the clips at the ends of the plastic bumper
cover that attach the lower cover to the upper cover. NOTE: It is not necessary to remove the
lower cover, only release the clips at the ends of the cover. Next, remove the (3) clips fastening
the air deflector to the bottom of the crossmember, (Figures 3 & 4). Pull the bumper cover
forward for access and pull the air deflector out from behind the bumper cover, (Figure 5).
Release the clips securing the (2) block off covers to the ends of the air deflector, (Figure 6).
Remove the (2) block offs. Reinstall the air deflector using the factory hardware. Reinstall the
bumper cover.
3. Select the driver side Frame Mounting Bracket. Line up the (2) slots in the bracket with the (2) threaded
holes in the bottom of the frame channel, (Figure 7). Bolt the Bracket to the frame channel with (2)
10mm x 35mm Hex Bolts, (2) 10mm Flat Washers and (2) 10mm Lock Washers, (Figure 8). Do not
tighten hardware at this time. Repeat this step for passenger side Frame Bracket installation.
4. With assistance, hold the Grille Guard up to the outside of the Mounting Brackets. Attach the Grille
Guard to the Mounting Brackets with the included (6) 10mm x 35mm Hex Bolts, (12) 10mm Flat
Washers, (6) 10mm Lock Washers and (6) 10mm Hex Nuts, (Figure 9).
5. Align and adjust the Grille Guard and tighten all hardware. Reinstall the splash guard removed in Step
2, (Figures 3 & 4).
6. Do periodic inspections to the installation to make sure that all hardware is secure and tight.
Page 1 of 3 10/28/11 (DP)
GRILLE GUARD
2011 DODGE DURANGO
To protect your investment, wax this product after installing. Regular waxing is recommended to add a
protective layer over the finish. Do not use any type of polish or wax that may contain abrasives that could
damage the finish.
For stainless steel: Aluminum polish may be used to polish small scratches and scuffs on the finish. Mild
soap may be used also to clean the Grille Guard.
For gloss black finishes: Mild soap may be used to clean the Grille Guard.
Driver Side Installation Pictured
Passenger side tow hook
Fig 1
Remove clips
Fig 2
Remove clips
Remove clips
Fig 3
Front
Remove splash guard (passenger
side pictured from below)
Front
Fig 4
Remove splash guard (driver
side pictured from below)
Page 2 of 3 10/28/11 (DP)
 Loading...