

Page 1

INSTAL LATION INS TRUCTIONS
08-14 TOYOTA HIGHLANDER (GAS & HYBRID)
3” SIDEBARS
PART # 202019;202019-2
Page 2
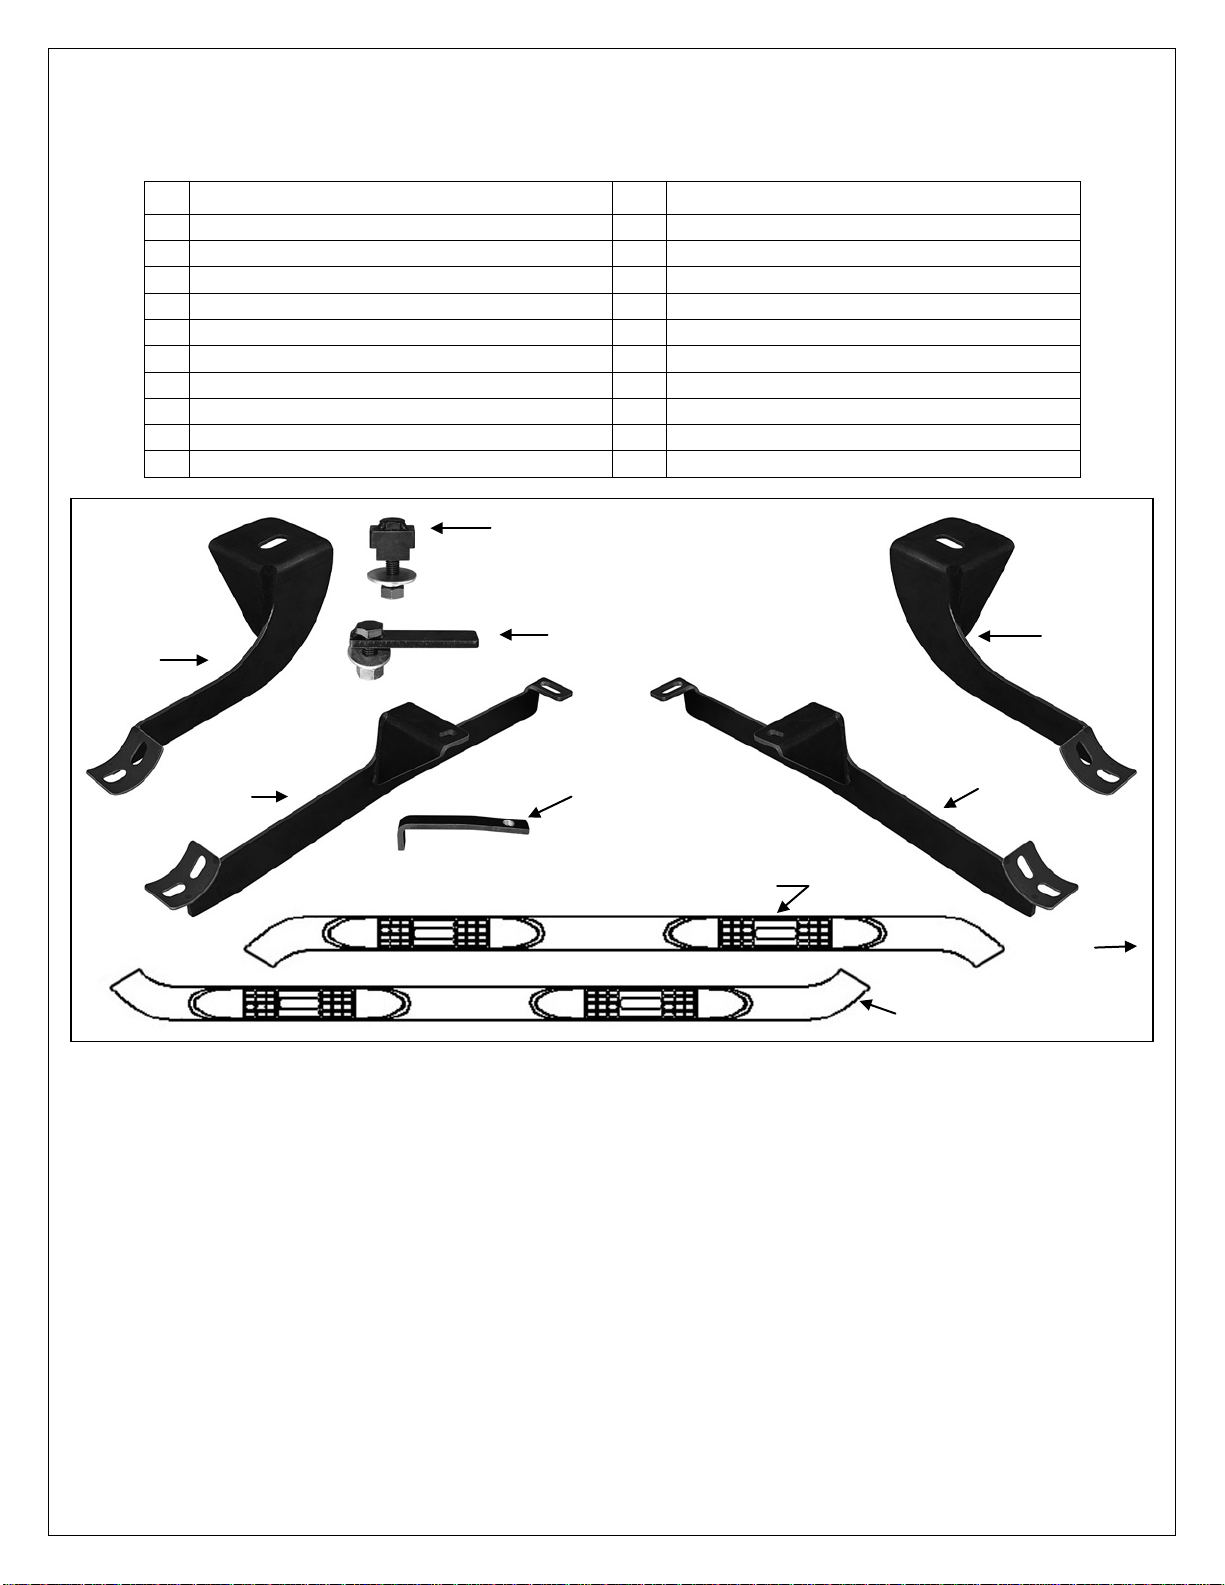
Driver/Left Front
Mounting Bracket
Passenger/Right
Driver/Left Rear
Mounting
Passenger/Right
(2) 12mm x 30mm
Bolt Plates
(2) 6mm Nut Plates
(2) 10mm T-Block Bolt
Passenger/Right Sidebar
1
Driver/Left Sidebar
2
12mm Hex Nuts
1
Passen ger /R i g ht Si d ebar
2
10mm x 34mm x 3mm Flat Washers
1
Driver/Left Front Mounting Bracket
2
10mm Lock Washer
1
Passenger/Right Front Mounting Bracket
2
10mm Hex Nut
1
Driver/Left Rear Mounting Bracket
8
8-1.25mm x 25mm Hex Bolts
1
Passenger/Right Rear Mounting Bracket
8
8mm x 24mm OD x 2mm Flat Washers
2
12-1.75mm x 35mm Bolt Plate
8
8mm Lock Washers
2
10mm T-Block Bolt
2
6-1.0mm x 30mm Hex Bolts
2
6mm Nut Plat e
2
6mm x 22mm x 2mm Flat Washers
2
12mm x 24mm OD x 3mm Flat Washers
2
6mm Lock Washers
2
12mm Lock Washer s
Driver/Left Sidebar
Front
PARTS LIST:
Rear Mounting
Bracket
Front Mounting
Bracket
PROCEDURE:
1. REMOVE CONTENTS FROM BOX. VERIFY ALL PARTS ARE PRESENT. READ INSTRUCTIONS
CAREFULLY BEFORE STARTING INSTALLATION. CUTTING IS REQUIRED.
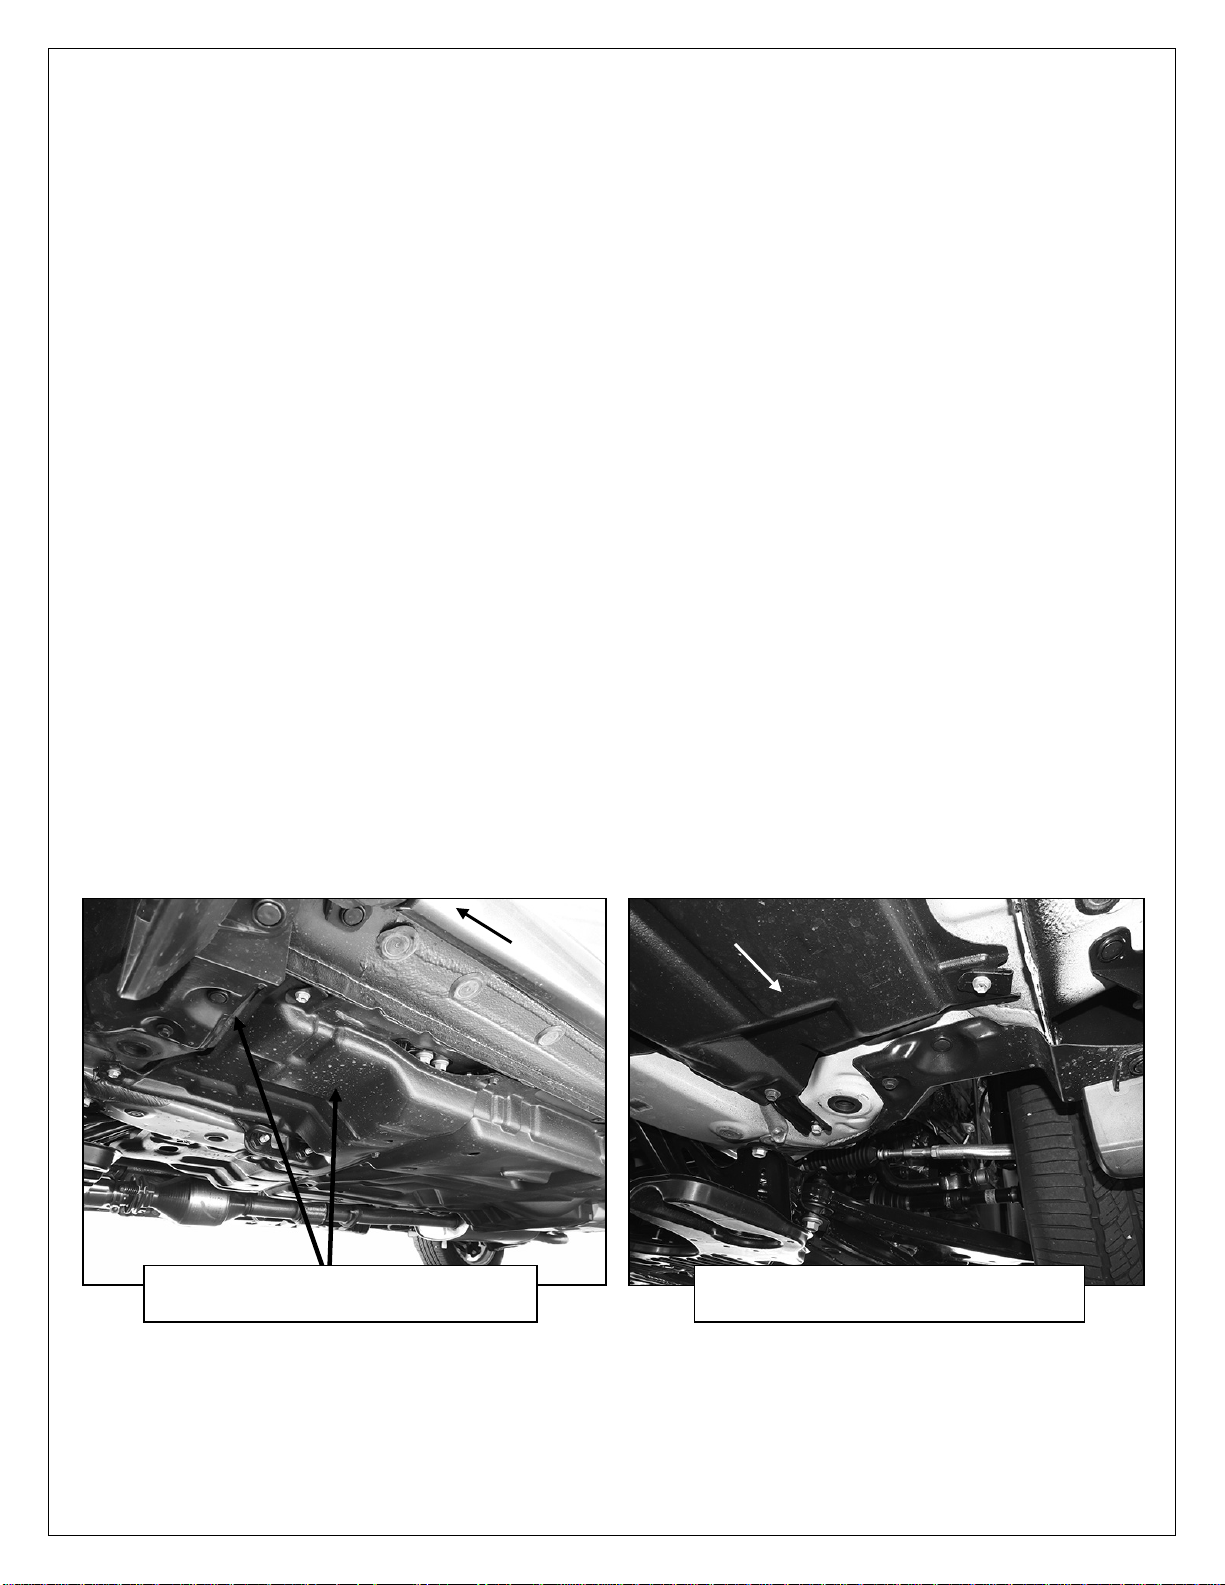
2. Start installation under the driver side of the vehicle. Remove the front and middle section of the plastic
splash guard, (Figure 1A). Place t h e splash guard on a clean, stable work surface.
3. Locate the driver side front mounting location, (Figure 2). Remove the rubber plug from the hole
closest to the tie down loop. Insert (1) 12mm x 30mm Bolt Plate into the factory hole, (Figures 3 & 4).
4. Next, select the driver side front Bracket, (Figure 5). Attach the Bracket to the 12mm Bolt Plate with (1)
12mm Flat Washer, (1) 12mm Lock Washer and (1) 12mm Hex Nut, (Figure 6). Leave loos e.
5. Line up the mounting tab on the Bracket with the factory hole at the point where the cross member joins
the frame rail, (Figures 2 & 6). Insert (1) 6mm Nut Plate into the larger inner hole and line up the nut
with the hole toward the outside under the mounting tab on the Bracket, (Figures 6—8).
6. Attach the Mounting Bracket to the 6mm N ut Plate with (1) 6mm x 30mm Hex Bolt, (1) 6mm Lock
Washer and (1) 6mm Flat Washer, (Figure 9). Leave hardware loose at thi s tim e.
7. Mark the outline of the loc ati o n o f th e fro nt Br ac ket onto th e bot tom of the vehicl e for r e fer ence if
necessary. Temporarily remove the fr ont Bracket. Hold the plastic covers up in approximate location
Page 1 of 6 7/23/14 (DP)
3” SIDEBARS
08-14 TOYOTA HIGHLANDER (GAS & HYBRID)
Bracket
Page 3
3” SIDEBARS
(Fig 1A) Temporari ly remove the driver
side front and middle plastic covers
Front
(Fig 1B) Passenger side plastic covers
pictured over mo unting loca tion
Front
08-14 TOYOTA HIGHLANDER (GAS & HYBRID)
against the vehicle. Trace the location of the Bracket onto the plastic cover. Use a hac k saw or utili ty
knife to cut out an opening 2” x 3-1/2” on the middle splash guard as pictured, (Figure 11). Cut a 1-1/2”
x 1-1/2” opening in the front cover, (Figure 10). IMPORTANT: Due to different models and years of
fitment, area to cut is for reference only. Hold Brackets in position on vehicle to determine appropriate
area necessary to cut from splash guards. Cut as little as possible for best fit. Once splash guards are
trimmed and checked for Bracket clearance, reinstall the splash guards using the factory fasteners.
8. Reinstall the front Bracket as described in Steps 4—6. Do not tighte n har dware at this time.
9. Next, move toward the rear and remove the rubber grommet located in the rear floor panel, (Figure
12). Insert (1) 10mm T-Block Bolt into the oval factor y hol e, (Figure 13). NOTE: Insert T-Bolt block up
and into the hole. Rotate block 90-degrees so that block is supp or te d ac r oss th e ov al hole, (Figure 14).
10. Select the driver side rear Mounting Bracket, (Figure 15). Attach the rear Bracket to the T-Bolt with the
included (1) 10mm Flat Washer, (1) 10mm Lock Washer and (1) 10mm Hex Nut, (Figure 16). Do not
tighten hardware at this time.
11. Carefully position the driver Si de bar onto the Mounting Brackets. Use the included (4) 8mm x 25mm
Hex Bolts, (4) 8mm Loc k Washers and (4) 8mm Flat Washers to attach the Sidebar to the Mounting
Brackets, (Figure 17).
12. Align Sidebar properly and tighten all hardware at this time.
13. Repeat Steps 2—12 for passenger Sidebar installation. NOTE: The pass en ger side splash guard is
one piece, (Figure 1B). Cut the openings in the splash guard in the same locations as described in
Step 6 or hold the passenger side Brackets in place to determine area to be cut from splash guard.
14. Do periodic inspections to the installation to make sure that all hardware is secure and tight.
To protect your investment, wax this product after installing. Regular waxing is recommended to add a
protective layer over the finish. Do not use any type of polish or wax that may contain abrasives that could
damage the finish.
For stainless steel: Aluminum polish may be used to polish small scratches and scuffs on the finish. Mild
soap may be used also to clean the Sidebar.
For gloss black finishes: Mild soap may be used to clean the Sidebar.
Driver Side Installation Pictured
Page 2 of 6 7/23/14 (DP)
Page 4

3” SIDEBARS
(Fig 5) Driver/left front Bracket
Fig 4
Fig 6
Fig 2) Arrows indicate mounting holes
used for front Bracket in st all at io n
(Fig 3) 12mm Bolt Plate
12mm Bolt Plate
6mm Nut Plate
Front
Remove rubber plug
Tie down loop
12mm Flat Washer
Front
Front
Front
08-14 TOYOTA HIGHLANDER (GAS & HYBRID)
Driver Side Installation Pictured
12mm Lock Washer
12mm Hex Nut
Page 3 of 6 7/23/14 (DP)
Page 5

(Fig 10 Driver Side Front Plastic Splash Guard
(Fig 7) 6mm Threaded Nut Plate
(Fig 8) Insert Nut Plate into factory
hole (also see Figures 2 & 6)
Fig 9
Cut plastic front cover where indicated if
Line up Nut Plate with
this hole and Bracket
6mm x 30mm Hex Bolt
Front
Front
Front
Driver Side Installation Pictured
6mm Lock Washer
6mm Flat Washer
Page 4 of 6 7/23/14 (DP)
3” SIDEBARS
08-14 TOYOTA HIGHLANDER (GAS & HYBRID)
necessary to clear bent end of 6mm Nut
Plate as necessary (act ual cover may
differ depending on model and year)
Page 6

(Fig11) Dri ver Side Middle Plastic Splash Guard
(Fig 12) Driver side rear location pictured
(Fig 13) 10mm T-Block Bolt
Cut here
Rear
Front
Cut where indicated to cl ear mounting
Remove rubber plug
3” SIDEBARS
08-14 TOYOTA HIGHLANDER (GAS & HYBRID)
Driver Side Installation Pictured
tab on front Bracket only as necessary
(actual cover may differ depending on
model and year). Remove front
Bracket to reinst all the pl ast ic covers
Page 5 of 6 7/23/14 (DP)
Page 7

3” SIDEBARS
Fig 16
Fig 17
(Fig 14) Rotate T-Block 90-degrees
to go across the oval hole
(Fig 15) Driver/left rear Bracket
10mm T-Block Bolt
8mm x 25mm Hex Bolts
Installation Complete
Rear
Rear
Front
10mm Flat Washer
Front
08-14 TOYOTA HIGHLANDER (GAS & HYBRID)
Driver Side Installation Pictured
10mm Lock Washer
10mm Hex Nut
8mm Lock Washers
8mm Flat Washers
Page 6 of 6 7/23/14 (DP)
 Loading...