

Page 1
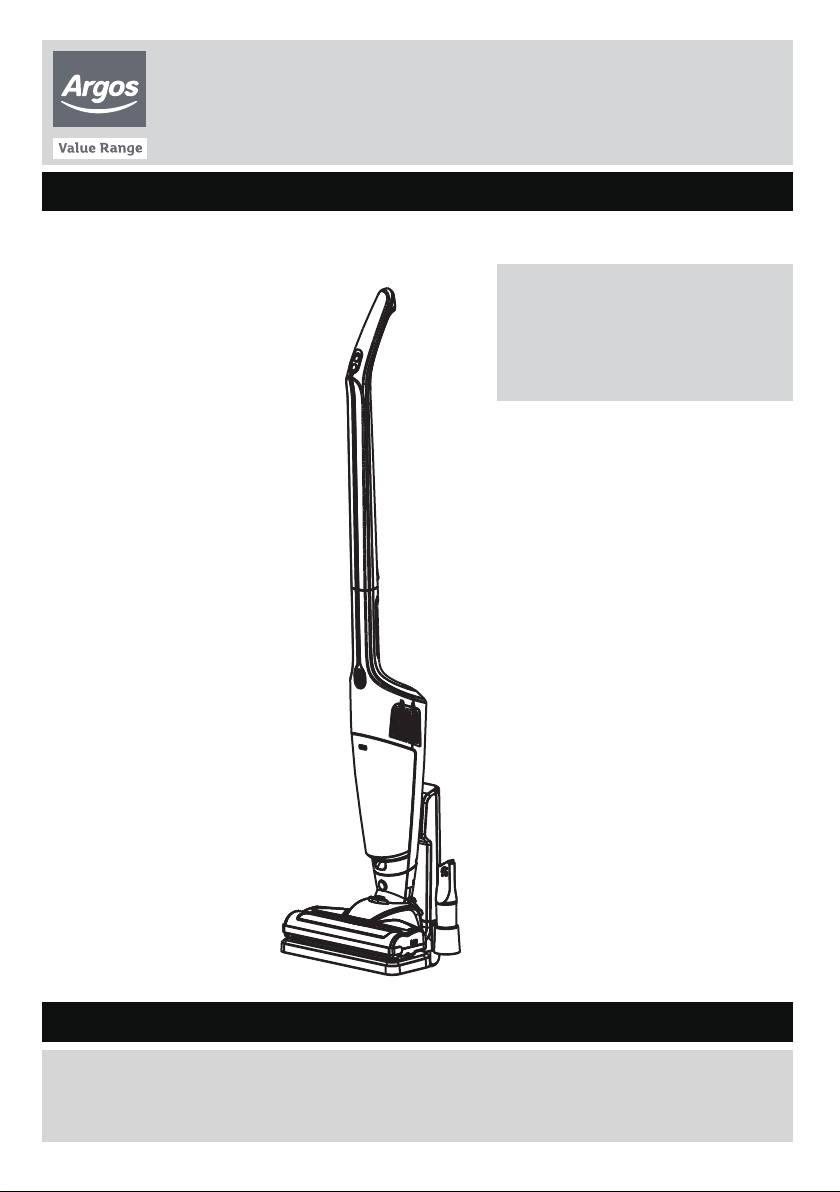
18V Cordless Handstick
Instruction Manual - Please keep for future reference
VSS01B15P
For the relevant accessories
information ,please visit
http://www.argosspares.co.uk/
Or call 08445570320
Important - Please read these instructions fully before installing or using
These instructions contain important information which will help you get the
best from your appliance and ensure safe and correct use and maintenance.
Page 2

Contents
Safety Information 2-3
Parts 4
Assembly 5
Charge 6
Operation 7
Maintenance 8
Store 9
Disassemble 10
Troubleshooting 11
Technical Specifications 12
Guarantee 13
1
Page 3

Safety Information
Important - Please read all instructions before use and keep for future reference
FOR HOUSEHOLD USE ONLY.
This appliance should only be
used for domestic cleaning, as
described in this user guide.
Please ensure that this guide is
fully understood before operating
the appliance.
1. Always switch off and remove
the charger from the socket
before cleaning the appliance or
any maintenance task.
2. This appliance is not intended
for use by persons (including
children) with reduced physical,
sensory or mental capabilities, or
lack of experience and
knowledge, unless they have
been given supervision or
instruction concerning use of the
appliance by a person responsible
for their safety.
Children should be supervised to
ensure that they do not play with
the appliance.
3. If the power cord is damaged
stop using the appliance
immediately.
4. Keep hands, feet, loose
clothing and hair away from
rotating brushes. Use only the
original charger supplied with the
appliance.
5. Check that your supply voltage
is the same as that stated on the
charger.
6. When charging the appliance,
the power switch must be off.
7. Never charge the batteries in
temperatures above 37°C or
below 0°C.
8. It is normal for the charger to
become warm to the touch when
charging.
9. Use only attachments provided.
10. Static electricity: some carpets
can cause a small build up of
static electricity. Any static
discharge is not hazardous to
health.
11. Do not use your appliance out
of doors or on any wet surface or
for wet pick up.
12. Do not pick up hard or sharp
objects, matches, hot ashes,
cigare tte ends or other similar
items.
13. Do not spray with or pick up
flammable liquids, cleaning fluids,
aerosols or their vapours.
14. Do not run over the power
cord when using your appliance
or remove the plug by pulling on
the power cord.
15. Do not continue to use your
appliance or charger if it appears
faulty.
2
Page 4

Safety Information
Important - Please read all instructions before use and keep for future reference
16. Do not replace the batteries
with non-rechargeable batteries.
WARNING: Before charging the
product, please make sure your
hands are dry.
WARNING:
the rolling brush with your hands
when the machine is in function.
WARNING: Please use the
charger we supplied with the
machine when charging. Other
chargers main cause breakdown
or even danger.
Please don’t touch
removal and ensure the charger is
unplugged.
1. Run the cleaner until the
batteries are completely empty.
2. Remove the ergonomic handle
and the screws, in the main body
to open the cleaner.
3. Remove the motor battery
housing and disconnect the
cables.
4. Remove the batteries from the
housing.
Note: Should you experience any
difficulties in dismantling the unit
or for more detailed information
about treatment, recovery and
recycling of this product, please
contact your local city office or
your household waste disposal
service.
End of Product Life Battery
Disposal
If the cleaner is to be disposed of
the batteries should be removed.
Used batteries should be taken to
a recycling station and not
disposed of with household
waste. To remove the batteries,
please proceed according to the
following instructions:
IMPORTANT: Always fully
discharge the batteries before
3
Page 5

Parts
Please familiarise yourself with parts and accessories listed below
1
2
9
3
4
5
6
10
11
7
8
1
Handle switch / Speed button
2
Handle
3
Light cover
4
Body switch
5
Body
6
Dust cup latch
7
Lock brush
8
9
10
11
12
13
12
13
Electric brush
The handle button
The air board
Charger
2 in 1 brush
Charging stand
4
Page 6

Assembly
1
3
4
5
6
7
2
How to assemble
A. After open the package, please
check all the part for VSS01B15P
like below.
1. A handset
2. The electric brush
3. Charger
4. Charging cradle
5. The handle
6. Charging cradle chassis
7. 2 in 1 brush
B. How to assemble the brush:
Align the joint of brush with the main
unit and then connect the two parts
together.
C. How to assemble the handle:
Align the joint of the handle with the
main unit and then connect the two
parts together.
A
B
C
D. How to assemble the charger:
Align the charging base with
charging cover and then connect the
two parts together.
5
D
Page 7

Charge
How to charge
A. How to assemble the charger:
Align charger with charging stand,
insert the charger plug into power
source.
B. How to charge the main unit:
Connect the main unit with the
charging stand.
A
B
6
Page 8

Operation
How to use
A. Press on/off button in handle to
start operation. (P1)
Power can be regulated as you
change from max to min. (P2)
2. Remove the handle, the handheld
can be used with brush, just press
the on/off button in (P3).
P1
P2
P3
3. Remove the handle and the brush,
the handheld can be used with other
accessories in (P4).
7
P4
Page 9

Maintenance
Emptying the Dust Tank
1. P5: Press dust cup release button,
release the dust cup
2. P6: Empty the dust.
3. P7: After VSS01B15P was used
for a certain period, please take out
filter sponge, wash it with water and
naturally dry it. Make sure all filters
dry throughly before fitting them back
to the unit.
P5
P6
P7
Open
8
Page 10

Store
How to store
Please connect main unit with
charging stand and place it against
the wall.(P8,P9)
More about the functions
P8 P9
1. Green light indicates normal
operation.
2. When green light flashes,
VSS01B15P is of low battery, need
to be charged.
3. Red light indicates “in charging
now”.
4. The red light will turn to green
when finish charging, the green light
will last for the certain time and then
will be off.
THE PRODUCT NEEDS TO BE
CHARGED PERIODICALLY(2-3
MONTHS) TO REMAIN
WORKABILITY IF YOU HAVE NO
INTENTION IN USING IT FOR A
LONG TIME.
P10
On/off button with
indicator light around
9
Page 11

Disassemble
How to disassemble
1. Press brush lock/unlock button to
pull out the brush. (P11)
2. Press handle lock/unlock button to
pull out the handle. (P12)
3. Roll the button in (P13) to
disassemble the brush.Pull the
rolling brush (P14) for cleaning or
replacement.
P11
1
2
P12
1
2
P13
P14
10
Page 12

Troubleshooting
Problem Possible causes Solutions
An accessory is
needed due to
broken or missing
The vacuum
cleaner does not
switch on
The machine
stopped when using
and can’t start again
The vacuum
cleaner won’t
pick up
Dust is escaping
from the
vacuum cleaner
Accessories
won’t pick up
dust/debris
The blockage
indicator (if
applicable to
model) activates
The stick powered
off automatically
after starting up,in
between you find
green and red light
alternately flashes.
1. Accessories are broken or missed
after use
1. The power button on the unit has
not been depressed
2. There is no electricity to the
power socket
1. The dust cup is full of dust so that the
machine start overheating protection
mode.
1. The accessories are not
correctly fitted
2. There are blockages in the hose/
accessory
3. The dust bag is full
4. The filters are blocked/clogged
1. The filters/dust bag are not
fitted correctly
2. The filters are damaged
1. The wrong tool is fitted for the task
2. The tools are blocked
3. The filters are blocked
4. The dust bag is full
5. The hose/tubes are blocked
1. The filters/dust bag are blocked
2. The dust bag is full
3. The accessories/hose/tube
are blocked
1. The power is insufficient, please
charge the stick.
2. The stick is in protection mode
because there are hair or dust on the
rolling brush.
1. Please visit http://www.arogsspares.co.uk or
call 08445570320 to buy a new accessory.
1. Depress the power switch on the unit
2. Seek expert help from a qualified electrician
1. Clear the dust cup, put the product in a draft
and then start again after the machine cools down
1. Check hose/tools are correctly attached to
the machine/hose/tube; refer to ‘ASSEMBLY/
OPERATION’ section
2. Check the air paths of the hose/accessory are
not obstructed by blockages
3. Check dust bag and if necessary empty
4. Frequently cleaning filters will maintain
performance; see ‘MAINTENANCE’ section
1. See ‘PARTS’ and ‘MAINTENANCE’ sections
2. If the filters are damaged these will need to
be replaced
1. See ‘PARTS’ section
2. Check the air paths of the tools are not
obstructed by blockages
3. Frequently cleaning filters will maintain
performance; check ‘MAINTENANCE’ section
4. Check and empty the dust bag
5. Check the air paths of the hose/tubes are not
obstructed by blockages
1. Frequently cleaning filters will
maintain performance; check
‘MAINTENANCE’ section
2. Check and empty dust bag
3. Check the air paths of the accessories/hose/
tubes are not obstructed by blockages
1. Charge the stick, refer to P6.
2. Clean the rolling brush, refer to instruction 3 in
P10.
11
Page 13

Technical Specifications
Model Number
Voltage
VSS01B15P
220-240V~ 50Hz
Sound power level 82 dB(A)
Battery 18V Lithium
Operating time 23-35 minutes
This is a class II appliance
EEC statement of compliance
Manufacturer/EEC importer: Hereby on our own responsibility, declare that
the VSS01B15P is manufactured in compliance with the following Directives:
Safety: 2006/95/EC Low Voltage Directive
EMC: 2004/108/EC Electromagnetic Compatibility Directive
Waste electrical products should not be disposed of with household waste.
Please recycle where facilities exist. Check with your Local Authority or
retailer for recycling advice.
12
Page 14

This product is guaranteed against manufacturing defects for a period of
This product is guaranteed for twelve months from the date of original purchase.
Any defect that arises due to faulty materials or workmanship will either be replaced,
refunded or repaired free of charge where possible during this period by the dealer from
whom you purchased the unit.
The guarantee is subject to the following provisions:
The guarantee does not cover accidental damage, misuse, cabinet parts, knobs or
consumable items.
The product must be correctly installed and operated in accordance with the instructions
contained in this manual.
It must be used solely for domestic purpose.
The guarantee will be rendered invalided if the product is re-sold or has been damaged by
inexpert repair.
Specifications are subject to change without notice.
The manufacturer disclaims any liability for the incidental or consequential damages.
The guarantee is in addition to, and does not diminish your statutory or legal rights.
In the event of a problem with the product within the guarantee period call the Customer
Helpline on 0345 640 0800.
PRODUCT GUARANTEE
Year
Guarantor: Argos Ltd
489 - 499 Avebury Boulevard
Central Milton Keynes
MK9 2NW
 Loading...