

Page 1

3X3M POP UP GAZEBO WITH SIDE PANELS
Simple assembly instructions - please keep for future reference
IMPORTANT PLEASE NOTE
1.These POP-UP gazebo instructions are for illustration purposes and may not represent the product you have purchased
Eg. Size and colour may vary
2.Read these instructions carefully and familiarise your self with the probedure before assembling the unit
3. Cherck that you have all the component parts following the list at below and familiriise your self with each part before
proceeding
4.Take all the fitting out of the plastic bag and separate them into their groups
5. Ensure you have enough space to lay out all the parts before assembly
6. To avoid scratching it is recommednded that you assemble the unit on a soft level surface
IMPORTANTANT SAFETY INSTRUCTIONS-- This Gaxebo must erected by 2 people
●This Gazebo is not water proof, but is shower proof.
●This Gazebo is not a permanent structure and should be disassembled and stored away after use.
●Do not repack your Gazebo until completely dry.
●We recommend assembly by two persons under light or no wind conditions.
●This Gazebo must not be left erect in windy conditions.
●Do not place the Gazebo near lights, fireplaces, gas or electric heaters, candles, radiators, or any other sources of heat,
fire or flammable liquids.
●Keep the Gazebo Fabric away from screws, nails, staples, hooks, etc to avoid damage to the fabric and frame.
CAUTION
Fire Precautions
●WARNING: This Gazebo features a Fabric cover that is not flame retardant and we recommend caution and common
sense when in use.
●This Gazebo can burn.
●Do not use naked flames in or around the Gazebo. We recommend you advise no smoking while inside.
●This Gazebo has no flame retardant cooking area and should not be use to house BBQs or other cooking methods.
Fittings Supplied
8 x Peg 4 x Rope
18 x Curtain Ring
Page 2

b
f
b
f
Simple Assembly Instructions
STEP 1
Stand the gazebo upright with one person either side of the
gazebo. Take hold of each corner and walk backwards slowly, so that the
gazebo opens up slightly. Lift the edge of the canopy to see a `V`
Shape, pointing towards the ground. Take hold of the `V` shape
(With markings ‘LIFT HERE TO OPEN’) lifting and pushing at the same
time walk slowly backwards until the gazebo is fully expanded.
As shown in fig. 1 and fig. 2
STEP 2
One corner at a time, fix the frame into position by moving the
lack sliding assembly into its spring clip lock position at the top o
the uprights. As shown in Fig. 3 and Fig. 4
STEP 3
Raise the roof height by extending the uprights into position, lifting
evenly with your foot holding the upright base plate until the legs
lock into one of the 2 extended positions
As shown in Fig.5 and Fig.6
STEP 4
Fix the fabric roof over each corner of the frame and secure the
metal hooked clips into either of the three holes provided at the
ottom of each leg. Then use the pegs to fix the base plates .
As shown in Fig. 7
LIFT HERE
Fig.1 Fig.2
Fig.3 Fig.4
Fig.5 Fig.6
Fig.7
STEP 5
Attach the guy ropes through the holes provided at the top o
each corner of the uprights. Then attach one end to the Peg
and drive the Peg into the ground
As shown in Fig.8 and Fig.9
The length of the Guy rope can be adjusted .
As shown in Fig.10
STEP 6
Secure the gazebo.Hang on all Panels at the top using the Curtain Rings
As shown in Fig. 11
`
Fig8 Fig.9 Fig.10
Fig.11
Page 3

Simple Dismantling Instructions
Important : This Gazebo must be dismantled by 2 people
IMPORTANT
• The gazebo must be dismantled by 2 people
• Do not use force when dismantling your gazebo.
• If your gazebo does not dismantle easily review each step
• The gazebo is not a permanent structure and must be dismantled during adverse weather conditions
STEP 1 STEP 2 STEP 3
Undo the metal clips as shown here. Lower the height of each leg by pressing One corner at a time, push in the clip
the clip lock pins on the uprights as lock pins in each black Sliding assembly;
shown. slide the assembly down the upright to
enable folding of the frame as shown
STEP 4
Gently lift the edge of the canopy where you see a `V` shape with a label
saying‘LIFT HERE TO CLOSE’ (see diagram) with two people opposite each
other hold the top of the plastic bracket and lift upwards, do not lift from the
underneath of the bracket as this could entrap your hand/fingers. Now walk
slowly forward to the centre, and your gazebo will fold, as shown.
LIFT HERE
The gazebo is now ready for storage.
AFTER-SALES TELEPHONE NUMBER FOR SPARE PARTS:0870 600 8990
Page 4

3x3 Pop Up Gazebo with Side Panels
Assembly Instructions - Please keep for future reference
650/1974
Dimensions
Width - 300cm
Depth - 300cm
Height - 255cm
Important: This Gazebo Must be opened, erected
and dismantled by 2 people at least
Important: Make sure all the guy ropes and pegs
are used, otherwise the gazebo will be unstable!
Important – Please read these instructions fully before starting assembly
If you need help or have damaged or missing parts, call the Customer Helpline: 0845 640 0800
Retailer: Argos
Address: 489-499 Avebury Boulevard Saxon Gate West, Central Milton Keynes Bucks, MK9, 2NW
Issue 1 - 13/09/13
Page 5
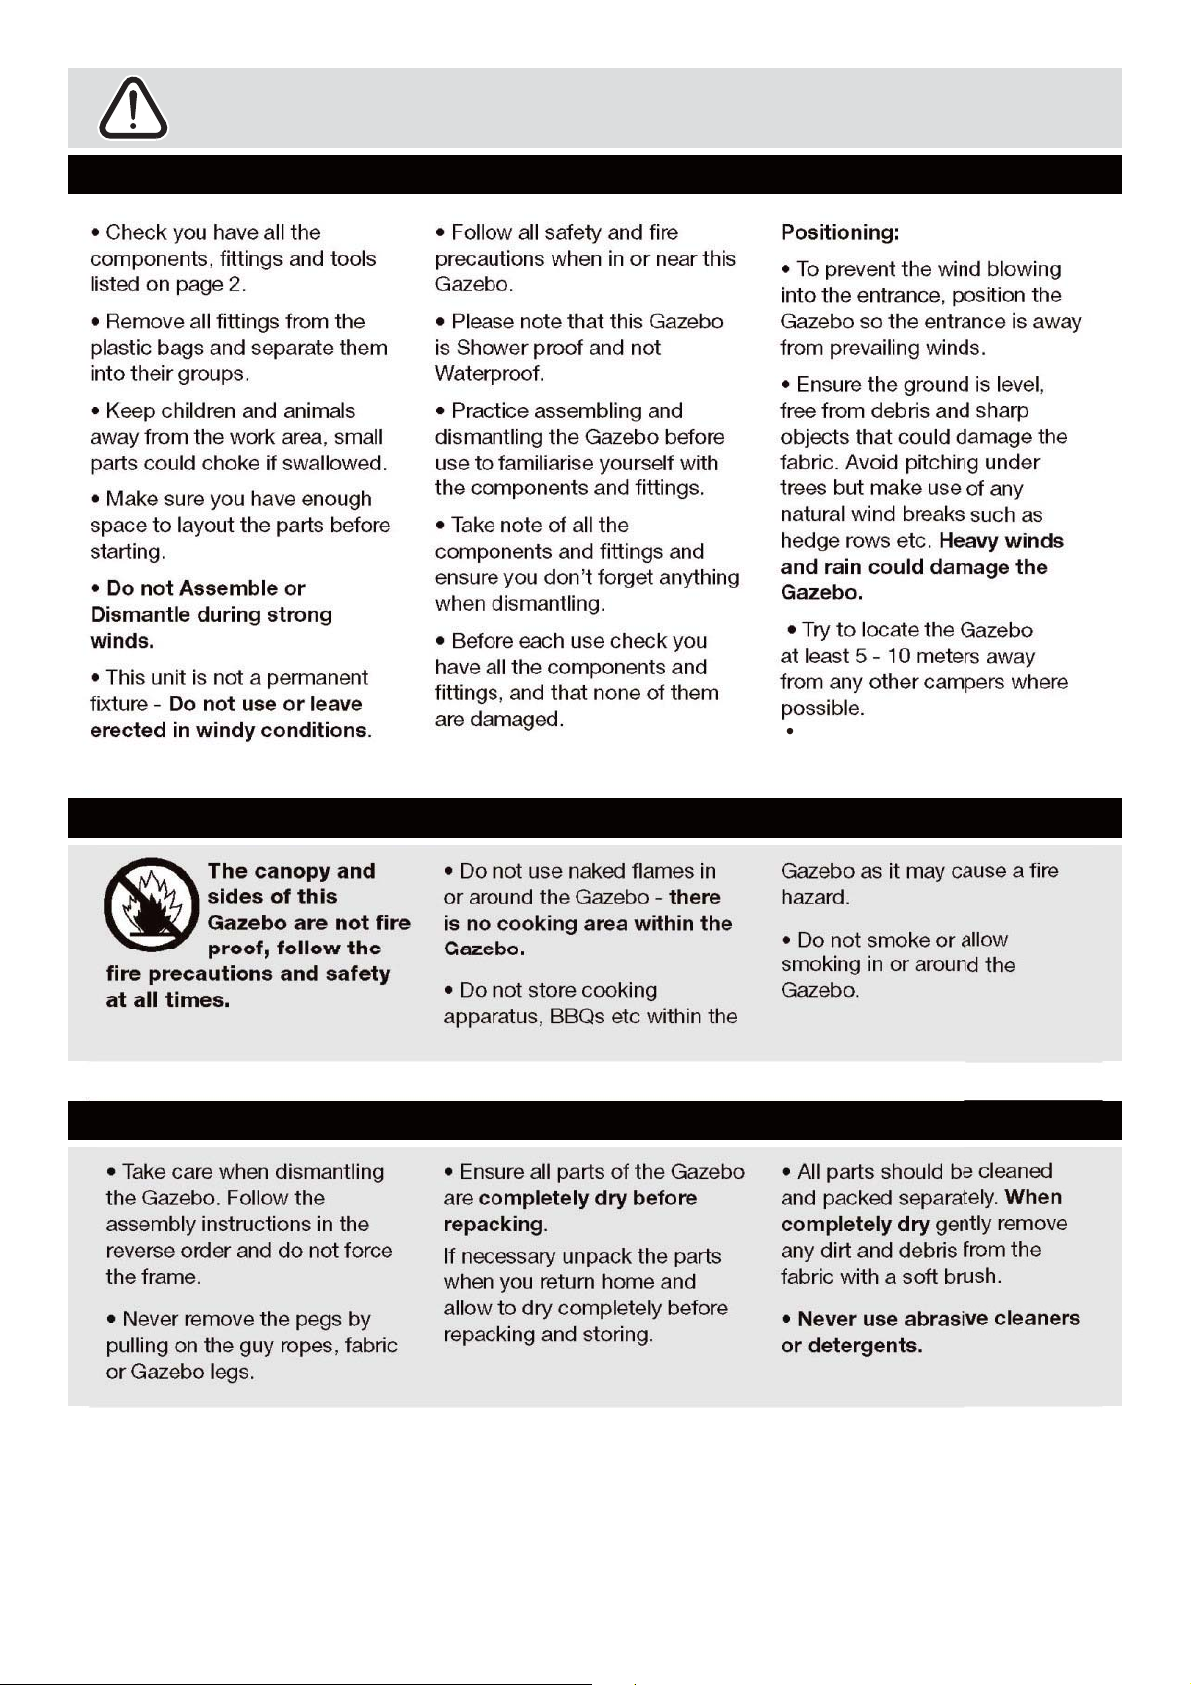
Safety and Care Advice
Important – Pleas e re ad thes e i nstructi ons fu l l y before s tart i n g assembly
Fire precautions and safety
Care and storage
The unit
:gninraW
approximately
Please lift with care.
14.5
weights
kgs.
1
Page 6

Components - Parts & Fittings
If you have damaged or missing components, call the Customer Helpine: 0845 640 0800
Please check you have all the parts & fittings listed below
21
Tent bag x 1 Gazebo x 1
4
Side panel x 2
A
Peg x 8
3
Back panel x 1
B
Guy rope x 4
required
Rubbor mallct x 1
D
2
Page 7

Assembly Instructions
Step 1
Opening the Gazebo
Note: At least 2 people
are required for this
procedure.
a & b: Stand the
Gazebo upright.
With people at diagonally
opposite corners, carefully
pull the Gazebo partly
open.
Move to each side,
carefully pulling the frame
apart until it has expanded
as shown in diagram b.
2
a:
2
b:
Step 2
c & d: Lift the canopy to
reveal the framework.
With people at opposite
sides,carefully push up
and down on the frames
where shown.
Move to each side,
carefully pulling
(compressing) the frame
together until it has
expanded as shownin
diagram d.
c:
d:
Caution: Do not compress frame sides more than shown.
3
Page 8

Assembly Instructions
Step 3
2
Locking and extending
the Gazebo frame
Note: At least 2 people
are required for this
procedure.
a: In one corner at a time,
lock the Gazebo frame
in position by sliding the
corner bracket up until
the spring clip engages
into the bracket.
Pull and extend each leg
until the spring clips
engage into the hole in
the outer tubes.
2
a:
Spring clip
Spring clip
Note: There are two
spring clip location holes
in each leg, using the
lower holes will increase
the canopy tension,
pulling it tighter.
b: Use the velcro tapes
top frame as shown
c: From inside, check
that of the frame
sides are as shown.
Note: each velcro tap
frame are as shown.
1
stretch the tap first
stick velcro tap second
3
Leg
b:
c:
Finished position of frame sides - Do not compress any more.
Corner
bracket
Warning: the velcro tap
must stretch tight as this
could cause rain water to
collect on the canopy and
a hazard.
Do not compress more
than shown or the frame
can be damaged.
A
1 3
4
Page 9

Assembly Instructions
Step 4
Fitting the legs
a: Secure the gazebo
2
to the ground at each
corner, Insert two pegs
A
through the hole in each
Frame leg into the ground
(insert at an angle).
Take care not to bend the
pegs, use a rubber mallet
to help Insert if required.
b: Attach the hooks on the
end of the canopy legs to
the holes at the end of the
frame leg,the canopy
cover can be tightened
by moving the hooks to
a lower Hole.
Step 5
Attaching the guy ropes
a:
2
b:
A
Hook
Note: At least 2 people
are required for this
procedure.
a: Attach the end of each
guy Rope to a”D” ring
B
at each corner of the
canopy cover.
b: Use the pegs to
A
secure the other end of
the guy rope to the ground
(insert at an angle).
c: The length of the guy
B
rope can be adjusted
by feeding the rope
through the tensioner.
Remove any slack from
the Guy rope by holding
the lower end of the rope
and sliding the tensioner
up towards the tent.
Caution:
Do not over
tighten the Guy
ropes as this can damage
the fabric seams.
a:
c:
B
B
tensioner
Hold
b:
A
B
5
Page 10

Assembly Instructions
Step 5
Assembly Instrctions
Fitting the sides
Note:At least 2 people
are Required for this
procedure.
Use the Velcro tapes
a:
on the Back and side
panels &
3
To secure the panels
onto the frame work.
Note: each velcro tap
frame are as shown.
1
stretch the tap first
2
stick velcro tap second
4
a:
2
4
3
4
Warning: the velcro tap
must stretch tight as this
could cause rain water to
collect on the canopy and
a hazard.
b:b:There are 1 drainage
hole on each side to
allow rainwater to drain
off the canopy.
A
Note: Do not block or
obstruct This hole as
this could cause rain
water to collect on the
Canopy and cause a
hazard.
A
1 2
A
1 2
The assembly is now
complete
Velcro tape
6
Page 11

Folding Inst r u c t io ns
Step 7
Folding the Gazebo
Note: At least 2 people
are required for this
procedure.
Take care when
dismantling the Gazebo.
Follow the assembly
instructions in the
reverse order and do
not force the frame.
a: Remove the back and
side panels
b: Remove the guy ropes
and pegs
c: Unhook the canopy
from the frame legs and
remove the pegs
d: Push in the spring
clips and slide up the
frame legs
e: Push in the spring
clips and (slightly) lower
the corner brackets.
a:
c:
b:
d:
Spring clip
e:
Spring clip
f: With people at
diagonally opposite
corners, carefully lift and
push the gazebo
together.
Do not force the frame.
Repeat at each corner
until the gazebo is fully
folded.
Store all of the
components and fittings
in the tent bag
provided.
If you need help or have damaged or missing parts, call the Customer Helpline: 0845 640 0800
Retailer: Argos
Address: 489-499 Avebury Boulevard Saxon Gate West, Central Milton Keynes Bucks, MK9, 2NW
1
Warning: in heavy wind , if you want to leave the
gazebo outside , please remove the side panels
f:
7
Page 12

3x3 Pop Up Gazebo with Side Panels
Assembly Instructions
- Please keep for future reference
650/1974
Dimensions
Width - 300cm
Depth - 300cm
Height - 255cm
Important: This Gazebo Must be opened, erected
and dismantled by 2 people at least
Important: Make sure all the guy ropes and pegs
are used, otherwise the gazebo will be unstable!
Important – Please read these instructions fully before starting assembly
If you need help or have damaged or missing parts, call the
Customer Helpline: Argos = 0345 6400800
Address: 489-499 Avebury Boulevard Saxon Gate West, Central Milton Keynes Bucks,MK9, 2NW
Issue 1 - 13/09/13
Page 13

Safety and Care Advice
Important – Pleas e re ad t h es e i n s tr u ctions ful l y bef ore starti n g ass emb l y
Fire precautions and safety
Care and storage
The unit
:gninraW
approximately
Please lift with care.
14.5
weights
kgs.
1
Page 14

Components - Parts & Fittings
If you have damaged or missing components, call the
Please check you have all the parts & fittings listed below
Customer Helpline: Argos = 0345 6400800
21
1 x obezaG1 x gab tneT
4
Side panel x 2
A
Peg x 12
3
Back panel x 1
B
Guy rope x 4
required
Rubber mallet x 1
D
2
Page 15

Assembly Instructions
Step 1
Opening the Gazebo
Note: At least 2 people
are required for this
procedure.
a & b: Stand the
Gazebo upright.
With people at diagonally
opposite corners, carefully
pull the Gazebo partly
open.
Move to each side,
carefully pulling the frame
apart until it has expanded
as shown in diagram b.
2
a:
2
b:
Step 2
c & d: Lift the canopy to
reveal the framework.
With people at opposite
sides,carefully push up
and down on the frames
where shown.
Move to each side,
carefully pulling
(compressing) the frame
together until it has
expanded as shownin
diagram d.
c:
d:
Caution: Do not compress frame sides more than shown.
3
Page 16

Assembly Instructions
Step 3
2
Locking and extending
the Gazebo frame
Note: At least 2 people
are required for this
procedure.
a: In one corner at a time,
lock the Gazebo frame
in position by sliding the
corner bracket up until
the spring clip engages
into the bracket.
Pull and extend each leg
until the spring clips
engage into the hole in
the outer tubes.
2
a:
Spring clip
Spring clip
Note: There are two
spring clip location holes
in each leg, using the
lower holes will increase
the canopy tension,
pulling it tighter.
b: Use the velcro tapes
top frame as shown
c: From inside, check
that of the frame
sides are as shown.
Note: each velcro tap
frame are as shown.
1
stretch the tap first
stick velcro tap second
3
Leg
b:
c:
Finished position of frame sides - Do not compress any more.
Corner
bracket
Warning: the velcro tap
must stretch tight as this
could cause rain water to
collect on the canopy and
a hazard.
Do not compress more
than shown or the frame
can be damaged.
A
1 3
4
Page 17

Assembly Instructions
Step 4
Fitting the legs
a: Secure the gazebo
2
to the ground at each
corner, Insert two pegs
A
through the hole in each
Frame leg into the ground
(insert at an angle).
Take care not to bend the
pegs, use a rubber mallet
to help Insert if required.
b: Attach the hooks on the
end of the canopy legs to
the holes at the end of the
frame leg,the canopy
cover can be tightened
by moving the hooks to
a lower Hole.
Step 5
Attaching the guy ropes
a:
2
b:
A
Hook
Note: At least 2 people
are required for this
procedure.
a: Attach the end of each
guy Rope to a”D” ring
B
at each corner of the
canopy cover.
b: Use the pegs to
A
secure the other end of
the guy rope to the ground
(insert at an angle).
c: The length of the guy
B
rope can be adjusted
by feeding the rope
through the tensioner.
Remove any slack from
the Guy rope by holding
the lower end of the rope
and sliding the tensioner
up towards the tent.
Caution:
Do not over
tighten the Guy
ropes as this can damage
the fabric seams.
a:
c:
B
B
tensioner
Hold
b:
B
A
5
Page 18

Assembly Instructions
Step 5
Assembly Instrctions
Fitting the sides
Note:At least 2 people
are Required for this
procedure.
Use the Velcro tapes
a:
on the Back and side
panels &
3
To secure the panels
onto the frame work.
Note: each velcro tap
frame are as shown.
1
stretch the tap first
2
stick velcro tap second
4
a:
2
4
3
4
Warning: the velcro tap
must stretch tight as this
could cause rain water to
collect on the canopy and
a hazard.
b:b:There are 1 drainage
hole on each side to
allow rainwater to drain
off the canopy.
Note: Do not block or
obstruct This hole as
this could cause rain
water to collect on the
Canopy and cause a
hazard.
A
1 2
A
1 2
The assembly is now
complete
Velcro tape
6
Page 19

Folding Instructions
Step 7
Folding the Gazebo
Note: At least 2 people
are required for this
procedure.
Take care when
dismantling the Gazebo.
Follow the assembly
instructions in the
reverse order and do
not force the frame.
a: Remove the back and
side panels
b: Remove the guy ropes
and pegs
c: Unhook the canopy
from the frame legs and
remove the pegs
d: Push in the spring
clips and slide up the
frame legs
e: Push in the spring
clips and (slightly) lower
the corner brackets.
a:
c:
b:
d:
Spring clip
e:
Spring clip
f: With people at
diagonally opposite
corners, carefully lift and
push the gazebo
together.
Do not force the frame.
Repeat at each corner
until the gazebo is fully
folded.
Store all of the
components and fittings
in the tent bag
provided.
If you need help or have damaged or missing parts, call the
1
Warning: in heavy wind , if you want to leave the
gazebo outside , please remove the side panels
f:
Customer Helpline: Argos = 0345 6400800
Address: 489-499 Avebury Boulevard Saxon Gate West, Central Milton Keynes Bucks,MK9, 2NW
7
 Loading...