

Page 1
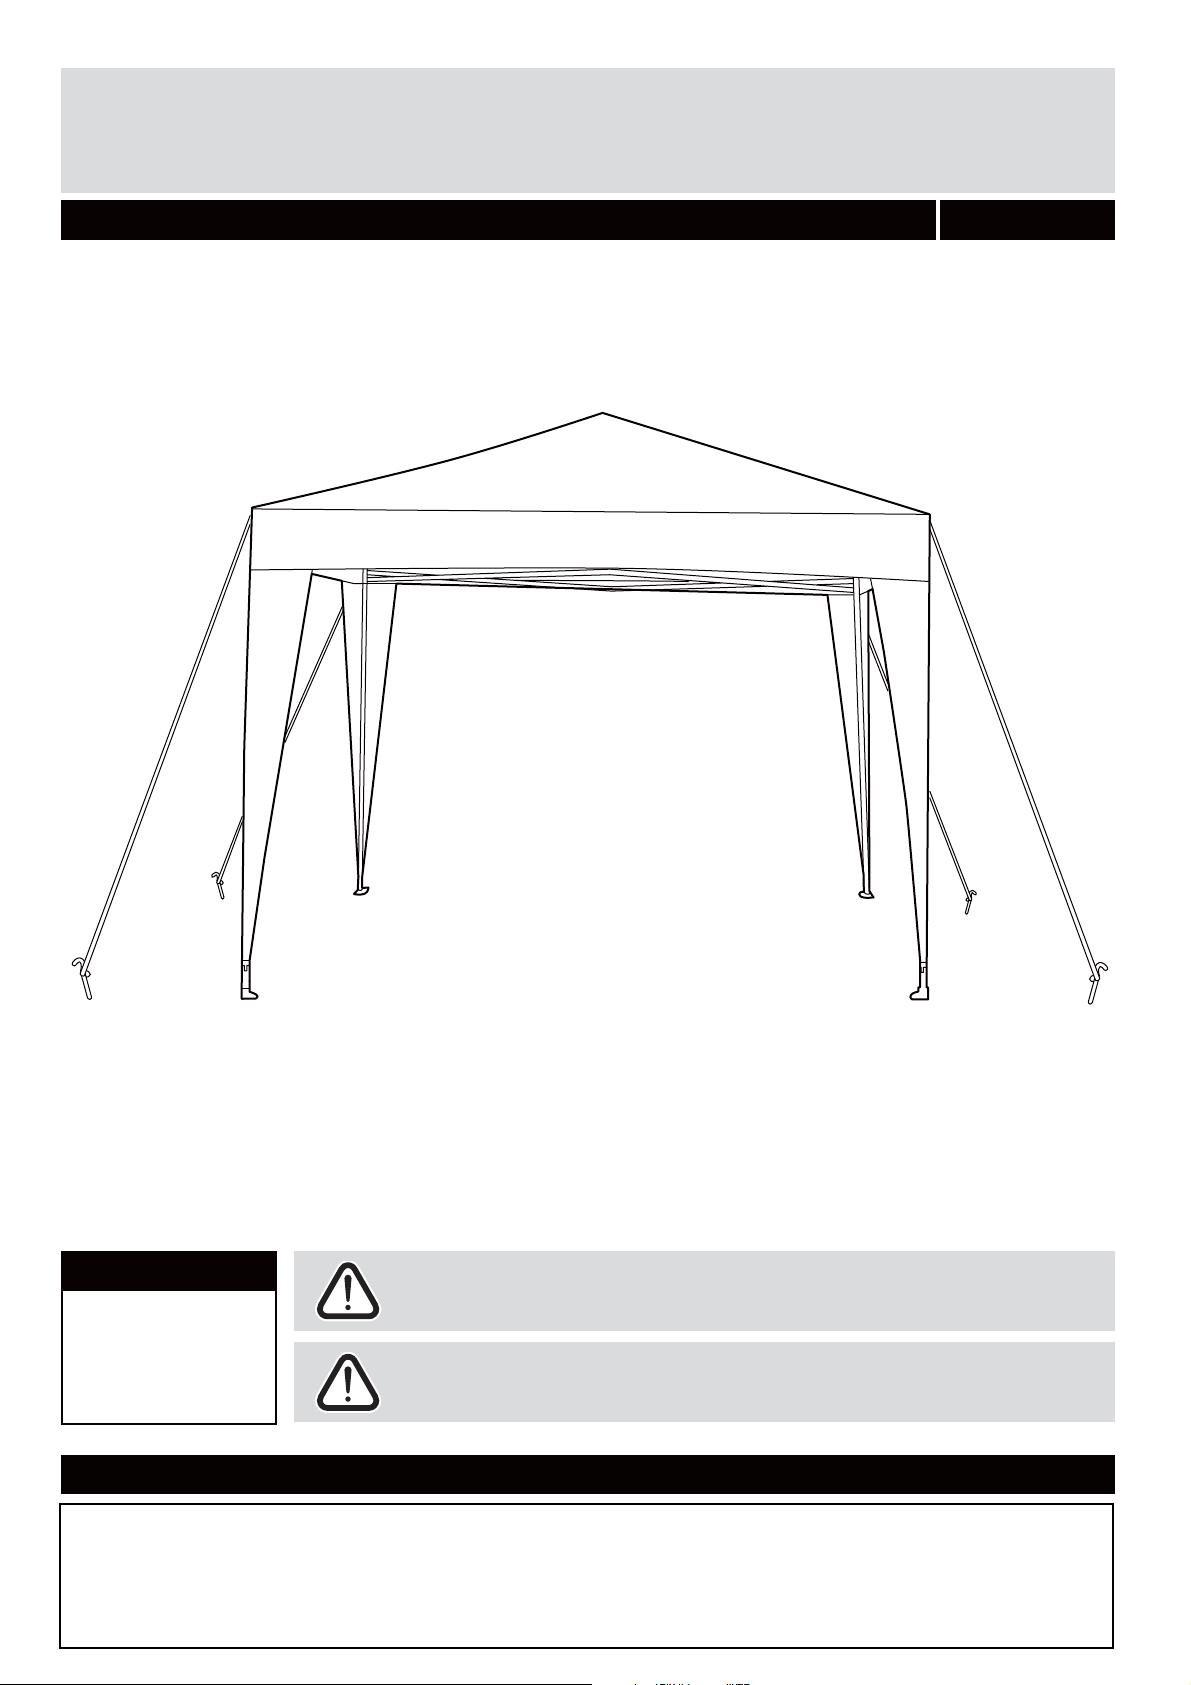
3x3M Pop Up Gazebo
Assembly Instructions
- Please keep for future reference
764/3680
Dimensions
Width - 300cm
Depth - 300cm
Height - 250cm
Important: This Gazebo Must be opened, erected
and dismantled by 2 people at least
Important: Make sure all the guy ropes and pegs
are used, otherwise the gazebo will be unstable!
Important – Please read these instructions fully before starting assembly
If you need help or have damaged or missing parts, call the
Customer Helpline: Argos = 0345 6400800
For further assistance please visit http://www.argos support.co.uk
Address: 489-499 Avebury Boulevard Saxon Gate West, Central Milton Keynes Bucks,MK9, 2NW
Issue 1 - 13/09/13
Page 2
IMPORTANT SAFETY INSTRUCTIONS
Read all instruction before using and keep for future reference
Read these instructions
carefully and familiarise
yourself with the procedure
before assembling the unit.
when assembly. Please keep
children under direct supervision
of adult when using.
four persons under light or no
wind conditions.
Check that you have all the
component parts following the
list on the page 3 and
familiarise yourself with each
part before proceeding.
Take all the fittings out of the
plastic bag and separate them
into their groups.
Ensure you have enough
space to lay out all the parts
before assembly.
To avoid scratching it is
recommended that you
assemble the unit on a soft
level surface.
CAUTION
under windy condition.
secure the gazebo when using.
structure and should be
disassembled and stored away
after using.
until completely dry.
This gazebo is not waterproof.
erect in windy conditions.
from screws, nails, staples,
hooks, etc to avoid damage to
the fabric and frame.
Warning:
weigh t s approximately
kgs.
10.5
Please lift with care.
The unit
Fire precautions
near lights, fireplaces, gas or
electric heaters, candles,
radiators, or any other
sources of heat, fire or
flammable liquids.
Fabric cover that is not flame
retardant.
Safety
animals or children dispose of the
plastic bags immediately.
Cleaning
damp cloth and mild detergent, do
not use bleach or abrasive products.
common sense when in use.
around the Gazebo. We recommend
you advise no smoking while inside.
retardant cooking area and
should not be use to house
BBQs or other cooking
methods.
1
Page 3
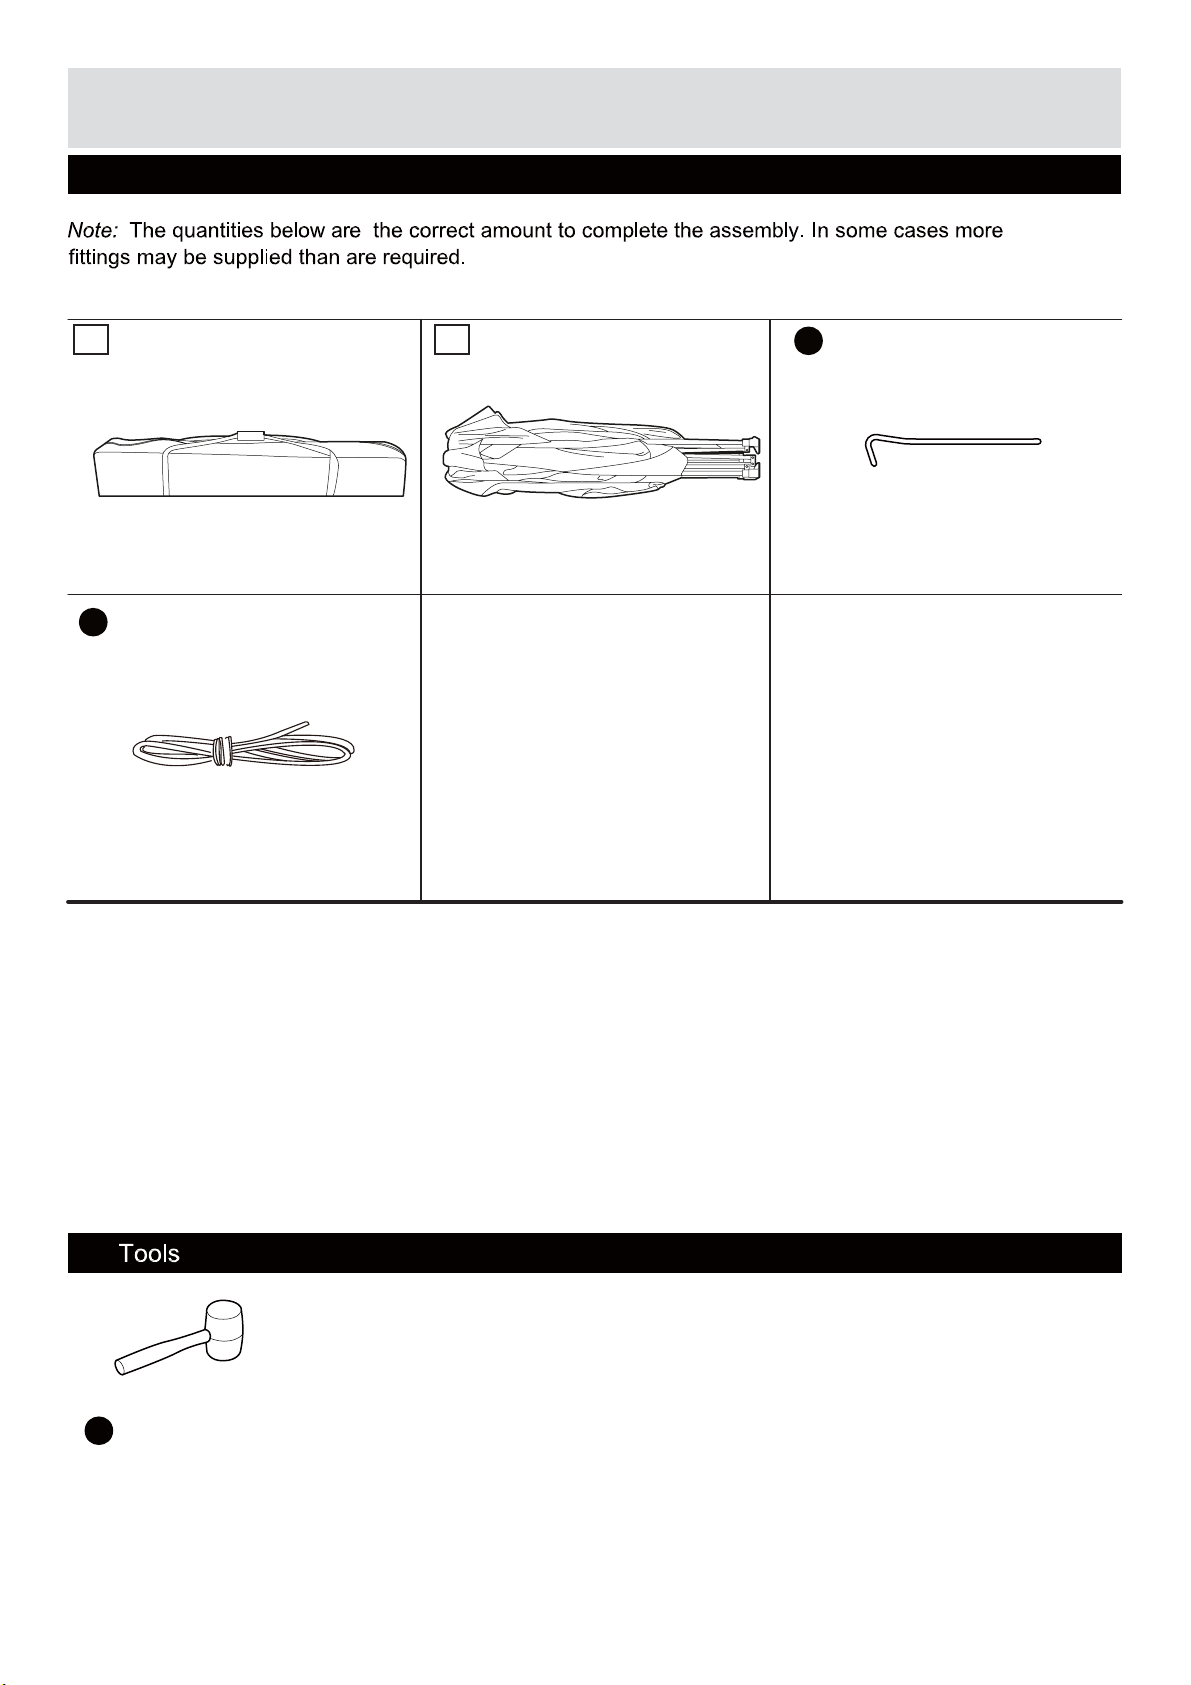
Components - Parts & Fittings
If you have damaged or missing components, call the
Please check you have all the parts & fittings listed below
Customer Helpline: Argos = 0345 6400800
21
B
Guy rope x 4
A
Peg x 81 x obezaG1 x gab tneT
required
Rubber mallet x 1
D
2
Page 4

Assembly Instructions
Step 1
Opening the Gazebo
Note: At least 2 people
are required for this
procedure.
a & b: Stand the
Gazebo upright.
With people at diagonally
opposite corners, carefully
pull the Gazebo partly
open.
Move to each side,
carefully pulling the frame
apart until it has expanded
as shown in diagram b.
2
a:
2
b:
Step 2
c & d: Lift the canopy to
reveal the framework.
With people at opposite
sides,carefully push up
and down on the frames
where shown.
Move to each side,
carefully pulling
(compressing) the frame
together until it has
expanded as showed in
diagram d.
c:
d:
Caution: Do not compress frame sides more than shown.
3
Page 5

Assembly Instructions
Step 3
2
Locking and extending
the Gazebo frame
Note: At least 2 people
are required for this
procedure.
a: In one corner at a time,
lock the Gazebo frame
in position by sliding the
corner bracket up until
the spring clip engages
into the bracket.
Pull and extend each leg
until the spring clips
engage into the hole
in the outer tubes.
2
a:
Spring clip
Spring clip
Corner
bracket
Note: There are two
spring clip location holes
in each leg, using the
lower holes will increase
the canopy tension,
pulling it tighter.
b: Use the velcro tapes
top frame as shown
c: From inside, check
that of the frame
sides are as shown.
Note: each velcro tap
frame are as shown.
1
stretch the tap first
stick velcro tap second
2
Leg
b:
c:
Finished position of frame sides - Do not compress any more.
Warning: the velcro tap
must stretch tight as this
could cause rain water to
collect on the canopy and
a hazard.
Do not compress more
than shown or the frame
can be damaged.
A
1 2
4
Page 6

Assembly Instructions
Step 4
Fitting the legs
a: Secure the gazebo
to the ground at each
corner, Insert two pegs
through the hole in each
Frame leg into the ground
(insert at an angle).
Take care not to bend the
pegs, use a rubber mallet
to help Insert if required.
b: Attach the hooks on the
end of the canopy legs to
the holes at the end of the
frame leg,the canopy
cover can be tightened
by moving the hooks to
a lower Hole.
2
A
Step 5
Attaching the guy ropes
a:
2
b:
A
Hook
Note: At least 2 people
are required for this
procedure.
a: Attach the end of each
guy Rope to a”D” ring
at each corner of the
canopy cover.
b: Use the pegs to
secure the other end of
the guy rope to the ground
(insert at an angle).
Remove any slack from
the Guy rope by holding
the lower end of the rope
and sliding the tensioner
up towards the tent.
Do not over
tighten the Guy
ropes as this can damage
the fabric seams.
B
A
Caution:
a:
B
b:
B
The assembly is now
complete
A
5
Page 7

Folding Instructions
Step 6
Folding the Gazebo
Note: At least 2 people
are required for this
procedure.
Take care when
dismantling the Gazebo.
Follow the assembly
instructions in the
reverse order and do
not force the frame.
a:
b:
a:
Remove the guy ropes
and pegs
b:
Unhook the canopy
from the frame legs and
remove the pegs
c:
Push in the spring
clips and slide up the
frame legs
d:
Push in the button
and (slightly) lower
the corner brackets.
e:
With people at
diagonally opposite
corners, carefully lift and
push the gazebo
together.
Spring clip
c:
d:
Corner
bracket
Button
e:
Do not force the frame.
Repeat at each corner
until the gazebo is fully
folded.
Store all of the
components and fittings
in the tent bag
provided.
If you need help or have damaged or missing parts, call the
1
Warning: Please do not erect or use this gazebo
in high winds
Customer Helpline: Argos = 0345 6400800
For further assistance please visit http://www.argos support.co.uk
Address: 489-499 Avebury Boulevard Saxon Gate West, Central Milton Keynes Bucks,MK9, 2NW
6
 Loading...