

Page 1
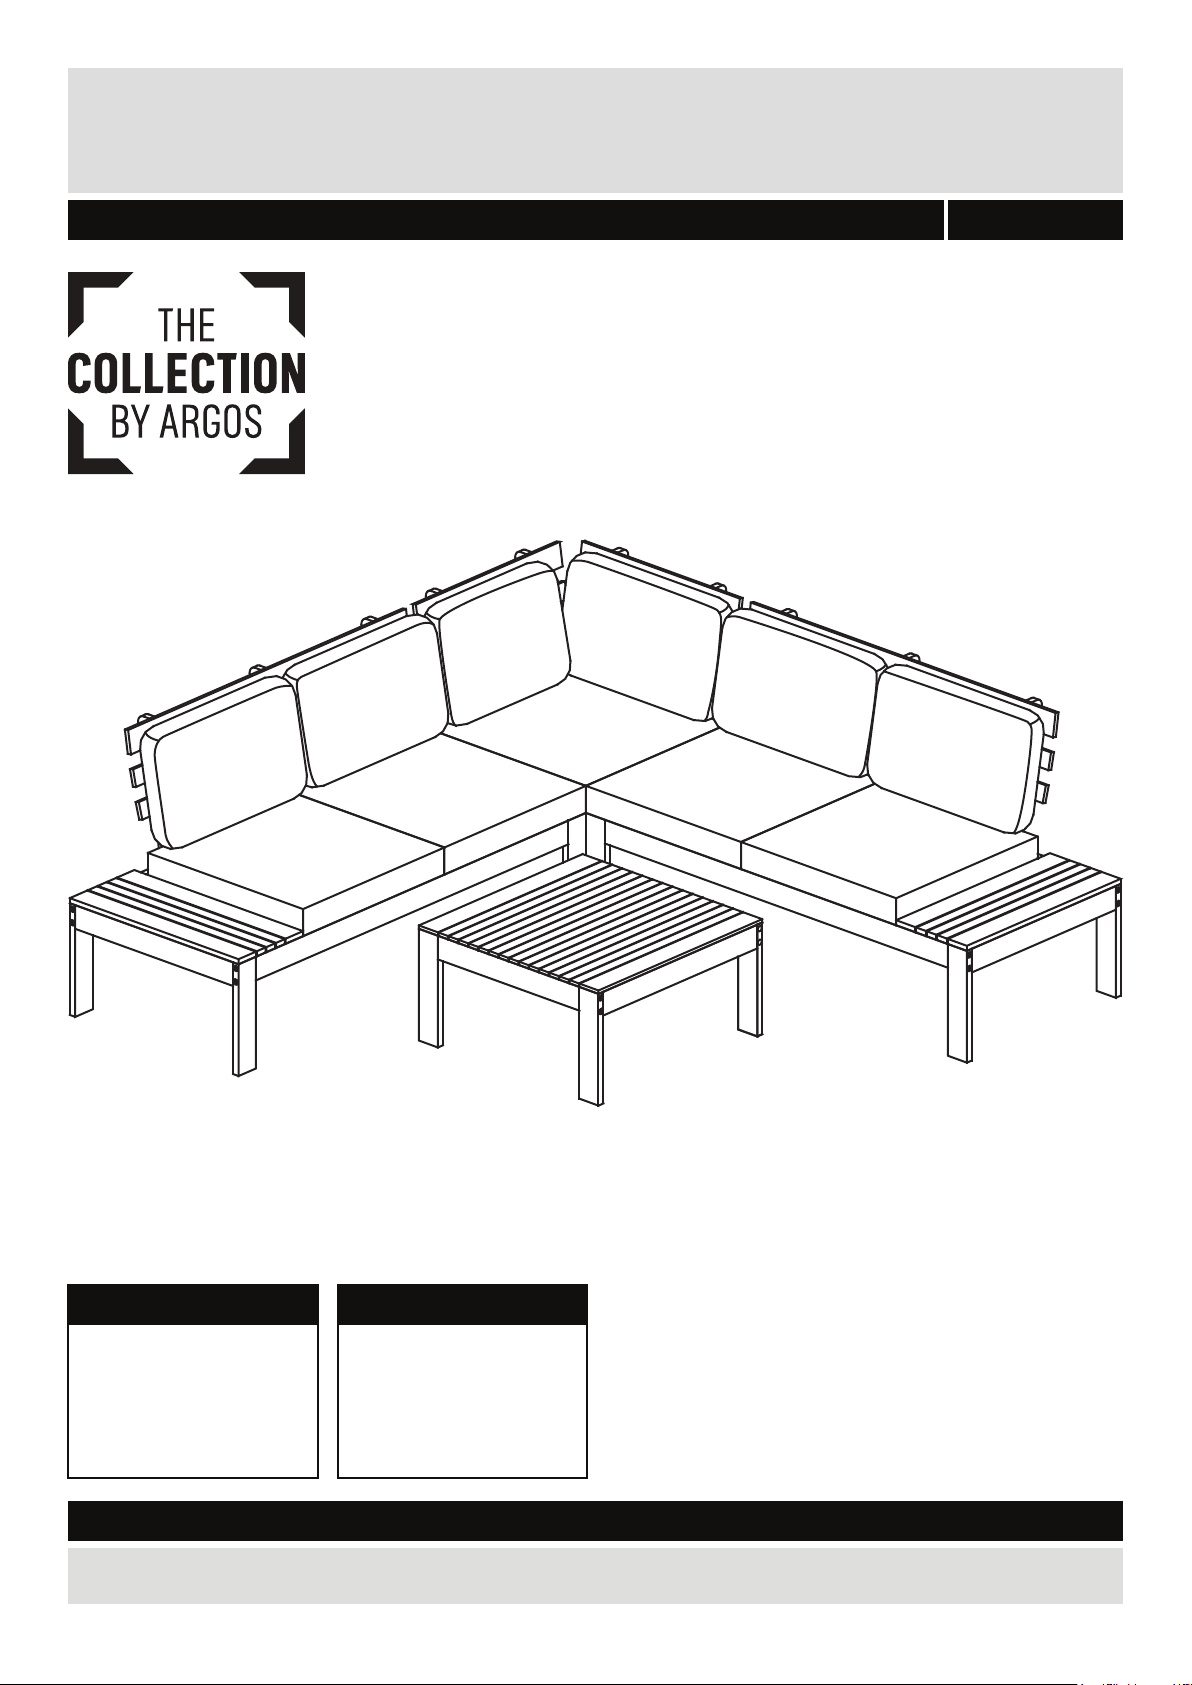
Wood Corner Set
Assembly Instructions
- Please keep for future reference
792/5748
Dimensions
Corner Sofa
Width - 210cm (approx)
Depth - 210cm (approx)
Height - 76cm (approx)
Dimensions
Coffee Table
Width - 70cm (approx)
Depth - 70cm (approx)
Height - 34cm (approx)
Important - Please read these instructions fully before starting assembly
If you need help or have damaged or missing parts, call the Customer Helpline: 0345 6400 800
Issue 6 - 10.12.17
Page 2

Safety and Care Advice
Important – Please read these instructions fully before starting assembly
• Check you have all the
components and tools listed on
the following pages.
• Remove all fi ttings from the
plastic bags and separate them
into their groups.
• Keep children and animals
away from the work area, small
parts could choke if swallowed.
• Make sure you have enough
space to layout the parts before
starting.
Care and maintenance
• Only clean using a damp cloth
and mild detergent, do no use
bleach or abrasive cleaners.
• Outdoor fair weather and
domestic use only.
• During assembly do not stand
or put weight on the product,
this could cause damage.
• Assemble the item as close
to its fi nal position (in the same
room) as possible.
• Assemble on a soft level
surface to avoid damaging the
unit or your fl oor.
• Parts of the assembly will be
easier with 2 people.
• From time to time check that
there are no loose screws on
this unit.
• To reduce
the likelihood of
damaging your
product please
ensure that your
power drill is set on a low torque
setting.
• Table max.weight
capacity : 25 KG
• Sofa max.weight
capacity : 110 KG per seat
• This product should not be
discarded with household waste.
Take to your local authority
waste disposal centre.
Handy Hints
• Assemble all parts and bolts
loosely during assembly, only
once the product is complete
should you fully tighten the bolts.
• Regularly check and ensure
that all bolts and fi ttings are
tightened properly.
2
Page 3
If you have damaged or missing components,
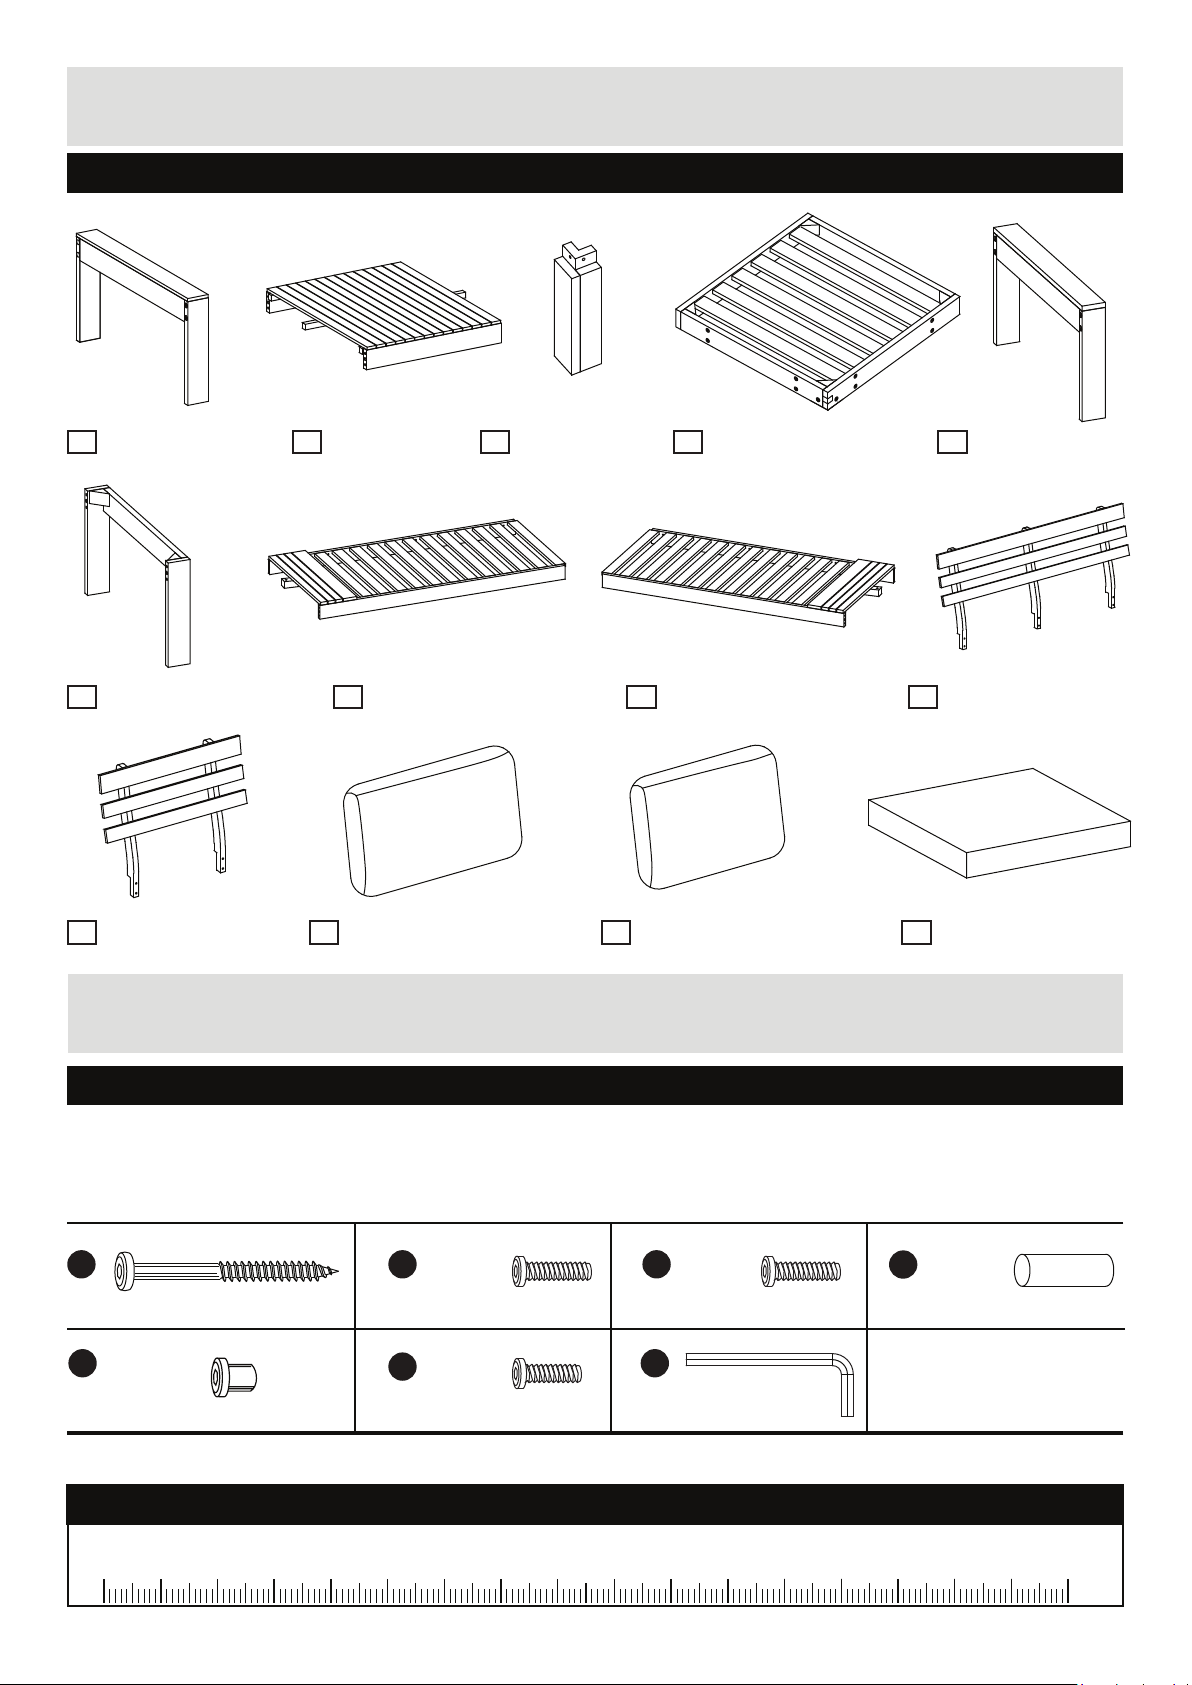
Components - Parts
call the Customer Helpline:
Please check you have all the parts listed below
0345 6400 800
Table leg x2
1
Right leg x2
6
Small backrest x2
10
Table top x1
2
Left Sofa Seat x1
7
Large back cushion x5
11
Corner Leg x1
3
Corner sofa seat x1
4
Right Sofa Seat x1
8
Small back cushion x1
12
Left leg x2
5
Large backrest x2
9
Seat cushion x5
13
Components - Fittings
Please check you have all the fittings listed below
Note: The quantities below are the correct amount to complete the assembly. In some cases more fittings
may be supplied than are required.
A
110mm Screw x24
E
13mm Nut x2
Ruler - Use this ruler to help correctly identify the screws
0 5 10 15 20 25 30 35 40 45 50 55 60 65 70 75 80 85 90 95 100
B
35mm Bolt x4
F
25mm Bolt x2
C
40mm Bolt x20
G
Allen key x2
105
110 115 120 125 130 135 140 145 150 155 160 165 170
D
Wood dowel x12
mm
3
Page 4

Assembly Instructions
2
DAG
D
D
AAA
A
2
1
1
121
D
AAA
A
1
2
1
2
Step 1
Assembling the table
Place the table top
on a flat surface.
Insert wood dowels
into both sides of the
leg .
Attach the leg to
the top panel using
screws .
Tighten screws with
Allen key .
Repeat the procedures
to assemble the other
table leg.
Step 2
Assembling the table
Carefully turn the table
over into an upright
position.
4
Page 5

Assembly Instructions
G
D
345
7
A
D
A
6
7
7
5
D
AAA
A
756
AAA
A
D
D
574
3
EEE
Step 3
Attaching the corner leg
Attach the corner leg
to the corner sofa seat ,
using bolts , nuts .
Tighten bolts with
Allen key .
F
Step 4
Assembling the left sofa
Attach sofa leg
to the sofa seat ,
using wood dowels ,
screws .
Tighten screws with the
Allen key.
F
F
Step 5
Assembling the left sofa
Attach sofa leg
to the sofa seat
using wood dowels ,
screws .
Tighten screws with the
Allen key.
Step 6
Assembling the left sofa
With help, carefully turn
the left sofa over into an
With helps, carefully turn
upright position.
the left sofa over into an
upright position.
5
Page 6

Assembly Instructions
D
D
A
5
8A6
8
8
5
D
AAAAA
8
6
D
D
AAA
A
558
Step 7
Assembling the right
sofa
Attach the sofa leg
to the sofa seat ,
using wood dowels ,
screws .
Tighten screws with the
Allen key.
Step 8
Assembling the right
sofa
Attach the sofa leg
to the sofa seat
using wood dowels ,
screws .
Tighten screws with the
Allen key.
Step 9
Assembling the right
sofa
With help, carefully turn
the right sofa over into an
upright position.
6
Page 7

Assembly Instructions
9
C
131112B10
1313131313121111111111
10109
9
B
C
C
784
Step 10
Attaching the left sofa,
corner sofa and right
sofa.
Attach the left sofa and
the right sofa to the corner
sofa using bolts .
Tighten bolts with the
Allen key.
Warning:
The sofa is heavy.
Lift with care.
Step 11
Attaching the backrests
x4
Attach small backrests ,
large backrests to the
sofa seat using bolts .
Tighten bolts with the
Allen key.
Step 12
Placing the seat
cushions and back
cushions
With help, carefully put
all the units in position.
Place seat cushions ,
back cushions ,
onto the sofa as shown.
x10
Warning:
The sofa is heavy.
Lift with care.
Assembly is complete.
If you need help or have damaged or missing parts, call the Customer Helpline:
0345 6400 800
7
Page 8

Important, Retain for Future Reference:
Read Carefully !
Care Instructions for wooden furniture
IMPORTANT
As your furniture has been boxed since manufacture there may be a slight oil residue on the pieces
which will dry when it is left in the air. Care should be taken when assembling and using the
furniture in the first couple of days particularly if light coloured clothes are worn. Hardwood
has a varied texture which absorbs oil at different rates. This may mean there are some paler
dry patches. If this is the case then apply a little oil as directed in the care instructions below.
Use of Wood Furniture
- This furniture has been made for the garden and is not suitable for indoor use or conservatories.
If positioned on grass the legs may absorb moisture which could cause deterioration. The sunlight
will make the colour of the wood mellow with time even if it is oiled.
- Never place hot dishes directly on to the wood as they will mark the surface.
- Wipe up spills immediately as the oiled surface is more susceptible to stains than a lacquered
finish and the wood will absorb moisture causing the grain to rise slightly.
- Take care when moving furniture and never drag pieces as this will cause damage to the joints.
- To ensure the longevity of your garden furniture it is advised that it is covered when not in use and
that it is stored in a garage or shed over the winter months. Ensure furniture is dry before storing.
Care Instructions.
- In the first three months the furniture should be oiled monthly with a hardwood garden furniture oil
using a lint free cloth, paying particular attention to the ends of the legs and slats as
they are more absorbent.
- After the first three months, the furniture should be oiled once a year as it is brought out at the
beginning of the spring summer season and whenever the surface is looking dry. The wood will
gradually change colour to a silvery grey and the surface will become rough. Regular oiling will help
to minimise cracking but won’t eliminate it. Cracking of the timber does not affect
the durability of the product.
- Do not use oils sold for cooking or eating as they will leave a sticky film.
- If the surface of the furniture becomes slightly stained or damage with use, then it can often
be removed by sanding gently with fine sandpaper then re-oiling. If the stain or damage is more
serious then we recommend that professional help is obtained.
- Please check the fixings are all tight when you put the furniture out each year, as the wood
may expand or contract slightly.
Please retain for future reference.
Produced for Argos Ltd
8
489-499 Avebury Boulevard, Milton Keynes, MK9 2NW
 Loading...