

Page 1

3x3 Pop Up Gazebo with Side Panels Waterproof
Assembly Instructions
- Please keep for future reference
464/8059
Important: Please be careful when you open and
fold gazebo to avoid tearing the canopy
Dimensions
Width - 300cm
Depth - 300cm
Height - 255cm
Important: This Gazebo Must be opened, erected
and dismantled by 2 people at least
Important: Make sure all the guy ropes and pegs
are used, otherwise the gazebo will be unstable!
Important
If you need help or have damaged or missing parts, call the
Customer Helpline: Argos = 0345 6400800
For further assistance please visit http://www.argos-support.co.uk
Address: 489-499 Avebury Boulevard Saxon Gate West, Central Milton Keynes Bucks,MK9, 2NW
– Please read these instructions fully before starting assembly
Issue 1 - 13/09/13
Page 2
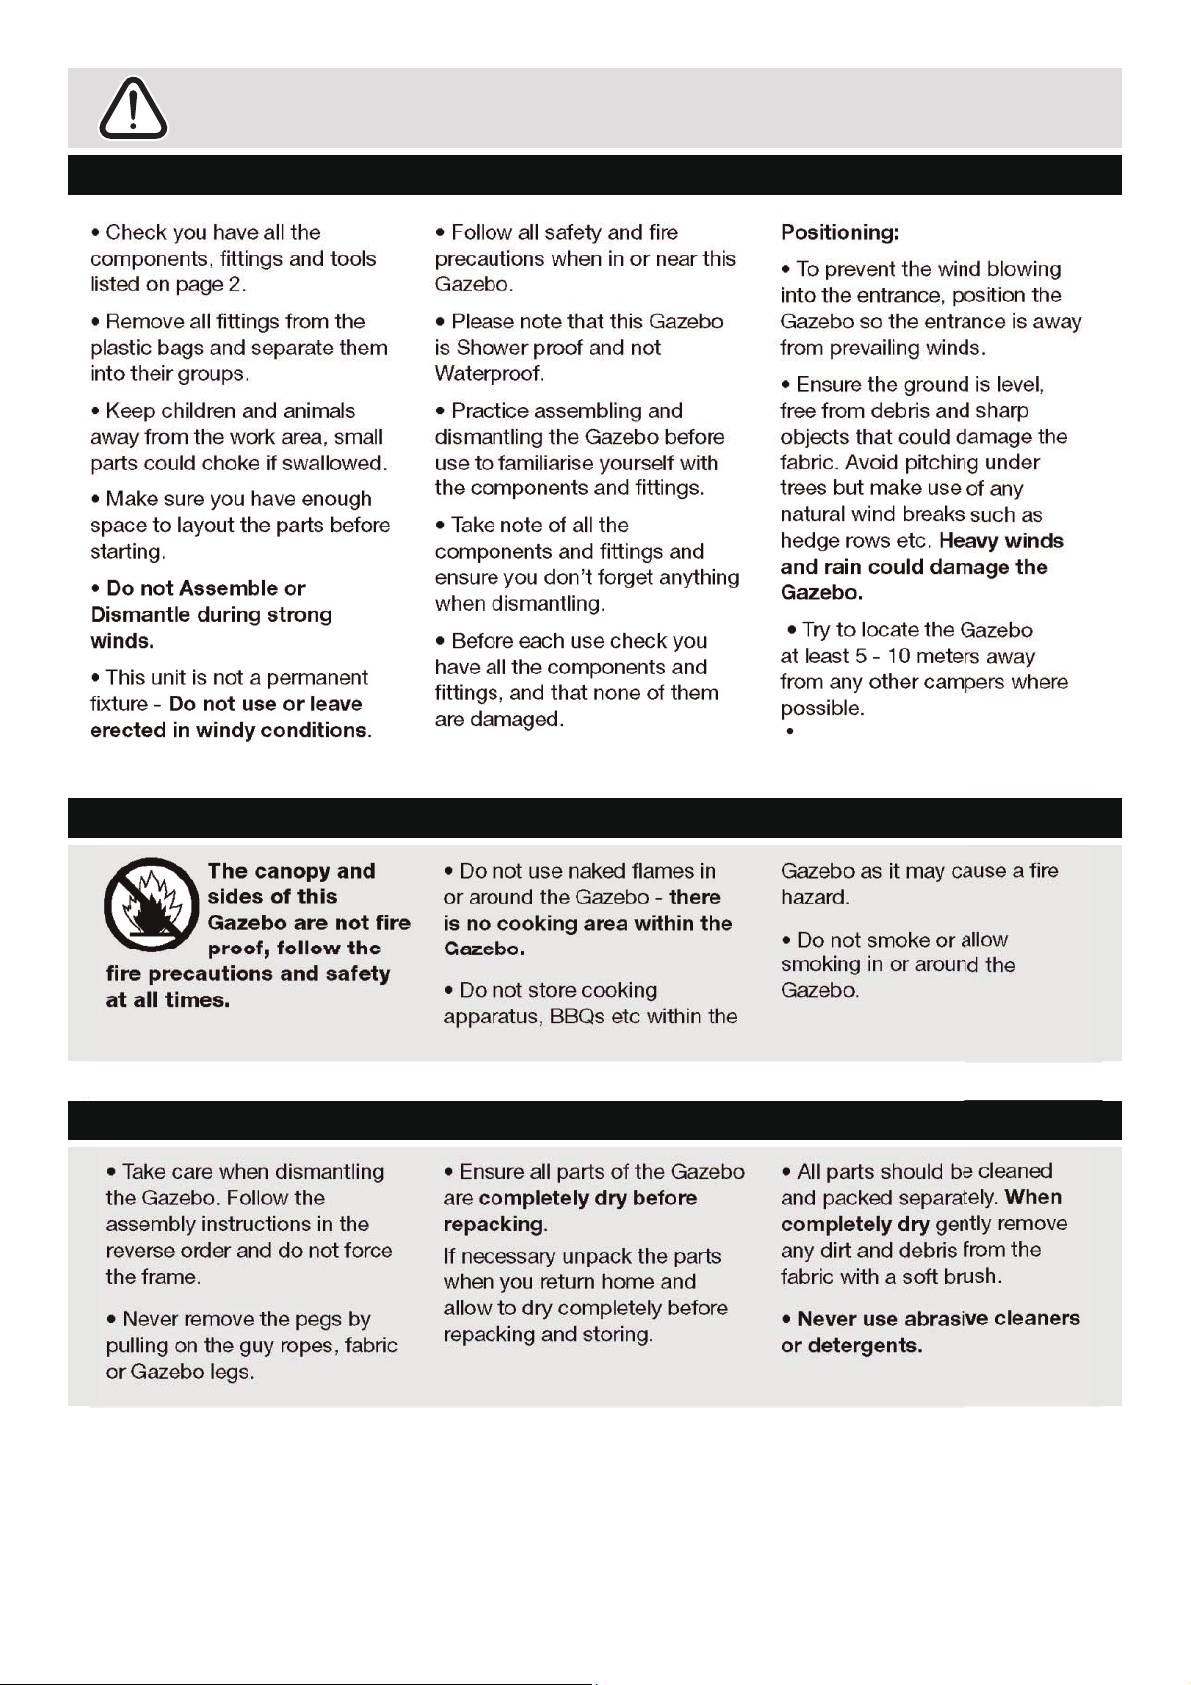
Safety and Care Advice
Important – Please read these instructions fully before starting assembly
Fire precautions and safety
Care and storage
The unit
:gninraW
approximately
Please lift with care.
kgs.
20
weights
1
Page 3
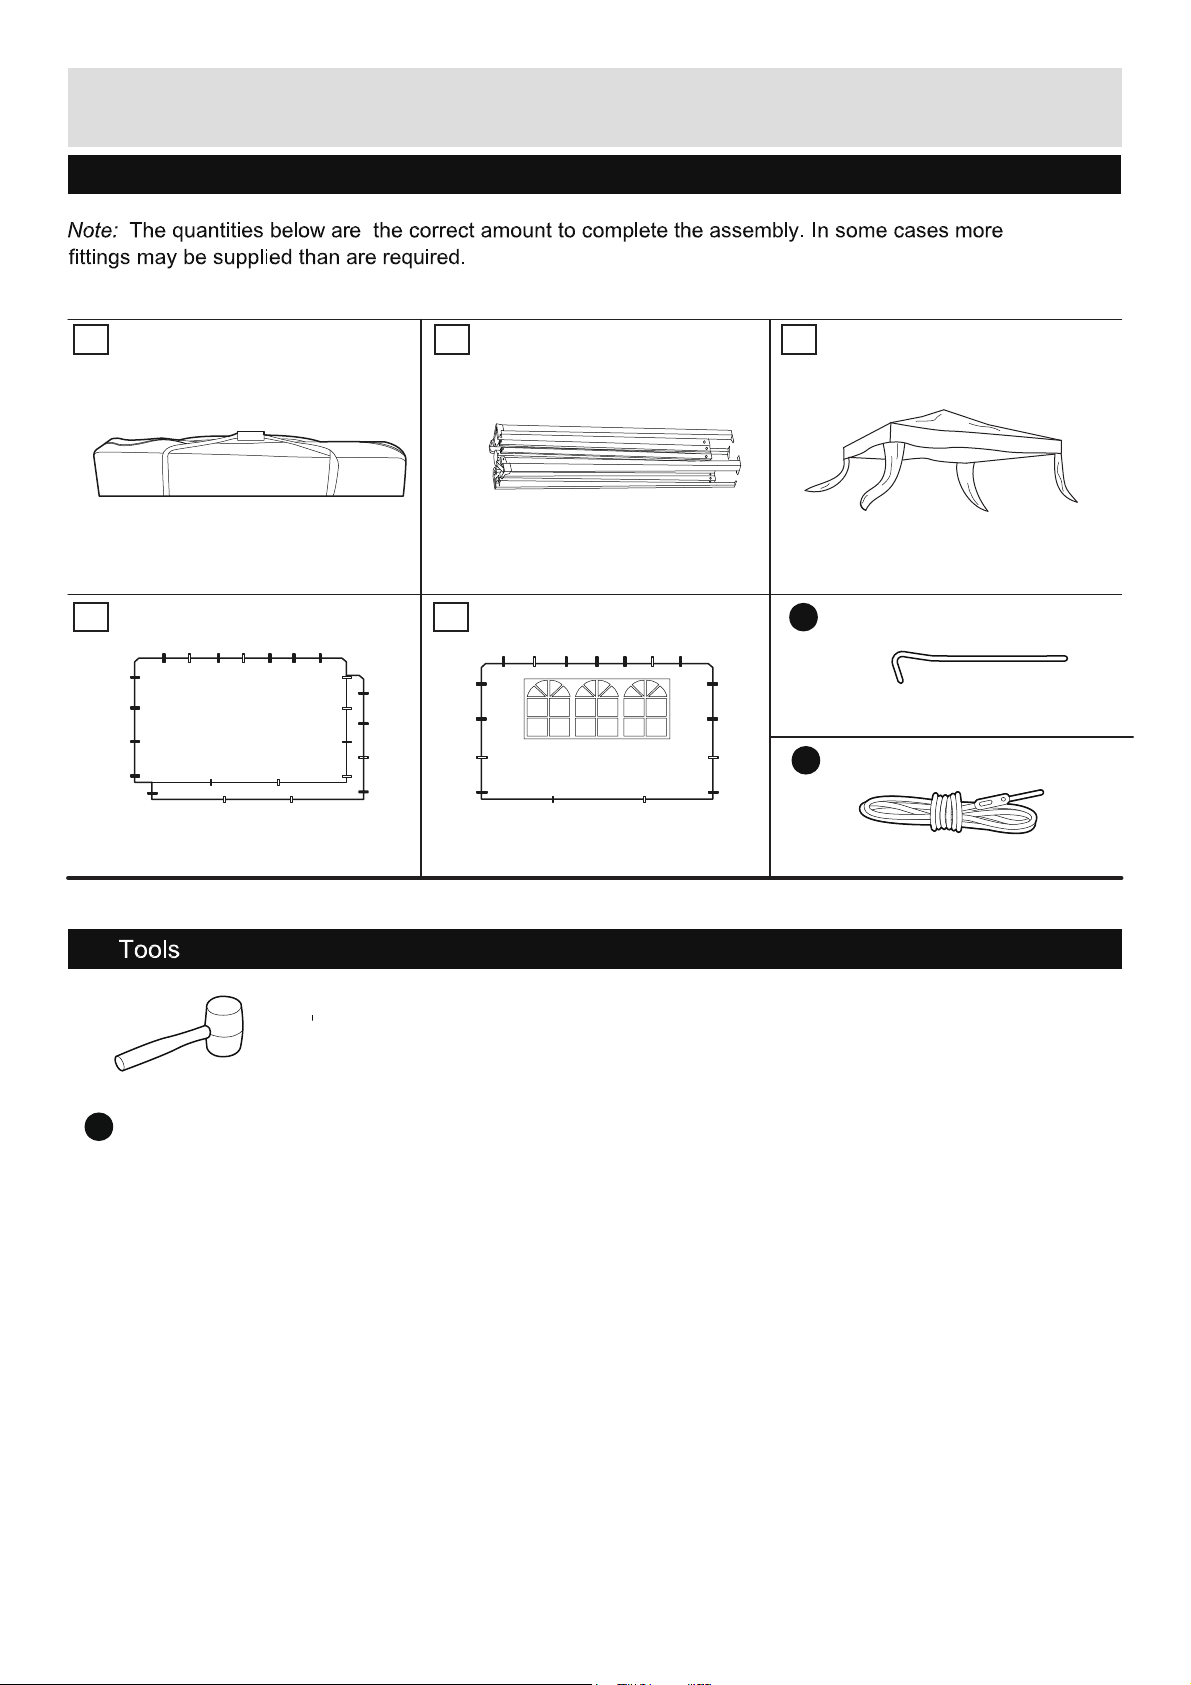
Components - Parts & Fittings
If you have damaged or missing components, call the
Please check you have all the parts & fittings listed below
Customer Helpline: Argos = 0345 6400800
21
o frame x 1 bezaG1 x gab tneT
4
Side panel x 2
5
Back panel x 1
3
Top roof x 1
A
Peg x 15
B
Guy rope x 4
required
Rubber mallet x 1
D
2
Page 4

Assembly Instructions
Step 1
Opening the Gazebo
Note: At least 2 people
are required for this
procedure.
a & b: Stand the
Gazebo frame upright.
With people at diagonally
opposite corners, carefully
pull the Gazebo frame
partly open.
Move to each side,
carefully pulling the frame
apart until it has expanded
as shown in diagram b.
c & d: With people at
opposite sides,carefully
push up and down on the
frames as shown in
diagram c.
2
a:
c:
2
b:
Move to each side,
carefully pulling
(compressing) the frame
together until it has
expanded as shown in
diagram d.
Important:
Do not compress
more than shown
or the framecan
be damaged.
d:
Caution: Do not compress frame sides more than shown.
3
Page 5

Assembly Instructions
Step 2
extending the Gazebo
frame and put top roof
Note: At least 2 people
are required for this
procedure.
a: In one corner at a time,
lock the Gazebo frame
in position by sliding the
corner bracket up until
the spring clip engages
through the bracket.
a:
2
Spring clip
Corner
bracket
b: Put the top roof on
the Gazebo frame .
3
2
b:
3
4
Page 6

Assembly Instructions
Step 3
Extending the legs and
secure the canopy
a: Pull and extend each
leg until the spring clips
engage into the hole in
the outer tubes.
Note: There are two
spring clip location holes
in each leg, using the
holes can adjust the height
of Gazebo.
b: Attach the hooks on the
end of the canopy legs to
the holes at the end of the
frame leg,the canopy
cover can be tightened
by moving the hooks to
a lower hole.
a:
3
b:
Spring clip
C: close the velcro tape
as shown in diagram c.
Warning: the velcro tape
must stretch tight as this
could cause rain water to
collect on the canopy and
a hazard.
c:
Leg
1
Hook
2
5
Page 7

Assembly Instructions
Step 4
Attaching the guy
ropes
Note: At least 2 people
are required for this
procedure.
a: Attach the end of each
guy Rope to a”D” ring
at each corner of the
canopy cover.
b: Use the pegs to
secure the other end of
the guy rope to the ground
(insert at an angle).
c: The length of the guy
rope can be adjusted
by feeding the rope
through the tensioner.
Note: Take care not to
bend the pegs, please use
a rubber mallet to help fully
insert to the ground (insert
at an angle).
B
A
B
a:
c:
B
tensioner
B
Hold
b:
B
A
Caution:
Do not over
tighten the Guy
ropes as this can damage
the fabric seams.
6
Page 8

Assembly Instructions
Step 5
Assembly Instrctions
Fitting the sides
Note:At least 2 people
are Required for this
procedure.
Use the Velcro tapes
a:
on the Back and side
panels &
To secure the panels
onto the frame work.
Note: the velcro tapes
length are different, they
should be secured on
the frame as shown in
diagram a.
5 4
a:
3
Velcro tape
4
5
4
Warning: the velcro tape
must stretch tight as this
could cause rain water to
collect on the canopy and
a hazard.
b: Insert the pegs to
A
each side panel in the
C
middle of bottom.
c: Insert two pegs
A
to secure the side panels
and legs into the
445
ground.
d: Insert one peg to
A
secure the side panels
and legs into the gound,
then insert another peg
to the ground directly.
Note: Take care not to
bend the pegs, please use
a rubber mallet to help
fully insert to the ground.
b:
A
1 2
4
A
A
1 2
c: d:
5
A
A
4
The assembly is now
complete
7
Page 9

Folding Instructions
Step 6
Folding the Gazebo
Note: At least 2 people
are required for this
procedure.
Take care when
dismantling the Gazebo.
Follow the assembly
instructions in the
reverse order and do
not force the frame.
c:
a:
b:
a: Remove the back and
side panels
b: Remove the guy ropes
and pegs
c: Unhook the canopy
from the frame legs.
d: Push in the spring
clips and slide up the
frame legs
e: Push in the spring
clips and (slightly) lower
the corner brackets.
f: Remove the top roof
from Gazebo frame.
g:With people at
diagonally opposite
corners, carefully lift and
push the gazebo
together.
Spring clip
d:
e:
Spring clip
f:
g:
Do not force the frame.
Repeat at each corner
until the gazebo is fully
folded.
Store all of the
components and fittings
in the tent bag
provided.
If you need help or have damaged or missing parts, call the
1
Warning: in heavy wind , if you want to leave the
gazebo outside , please remove the side panels
Warning: please be careful when you open and
fold gazebo to avoid tearing the canopy
Customer Helpline: Argos = 0345 6400800
For further assistance please visit http://www.argos-support.co.uk
Address: 489-499 Avebury Boulevard Saxon Gate West, Central Milton Keynes Bucks,MK9, 2NW
8
 Loading...