

Page 1
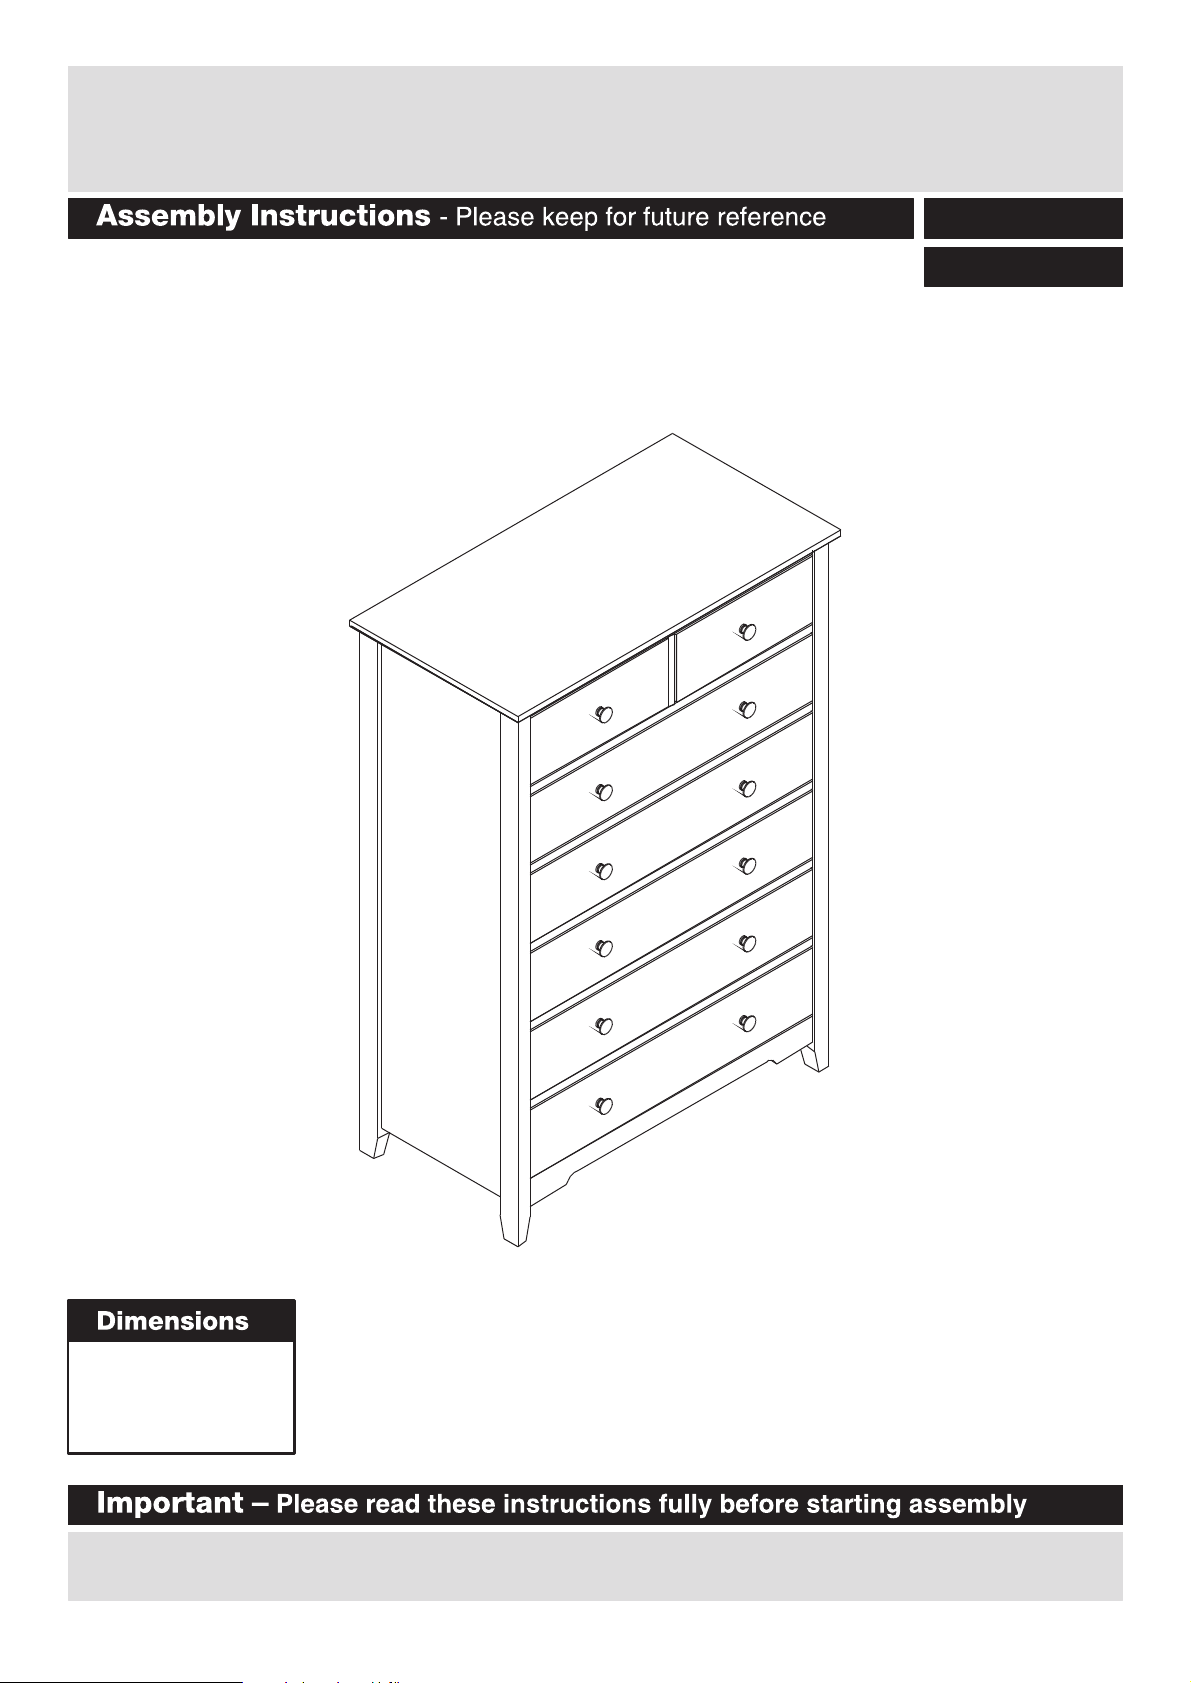
Grafton - 5+2 Drawer Chest
427/0647
413/5153
Width - 83cm
Depth - 43cm
Height - 119.2cm
If you need help or have damage or missing parts, call the Customer Helpline: 03456 400 800
Issue 1 - 31/03/15
Page 2
Page 3
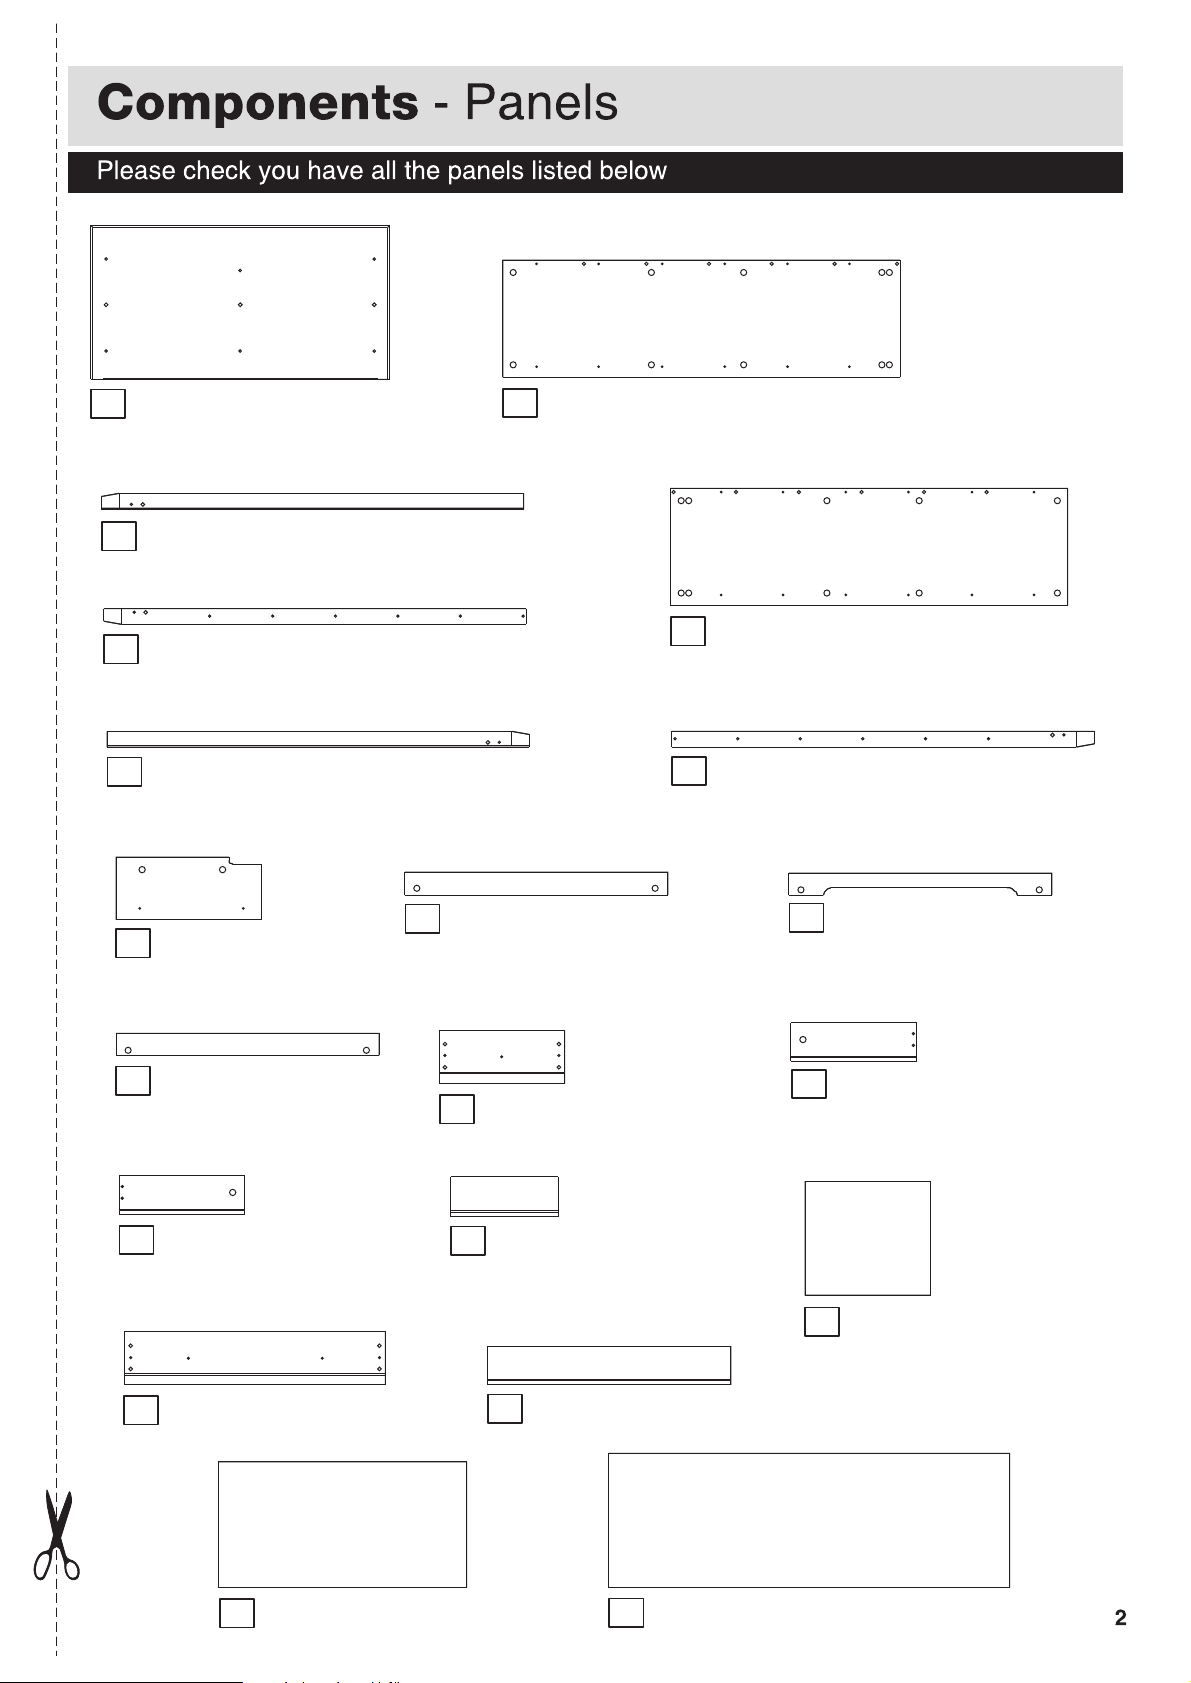
Top panel
1
(83 x 43cm)
Left back foot
3
(117.4 x 4.5cm)
Left front foot
4
(117.4 x 4.5cm)
Right back foot
6
(117.4 x 4.5cm)
underside
Left side panel
2
(110.4 x 32.5cm)
Top
Right side panel
5
(110.4 x 32.5cm)
Right front foot
7
(117.4 x 4.5cm)
Top
Middle panel
8
(40.7 x 17.4cm)
Back rail
11
(73 x 6cm)
Drawer right side x 7
14
(35 x 11cm)
Large drawer front x 5
17
(72.4 x 15cm)
Front rail x 6
9
(73 x 6.5cm)
Small drawer front x 2
12
(35 x 15cm)
15
18
Small drawer back x 2
(30.2 x 11cm)
Large drawer back x 5
(67.4 x 11cm)
Bottom front rail
10
(73 x 6cm)
Drawer left side x 7
13
(35 x 11cm)
Small drawer bottom x 2
16
(31.7 x 35cm)
Large drawer bottom x 5
19
(689 x 35cm)
Back panel x 2
20
(111.4 x 37.2cm)
Page 4

Metal dowel x 52
Locking
nut x 52
If you have damaged or missing components,
call the Customer Helpline:
30mm Screw x 28
03456 400 800
F
16mm Screw x 01
G H
22mm Bolt x 12
J
Washer x 01
N O
Handle x 12
14mm Screw x 70
Wooden dowel x 55
L
Right runner x 07 pair
H profile 1044mm x 01
Nail x 40
I
Wall strap x 01
M
Left runner x 07 pair
Page 5
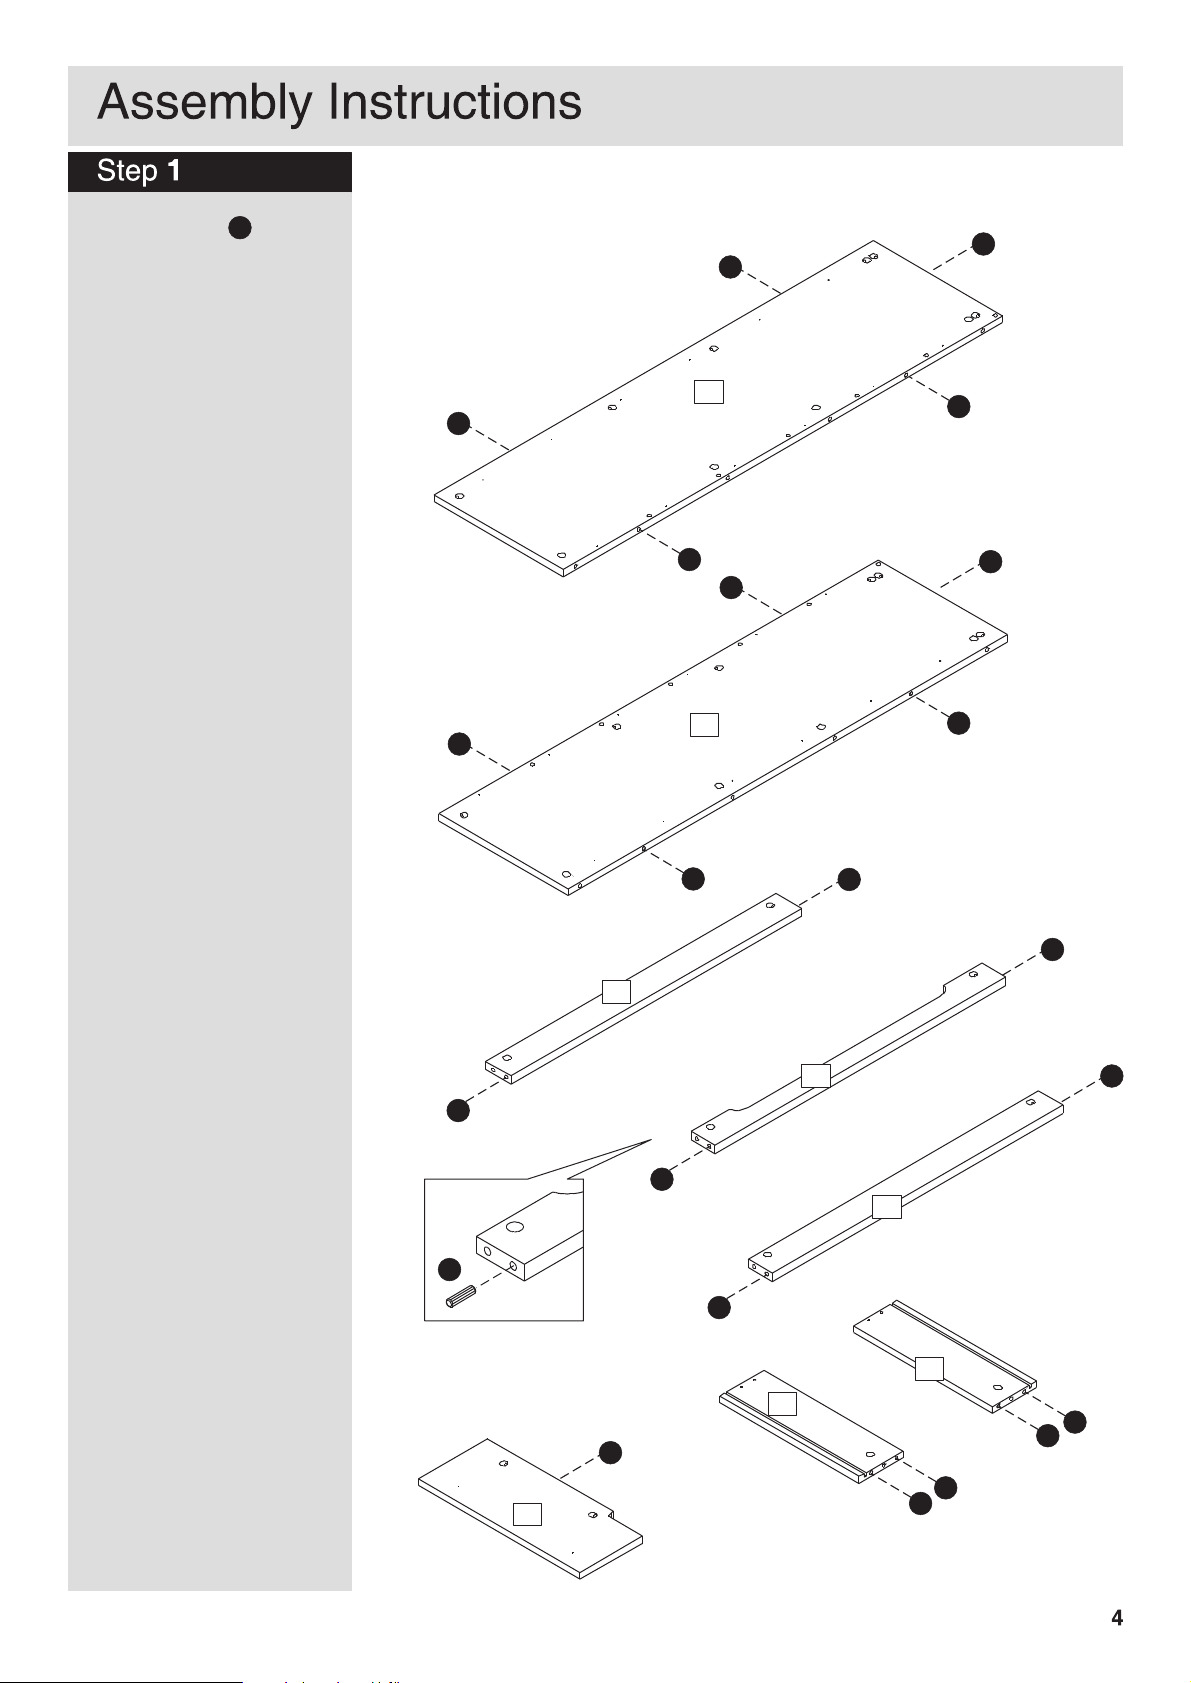
Insert dowels into the
H
indicated parts.
H
H
5
H
H
H
H
2
H
H
H
H
H
H
6x
H
H
9
10
H
11
H
H
7x
13
14
H
7x
8
H
H
H
H
Page 6

A
Fitting metal dowels.
Screw metal dowels
in the indicated parts.
Insert metalNote:
dowels as far as
shown.
Do not over tighten.
A
Attention the position!
A
A
A
A
A
A
A
A
A
7
A
A
A
A
4
A
3
A
6
A
A
Attention:
A
A
A
A
A
A
17
A
1
A
underside
A
A
A
A
A
A
12
5x
2x
Page 7

Step 3
Assembling the sides.
Fit feet and to
6
the right side panel as
shown.
Fit feet and to
3
the left side panel as
shown.
Insert 16 locking nuts
in the indicated pars.
Use a screwdriver to turn
locking nuts clockwise
B
to lock.
Do not over tighten.
B
7
5
4
2
B
B
6
B
B
B
5
B
B
B
7
B
Top
Attention the position!
4
B
B
B
B
B
B
B
B
B
2
Top
3
B
B
6
Page 8

Step 4
Attention the position!
Fixing runners.
Attachright runners
L
to the pre drilled holes
on the right sidepanel
5
usingscrews .
Attach right runner
and left runner to the
E
L
M
pre drilled holes on the
middle panel using
screws as shown.
E
8
Attention pre drilled holes
E
E
Top
E
L
L
E
E
L
8
E
E
L
E
E
L
6x
E
E
E
L
L
Correct position of the screws.
E
E
E
E
L
5
L
E
Attachleft runners
M
to the pre drilled holes
on the left sidepanel
2
usingscrews .
E
Important:
Make sure screws
are fully inserted, otherwise,
drawers may not open and
close easily.
6x
180º
E
E
Correct position of the screws.
M
E
8
E
E
E
M
E
E
2
E
E
E
E
M
M
M
M
E
E
Top
E
E
E
M
M
M
Attention pre drilled holes
7
Page 9

Step 5
Assembling the cabinet.
9
Fit parts , and
to left side panel .
10
2
Insert 8 locking nuts
in the indicated parts.
Use a screwdriver to turn
locking nuts clockwise
B
to lock.
Do not over tighten.
11
B
B
9
9
9
9
9
B
B
B
B
B
9
11
10
B
B
B
2
B
B
B
Step 6
Fixing right side panel.
Fit right side panel
on to cabinet.
Insert 8 locking nuts
in the indicated parts.
Use a screwdriver to turn
locking nuts clockwise
B
to lock.
Do not over tighten.
5
B
B
B
B
B
B
B
5
B
B
B
B
8
Page 10

Step 7
Fit middle panel.
With help, carefully
stand the product upright.
Fit middle panel on to
cabinet as shown.
the measure.
8
Attention toNote:
Step 8
3
5
7
mm
8
357mm
Fixing the top panel.
Fit top panel on to
cabinet.
Insert 6 locking nuts
into top panel where
shown.
Use a screwdriver to turn
locking nuts clockwise
to lock.
Do not over tighten.
1
B
B
6x
B
1
B
B
B
B
6x
B
6x
9
Page 11

Step 9
Fixing back panel.
Important:
Cabinet beMUST
‘square’when back panels
are attached.
Attach back panel
a:
to the left side first using
F
nails .
Position H profile
b:
onto back panel (just
attach).
c:
Carefully slot the
second back panel into
profile and fix it to the
cabinet using nails .
Attention toNote:
the measure.
20
O
20
F
a:
b:
20
c:
F
O
F
F
20
F
F
F
b:
20
20 20
F F F F F F
O
20
100mm
Step 10
Assembling the drawers:
a:
Fit drawer sides
14
and to the large drawer
17
front .
Insert 2 locking nuts
13
B
into drawer sides where
shown.
Use a screwdriver to turn
locking nuts clockwise
B
to lock.
Do not over tighten.
b: Slide large drawer
bottom into slots on
drawer sides.
19
c: Position large drawer
18
back in place, press
the drawer sides and fix
using screws .
C
a:
14
5x
13
B
B
17
18
C
b:
19
5x
c:
5x
C
5x
G
G
N
Using bolts attach
handles to the drawer
G
N
front.
B
B
N
10
Page 12

Step 11
Correct position of the screws
Fixing runners.
Attach right runners
and left runners in the
L
M
bottom edge of the
drawers using screws
as shown.
Make sure
runners are
correctly positioned
according to the diagram
E
E
E
5x
E
E
M
M
E
L
E
L
Step 12
Assembling the small
drawers:
a:
Fit drawer sides
14
and to the small drawer
12
front .
Insert 2 locking nuts
13
B
into drawer sides where
shown.
Use a screwdriver to turn
locking nuts clockwise
B
to lock.
Do not over tighten.
b: Slide small drawer
bottom into slots on
drawer sides.
16
c: Position small drawer
15
back in place, press
the drawer sides and fix
using screws .
C
14
a:
13
c:
2x
15
B
C
2x
12
16
C
b:
2x
G
2x
Using bolt attach
handles to the drawer
G
N
front.
11
B
B
N
Page 13

Step 13
Correct position of the screws
Fixing runners.
Attach right runners
and left runners in the
L
M
bottom edge of the
drawers using screws
as shown.
Make sure
runners are
correctly positioned
according to the diagram
E
E
E
E
2x
E
E
E
M
L
L
M
Step 14
Hook the wheels of the
runners on the back of the
drawers over the wheels
of the runners on the left
and right sides, then hold
the drawers level and
slide backwards into
position.
12
12
17
17
17
17
17
12
Page 14

Step 15
Adjusting drawers.
To move drawers up or
down:
Loosen the screws in the
runners in the side panels,
adjust the drawers to suit
and once drawers are
aligned retighten screws.
Then, add 1 screw in
E
the hole in each runner of
the side panels and middle
panel as indicated.
Step 16
L
M
1
12
E
L
M
2
12
17
17
17
17
17
Fixing to wall.
Furniture must be fixed to
a wall. Fix wall strap to
I
top of furniture using
washer and screw .
J
D
With help, move furniture
into position.
wall
I
D
J
If you need help or have damage or missing parts, call the Customer Helpline: 03456 400 800
13
Page 15

 Loading...