

Page 1
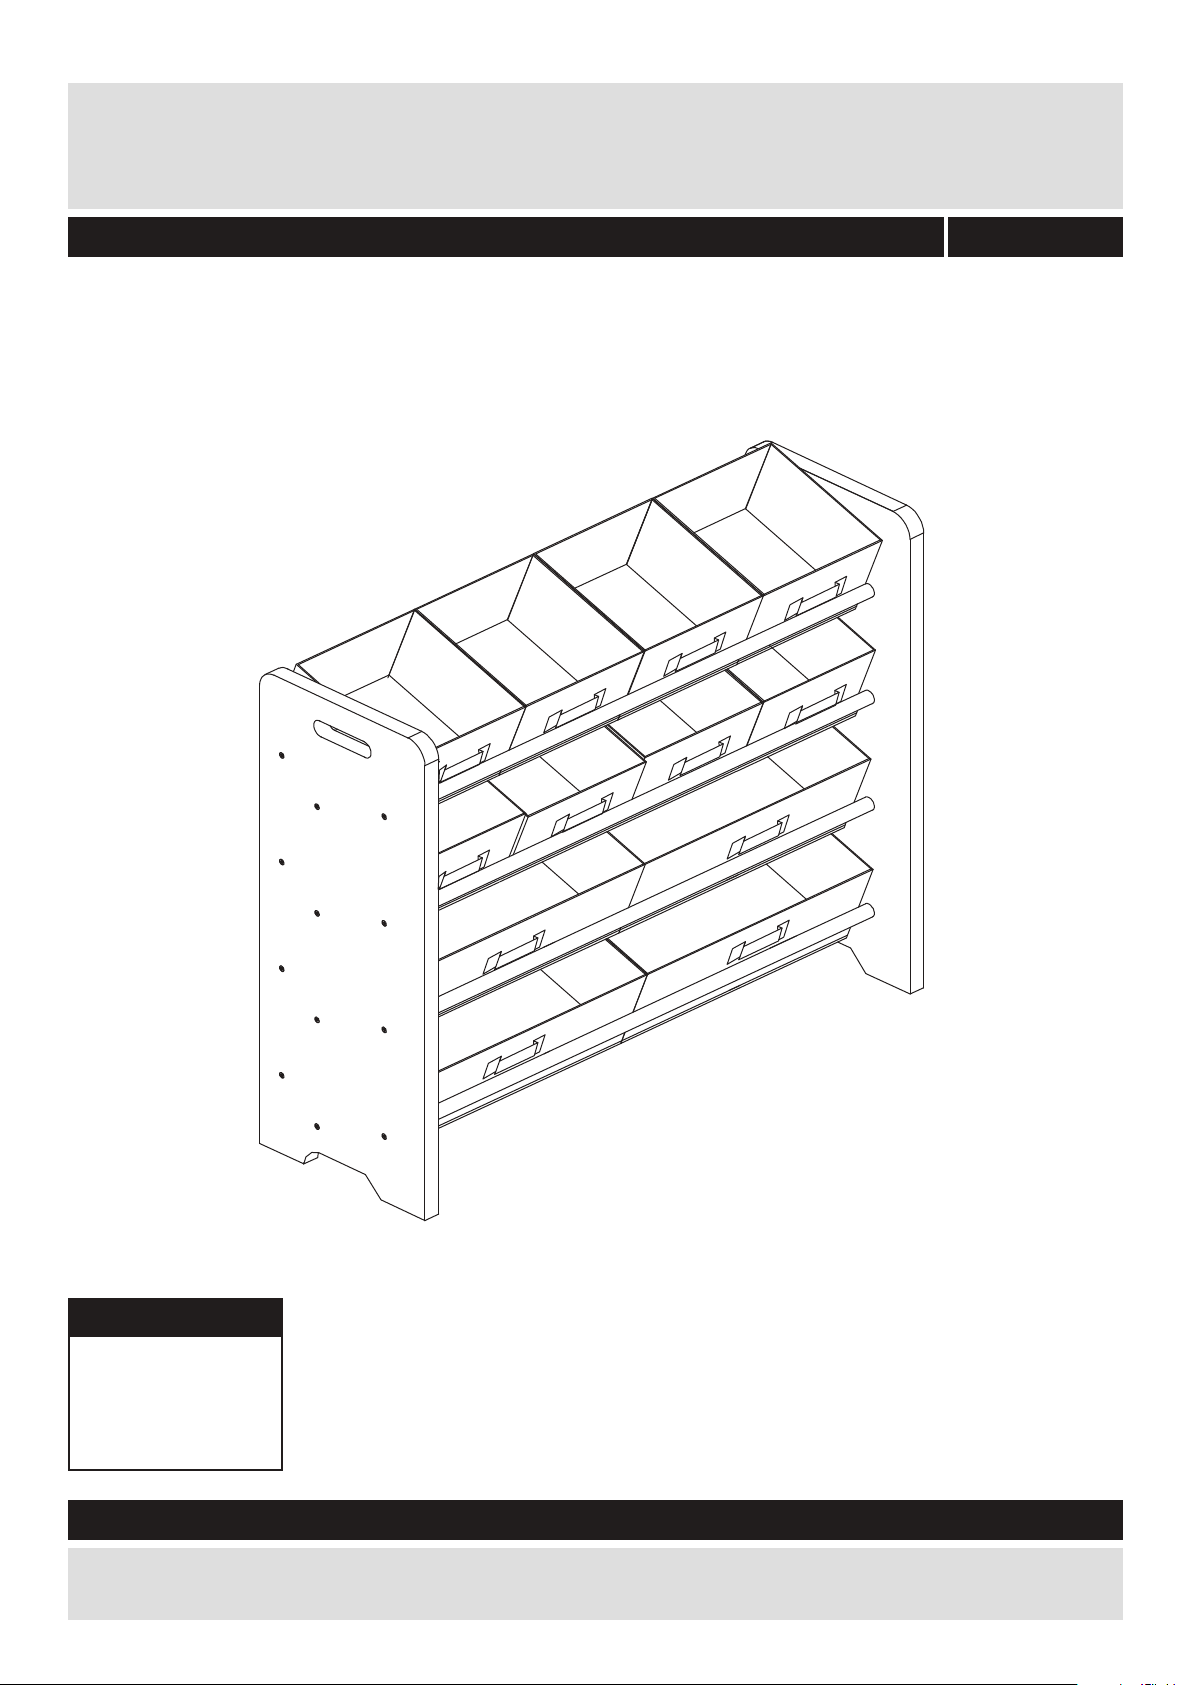
4 Tier 12 Bin Storage Unit
Assembly Instructions - please keep for future reference
600/7320
Dimensions
Width - 85cm
Depth - 30cm
Height - 80cm
Important – Please read these instructions fully before starting assembly
If you need help or have damaged or missing parts, call the Customer Helpline: 0345 640 0800
Issue 1 - 08/09/2016
Page 2
Safety and Care Advice
Important – Please read these instructions fully before starting assembly
Check you have all the
components and tools listed on
pages 3 and 4.
plastic bags and separate them
into their groups.
• Keep children and animals
away from the work area, small
parts could choke if swallowed.
• Make sure you have enough
space to layout the parts before
starting.
Care and maintenance
• Only clean using a damp
cloth and mild detergent, do
no use bleach or abrasive
cleaners.
• Do not stand or put weight on
the product, this could cause
damage.
• Assemble the item as close
room) as possible.
• Assemble on a soft level
surface to avoid damaging the
• Parts of the assembly will be
easier with 2 people.
• From time to time check that
there are no loose screws on
this unit.
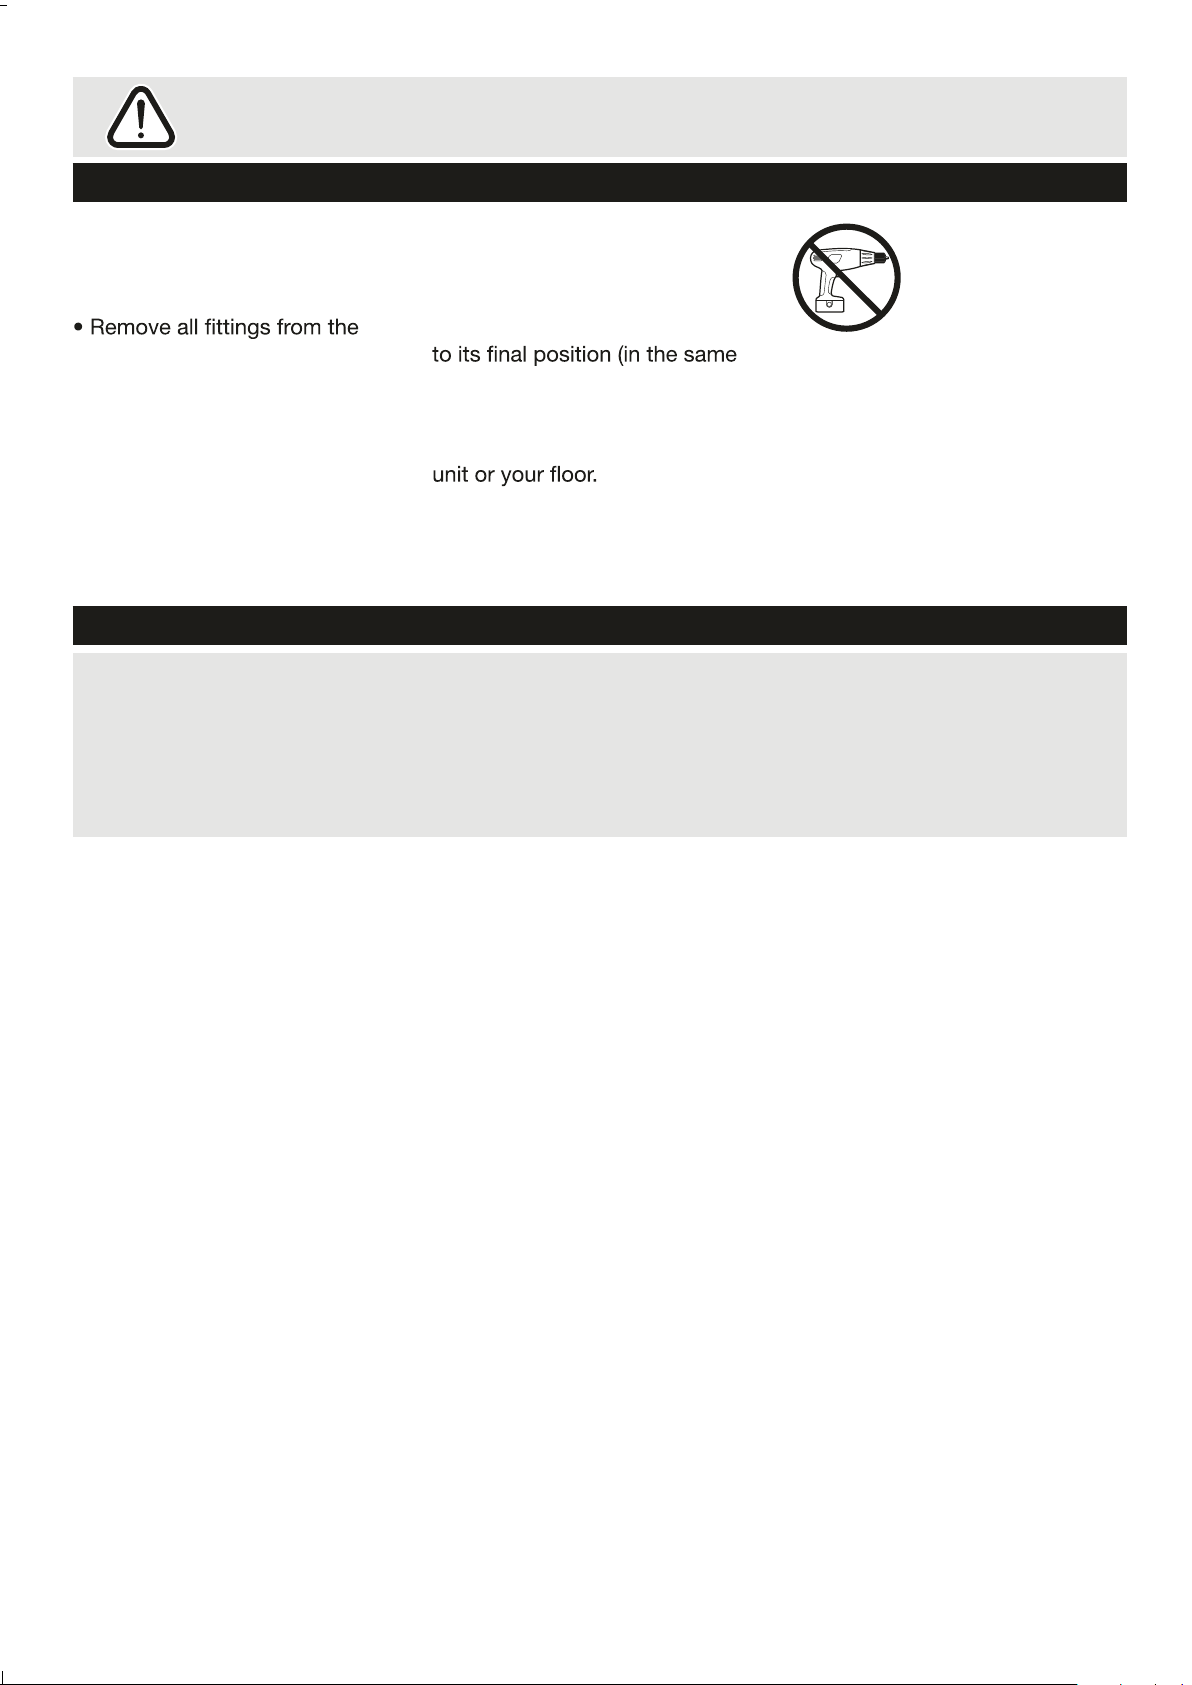
• We do not
recommend the
use of power
drill/drivers for
inserting screws ,
as this could damage the unit.
Only use hand screwdrivers.
• Dispose of all packaging
carefully and responsibly.
• This product should not be
discarded with household
waste. Take to your local
authority waste disposal
centre.
1
Page 3
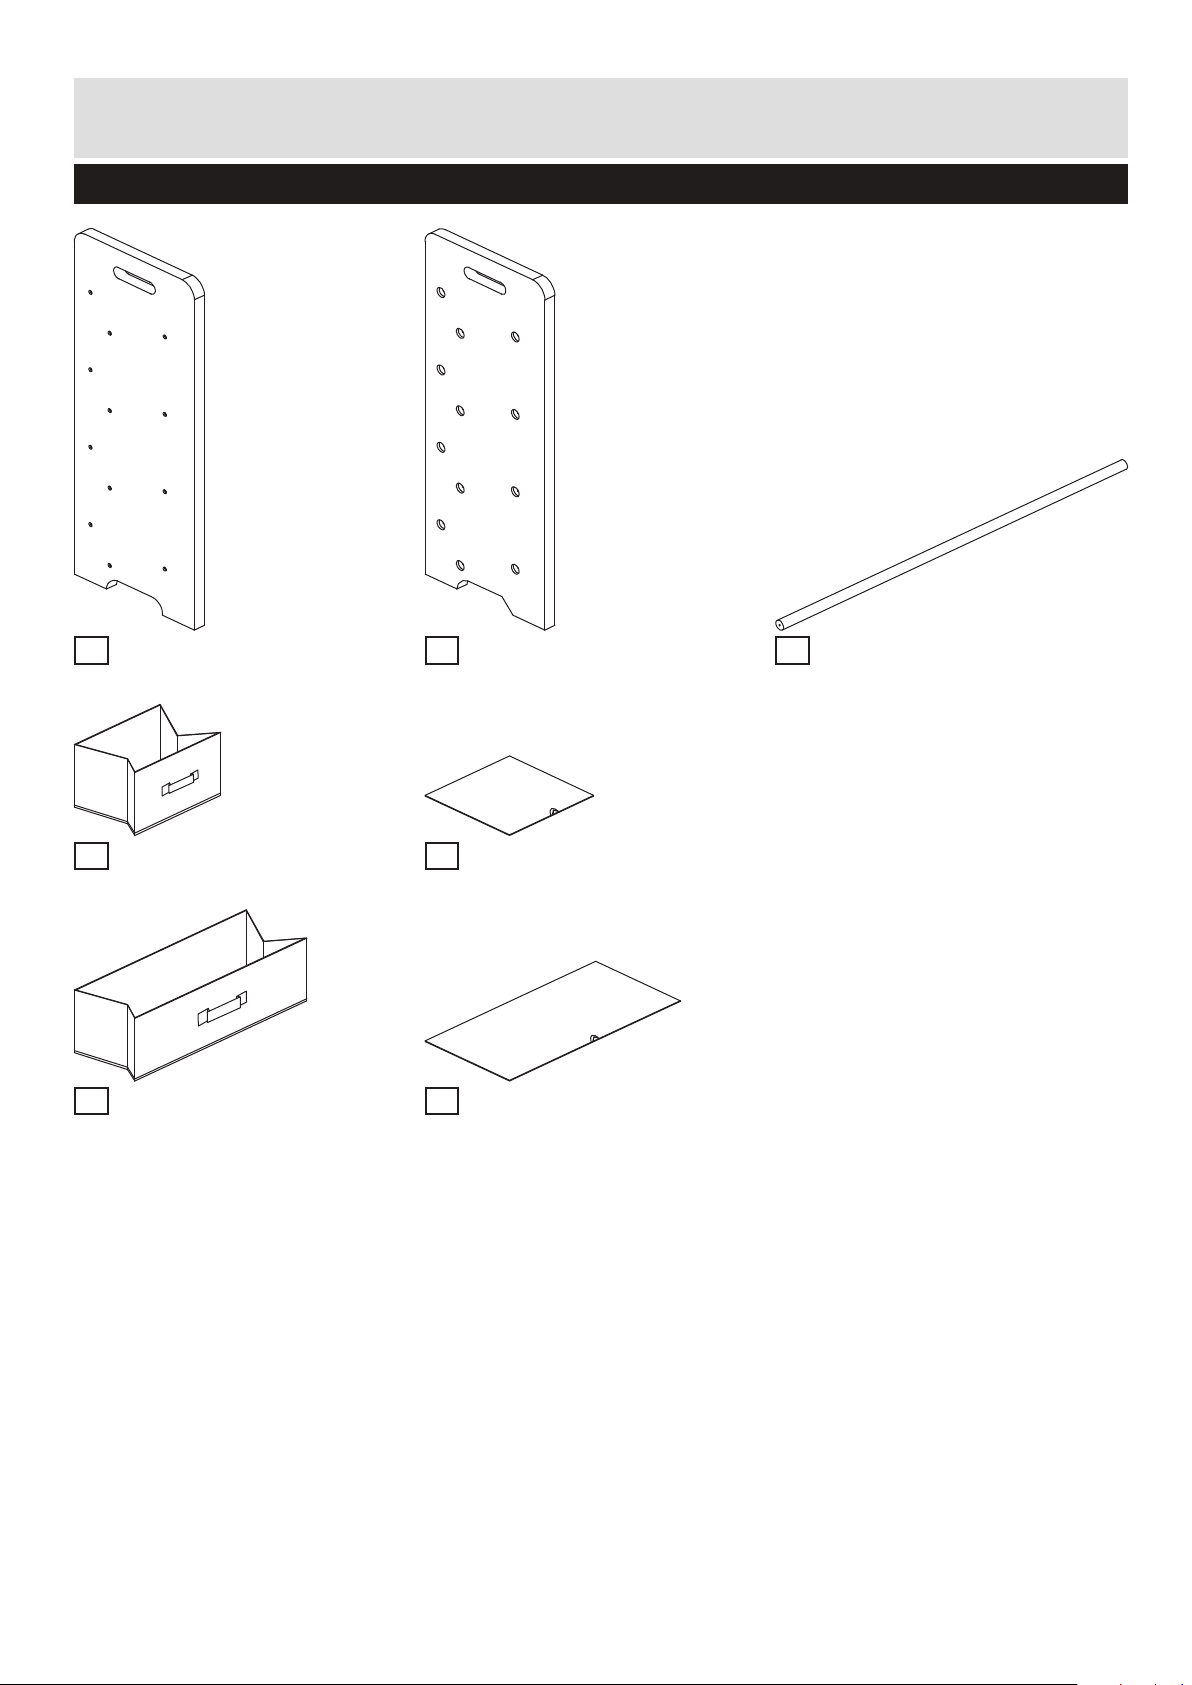
Components - Panels
Please check you have all the panels listed below
1
Left side x 1
(78.5(h)cm x 30(d)cm)
4
Small box x 8
(20(w)cm x 25(d)cm)
6
Large box x 4
(40(w)cm x 25(d)cm)
2
Right side x 1
(78.5(h)cm x 30(d)cm)
5
Small box base x 8
(19.5(w)cm x 24.5(d)cm)
7
Large box base x 4
(39.5(w)cm x 24.5(d)cm)
3
Rail x 12
(83.5(w)cm x 1.6(dia)cm)
2
Page 4
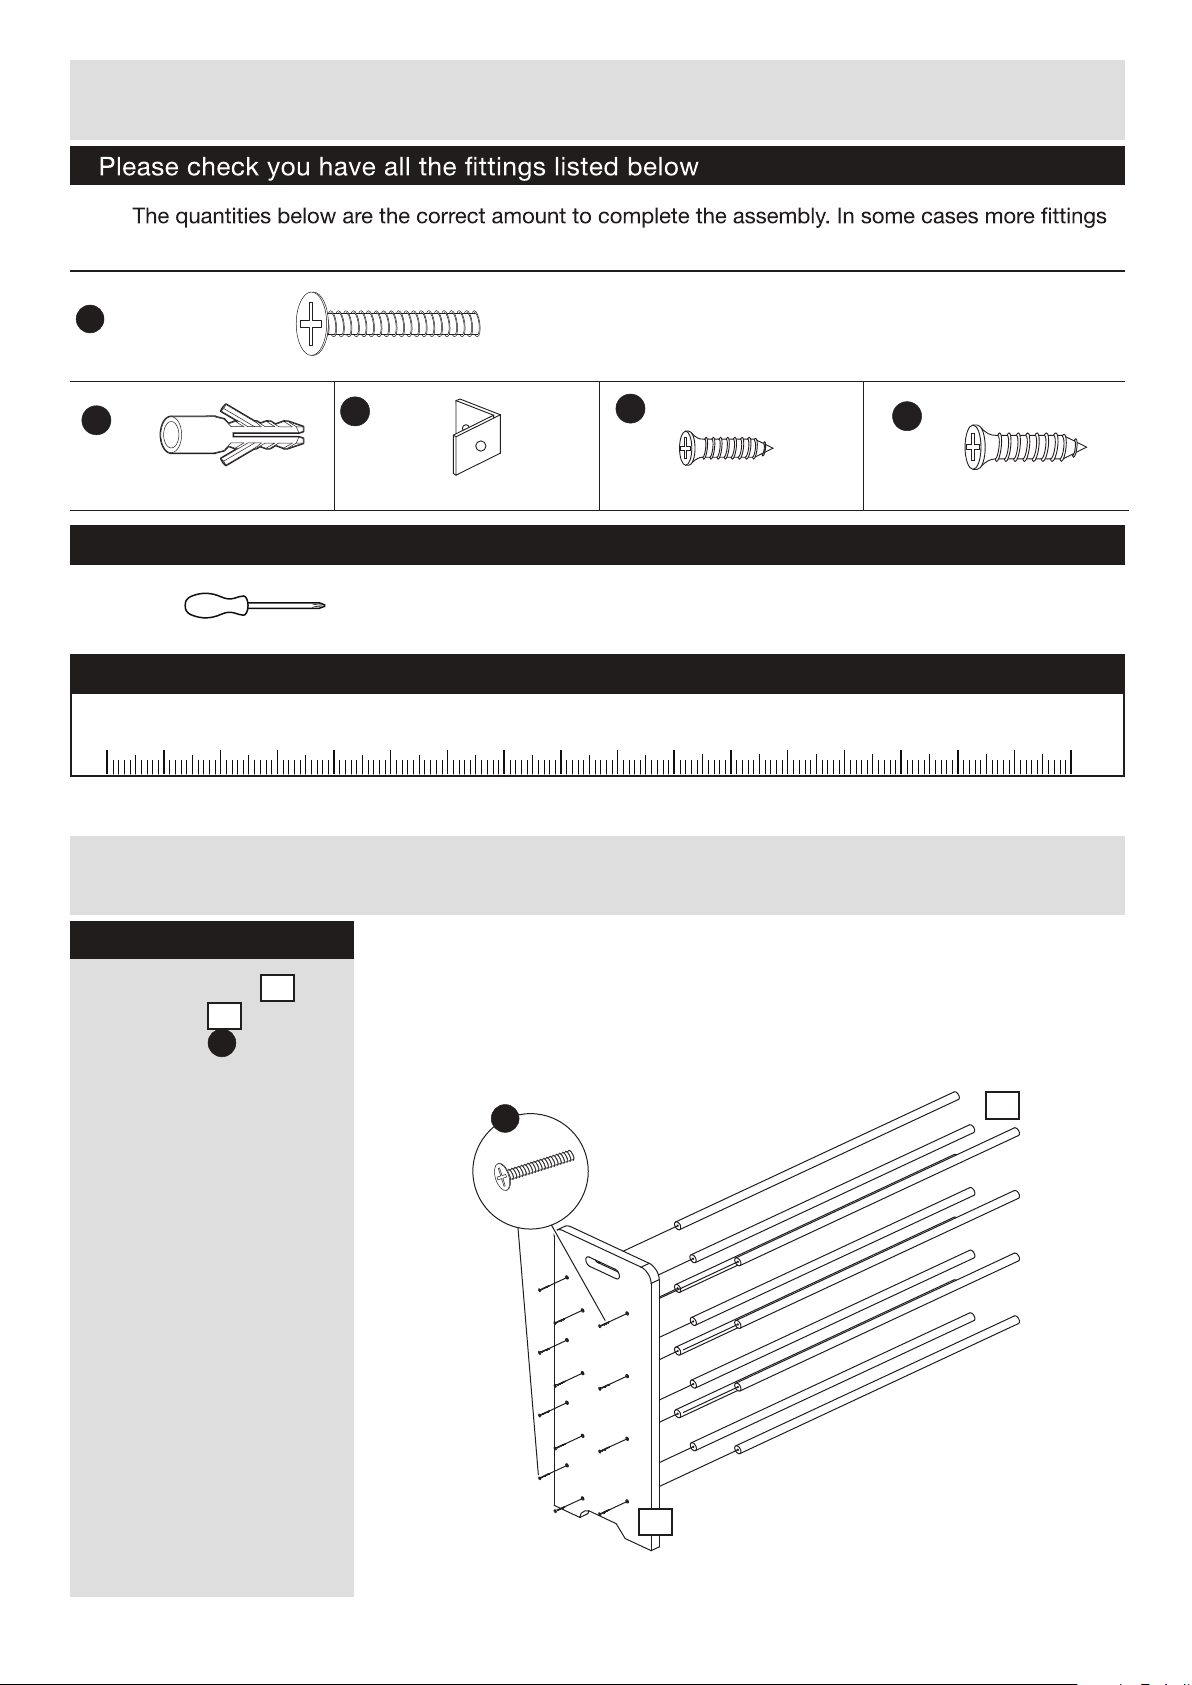
Components - Fittings
Note:
may be supplied than are required.
If you have damaged or missing components,
call the Customer Helpline: 0345 640 0800
A
Machine Screw x 24
B
Wall Plug x 2 Wall Bracket x 2
C
D
10mm Screw x 4
Tools required
Crosshead screwdriver
Ruler – Use this ruler to help correctly identify the screws and parts
105
0 5 10 15 20 25 30 35 40 45 50 55 60 65 70 75 80 85 90 95 100
110 115 120 125 130 135 140 145 150 155 160 165 170
Assembly Instructions
E
35mm Screw x 2
Step 1
Connect the rails
the left side
12 x screw
shown.
1
A
3
using
as
to
A
1
3
3
Page 5

Assembly Instructions
Step 2
Connect the right side
2
using 12 x
screw
The unit is floor
standing, but it is
recommended that the
unit is secured to the
wall.
On reverse attach 2 x wall
bracket using 2 x
screws per bracket
Move the units into
desired position.
Mark the wall with a
suitable scribe the
position of the xing
hole.
A
.
C
D
B
C
E
D
2
A
Warning:
Before driling,check
wall for hidden pipes
and cables.
Drill holes and insert 2 x
wall plug D
Secure the brackets to the
wall using 2 x screw
B
E
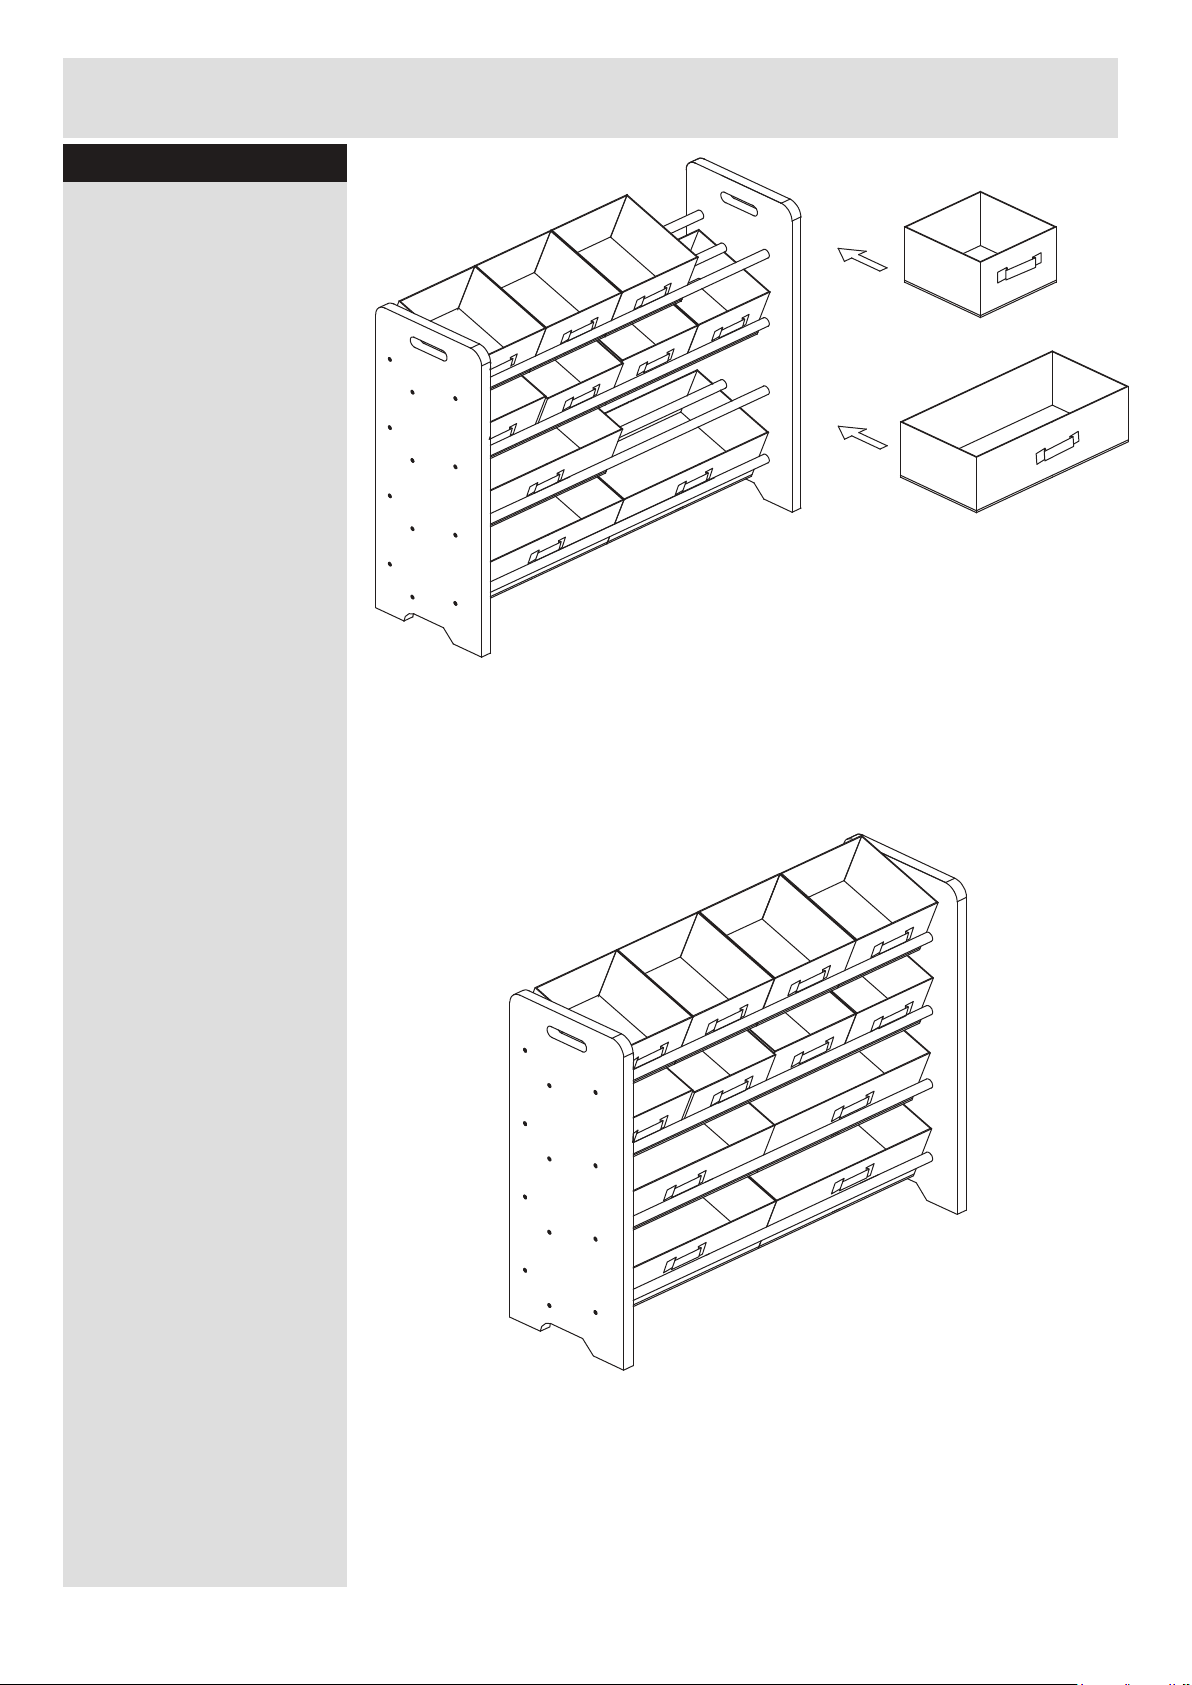
Step 3
Expand the small boxes
4
and insert a small
box base
5
in each.
Step 4
5
4 4
7
Expand the large boxes
6
and insert a large
box base
4
7
in each.
6 6
Page 6
Assembly Instructions
Step 5
Set the storge boxes
onto the rails as shown.
Assembly Complete
5
Page 7
 Loading...