

Page 1
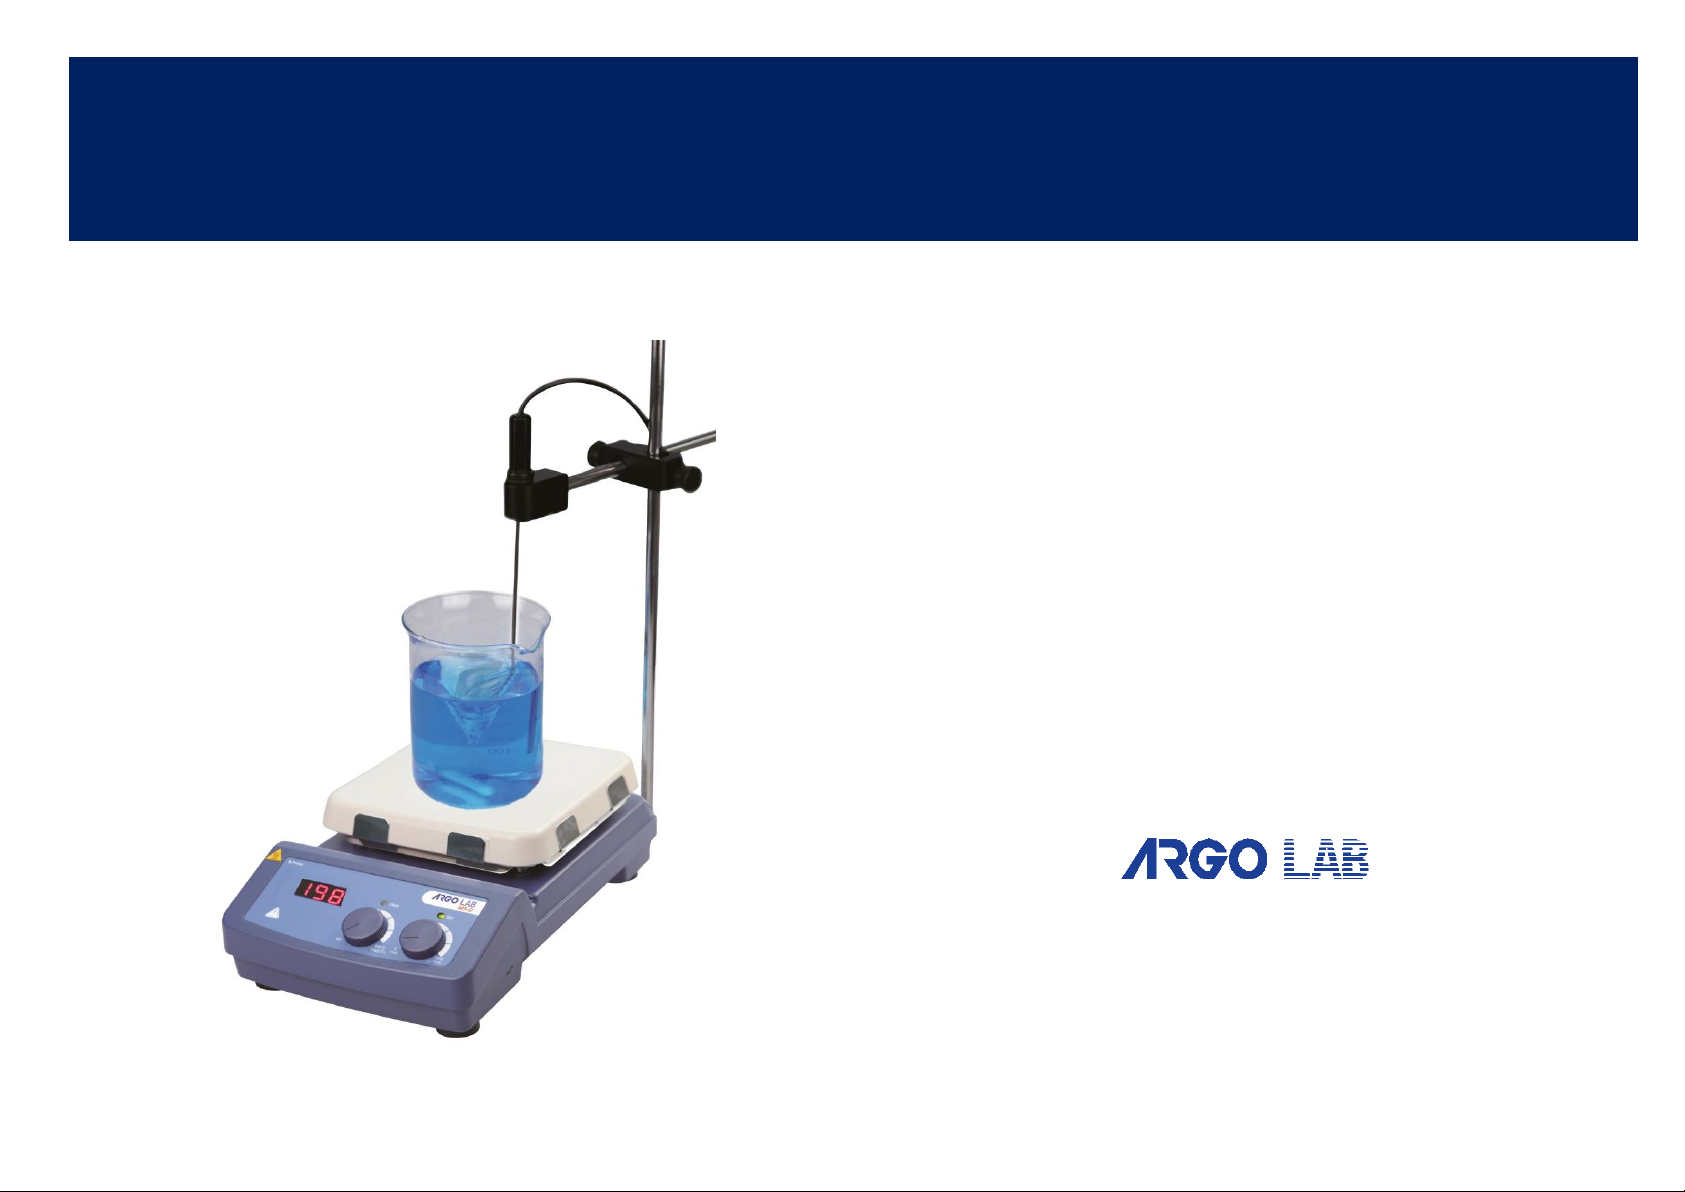
ARGO LAB M3-D
Digital glass ceramic hotplate magnetic stirrer
User manual
Page 2

Page 3
• Read the instructions carefully before use
• Ensure that only qualified personnel using this tool
• Do not heat flammable or highly volatile substances
• Be very careful when you touch the heater plate. It can
reach a temperature of 550 ° C. Pay attention even when the
power has been turned off because the plate stays hot even
longer.
• Before use, make sure the instrument is connected to an
outlet with a ground connection.
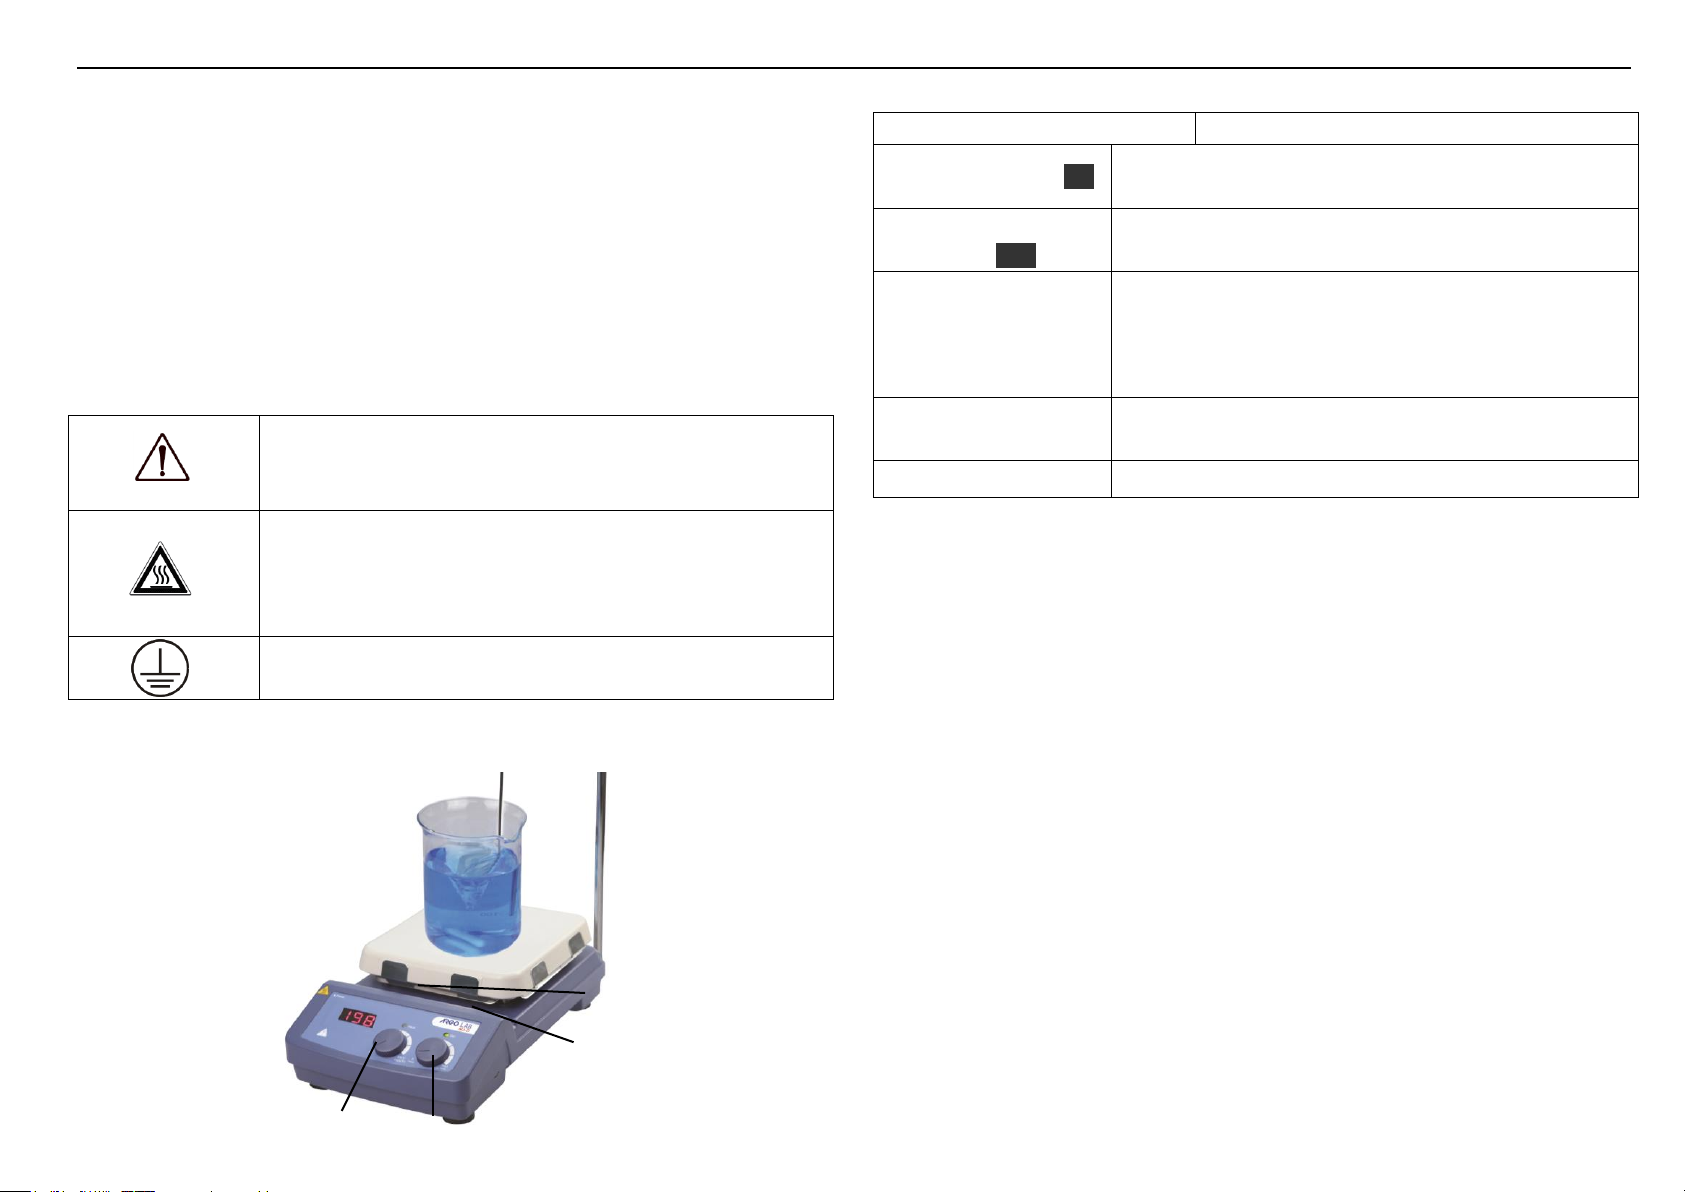
Items
Description
Speed control Knob Stir
The stirring function is switched ON or OFF by rotating the
knob.
Temperature control
knob Heat
The heating function is switched ON or OFF by rotating the
knob.
LED
If rotate the heating knob, LED displays the temperature
setting value and shift to real value in the duration of 5
seconds.
LED Heat
When the heating function is switched ON, the LED Heat
flash.
LED Stir
When the instrument is switched ON, the LED Stir is lit.
Heating knob
Stirring knob
Heating
LED
Stirring
LED
1 Warranty
Thank you for purchasing an instrument Argo Lab. This instrument is warranted under
normal use for a period of 24 months from the date of purchase.
The warranty is valid only if the product is in original conditions. It does not apply to
any product or parts of it that have been damaged due to incorrect installation, improper
connections, improper use, accident or abnormal conditions of operation.
The manufacturer declines all responsibility for damage caused by failure to follow
instructions, lack of maintenance and any unauthorized modification.
2 Safety instructions
3 Controls
4 Trial run
• Ensure that the mains voltage corresponds to the supply required.
• Make sure the wall outlet have a proper grounding.
• Make sure the power switch is turned off.
• Connect the network cable.
• Place the solution you want to mix in a bowl with the bar magnet.
• Place the container on the plate of the instrument.
• Set the stirring speed and let it go..
• Set the desired temperature and start to heat.
• Stop stirring and heating.
If the above operations were carried out in a normal way, the device is ready for
operation. Otherwise, the device may have been damaged during transport, please
contact the manufacturer for technical support.
5 Work with external temperature probe
If the external temperature sensor is connected and the heating control knob is rotated,
the display shows the set temperature and the actual value to vary in 5 seconds. An
automatic comparison between the temperature of the plate and that detected by the
external probe allows a more precise control of the temperature of the sample.
If you need the external temperature probe, you should connect it before turning the
Page 4

Voltage - Frequency
220V – 50/60Hz
Max stirring quantity (H2O)
10 litri
Max magnetic bar
80 mm
Speed range
0… 1.500 rpm
Speed indication
Digital display LED
Hotplate material
Glass ceramic
Hotplate dimensions
184 x 184 mm
Power
1000 W
Temperature Range
RT to 550 °C
Temperature display accuracy
1 °C
Safety temperature limit
580 °C
External temperature probe
PT1000
Dimensions (W x D x H)
215×360×112 mm
Weight
4,5 kg
Permitted ambient temperature
5 ÷ 40 °C
Permitted relative humidity
80%
Protection class IP
IP42
Information regarding the disposal of electrical and
electronic equipment European Union.
Electrical and electronic equipment marked with the symbol on
the side cannot be disposed of in landfills.
In accordance with EU Directive 2002/96/EC, the European users of electrical and
electronic equipment have the opportunity to give back to the distributor or
manufacturer upon purchase of a new one.
The illegal disposal of electrical and electronic equipment is punished with an
administrative fine.
instrument.
Make sure that the outside temperature sensor is properly connected and included in the
sample before heating.
6 Maintenance and Cleaning
• A Proper maintenance of the instrument guarantees the condition and extend its life.
• Unplug the power cord before cleaning.
• When cleaning, be careful not to spray the cleaner inside the instrument.
• Use only mild detergent and do not contain abrasives.
• Before starting with any cleaning or decontamination, the user must ensure that the
method used does not damage the instrument.
• Wear suitable protection when cleaning with chemicals
• If the instrument must be returned for service, it is necessary to provide for proper
cleaning and possible decontamination by pathogens of the same. You should also put
the instrument in its original packaging to send it to service center.
7 Associated standards and regulations
Construction in accordance with the following safety standards:
EN 61010-1
UL 3101-1
CAN/CSA C22.2(1010-1) EN 61010-2-10
Construction in accordance with the following EMC standards:
EN 61326-1
Associated EU guidelines:
EMC-guidelines: 89/336/EWG
Machine guidelines: 73/023/EWG
8 Technical datasheet
9 Disposal
 Loading...