

Page 1
7-BAND EQUALIZER WITH DIRECT SUB INPUT
3-WAY CROSSOVER WITH SUB SONIC FILTER
MANUAL AND USER GUIDE
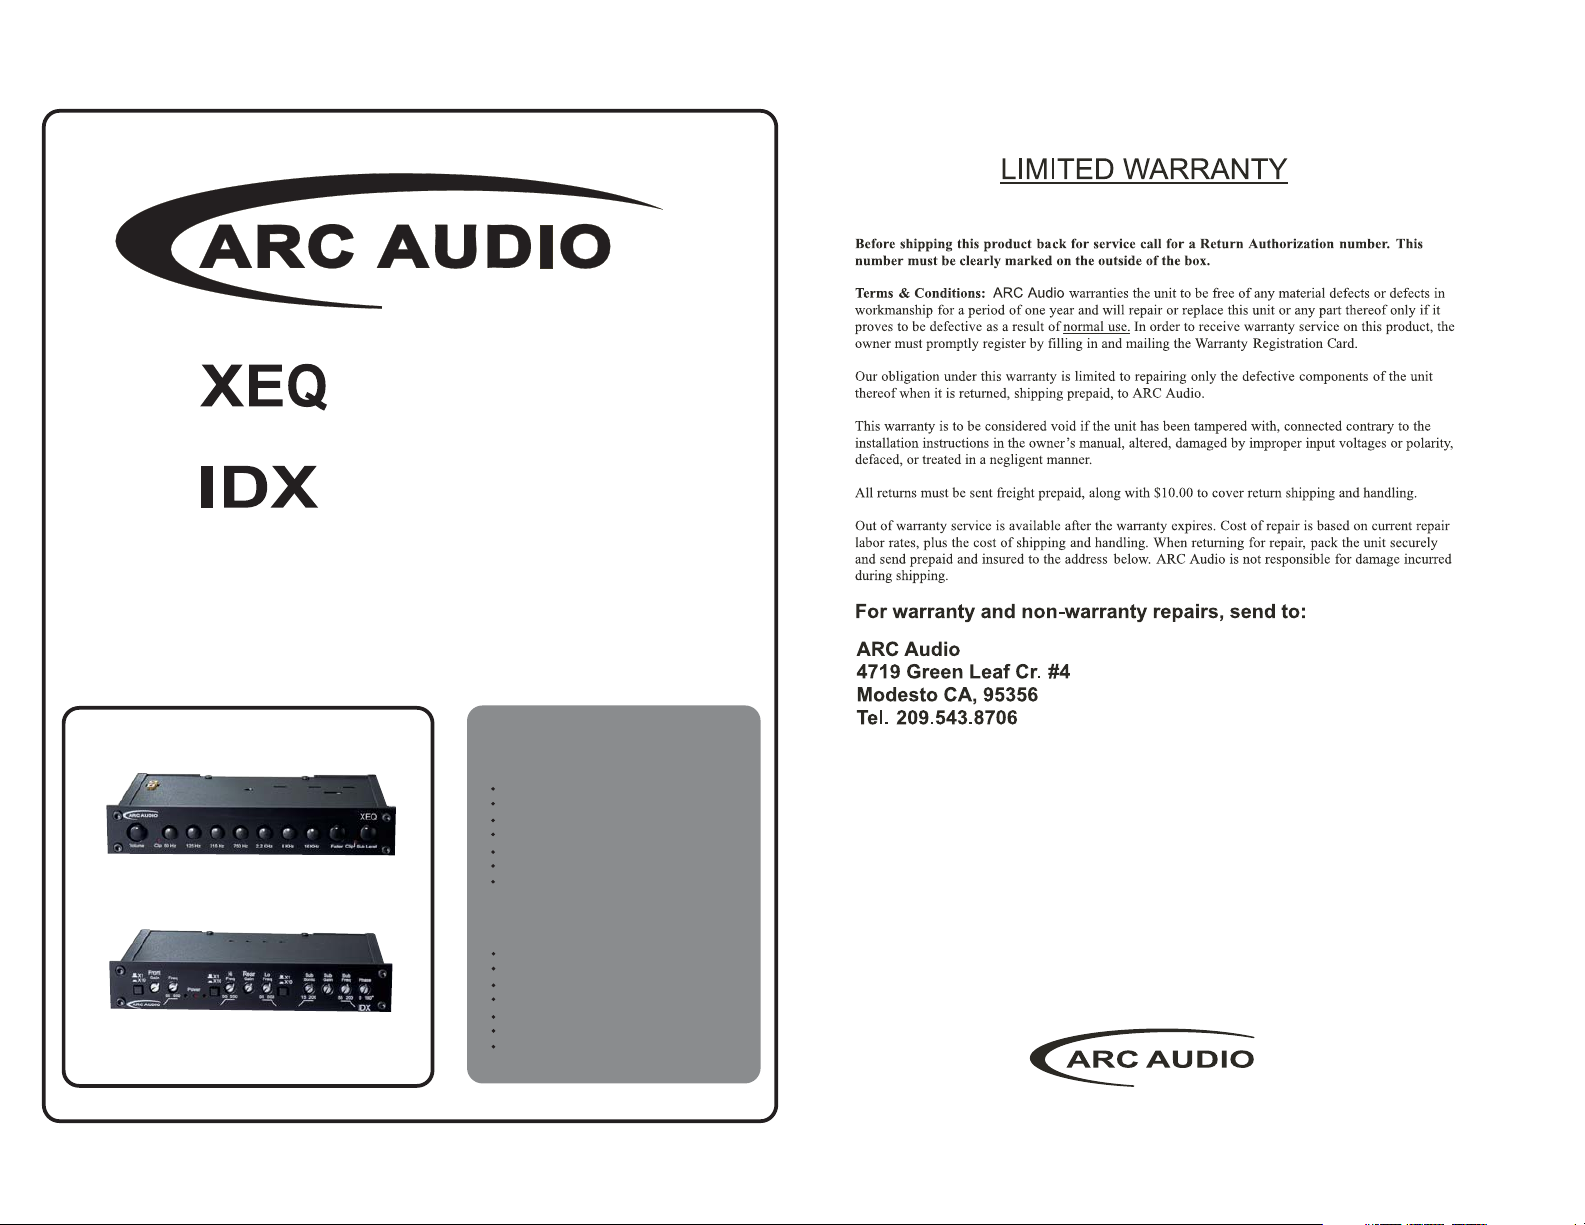
XEQ
Front panel Sub output level control
Variable Sub woofer Crossover
Variable Sub woofer Crossover
4-Layer PC Board with SMT Devices
Direct "Sub Input"
8 Volt RMS Output
Input Clip Indicator for Easy Gain Setting
IDX
Fully Variable Band Pass Crossover
Sub Sonic Filter
Variable Sub Phase Shift
4-Layer PC Board with SMT Devices
Independent Front and Rear Inputs
8 Volt RMS Output
Output Clip Indicator for Easy Gain Setting
Page 2

XEQ
Table of Contents
XEQ
XEQ IDX
Introduction
Features
Advanced Features
Installation Information
Connections and Controls
Detailed Review of Controls
1
2
2
3
4
5
System Examples
2-Way with Direct Sub Input
2-Way with Fading Front and Rear
Specifications
IDX Manual
Introduction
Welcome to the Arc Audio family of performance signal processors. A blend of Arc Audio's
lengthy experience in performance car audio design combined with our highly skilled
engineering staff. You are now the proud owner of the IDX or XEQ. A unique combination
of the highest quality analog components and precision engineering. Whether you are a
competitor or simply enjoy faithfully reproduced music, you will definitely appreciate how
these products make your system sound. These components aren't the easiest to
understand and use. They require a good understanding of audio and the terms and
language used to describe it. You don't have to be a genius but a bit of experience and
common sense will go a long way. This manual is written in 2 parts IDX and XEQ. Each of
these units can be used separately or together to become the Control Center. Before you
begin read this manual cover to cover (does anyone ever really read the manual?).
Carefully design your system and decide on your basic crossover points. This will give you
a good starting point and a reference to return to when you begin final tuning. If at any
point you begin to feel overwhelmed, return to your local Arc Audio dealer and let the
trained professionals install or tune it for you.
6
7
8
9
Features:
1. 7 Band Equalizer
2. Variable Sub woofer Crossover
3. Front panel sub woofer output level control
4. 8 Volt RMS Output
5. Direct "Sub Input" for Head units with Sub woofer Output
6. Sub EQ Bypass
7. Input Clip Indicator for Easy Gain Setting
8. 4-Layer PC Board with SMT Technology
9. Front and Rear Fader
10. Quiet Mute for Noise Free Turn-on's
Advanced Features
Direct Sub Input
The XEQ is equipped with a "Direct Sub Input" That allows you to take
full advantage of modern head units with Special features like, Sub
Output, Time Alignment, Bass Restoration, And Sub Crossover. You paid
for these features. We feel you should be able to use them and still enjoy
the benefits of a high quality in-dash EQ. By connecting your head unit
Sub out to the "Direct Input" All these features still work. All the signal
from your Sub out is directed to the Master Volume then to the Sub Level
and Sub Crossover. With the XEQ you get the best or both worlds.
Advanced System Controls and the full benefit of a High quality 7 Band
EQ.
1
XEQ
XEQ
2
Page 3

Installation Information
The Connections and Controls
1. The XEQ needs to be installed in the signal path between your source
unit and your external amplifier(s).
2. Physically mount the XEQ near the drivers listening position. Make sure
the EQ is kept clean, cool, and dry. Don't mount it under a cup holder or in
a storage box were it will be covered with the stuff that always seems to
collect in our cars.
3. . Hook up +12 volt power, ground, and remote turn-on. Make sure the
ground is perfectly clean and tight. Remove all the paint and under coat
before you screw it down. Don't trust the stock ground. Make a new one.
4. Connect the front output of you head unit to the front input of the XEQ.
5. Connect the Sub out to the "Direct Sub Input". This is optional. Make
sure the switches on top are configured correctly.
6. Don't fix the EQ permanently into place until your gains have been set.
7. Adjust the "Input Level" control on your XEQ to match the source unit's
output. With the head unit volume at about 75% of max, move the gain
switch from 0dB to +6 dB. Look at the input clip light on the front of the
EQ. It should NOT be on. It may flash occasionally. If it doesn't flash, move
the gains to +12dB. Unless you have a very low output head unit the clip
light will surely be flashing now. If it is move back to +6dB or +0dB.
8. Now the fun begins. With the EQ still out, begin adjusting the sub
crossover. Try to find a good neutral. You can always change the level
later.
1. Front Output
2. Rear Output
3. Input
4. Sub "Direct Input"
5. Sub Output
6. Power Connector
7. Input Gain
8. Sub Input Gain
9. Sub Crossover Switch
10. Sub "Direct Input" Switch
11. Sub EQ Bypass
12. Sub Frequency Control
13. Master Volume
14. Clip Indicator
15. EQ Frequency Controls
16. Fader
17. Sub Volume
1
78
2
9
10 11
12
XEQ IDX
3
45
6
3
9. Start tweaking. It's amazing how much a tiny adjustment to your EQ
frequency can change your system.
10. Enjoy the results
XEQ
13
14
15
16
14
XEQ
17
XEQ
4
Page 4

1. Front Output: Simply connect to the amplifier driving the front speakers. This is a full
range output so if you plan to run it hard you should use a crossover at this point.
2. Rear Output: Just like it sounds, this is connected to the rear amp.
3. Input: Main Input should be a full range signal from the head unit. If you are using the
Sub Direct Input the signal could be crossover but the EQ will function better if you feed it a
full range signal.
4. Sub "Direct Input": This is where things get a little tricky. If your deck has a sub woofer
output with any kind of advanced feature you may wish to use the Sub Direct Input. This
input bypasses the EQ section and feeds signal to the Master Volume and to the Sub Out. In
this way all you features still work
.
5. Sub Output: Connect to your Sub woofer amp or amps.
6. Power Connector: 12 Volt +, Remote and Ground. We recommend using a dedicated 12
Volt+ from the battery and a fresh ground. Remember this EQ has an 8-volt output. It takes
a good amount of current to run.
7. Input Gain: Most modern head units have between 4 and 8-volt outputs. With this input
level the XEQ gains should be left at +0dB. Only use the +6dB and +12dB in extreme
conditions were you just can't get enough gain from the head unit.
8. Sub Input Gain: I know it's tempting to add a bit more gain to the Sub input but this isn't
the place to do it. I most cases it should match the input gain
.
9. Sub Crossover Switch: The XEQ has a 12dB Sub woofer crossover. This feature can be
bypassed by setting the switch to "Full". Warning: The Sub Out will now be Full Range.
10. Sub "Direct Input" Switch: Bypasses the EQ and routes the sub signal directly to the
"Sub Out" allowing the use of the advanced features in your head unit.
11. Sub EQ Bypass: With this switch it is possible to bypass the EQ for the sub out. This
could be helpful for tuning your mid bass woofers without making any changes to the sub
woofers. This switch must be in "Bypass" mode if you are using the "Sub Direct In".
12. Sub Frequency Control: Be sure to make your final adjustments to the Sub crossover
before you mount the unit into the dash of your car. You will need to complete your tuning
first.
13. Master Volume: Controls all Output including the "Sub Out". It is very handy to have
one volume under your thumb for "Fast" and easy control.
14. Clip Indicator: Use these as a guide. If the clip lights are flashing you're in the 'Danger
Zone" If the system can't get loud without the Clip lights flashing, reevaluate your gain
setting.
15. EQ Frequency Controls: If you know what an EQ does, you most likely know what
these do. We've crammed 7 bands into the XEQ, for ultimate control at your fingertips.
16. Fader: Full front/rear control to keep the people in the back seat happy.
17. Sub Volume: Or Sub Out level, gives you total control of the Sub Gain at any time.
2-WAY With DIRECT SUB INPUT
XEQ IDX
XEQ
Optional
5
XEQ
XEQ
6
Page 5

2-WAY With FADING FRONT and REAR
XEQ
XEQ SPECIFICATIONS
Signal to Noise Ratio (A-Weighted)
THD @ 8.0V Output
Channel Separation
EQ Frequency Range @ 50Hz
100Hz
275Hz
770Hz
2.2KHZ
6.0KHz
16.8KHZ
Sub Woofer Crossover
Input Impedance
RMS Output @ 1KHz
Frequency Response
XEQ IDX
>100dB
0.005%
>75dB
+/- 12dB, Q=1.38
+/- 12dB, Q=1.20
+/- 12dB, Q=1.25
+/- 12dB, Q=1.18
+/- 12dB, Q=1.08
+/- 12dB, Q=1.10
+/- 12dB, Q=0.98
45Hz-150Hz 12dB/Octave
15K Ohms
9.0 Volts
20Hz-30KHz
7
XEQ
Optional
XEQ
8
Page 6

IDX
Table of Contents
Introduction
Features
Installation Information
Connections and Controls
Detailed Review of Controls
System Examples
2-Way Fading Front and Rear
3-Way With Active Filtering
for Mids and Tweeters
3-Way With Active Filtering for
Mid Bass and Component Set
Specifications
Introduction
Welcome to the Arc Audio family of performance signal processors. A blend of Arc Audio's
lengthy experience in performance car audio design combined with our highly skilled
engineering staff. You are now the proud owner of the IDX or XEQ. A unique combination
of the highest quality analog components and precision engineering. Whether you are a
competitor or simply enjoy faithfully reproduced music, you will definitely appreciate how
these products make your system sound. These components aren't the easiest to
understand and use. It requires a good understanding of audio and the terms and
language used to describe it. You don't have to be a genius but a bit of experience and
common sense will go a long way. This manual is written in 2 parts IDX and XEQ. Each of
these units can be used separately or together to become the Control Center. Before you
begin read this manual cover to cover (does anyone ever really read the manual?).
Carefully design your system and decide on your basic crossover points. This will give you
a good starting point and a reference to return to when you begin final tuning. If at any
point you begin to feel overwhelmed, return to your local Arc Audio dealer and let the
trained professionals install or tune it for you.
9
10
11
12
13-14
15
16
17
18
IDX
XEQ IDX
Features:
1. 3-WAY Electronic Crossover
2. ½ DIN Mounting Option
3. Fully Variable Band Pass Crossover
4. Sub Sonic Filter
5. Variable Sub Phase Shift.
6. Independent Front and Rear Inputs
7. 8 Volt RMS Output
8. Output Clip Indicator for Easy Gain Setting
9. 4-Layer PC Board with SMT Technology
10. Quiet Mute for Noise Free Turn-on's
Advanced Design Features
The IDX is designed to take full advantage the front listening positions by
making it easier to make adjustment without constantly jumping in and
out of the car. Clearly this method does not require the sound memory
typically needed to tune a system. You hear any change you make while
your hand is still on the control. If it works you leave it. If it doesn't you
can change it back immediately. This reduces the time needed to "Get
into the Ballpark" and get down to some serious fine-tuning.
.
9
IDX
IDX
10
Page 7

Installation Information
1. The IDX needs to be installed in the signal path between your source unit and your
external amplifier (s).
2. Because of it's small size the IDX can be mounted almost anywhere. The chassis
is designed to fit a 1/2 DIN opening. however it will work just as well under a seat or
in the trunk. For easiest tuning mount it near the drivers listening position. Make sure
the Crossover is kept clean, cool, and dry. Don't mount it under a cup holder or in a
storage box were it will be covered with the stuff that always seems to collect in our
cars.
3. . Hook up +12 volt power, ground, and remote turn-on. Make sure the ground is
perfectly clean and tight. Remove all the paint and under coat before you screw it
down. Don't trust the stock ground. Make a new one.
4. Connect the front output of you head unit to the front input of the IDX.
5. You may choose to connect the rear output of the head unit to the rear input of the
crossover. This is optional. Make sure the switches on top are configured correctly.
6. Connect your outputs to your amplifier (s) It is recommended that you mark your
RCA cables at both ends. This will avoid confusion and reduce the trouble shooting
later on.
7. Don't fix the IDX permanently into place until you have configured all your
crossovers.
8. Now the fun begins. Start tweaking. It's amazing how much a tiny adjustment to
your crossover frequency can change your system.
This is a very abbreviated description of a typical install. Every install is a bit different.
Take your time and read your instructions (you know you should). If you begin to feel
you're getting in over you head, Pack it back up and take it to your nearest ARC
Audio dealer for professional installation.
Alternate Mounting Locations
Modern vehicles can be a real challenge to the creativity of your installer. The
compact design and side mounted controls of the IDX open up many more options
for you.
Under seat installation and tuning has always been a nightmare with traditional
crossover designs but the IDX can be easily tuned without removing the seat.
Likewise, many compact cars have small bins in the trunk that seem made for the
IDX.
With a little creativity the IDX can do almost anywhere. When you stop and think
about it, it's really more versatile the a traditional design.
The Connections and Controls
1. Front Input
2. Rear Input
3. Front Output
4. Rear Output
5. Sub Output
6. Power Connector
7. Input Mode Switch
8. Front Crossover Switch
9. Rear Hi Pass X-over Switch
10. Rear Low Pass Switch
11. Sub Sonic Filter Switch
12. Sub X-Over Slope Switch
13. Front X-Over X10 Switch
1
7
13
2
8
9
14
17
16
15
14. Front X-Over Gain
15. Front Frequency Control
16. Clip and Power Lights
17. Rear High Pass X10 Switch
18. Rear High Pass Control
19. Rear X-Over Gain
20. Rear Low Pass Control
21. Rear Low Pass X10 Switch
22. Sub Sonic Filter Control
23. Sub X-Over Gain
24. Sub Frequency Control
25. Phase Shift Control
3
10
181920
45
11
22
21
23
12
24
6
25
XEQ IDX
11
IDX
IDX
12
Page 8

1. Front Input: This is the default input. If you are using one input (2 CH.) connect
your RCAs here.
2. Rear Input: Use the rear inputs for 4-channel operation. In this configuration you
can have faded front and rear front your hear unit.
3. Front Output: Front output in name only. If you're using the IDX in 3-Way this will
be your High Pass x-over. This is a High Pass only crossover.
4. Rear Output: The rear output can be set as High Pass, Low Pass or Band Pass.
To use the Band Pass mode you will need to set both High Pass and Low Pass
switches on top of the unit. With both turned on the output will switch to Band Pass.
Note: For this to work the High Pass will have to be set at a lower frequency then the
Low Pass. The Low Pass will filter out the high frequencies above the Band Pass.
The High Pass will filter out the low frequencies below the Band Pass. Confusing?
Look at the little lines printed below the controls. This will help give you a good
mental picture of what's happening.
14. Front X-Over Gain: Each crossover has its own gain. This will make up front
tuning much easier. You will only need to make basic adjustments to your amp gains.
15. Front Frequency Control: 15Hz to 500Hz (150Hz to 5000Hz in X10 mode). This
should cover most speaker combinations.
16. Clip and Power Lights: To ease tuning the clip lights will begin to flash just
before the output clips. This will help insure the amps receive a clean unclipped,
undistorted signal.
17. Rear High Pass X10 Switch: Same as the Front X10 Switch.
18. Rear High Pass Control: Controls the High Pass Frequency. It is also use to
remove the low frequencies when in Band Pass.
19. Rear X-Over Gain: Same as the front Gain.
XEQ IDX
5. Sub Output: The Sub Output gets its signal by combining the front and rear
inputs. If you're using the 2 Channel input option, your entire signal will come from
the Front Channel input.
6. Power Connector: 12 Volt +, Remote and Ground. We recommend using a
dedicated 12 Volt+ from the battery and a fresh ground. Remember this Crossover
has an 8-volt output. It takes a good amount of current to run.
7. Input Mode Switch: Select between 2 Channel or 4 Channel input. When in 2
Channel Mode the IDX will turn off the Rear Channel input and only except input from
the Front input to drive all the output channels.
8. Front Crossover Switch: High Pass or Full Range. Turns the crossover on or off.
9. Rear Hi Pass Switch: Turns on the rear High Pass. When you use this with the
Rear Low Pass the output becomes a Band Pass.
10. Rear Low Pass Switch: Same as above.
11. Sub Sonic Filter Switch: The IDX is equipped with a variable Sub Sonic Filter.
12. Sub X-Over Slope Switch: 12 or 24dB
13. Front X-Over X10 Switch: It is impossible to accurately adjust a crossover with a
frequency range from 15Hz to 5000Hz. Even the tiniest turn would make a huge
change. For this reason we have added a X10 or 10 times switch. When this switch
is activated the frequency will be 10 Times that marked on the face. 50Hz becomes
500Hz. 500Hz becomes 5000Hz.
20. Rear Low Pass Control: Controls the Low Pass Frequency. It is also use to
remove the high frequencies when in Band Pass.
21. Rear Low Pass X10 Switch: Same as Rear High Pass X10 but for the Low Pass
control.
22. Sub Sonic Filter Control: Removes the lowest frequencies from the bass signal.
These frequencies are the hardest to reproduce by an amp. Rarely can they even be
heard by the human ear. In some cases, when you use a ported box, the woofers can
be damaged by frequencies below the port tuning frequency. These are just 2
reasons to use a Sub Sonic Filter.
23. Sub X-Over Gain: This is the one control most likely to be turned up all the way.
Don't worry, the clip light will tell you when you are getting into trouble.
24. Sub Frequency Control: Unlike the other frequency controls, this one does not
have a X10 switch.
25. Phase Shift Control: "Timing is everything". I a typical install the mid bass
speakers are in the front of the car between 3 to 5 feet from you ear. The sub woofer
is all the way in the back, 9 to 12 feet way. Sometimes more. The Phase Shift can be
used to compensate for this difference in distance by causing the sound from both
speakers to arrive at your ear at the same time. This can really help bring the bass up
front making the system sound more like a live performance.
13
IDX
IDX
14
Page 9

2-WAY FADING FRONT AND REAR
NOTE: THE CONTROL POSITIONS SHOWN ARE
ONLY ONE SUGGESTED CONFIGURATION. YOUR
SYSTEM MAY REQUIRE DEFERENT SETTINGS.
3-WAY WITH ACTIVE FILTERING
FOR MIDS AND TWEETERS
NOTE: THE CONTROL POSITIONS SHOWN ARE
ONLY ONE SUGGESTED CONFIGURATION. YOUR
SYSTEM MAY REQUIRE DEFERENT SETTINGS.
XEQ IDX
15
IDX
X10 OFF
90Hz X 1 = 90Hz
X10 OFF
90Hz X 1 = 90Hz
X10 on
500Hz X10 = 5000Hz
X10 OFF
90Hz X 1 = 90Hz
IN BAND PASS MODE
X10 ON
500Hz X 10 = 5000Hz
90Hz TO 5000Hz
IDX
16
Page 10

3-WAY WITH ACTIVE FILTERING
FOR MID-BASS AND COMPONENT SET
NOTE: THE CONTROL POSITIONS SHOWN ARE
ONLY ONE SUGGESTED CONFIGURATION. YOUR
SYSTEM MAY REQUIRE DEFERENT SETTINGS.
X10 OFF
500Hz X1 = 500Hz
X10 OFF
90Hz X 1 = 90Hz
IN BAND PASS MODE
X10 OFF
500Hz X 1 = 500Hz
90Hz TO 5000Hz
IDX SPECIFICATIONS
Signal to Noise Ratio (A-Weighted) >100dB
THD @ 9.0V Output 0.005%
Channel Separation >75dB
Sub Sonic Filter (12dB/Octave) 15Hz-150Hz
Sub Woofer Crossover
Front High Pass Crossover (12dB/Octave)
Rear High Pass Crossover (12dB/Octave)
Rear Low Pass Crossover (12dB/Octave) 50Hz-500Hz ( X10=500Hz-5KHz)
Input Impedance 15K Ohms
RMS Output @ 1KHz 9.0 Volts
Frequency Response 20Hz-30KHz
50Hz-500Hz 12dB/24dB(MONO)
15Hz-500Hz ( X10=150Hz-5KHz)
15Hz-500Hz ( X10=150Hz-5KHz)
XEQ IDX
17
IDX
IDX
18
 Loading...