

ARC Audio KS-300.4 Owners manual
KS 300.2
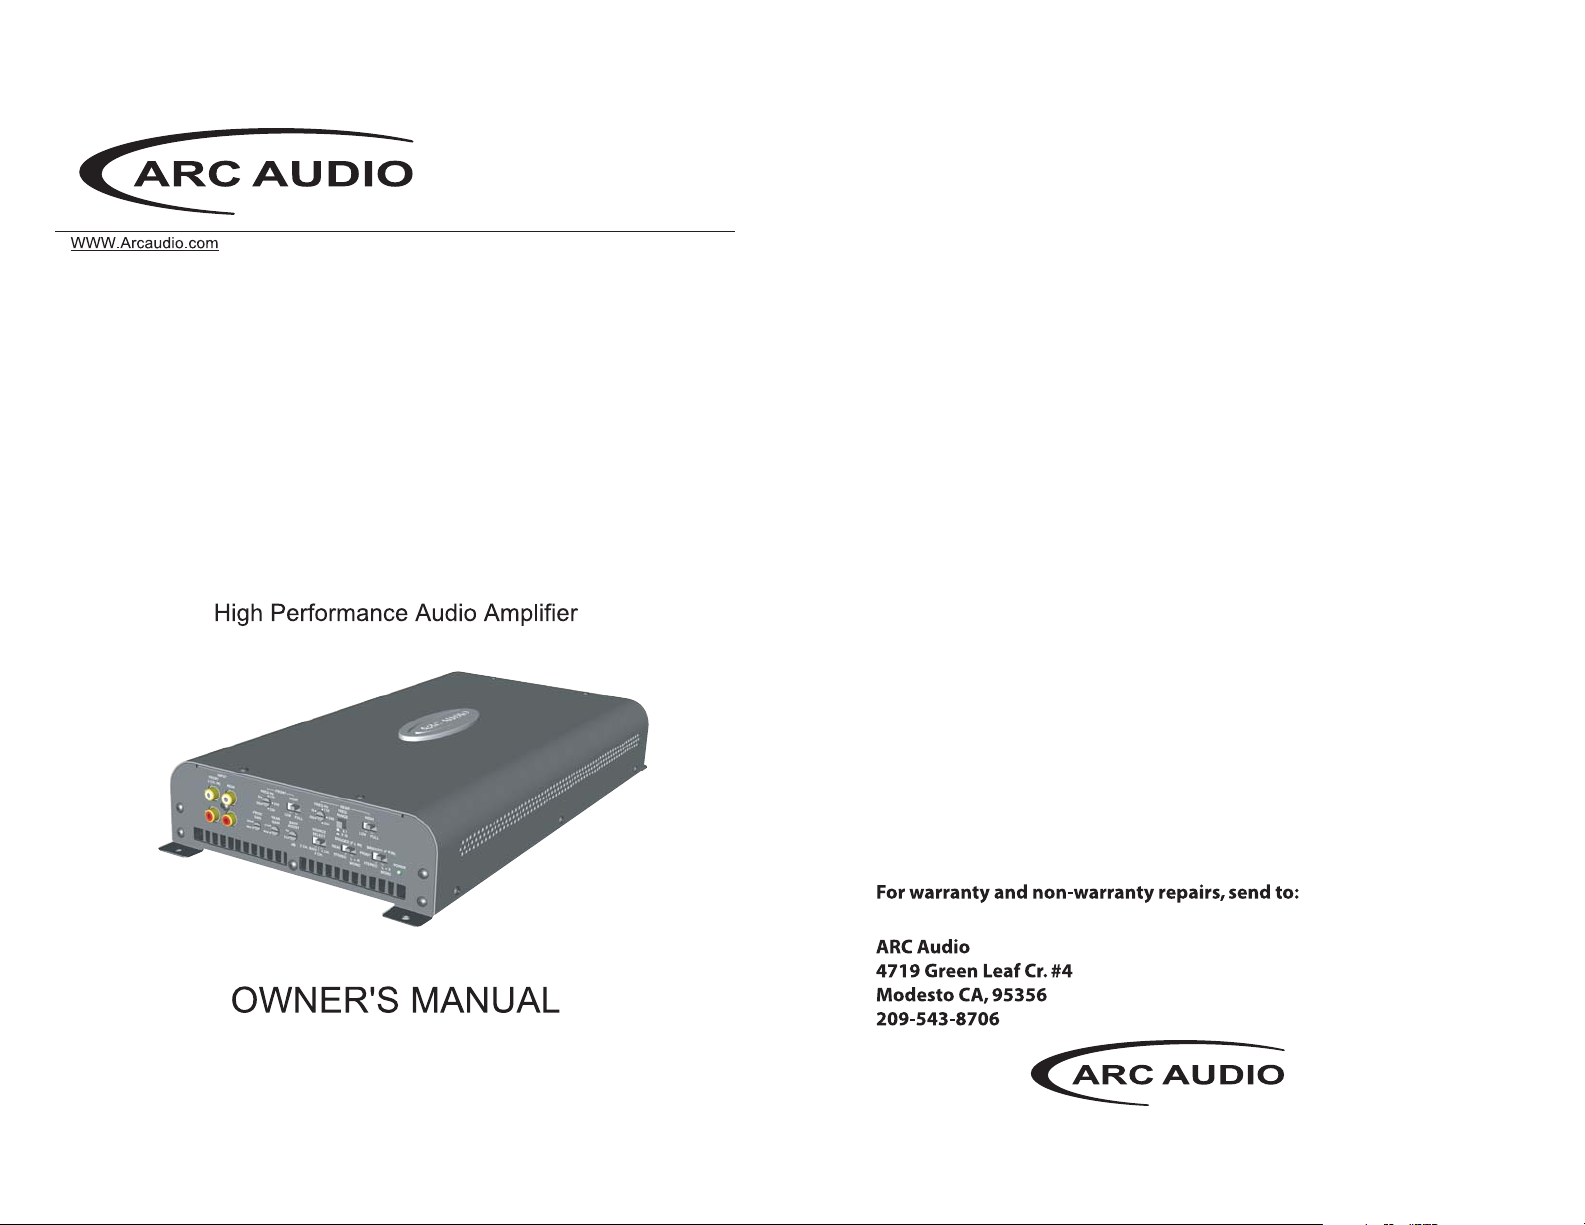
KS 300.4
CLASS G/H
FULLRANGE
STEREO AMPLIFIER
ARC AUDIO WARRANTY AND
SERVICE GUIDELINES
ARC AUDIO warrants all new KAR Series Amplifiers against defects in
material and workmanship for a period of ONE (1) YEAR from the original date of
purchase on all over the counter purchases not installed by an AUTHORIZED ARC
AUDIO RETAILER. This warranty is extended to Three (3) YEARS if the product
is originally installed by an AUTHORIZED ARC AUDIO RETAILER and is
accompanied by a valid copy of the original receipt showing a charge for the
installation. This warranty is not transferable and applies only to the original retail
purchaser of the product from an authorized ARC AUDIO retailer. Upon inspection
by ARC AUDIO should services be necessary under this warranty for any reason due
to manufacture defects ARC AUDIO will, at its sole discretion, repair or replace the
defective product with new or similar conditioned product at no charge.
THIS WARRANTY DOES NOT COVER INSTALLATION OR
DAMAGE RESULTING FROM ACCIDNT, MISUSE, ABUSE, IMPROPER
WIRING, OPERATION OUTSIDE OF THE MANUFACTURES
RECOMMENDATIONS OR SPECIFICATIONS, OR AGAINST
INSTRUCTIONS IN OWNERS MANUAL. IN ADDITION ANY PRODUCT
THAT HAS BEEN OPENED, TEMPERED WITH OR MODIFIED, OR IF ANY
SERIAL NUMBERS HAVE BEEN REMOVED WILL NOT BE COVERED BY
ANY PART OF THE MANUFACTURES WARRANTY.
All warranty returns should be sent to ARC AUDIO freight prepaid and must
be accompanied by proof of purchase (a copy of the original sales receipt). Direct
returns from consumers or non-authorized retailers will be refused unless specifically
authorized by ARC AUDIO with a valid return authorization number.
All warranty returns should be packed in original packaging and must
be accompanied by a copy of the original sales receipt. Product damaged in
shipment will not be covered under this warranty. The customer or retailer may
choose to have this damage repaired at the normal “Out of Warranty” repair cost.
In no event will ARC AUDIO be liable for incidental, consequential, or other
damages resulting from the use of this product, this includes but is not limited to,
damage of hearing, property or person, damage based upon inconvenience or on loss of
use of the product, and to the extent permitted by law, damages for personal injury.
This warranty gives you specific legal rights, and you may have other rights, which
vary from state to state. This warranty applies to products sold and used in the United
States of America. In all other countries please contact your distributor

Thank you for purchasing an ARC Audio Hi-Performance Amplifier.
Supplying Enough Power
This ARC Audio amplifier uses a Full Range Class G/H Hybrid architecture that
significantly improves efficiently without compromise to the sound quality. Don’t be
fooled by the small size. Class G/H amplifiers make more power for there size then
traditional designs and offer much lower THD and higher Damping factors then Full
Range Class D designs.
ARC Audio...SOLID CONSTRUCTION for SOUND Car Audio Systems.
Warning
We build all ARC Audio products to play at high volumes for extended periods of
time. Your ears however are not designed for high volume listening. This product
can easily generate volumes that can permanently damage your hearing. We urge
you to limit your exposure to very high volume sound.
You may also find your state has laws governing the volume of an audio system in a
car. Please be aware of all local and state laws in you area.
A properly tuned and operated audio system will deliver years of enjoyment when
used properly.
Installation Instructions
ARC Audio KAR Series Amplifiers are designed for easy installation in your vehicle. To
ensure proper operation of your new purchase, please follow the suggestions we
have listed below:
Warning
Please check the suitability of the installation location before you begin. Do not cut any of
the car’s structure. Pay close attention to what is behind the panels or carpet. Often the
manufacture will hide wires, computers or other electronic devices in the exact areas you
wish to install in.
If you do not have experience with automotive electrical and mechanical systems contact
a professional installer. Paying a qualified installer is almost always cheaper then paying
a dealership to repair your car.
The Laws of Nature
Your amplifier Does NOT make power. It converts power, or current, from your
cars electrical system and turns it into a high power musical energy. If the amp
can't get all the power it needs it will not produce its full output. Your ARC
Audio amplifier will produce Full output for longer then other amps on the
market today. If the Voltage or Current drops too low even our amplifiers will
drop below their rated output. Make sure your vehicle charging system is in
good working order. Any Hi-Performance audio amplifier will increase the
demand on your alternator and battery. If you are unsure have your charging
system tested by a professional technician.
The Ground!!!
Warning: Read this Carefully
The ground wire should be connected directly to the chassis of your vehicle.
Find a clear location close to the amplifier and remove all the paint and sound
deadener. Use a #10 or larger screw to secure it. Never use seatbelt bolts for
grounding.
Remember, the ground must carry the same high current as the positive power
wire.
To reduce the risk of noise, run all signal cables away from any vehicle or power
supply wiring.
Running the Cables
Carefully run the power and signal cables through the passenger compartment
of the vehicle. Always use a rubber grommet to prevent the power wire from
shorting and to reduce the risk of fire. A 4 gauge or larger wire should be used
for power and ground connections. We recommend a fuse be installed on the
power wire within 18 inches of the battery for safety.
Setting the Gains
So you're worried that your 8 Volt output head unit will be too much for the
ARC Audio's 4 Volt input stage.
Don't Be
Locating the Amplifier
The amplifiers must be securely mounted to a solid surface. Please select a dry
location in the trunk or passenger compartment only. Do not mount the amplifier to
any area that may have excessive vibration (like the subwoofer box). Position the
amplifier in an area that receives sufficient airflow for proper heat dissipation.
ARC Audio Amplifiers input stage is rated to 4 volts RMS @ 1KHz without
clipping.
Music is very dynamic. Nothing like a 1KHz test tone. It would be rare to see a
peak as high as a test tone. Furthermore, your head unit produces its output at
full volume but when you tune your system you always set the head unit to
70% of maximum volume.
2 3

Input Section
Because of the wide range of head unit output configurations all ARC Audio amplifiers
have an adjustable input sensitivity or “Gain”. The gain is not a volume or a power
limiting control like a throttle. It makes the amp more sensitive to input from the stereo.
With the gain up the amp will reach full output at a lower volume setting on the deck. At
higher gain settings the amp also becomes more sensitive to noise from the car’s
electrical system. Try to run the gain at the lowest setting possible for you system.
There is no correct gain setting. Because
speakers require different power demands to
reach the same output, the gains most often
need to be used to compensate for these
differences. If you tried to set all the gains at half
way you would probably find the system didn’t
sound very good. Using good judgment and
listening carefully to each speaker is still the
best way to tune a system.
Input Mode Switch
All ARC Audio amplifiers include an input mode switch. This switch controls the signal
being sent to the amplifier sections. Most 2-channel amplifiers can be bridged into a
single channel however if the signal to the channels is not exactly the same the
distortion will increase significantly. The mode switch solves this problem by offering 3
modes of operation.
Stereo
This is simple 2 channel stereo operation. Use this setting for most applications that do
not involve bridging the output.
Crossover Controls
A crossover is a device that removes unwanted frequencies from a speaker or
amplifier. A tweeter can easily be destroyed by bass notes if they are not filtered out.
Likewise a subwoofer will not sound natural if it is playing midrange notes. A
crossover removes these sounds from the speaker. As you might guess, careful
adjustment is need to ensure that all the speakers are playing the right sounds and
that you are left with no
“holes” or low spots in the
frequency response.
Bass Boost
This amp has an adjustable bass boost. On the 4 channel KS 300.4, the Input Source
Select has 3 options. In “4 CH.” or “2 CH” the Bass Boost will be directed to the front
speakers. In “2 CH.BB” The Bass Boost will be sent to all 4 channel equally. Begin your
adjustments at low volume. If you do not hear
any improvement then the woofer does not
need any boost.
Use Bass Boost carefully. The demands on
power output are tremendous. Try to minimize
the use by changing woofer position or the
enclosure size.
Bridge (R IN)
On a 2-channel amp only the Right channel input will be split and sent to both outputs.
On a 4 channel the Right RCA Front will be sent to the front outputs. The Left Front RCA
will be sent to the rear outputs. This is a great way of get high power to a component set.
The amplifier now acts like a 2 channel that makes full power at 4 ohms.
L+R SUM MONO
This is the mode for bridging a subwoofer. Both the
left and right channels are combined into a mono
signal that is then split and sent to both output. This
will give you a true mono output.
4
Speaker outputs
This amplifier is a multi channel amplifier design. Meaning it has more than one
channel of speaker outputs. It is equipped with a large block style terminal for speaker
connection. Make this connection carefully and neatly. Strip your wire back and twist
the exposed leads and insert them into the block terminal while being careful that
there is no loose or frayed strands of wire and
tighten the Phillips head screw down on the
terminal till the wire is tightly secured in
place. If the wires ever come in contact with
each other the amplifier will go into protection.
Know your total ohm load before you make
any connections.
5
 Loading...