

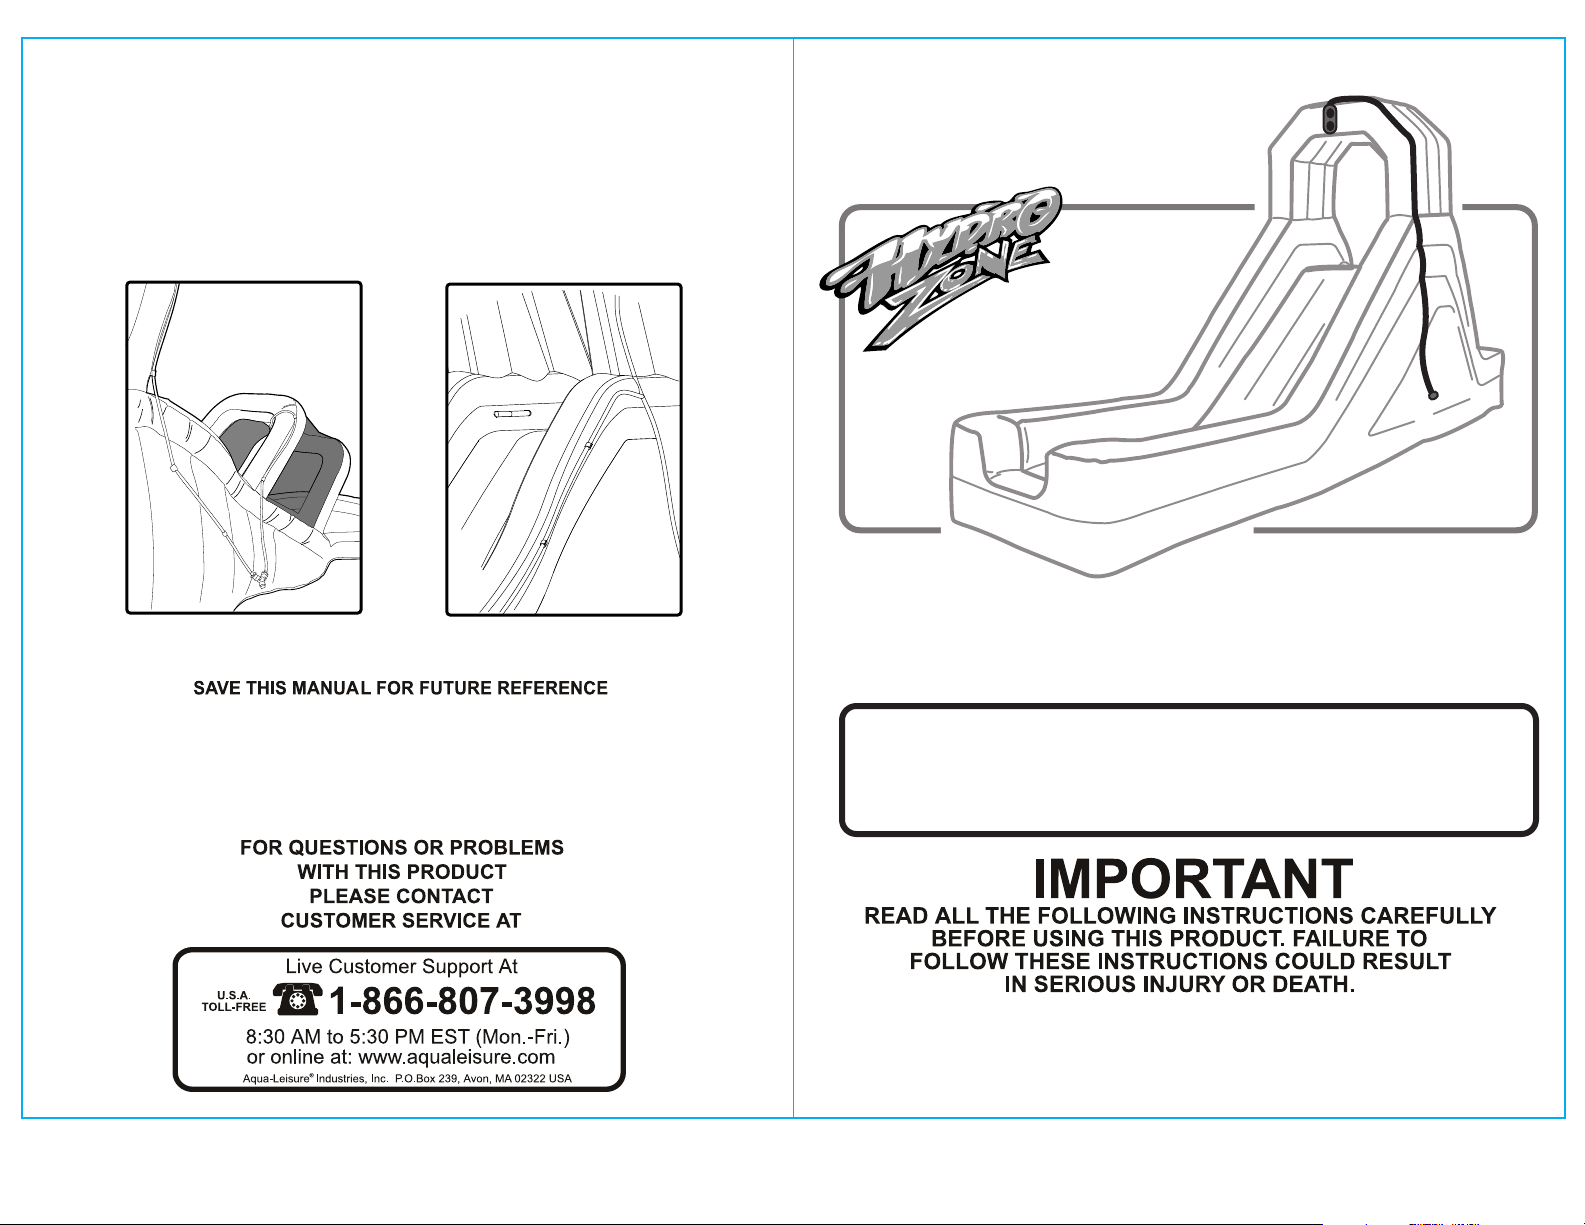
Aqua Leisure Hydrozone Water Slide Sprinkler User Manual
NOTE: Some Hydro Zone water slides are equiped with duel
sprinkler heads. if you have one of these types of sprinkler hoses,
start the process by attaching the sprinklers heads to the slide in
their proper locations first, then continue the assembly process by
securing the sprinkler hose to the retaining loops along the slide
surface as indicated in steps 3, 4 and 5. (See Figures 4 and 5)
Figure 4
Figure 5
HydroZone™ Sprinkler
Assembly Sheet
SPRINKLER ASSEMBLY INSTRUCTIONS
Generic Slip Sheet for all WATER SLIDES
This sheet only covers attaching the sprinkler hose to
the HydroZone™ water slide - please refer to main
instruction booklet for complete assembly/set-up
instructions.
Intended Use:
The HydroZone™ is designed for private home use only and is not
intended for commercial or rental purposes.
REV A 12.8.06
Your Hydro Zone™ Water Slide is equipped with a
removeable water sprinkler hose. This is both to
protect the hose during shipping and will make it
easier for the consumer to fold and store the water
slide after each use.
It is important to note that each Hydro Zone™ water
slide is unique in both design and feature, and there
will be some variation in sprinkler hose length and
shape, however, the set-up and assembly will be the
same for all versions.
Sprinkler Hose
Set-up and Assembly
1. Unwrap hose assembly. stretch hose
hose out completely so that all the
kinks and folds are removed.
Note: For easier and more reliable
assembly, it is recommended you
leave the unpacked hose out in
a warm place as this will make
hose material more flexible and
easier to install.
Figure 1
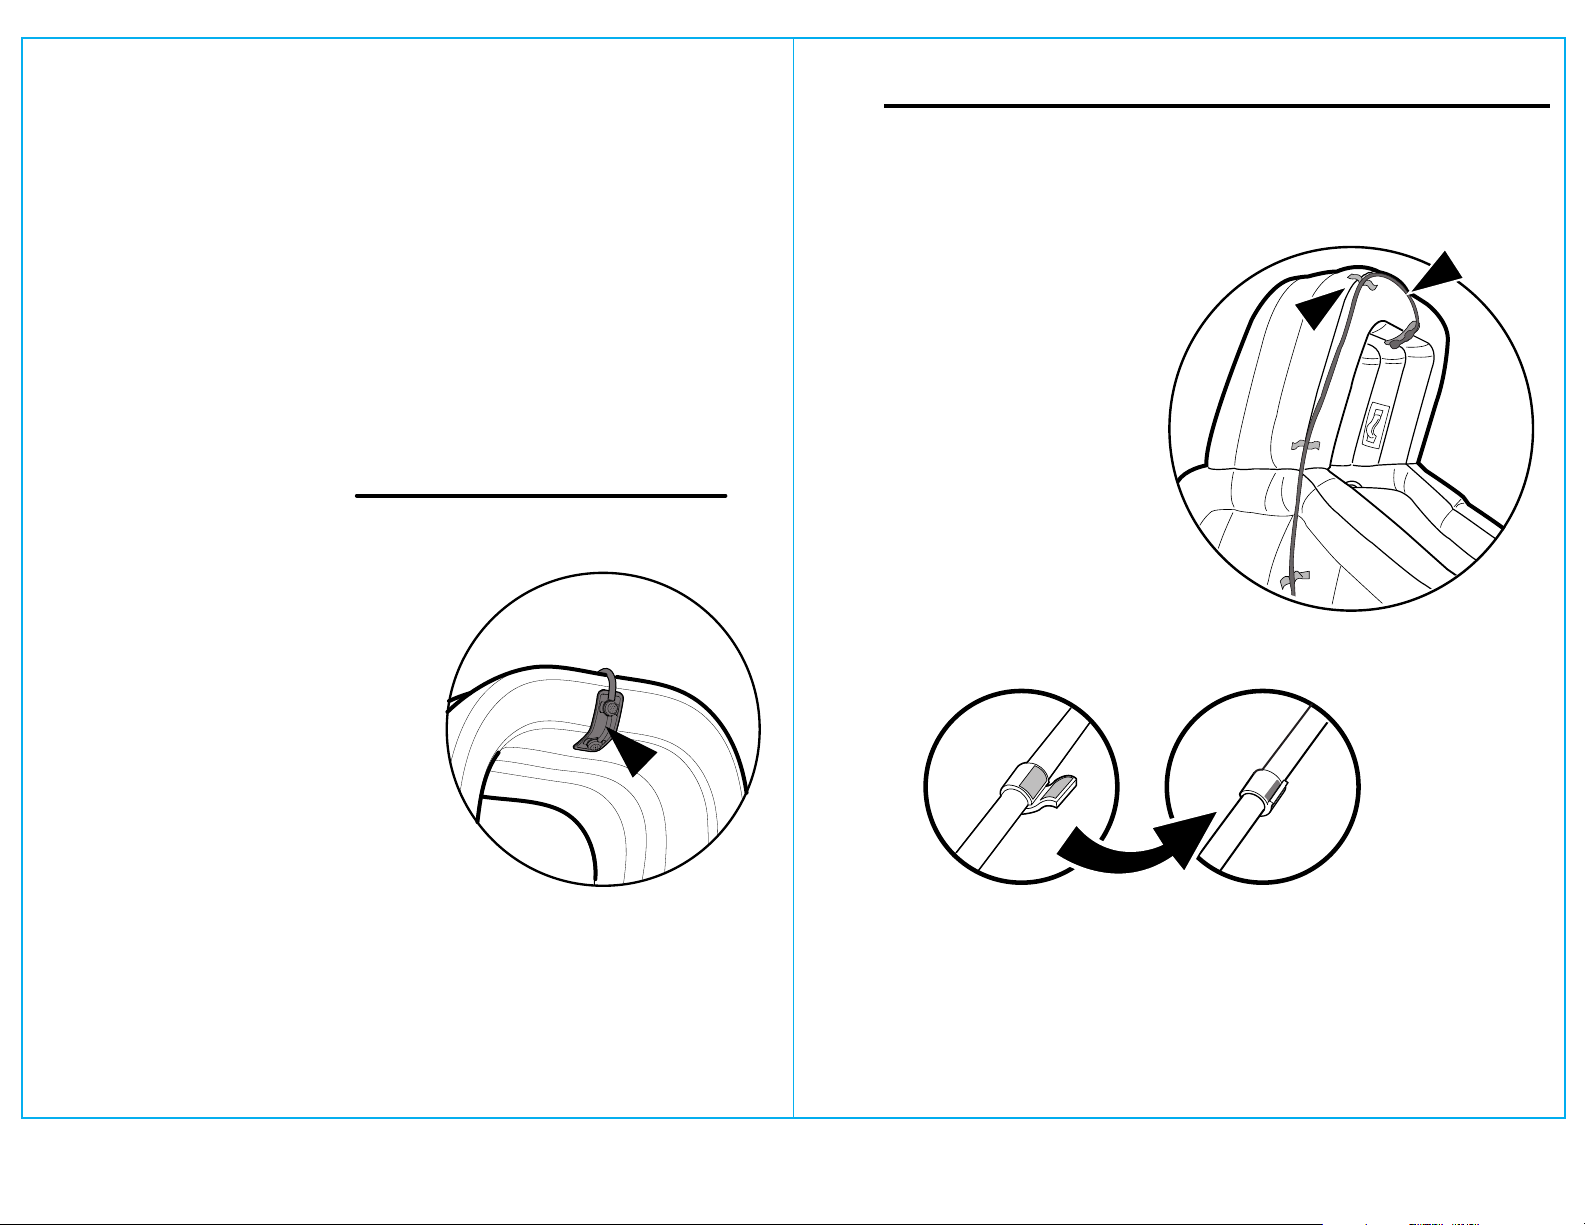
Sprinkler Hose Set-up and Assembly Continued
3. Align the sprinkler hose with the first retaining loop located
along the seams of the water slide. The retaining loops
can be identified as white fabric strips with hook and loop
fasteners. (See Figure 2)
Note: Please make sure you do
not kink or fold the hose as
you wrap the hose over the
slide canopy and attach to
the first hose retaining loop.
This will ensure constant
water flow and avoid damage
to the hose.
4. Wrap the hose fastener around
the hose align the hook and loop
closures to secure the hose in place. (See Figure 3)
Figure 3
Figure 2
2. Starting with the sprinkler “head end”
- this is identified as the end that the
water will “spray out” of - attach the sprinkler end to the
top of the slide cnaopy by pressing the hook and loop
patch firmly to the corresponding surface. (See Figure1)
SPRINKLER ASSEMBLY INSTRUCTIONS
Generic Slip Sheet for all WATER SLIDES
5. Repeat the process by aligning the sprinkler hose with the
next hose retaining loop along the water slide body, making
sure you secure each retaining loop along the way.
REV A 12.8.06
 Loading...