

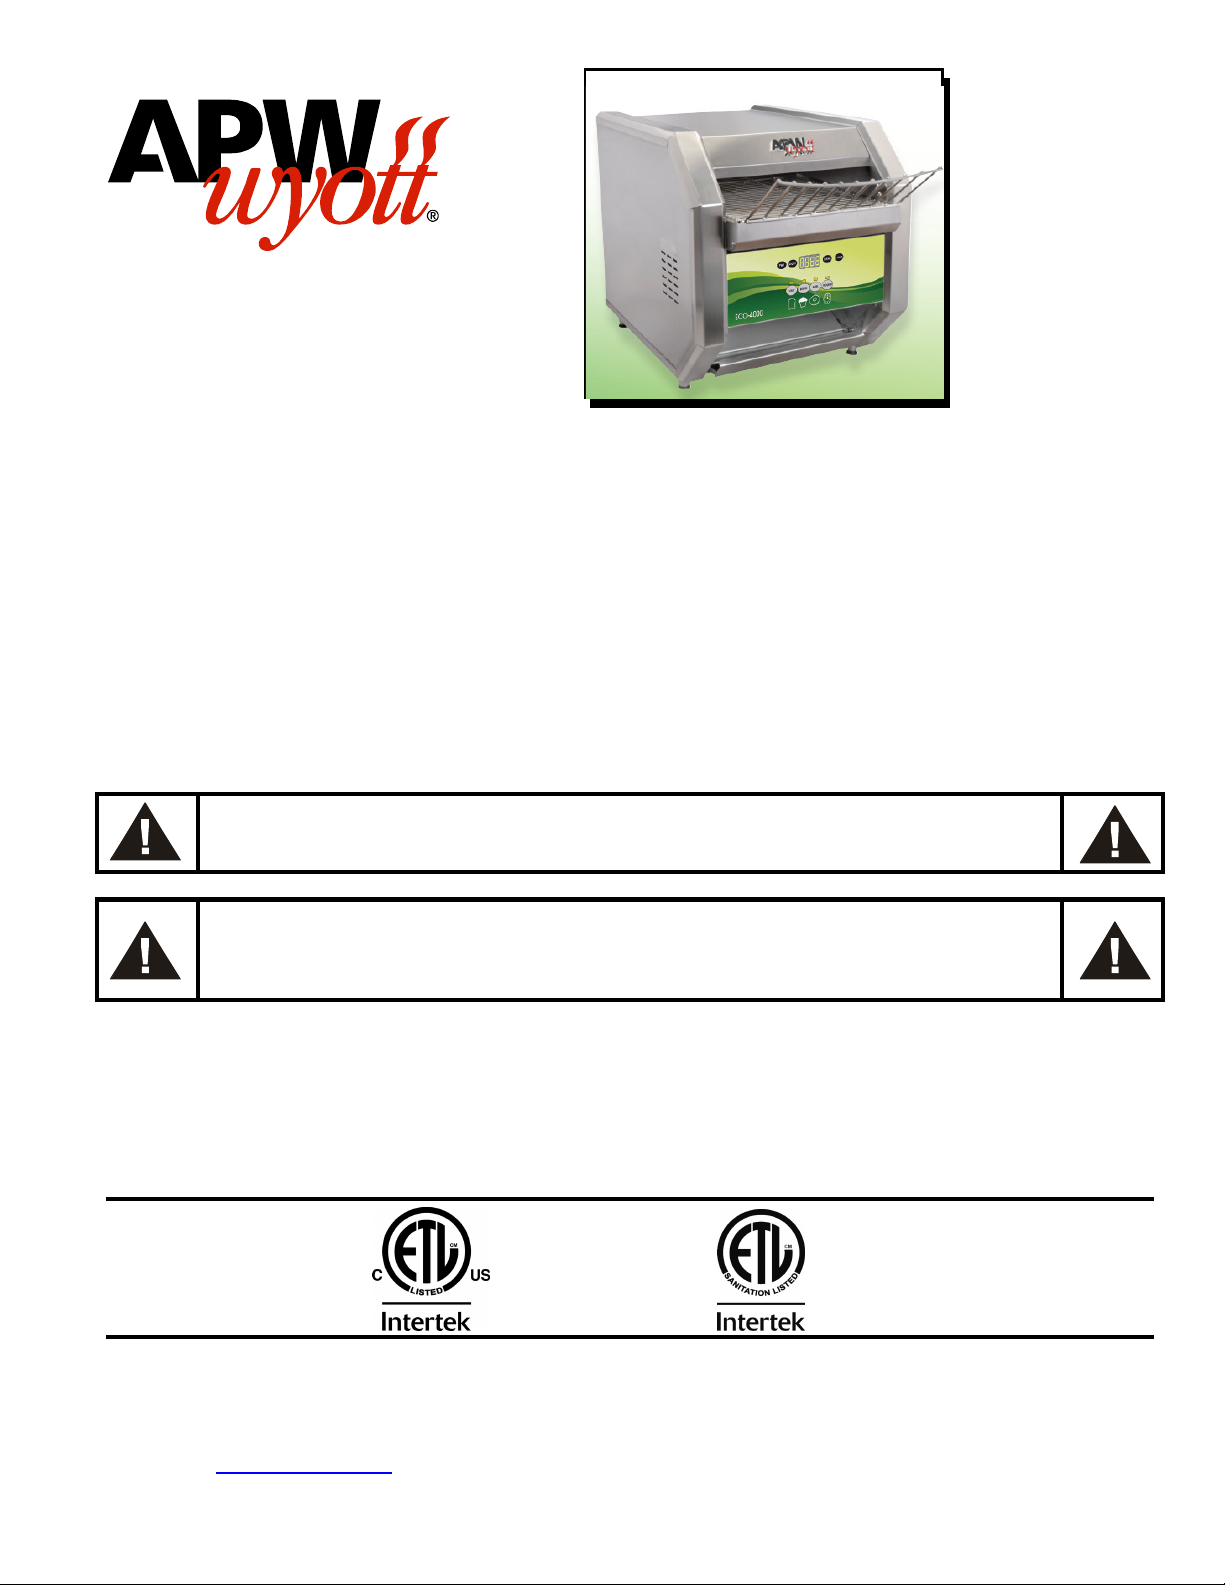
APW Wyott ECO-4000-350E Installation Manual
INSTALLATION
AND
OPERATING
INSTRUCTIONS
Models: Start with the prefix QST or ECO 4000:
350E, 350L, 500E, 500L
ECO-4000
INTENDED FOR OTHER THAN HOUSEHOLD USE
RETAIN THIS MANUAL FOR FUTURE REFERENCE
UNIT MUST BE KEPT CLEAR OF COMBUSTIBLES AT ALL TIMES
FOR YOUR SAFETY: Do not store or use gasoline or other flammable vapors and liquids
in the vicinity of this or any other appliance.
Improper installation, adjustment, alteration, service or maintenance can cause property damage, injury or
death. Read the Installation, Operating and Maintenance Instructions thoroughly before installing or servicing
this equipment.
This equipment has been engineered to provide you with year-round dependable service when used according
to the instructions in this manual and standard commercial kitchen practices.
WARNING: Improper installation, adjustment, alteration, service or maintenance can
cause property damage, injury or death. Read the Installation, Operating and Maintenance
Instructions thoroughly before installing or servicing this equipment.
P/N 8898800 2/11
Phone: +1 (214) 421-7366
Fax: +1 (214) 565-0976
Toll Free: +1 (800) 527-2100
Website: www.apwwyott.com
E-mail: info@apwwyott.com
APWWYOTT
729 Third Avenue
Dallas, TX 75226
1
IMPORTANT FOR FUTURE REFERENCE
Please complete this information and retain this manual for the life of the equipment. For
Warranty Service and/or Parts, this information is required.
Model Number Serial Number Date Purchased
TABLE OF CONTENTS
SECTION ITEM PAGE SECTION ITEM PAGE
1 Owner’s Information 2 7 Cleaning 8
2 Safety Information 2 8 Troubleshooting 9
3 Specifications 3 9 Preventative Maintenance 9
4 Installation Instructions 4 10 Wiring Diagrams 10
5 Operation 5 11 Parts Lists & Exploded Views 12
6 Programming 7 12 Warranty 17
WARNING: In Europe, appliance must be connected by an earthing cable to all other units
in the complete installation and thence to an independent earth connection in compliance
with EN 60335-1 and/or local codes.
WARNING: An earthing cable must connect the appliance to all other units in the
complete installation and from there to an independent earth connection.
1) OWNER’S INFORMATION
General Information:
1. Always clean equipment thoroughly before first use. (See general cleaning instructions).
2. Check rating label for your model designation and electrical rating.
3. For best results, use stainless steel counter tops.
General Operation Instructions:
1. All food-service equipment should be operated by trained personnel.
2. Do not allow your customers to come in contact with any surface labeled "CAUTION HOT".
3. Never touch quartz or steel heaters.
Warranty Information:
Reliability Backed By APW Wyott’s Warranty:
All APW Wyott Toaster Ovens are backed by a one year parts and labor warranty, including On-Site
Service calls within 50 miles of authorized service technicians.
Service Information:
Service Hotline (800) 733-2203
2) SAFETY INFORMATION
APW Wyott equipment is designed, built, and sold for commercial use and should be operated by trained
personnel only. Clearly post all CAUTIONS, WARNINGS and OPERATING INSTRUCTIONS near each unit to
insure proper operation and to reduce the chance of personal injury and/or equipment damage. This product is
used for the cooking, defrosting or re-thermalization of food products only.
Always disconnect power before servicing the unit. Surfaces will remain hot after power has been turned off.
Allow unit to cool before cleaning or servicing. Never clean the unit by immersing it in water. The unit is not
protected against water jets; DO NOT CLEAN THE TOASTER OVEN WITH A WATER JET. Always clean
equipment properly before first use.
2

Safety Signs and Messages
The following Safety signs and messages are placed in this manual to provide instructions and
identify specific areas where potential hazards exist and special precautions should be taken.
Know and understand the meaning of these instructions, signs, and messages. Damage to the
equipment, death or serious injury to you or other persons may result if these messages are not
followed.
This message indicates an imminently hazardous situation which, if
not avoided, will result in death or serious injury.
This message indicates a potentially hazardous situation, which, if
not avoided, could result in death or serious injury.
This message indicates a potentially hazardous situation, which, if
not avoided, may result in minor or moderate injury. It may also be
used to alert against unsafe practices.
This message is used when special information, instructions or
identification are required relating to procedures, equipment, tools,
capacities and other special data.
3) SPECIFICATIONS
ECO 4000 (OR QST)
MODEL
ECO 4000 (OR QST)-350E
ECO 4000 (OR QST)-350L
ECO 4000 (OR QST)-500E
ECO 4000 (OR QST)-500E
ECO 4000 (OR QST)-500L
ECO 4000 (OR QST)-500L
Power Cord:
Six (6) foot, 3 wire grounded cord. If the supply cord is damaged, the manufacturer, or an authorized service
agent, must replace it in order to avoid a hazard and warranty. Please contact the factory by calling the 800 #
located on the unit.
Shipping Weight:
ECO 4000 (OR
QST)-350E
54 Lbs (24.5 kg) 54 Lbs (24.5 kg) 54 Lbs (24.5 kg) 54 Lbs (24.5 kg)
ECO 4000 (OR
QST)-350L
VOLTS WATTS PH
120 1700 1
120 1700 1
208 2800 1
240 2800 1
208 2800 1
240 2800 1
ECO 4000 (OR
QST)-500E
ECO 4000 (OR
QST)-500L
3

4) INSTALLATION INSTRUCTIONS
If the carton appears damaged, or damage is discovered once the carton is opened, stop
immediately and contact the freight company to file a damage claim.
CAUTION: The ECO TOASTER Oven is shipped assembled except for installation of the
crumb tray assembly. Please remove all supports and packaging materials before
operating the unit. Failure to remove all packaging materials may lead to a fire and / or
damage to the appliance.
1. Remove all external packaging that is protecting top portion of unit
2. Remove unit from shipping container while in the upright position. The unit can be lifted out of the carton
by grasping under the back side and the conveyor of the appliance. Please remove the plastic bag.
3. Remove all internal packaging to the unit, if present.
4. Visually inspect all external and internal portions of unit for damage. Important: Inspect the Quartz
elements located inside the oven tunnel after removal of packing material. To inspect the quartz
elements, use a small mirror held under and over each element to detect cracks. Important: The
quartz elements are fragile and will break under stress. Do not twist, pull, push, or otherwise
subject the quartz elements to stress.
5. Wipe down the exterior of the unit using a damp cloth with warm water. Do not use abrasive pads or
cleaners as they will damage the stainless steel surface.
NOTE: DO NOT USE CLEANERS OF ANY KIND ON THE QUARTZ HEATERS.
Note: Ambient Conditions - Make sure that the operating location is in an area where the ambient
temperature is held constant (minimum 70°F). Please avoid areas such as near exhaust fans and air
conditioning ducts.
Warning! Operating environment
Ensure that operation location is at a reasonable distance from combustible walls and materials
otherwise combustion or discoloration could occur. Do not cover the rear inlets or the side inlets and
outlets. Restricting or covering the air inlets and outlets may cause the unit to overheat and WILL
void your warranty.
Caution! Operating environment
Place unit on a stable, level counter at a convenient height for use. Turn the adjustable feet so that
unit is level to counter top. The top of the unit is not intended for use a shelf. Materials placed there
are at risk for fire.
6. Before plugging unit into wall, make sure that the power switch located on the back of “E” models and on
the Front of the “L” model is in the off position.
7. Warning! Ensure no hands, tools or parts or other unintended items are located on the conveyor as
injury will result when unit is turned on.
8. Plug unit into grounded electrical outlet with correct voltage, and plug configuration.
Warning! Using any receptacle that is not designed to match the attached cord and plug MAY cause
personal injury and WILL void your warranty. Please attach the ECO-4000, to an individual branch
circuit.
4

5) OPERATION
1. The controls that operate the belt conveyor speed and the heaters are located on the front of the unit.
2. The On/Off switch is used to turn the unit on or off. Once the unit is turned on the conveyor will automatically
run. Warning: Ensure no hands, tools or parts are located on the conveyor as injury will result when unit is
turned on.
3. Note: Before moving the On / Off switch to the "On" position, please read the following statements:
4. A. CAUTION! HOT SURFACES! The exterior metal surfaces of the unit will get hot enough to cause burns.
Avoid touching these surfaces to prevent injury.
B. WARNING! SEVERE BURN HAZARD QUARTZ HEATERS. The quartz heaters or metal heaters
located in the top of the unit operate at very high temperatures. DO NOT TOUCH HEATERS AFTER
5. This oven has 2 heating zones, 1 above the conveyor, and one beneath the conveyor.
Operation Instructions for 350E and 500E “Toast on Demand Mode”
Operation Instructions for 350E and 500E “Continuous or Full-On Mode”
UNIT IS TURNED ON.
1. Turn the power switch located in the back of the unit to the on position.
2. Press the “PWR” button located on the control panel on the front of the unit.
3. The display will display a “-“ then the word “HEAT.” When the unit has completed its heat up
cycle it will display “IdLE.”
4. After the display shows “IdLE” the unit is ready to use.
5. Press the desired product button and place corresponding product on the wire rack so that it
touches the conveyor and may be conveyed into the toasting cavity.
6. Pressing the “DARKER” button will produce a darker toasted product.
7. Pressing the “LIGHTER” button will produce a lighter toasted product.
a. NOTE: the “DARKER” or “LIGHTER” button must be pressed immediately after product
button has been selected.
8. If the product is still not toasted enough or too much you can change the product key’s
parameters. “See Product Key Programming”.
9. Pressing the product key (“TOAST”, “MUFFIN”,”BAGEL”) multiple times will increase the on
time.
10. Pressing the “E-SAVE” button will cancel any product button command and return to the energy
saver or “IdLE” mode.
11. If “E-SAVE” is not pressed the toaster will automatically go to the “IdLE” mode after the
completion of product cycle.
12. To shut the unit off press and hold the “PWR” button for 10 seconds the display will display
“CooL.” Wait until the display is blank, then shut off the unit with the power button located on the
back panel. Do not shut off until the display is blank or improper cooling will result, and may
affect the life of the product.
1. Turn the power switch located in the back of the unit to the on position, (if unit is in the “OFF”
position). If Unit is already “ON” skip to step 5.
2. Press the “PWR” button located on the control panel on the front of the unit.
5

3. The display will display a “-“then the word “HEAT” when the unit has completed its heat up
cycle it will display “IdLE.”
4. After the display shows “IdLE” the unit is ready to use.
5. Press the “OTHER” Button located at the right side of the control panel.
6. The display will display “heat” (In early versions the display will show “pset” during this heat up
cycle)
7. The unit will heat up to the user defined preset temperature “factory default is 500 F”. To set
preset temperature see “Product Key Programming”.
8. The display will display “redy” and then show the countdown of time remaining in this
continuously on mode.
9. When timer countdown has begun, product can be placed at any time on the wire rack to be
conveyed into the toasting cavity.
10. Pressing the “LIGHTER” button will speed the conveyor up to achieve a lighter toasted product.
11. Pressing the “DARKER” button will slow the conveyor down to achieve a darker toasted
product.
12. Pressing the ”E-SAVE” at any time during the continuous on mode will cancel any product
button command and return to the energy saver or “IdLE” mode.
13. If “E-SAVE” is not pressed the toaster will automatically go to the “IdLE” mode after the
completion of program time cycle. (To change the time cycle see “Product Key Programming)
(Factory Default is 2:00 hours).
14. To shut the unit off press and hold the “PWR” button for 10 seconds the display will display
“CooL.” Wait until the display is blank, then shut off the unit with the power button located on the
back panel. Do not shut off until the display is blank or improper cooling will result, and may
affect the life of the product.
Operation Instructions for 350L and 500L
1. Turn the Power Switch on located on the front of the unit. When the unit is “ON”, the conveyor
belt will move.
2. Turn the timer to the desired time frame. There are 3 settings for using the timer
a. “OFF” – This removes the timer from the circuit and allows the conveyor and heating
elements to run as set in full-on mode.
b. “e-SAVE” – The green indicator light is on when this mode is active. The heating elements
are running at quarter power to keep the toaster prepared for shorter startup times, but
saving energy compared to a full-on run.
c. “TIMER” mode – The Amber indicator light is on when this mode is active. The timer allows
the toaster to run full-on until timed out, when it then switches to the e-SAVE mode.
3. Use the “TOP HEAT” and “BOTTOM HEAT” knobs to adjust to the desired temperature and
achieve the toasting pattern. Knobs can be turned to an “OFF” position, turning off the heat in a
full run mode. In “E-SAVE” mode, the elements (even if “OFF”) will cycle to keep cavity
temperature up.
4. Use the conveyor speed control to get the desired toast quality – “DARK” will run the conveyor
slower and “LIGHT” will run the conveyor faster.
6
 Loading...