

Aplus 400 User Manual
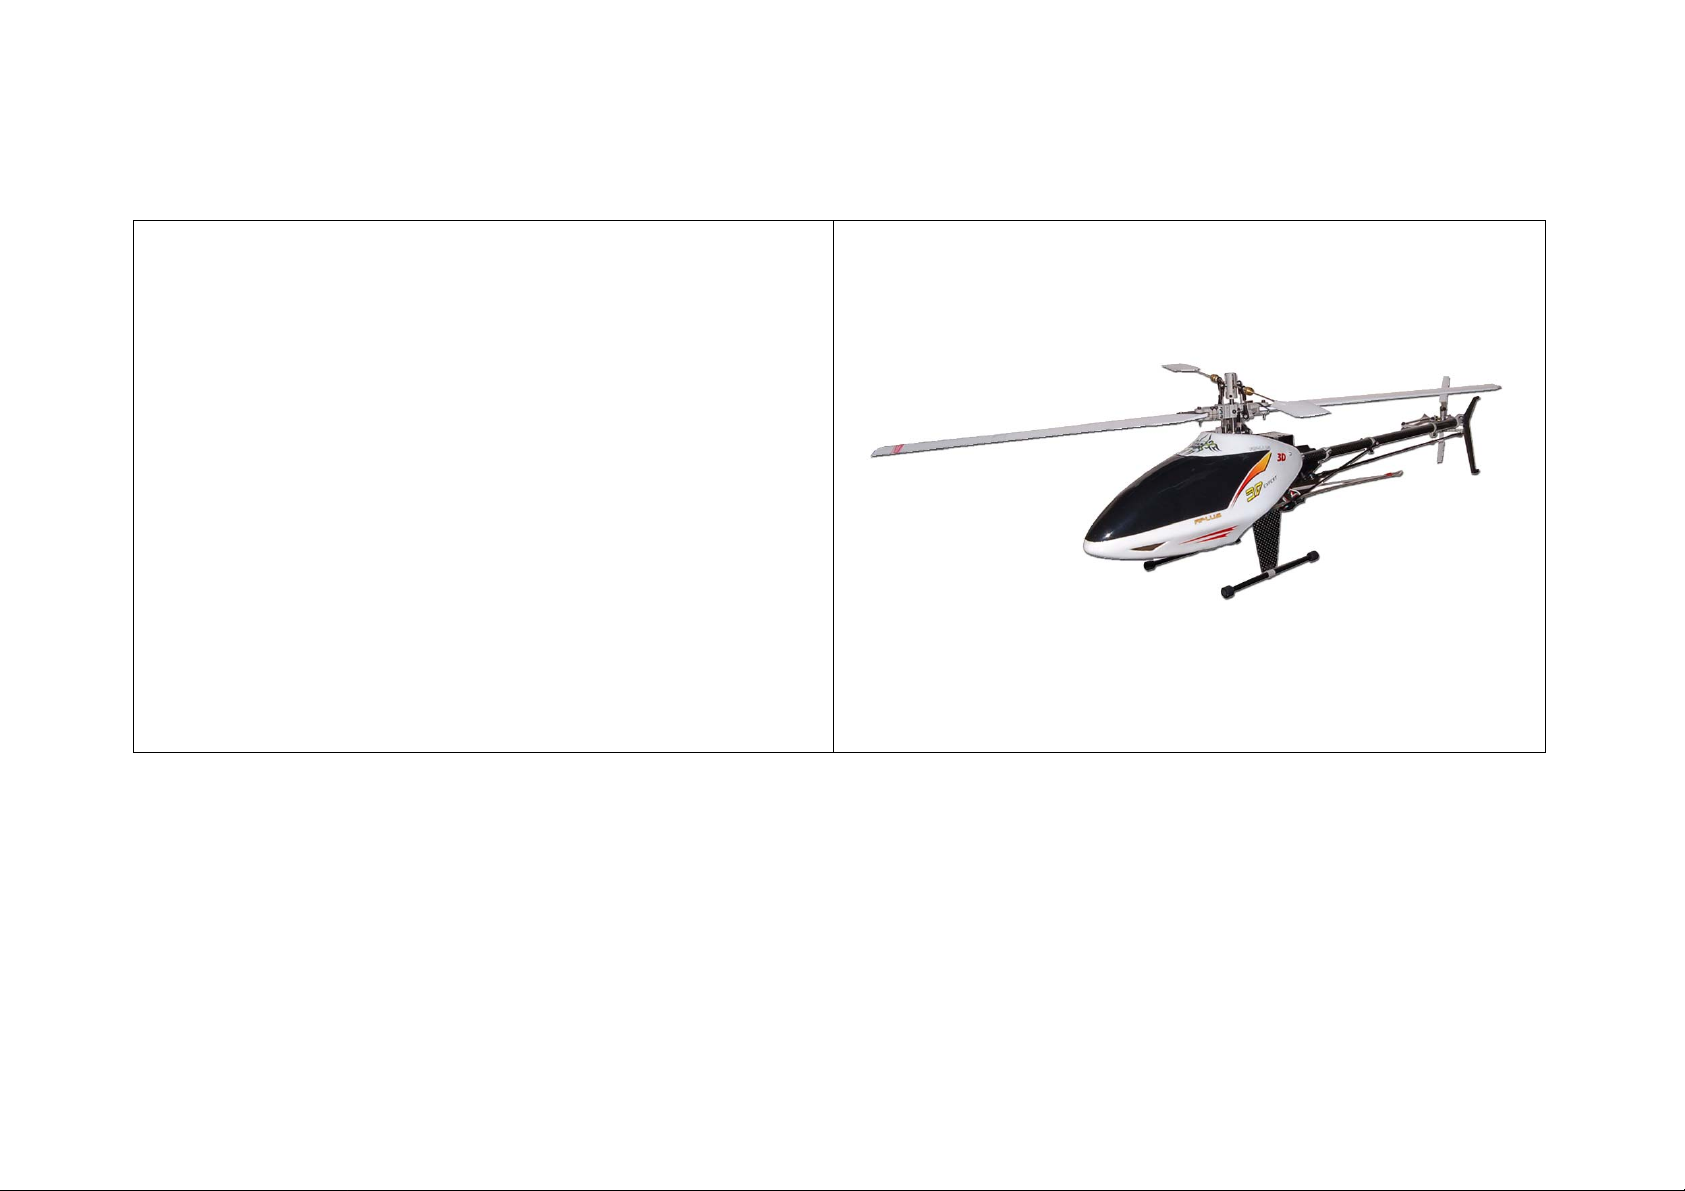
Aplus 400 Specifications:
Length overall: 570mm
Height (from skids to top of rotor head): 185mm
Width (at widest part of the canopy): 96mm
Main rotor span: 630mm
Tail rotor span: 110mm
Weight: 250grams(kit)
Recommended motor : APM450F
Motor Pinion :12T/14T
Gear tooth pitch: 64 P
Recommended Battery: 3S Lithium Polymer
1500-2250 mAh
Aplus RC Trading Company LTD.
Contents
1. Important Notes
2. Assembly
3. Parts and Tools

Aplus RC Trading Company LTD.
Thank you very much for buying a APLUS RC product. In order to be able to use this product safely, please read this
manual before flying the helicopter. Please fly the helicopter safely observing all rules and manners after having fully
understood the flight precautions, the unit’s capabilities, and the best wa y to fly it. Be sure to retain the manual for
future reference, routine maintenance, and tuning.
Tips before assembly
1.Please add shockproof screw glue to screw before fixing each screw.
2.Please use the special tool in the tool package when fixing elastic rubber O-Rings.(See as follows)
Important Notes
z This helicopter is recommended for skilled intermediates and advanced RC helicopter flyers.
z Make sure to read and follow all the instructions in this manual, including all accessories.
z Should any unclarity arise, please confirm with an experienced RC helicopter personnel / instructor before
introductory flight.
z Always find an experienced and / or qualified personnel / instructor for per flight inspection.
z Make sure flight vicinity is in an open space; free of crowds, obstacles, and buildings. Failure to abide may cause
accidental and potentially hazardous encounters.
z Introductory flight should incorporate only the basic maneuvers (hovering, linear ascensions and descensions),
until stick feel is mastered.
z For stock wood blades don’t use over 2600RPM.

Aplus RC Trading Company LTD.
Note
Fly only in safe areas, away from other people. Do not operate RC helicopters within the vicinity of homes or crowds
of people. RC helicopters are prone to accidents, failures, and crashes due to a variety of reasons including, lack of
maintenance, Pilot error, and radio interference. Pilots are responsible for their actions and damage or injury
occurring during the operation or as of a result of RC helicopter models.
Recommended Equipment(NOT included in kit)
z Radio Control System – 6 channels or More Heli-capable transmitter and / or equivalent. (required)
z Receiver - 6 channels or more
z Gyro -1 pcs 6 g-15 g gyro
z ESC – APLUS 25 AMP or More (BEC Support 4 servos)
Pre Flight Checks
1. As a precautionary avoidance to frequency interference (2 different helicopters utilizing the same frequency), it
is important to keep the remote controllers and helicopters apart for at least a distance of 1.5 mile.
In order to prevent accidental encounters from occurring; please make sure the surrounding areas (flight area)
are not populated with crowds and / or buildings (open space). Open space vicinity should be at least 100 feet in
all directions.
2. Make sure the battery is completely charged. Read carefully the suggested charging time and maintenance
procedures listed in the instruction manual. Attempted flight without a fully charged battery will result in an
unexpected loss of power, directional control, and / or costly accidental crashes, and etc. Emptying the battery
after usage will increase its connectivity.

Aplus RC Trading Company LTD.
3. Y ou are now ready to turn ON both the transmitter (remote control) and the receiv er (located on the helicopter).
Make sure the helicopter is placed stably leveled on the ground before commencing. Alwa ys turn on the receiver
first, prior to turning on the transmitter (remote control).
4. Test and confirm the directional controls are working properly. Try moving the directional stick and study the
resulting effects of the helicopter. If no resulting movement is noticed when moving the directional stick, do not
attempt flight; as either the helicopter or remote control may be defective.
5. Before test-fly, better tie the heli model to a fixed place under safe conditions, and then gradually increase its
power, making it perform various movements frequently till at least one battery is used up in order to make the
parts fit smoothly. After that, check the heli to see if there is any screw loose and make sure all the screw are
tightly fixed.
The following lists the most recommended methods for a beginner to commence their journeys into remote control
flying realm. (Listed in order of importance)
1. Find an experienced Instructor – mostly can be found at your local hobby store.
2. Join a RC club in your nearby area – can be found through the internet, hobby stores, parks, and friends (word of
mouth).
3. Practicing the “Frog Jump” (will be explained later).
Never start flying without implementing any or all of the recommended methods listed above.
“Frog Jump”
1. Make sure you are standing directly behind the helicopter before any attempted flight.
2. Slowly introduce power to the helicopter in a continuous and stable pace.

Aplus RC Trading Company LTD.
3. Analyze carefully the characteristics of the helicopter. As more power is introduced, the helicopter will begin its
ascension progress. Make directional adjustments to counter and insure a linear ascension and descension path.
4. Make sure never to exceed a flying height of over 2 feet! Anything over the recommended height can and may
cause major damage to the helicopter if crashed.
5. Upon reaching the recommended maximum height, slowly release and let off on the throttle till landing. Alwa ys
maintain the helicopter’s plane leveled to the ground.
6. Continually practice this technique until you can masterfully perform linear paths of ascension and descension, as
well as stationary hovering capabilities.
7. As your skills improve, slowly introduce lateral movements to the helicopter; with your starting point of spot as
the final goal (position). Make sure to keep the lateral distances within a 3 feet diameter. Furthering the
recommended distance will increase accidental encounters.
8. Once these techniques are mastered, you are now ready to elevate both your helicopter and flying skills to its
potential.
9. It’s strongly recommended for softened landings, slightly tilt and allow the front part of the landing strut to touch
down, followed by the rear half .
Notes
Nearly 90% of crashes, for beginners, are associated with behaviors of nervousness and/or panic. Only about 10%
are directly related to mechanical failures.
Repetitive practice is the only way to enhance your skill: developing controls sensitivity, awareness, and
understanding.
Regular maintenance is required to keep the Aplus helicopter in optimal and safe flying condition. The model requires
precise configuration of the components and setting to be kept by the owner. Maintain regular maintenance on the
model to avoid accidents or loss, and optimum performance.

Aplus RC Trading Company LTD.
z Main Rotor Checklist
1. Main rotor housing: When the main rotor housing is worn or faulty , there will be obvious vibration and poor flight
control. Check the main rotor, main shaft, and feathering shaft for wear or deformity. Replace parts as
necessary to eliminate imbalance.
2. O-rings: The O-rings will lose their elasticity over time. This will cause excess play on rotor and cause instabilit y .
Replace as needed.
3. Main rotor holder: When the heli will not fly or reacts sluggishly, even after checking for proper setting of pitch
and throttle, check the following items:
▲Bearings ▲Ball bearings ▲Rotor blades ▲Other parts
4. Check for excess play or gaps between the surfaces, missing or broken parts, or binding or restricted mov ement,
it is important to check for main rotor balance before each flight. Operating the model when out of balance will
cause excessive wear and premature failure of parts, possibly resulting in a dangerous situation.
5. Control arm assembly: Check regularly for cracked, worn, bent or binding control arms and pushrods. Smooth
movement of control arms and linkages is required for stable, vibration free flight.
6. Swashplate: Check for excess slop in the main ball where the main shaft rides on, and slop or looseness among
all the metal parts. Swashplate wear will result in poor stability and lack of control during flight. Replace as
necessary.

Aplus RC Trading Company LTD.
z Fuselage / Chassis
1. Main shaft bearing: Normal replacement interval for proper operation is between 60-100 flights. If flying 3D or
extreme aerobatics often, inspect the bearing more frequently and shorten the interval as necessary.
2. One-way bearing: One-way bearings have longer lifetimes. F ailure is not common. T o keep the one- way bearing in
good operation, remove it to clean and lubricate after eve ry 50 flights. If the main drive gear is loose, you should
replace the one-way bearing.
3. Drive belt: Aplus uses only top quality, stretch-proof belts. It is however, impossible to prevent the belt from
stretching or wearing out. Check belt tension regularly , and check for the wear on the teeth. R eplace as necessary .
z Linkage Rods and Connecting Parts
During assembly, take special care to keep the connecting parts in smooth operation, and avoid excess play or
binding. Failure to do so will result in poor flight stability. The linkage rods and ends will break and wear due to
normal usage, crashing, and poor maintenance and environment. Check for wear and pr oper operation regularly,
replace as needed.
z Tail Rotor System
1. Tail rotor control set: Check the tail rotor bearing regularly. If there is excess play or gaps replace immediately.
Avoid any binding or improper contact on the tail componen ts and bearings as this will cause excess wear and heat,
potentially melting or deforming the tail system.
2. T a il unit assembly: Avoid flying in tall grass or weeds. If grass or weed becomes lodged in the tail rotor unit, it will
interfere with the operation, and cause the helicopter to lose control. Always check for foreign objects in the tail
and clean them off immediately. Avoid using lubricants on the exposed surfaces of the model as it will attract and
collect dirt and debris, and cause failure.

Aplus RC Trading Company LTD.
3. Tail rotor housing: Disassemble tail rotor housing for cleaning and maintenance after every 50 flights. If the tail
does not operate smoothly or shows any signs of stress or wear, please replace immediately.
4. Tail rotor: Check the tail rotor blades regularly for damage, especially if the helicopter ever strikes the ground
while flying, or after hard landings. Damaged tail blades can induce vibration.
Notice: Maintain regular maintenance on the model to avoid accidents or loss.
Aplus RC Trading Company LTD.
Address : Room 5, 5/F ,Cheung Hing Building,
46 Pitt Street,Yau Ma Tei, KLN ,HK
Tel : 852-97595779
Fax : 852-36403077
Email :
Wed Site : www.aplus-rc.com
info@apluc-rc.com

Notes for safety:
1. This RC heli model is not a low motivity doll. It is with big force and high flying speed. Please try it under the guiding of somebody
experienced.
2.Please fly under a safe condition.
3.After switch on the electricity, the heli might shake strongly or out of control when affected by electronic waves. Such as near the
domestic electronic equi pment, under a high pressure environment, or t he re is other remote controller using the same radio channel, or
other unidentified wave. .So remember to keep a far and safe distance from these and people. Please be alert every minute and second.
4.The battery used here might cause a fire in case of short, dampness, bump, cracking and over loading.
5.This heli has a max rev. The max rev of the frame part is 3300rpm, and the max rev of main rotor, please look at the sign on the
package. Please do not try to test it with the max rev. as in this situation the main rotor will be overloaded.
6.Please check and renew the main rotor freque ntly, as the stuff will be degraded and with less intensi ty after fierce and high speed
movement.
7.Please electricize the battery according to the guide line related, so as to prevent any danger.
8. The players should be responsible for their own deed and responsible for the damage and injury happened during the operation
process, if any.

 Loading...