

Page 1
www.apacer.com
Page 2

Table of Contents
1. Overview ................................................................. 3
1.1 Specifications...........................................................4
1.2 Button Functions ...................................................... 5
1.3 Recording Hot Button............................................... 6
1.4 Returning to the Main Menu..................................... 6
1.5 Menus and Submenus ............................................. 6
1.6 Battery Charge Levels.............................................. 8
1.7 Charging the Battery ................................................ 8
2. Main Menu .............................................................. 9
3. Turn On/Off........................................................... 10
4. Music Playback .................................................... 11
4.1 Music Playback Mode ............................................ 11
4.2 Play Mode .............................................................. 15
4.3 Lyrics Mode............................................................22
4.4 Auto-Off.................................................................. 24
5. Voice REC............................................................. 25
5.1 Voice REC Mode.................................................... 25
5.2 Recording Start Mode ............................................ 27
5.3 Pause Mode........................................................... 28
5.4 Auto-Off.................................................................. 28
6. Play REC ............................................................... 29
6.1 Play REC Mode...................................................... 29
6.2 Voice Play Mode .................................................... 32
6.3 Error Messages...................................................... 35
1
Page 3

7. FM Radio............................................................... 36
7.1 FM Radio Mode...................................................... 36
7.2 Listening to the Radio ............................................ 37
7.3 FM Submenus........................................................ 38
7.4 Save.......................................................................38
7.5 Delete..................................................................... 38
7.6 Normal Band .......................................................... 39
7.7 Japan Band............................................................ 39
8. Picture Viewer ...................................................... 40
8.1 File Selection ......................................................... 40
8.2 Picture Viewing ...................................................... 41
9. Settings................................................................. 42
9.1 Clock Settings ........................................................ 42
9.2 LCD Settings.......................................................... 44
9.3 Language ...............................................................44
9.4 Power Off ............................................................... 45
9.5 Memory Info ........................................................... 46
9.6 Firmware Version...................................................47
10. Video .....................................................................48
11. E-Books ................................................................ 49
11.1 Selecting and Reading E-Books ............................ 49
12. UDISK.................................................................... 51
13. Upgrading ............................................................. 53
14. Notice .................................................................... 57
2
Page 4
1. OVERVIEW
Thank you for purchasing the Apacer AU821. This tiny flash
storage device allows you to enjoy all sorts of digital media files.
With it, you can listen to music, play videos, view pictures, read ebooks, and store all kinds of digital data. Its FM radio keeps you
tuned in, while its built-in microphone allows you to take voice
memos with ease. Take the time now to read this User’s Manual
and get the most out of your Apacer AU821.
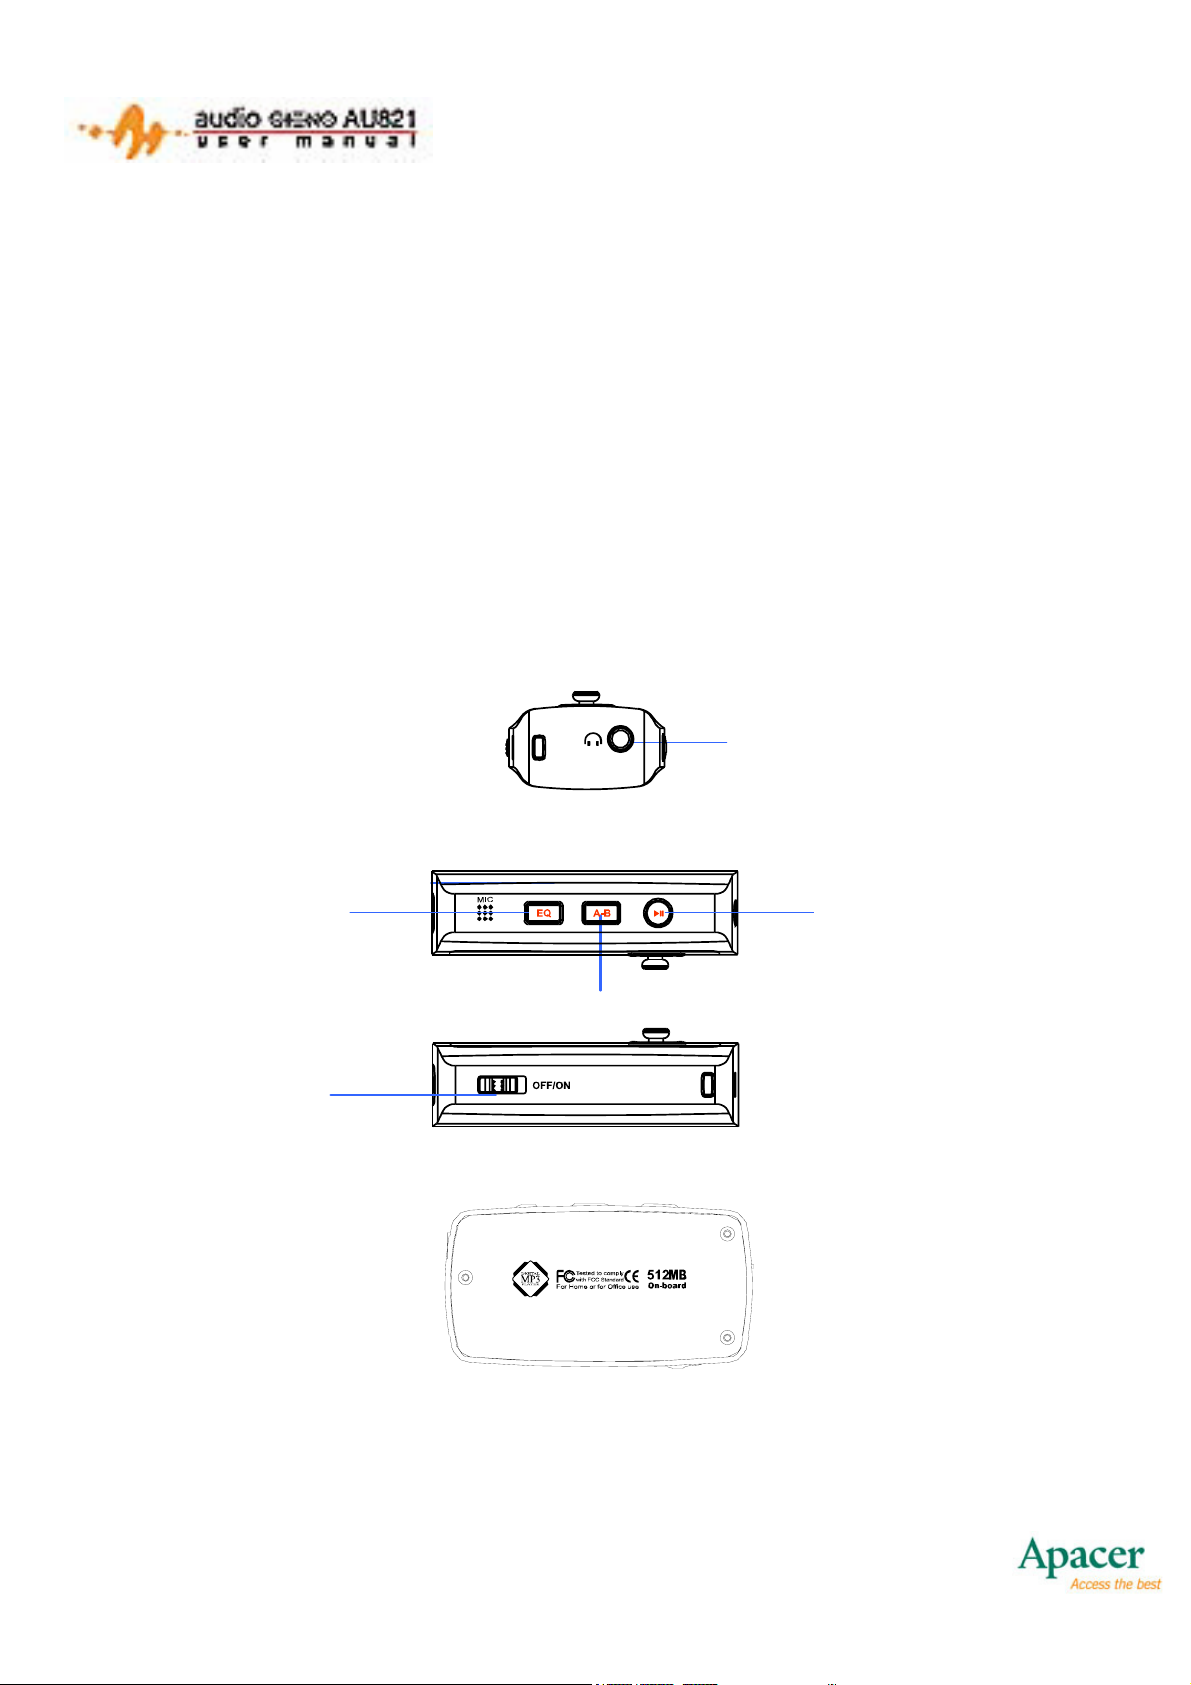
EQ
ON/OFF
PHONE JACK
PLAY
A-B
3
Page 5

1.1 SPECIFICATIONS
• 65,000-color OLED display
• Supports MP3, WMA and WAV
• Supports AMV playback
• Supports JPEG, BMP, and GIF display
• Full-band FM stereo radio that stores up to 20+20 station
presets
• Supports dual-screen lyric sync display
• Fade in/fade out playback
• Easy to use graphical user interface
• Built-in microphone for voice recording
• Full-speed USB 2.0 interface for 1000KB/s transfer speeds
• Firmware upgradeable
• A-B segment repeating with16-level variable-speed playback.
• Plug and play in Windows ME/2000/XP. A driver is included
for Windows 98
• High-capacity Lithium Ion battery
4
Page 6
1.2 BUTTON FUNCTIONS
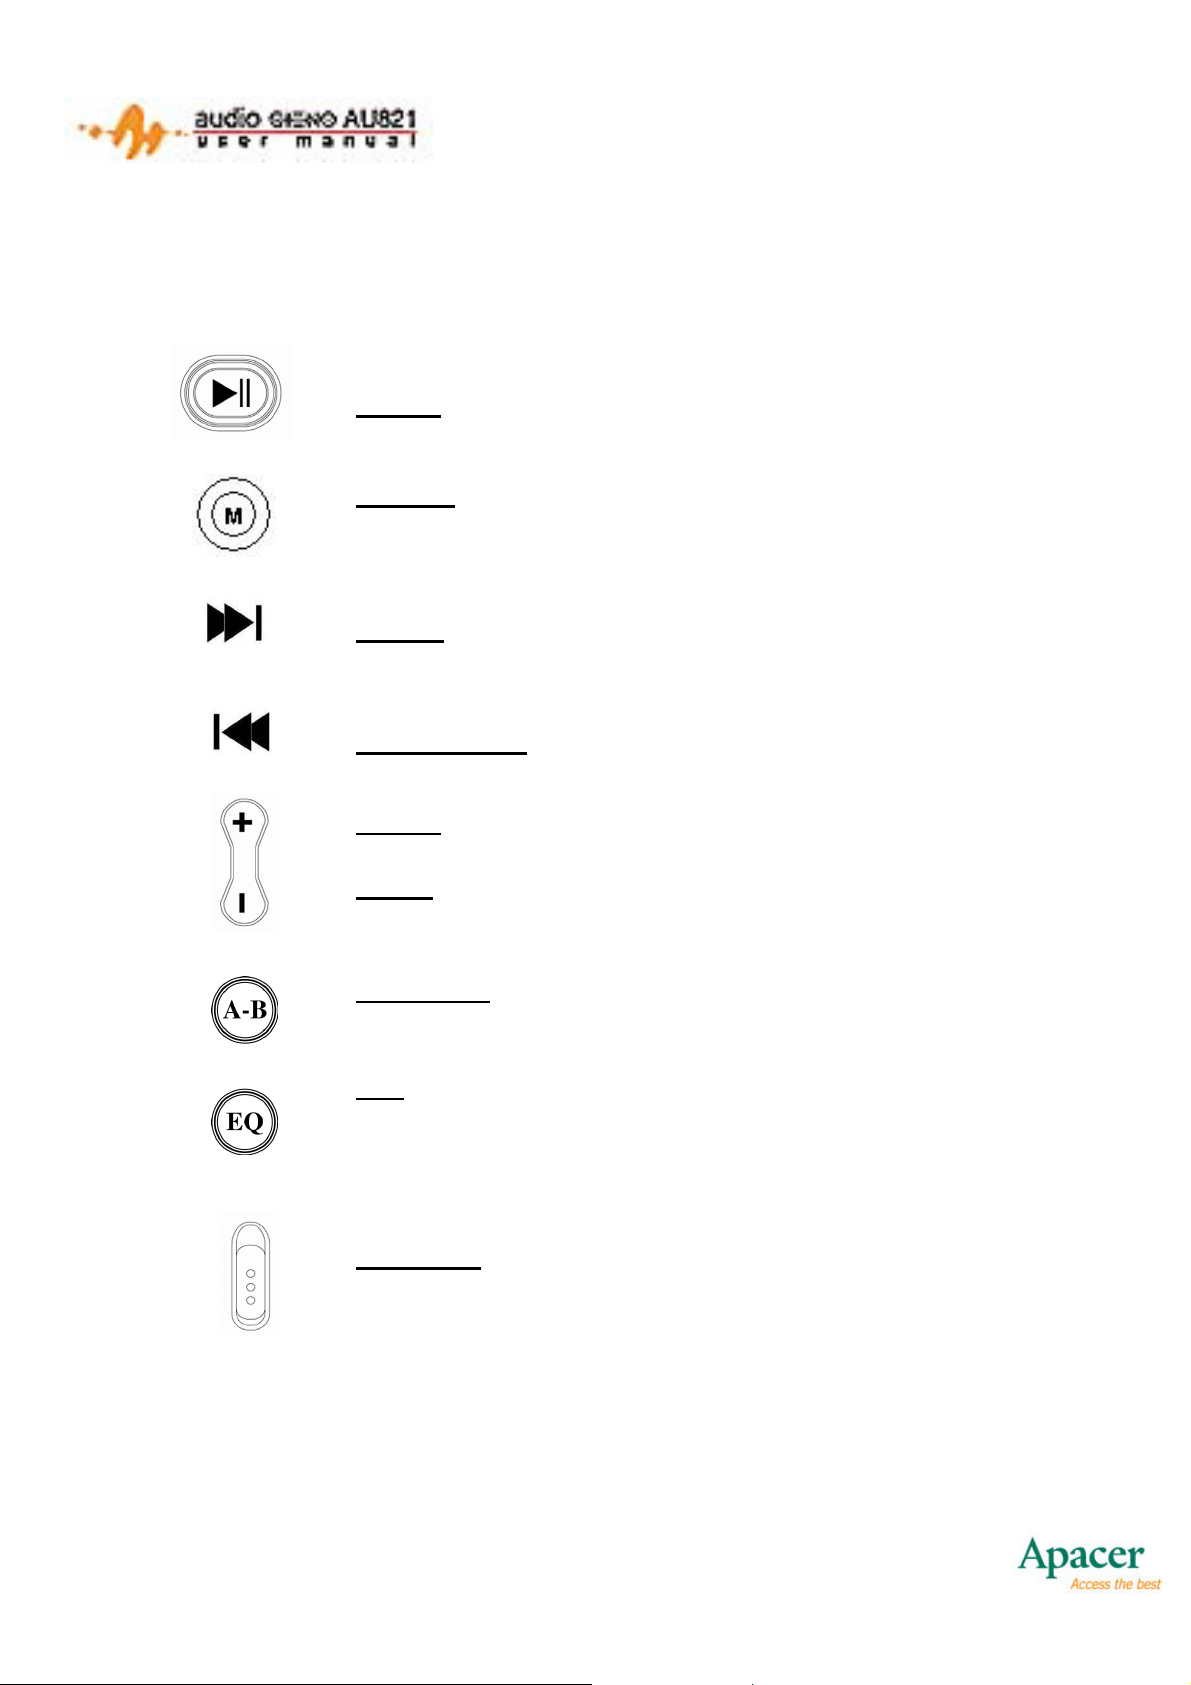
There are 9 buttons on the AU821:
PLAY: Turn On/Off, Play, Pause and Stop
MODE: Confirm Menu Options, Return to Main
Menu (press and hold)
NEXT: Move Right, Forward
PREVIOUS: Move Left, Backward
VOL+
VOL-: Volume Decrease, Next Item
: Volume Increase, Previous Item
A-B/REC: Special A-B / Recording Hot Button
EQ
: EQ Mode Select
Lock or Unlock (press and hold)
ON/OFF: Power On / Power off
5
Page 7
1.3 RECORDING HOT BUTTON
In most modes, the A-B button functions as a hot recording button.
Pressing the A-B button will take you directly to Voice REC Mode
and enable you to start recording.
1.4 RETURNING TO THE MAIN MENU
In the music playback, voice recording, recorded file playback,
radio, picture, and settings modes, pressing and holding the
MODE button will stop the current operation and return to the
Main Menu.
1.5 MENUS AND SUBMENUS
The AU821 features an easy-to-use menu system that allows you
to adjust player settings and manipulate files on the player. A
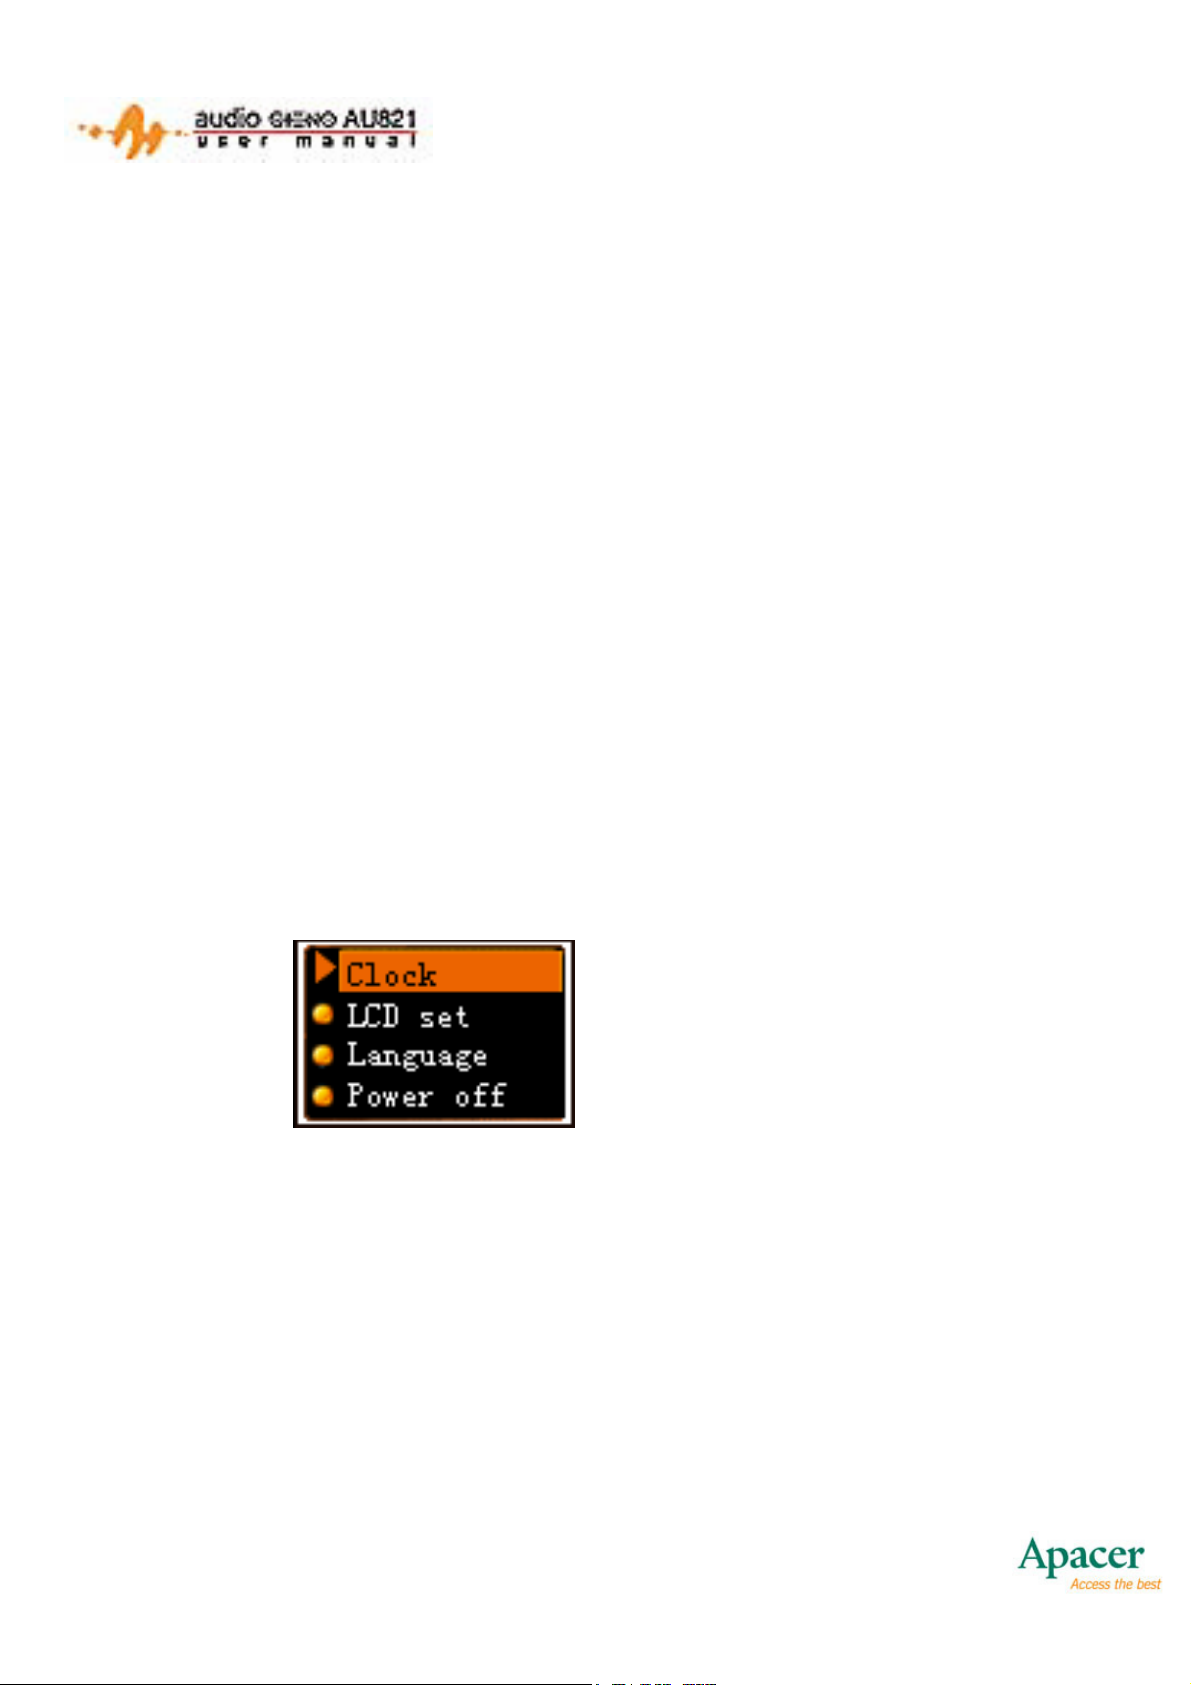
typical menu is shown below:
The Settings Menu
• Up to 4 items can be displayed at once.
• The highlighted item is the one currently selected.
• Press VOL- to scroll from top to bottom.
• Press VOL+ to scroll from bottom to top.
• Press MODE to select highlighted item.
• Press PLAY to exit the current menu.
6
Page 8
) The player will automatically exit the current menu if left idle for
5 seconds
• Press A-B to enter Voice REC Mode and start recording.
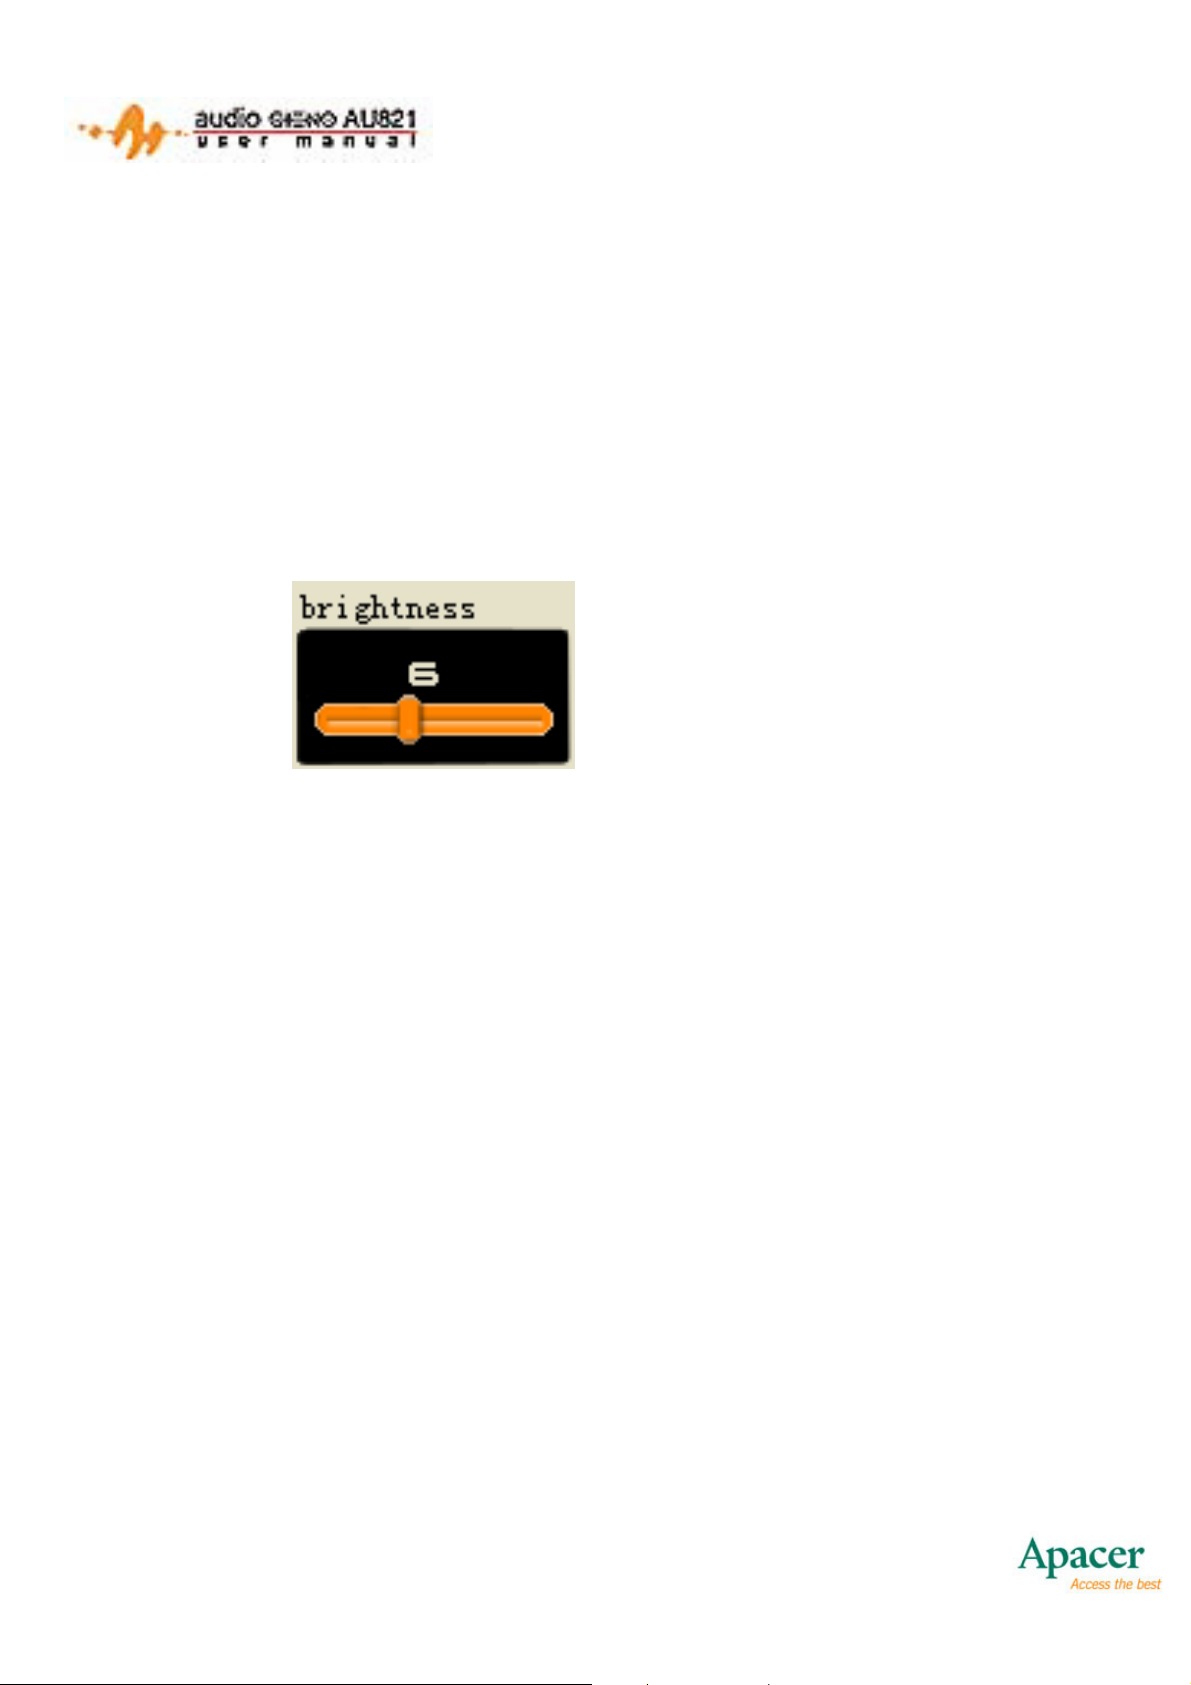
The Slider
To adjust certain settings, you will often be presented with a slider.
A typical slider is pictured below:
Brightness Adjustment Slider
• The slider can be moved to left or right.
• The number “6” corresponds to the current position of the
slider.
• Press NEXT to move the slider one step to the right.
• Press PREVIOUS to move the slider one step to the left.
• Press MODE to save your settings.
• Press A-B to enter Voice REC Mode and start recording.
7
Page 9

1.6 BATTERY CHARGE LEVELS
There are 9 levels for measuring battery charge.
• means the battery is full.
• means that battery levels are critical. Recharge
immediately.
1.7 CHARGING THE BATTERY
Charging via USB:
Connect the player to a PC with the USB cable. The display will
automatically show the link menu, and the battery icon at the
bottom right of the menu will indicate that the player is recharging.
It will show a full battery icon when the battery is full. Press
MODE to enter the Main Menu. Battery levels will still be visible
when using the player.
Charging via AC Adapter:
With the player powered off, connect it to the adapter and plug the
adapter in. The display will automatically show the link menu, and
the battery icon at the bottom right of the menu will indicate that
the player is recharging. It will show a full battery icon when the
battery is full. Press MODE to enter the Main Menu. Battery
levels will still be visible when using the player.
8
Page 10
2. MAIN MENU
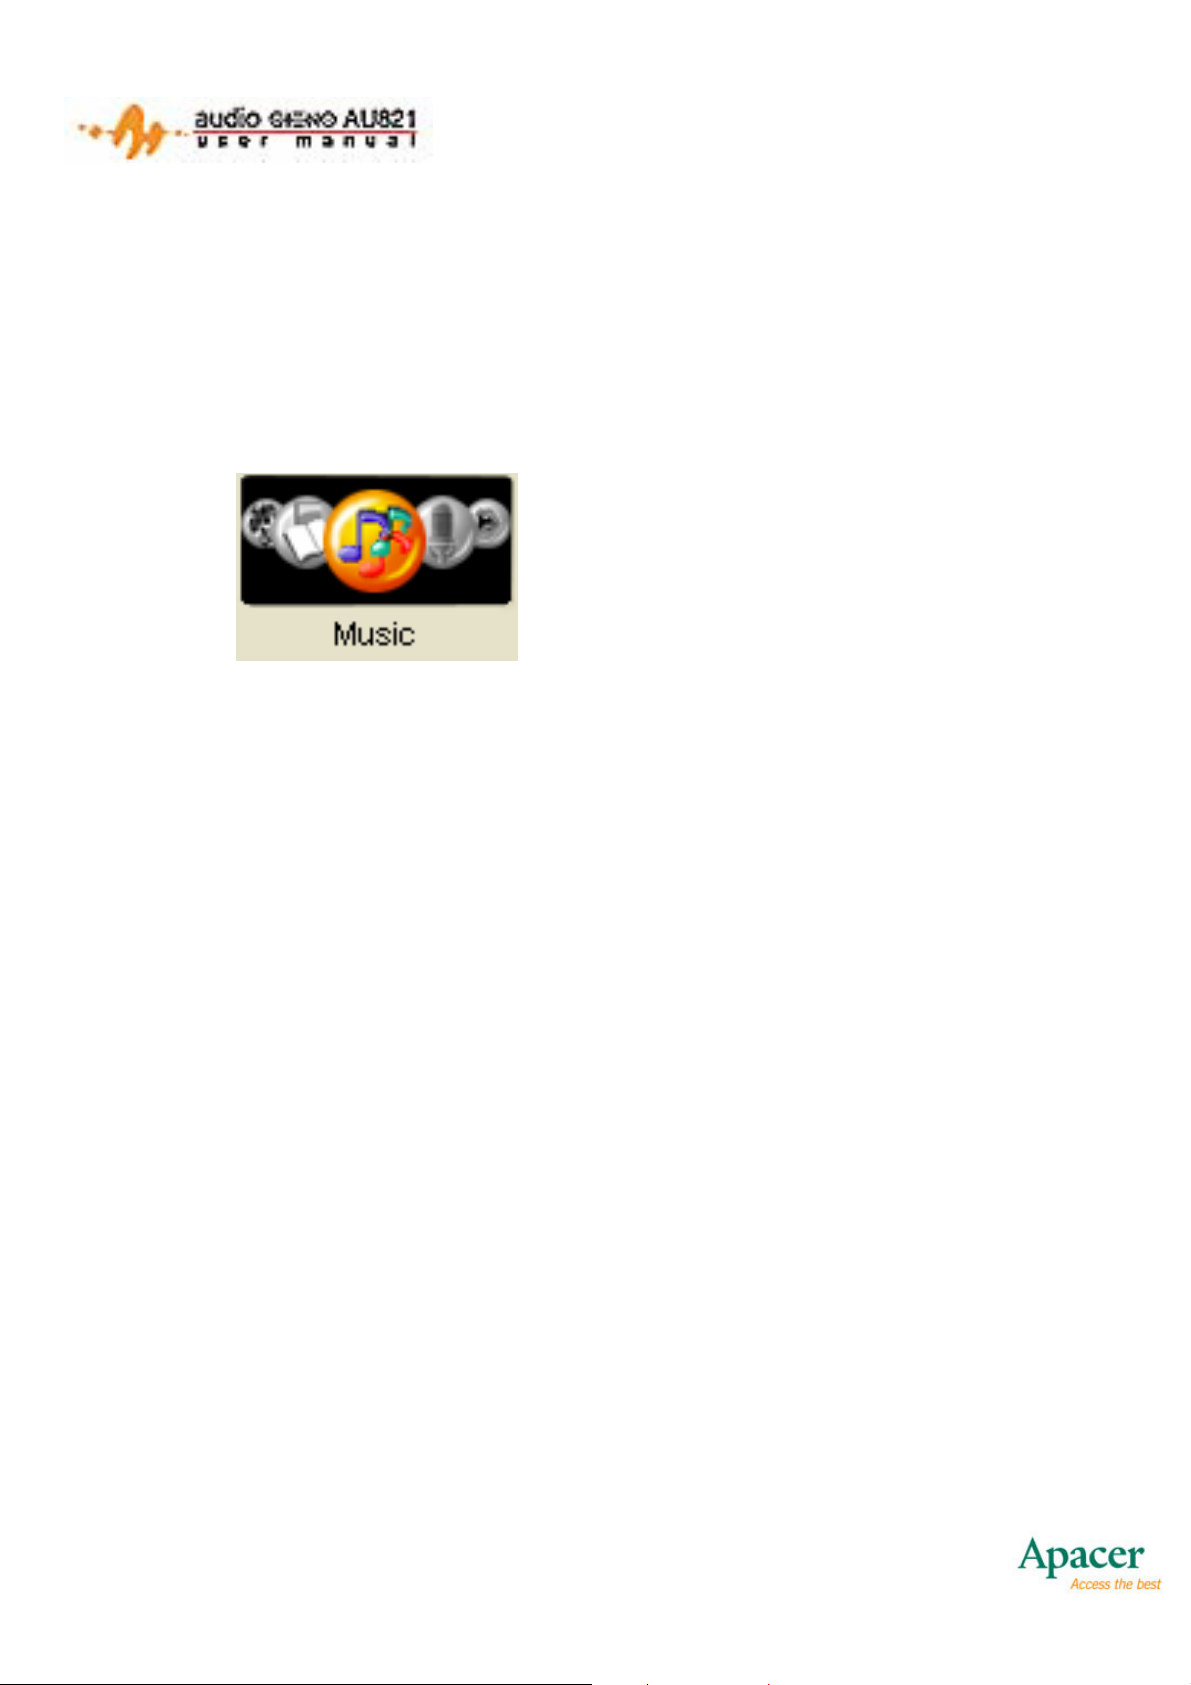
There are 7 modes available: Music, Voice REC, Play REC, FM
Video, Picture, and E-Book. The Main Menu is shown below:
Main Menu
(Music Playback Mode is
selected)
Each icon represents a different mode. The colored icon
represents the mode currently selected.
• Press NEXT to cycle to the right of the colored icon.
• Press PREVIOUS to cycle to the left of the colored icon.
• Press MODE to confirm and enter the selected mode.
• Press and hold MODE at anytime to return to the Main Menu.
• Press A-B to enter Voice REC Mode and start recording.
• Press and hold PLAY to turn off the player.
9
Page 11

3. TURN ON/OFF
Turn On
To power on the AU821, switch the ON/OFF switch to the “ON”
position and wait for the hourglass to appear. After the hourglass
is displayed press and hold PLAY for 2 seconds to power on.
Turn Off
To power off the AU821, press and hold PLAY for 2 seconds. To
conserve battery life, the AU821 will automatically turn off after a
period of time when left idle. This will not occur if the AU821 is
charging or plugged into a powered USB port. To set the length of
time until auto-off, go to Main Menu > Power off > Off time.
Low Battery
If the battery is low, the player will automatically go into Standby
Mode. If this happens, please recharge the AU821 before
powering on again.
10
Page 12
4. MUSIC PLAYBACK
Music Playback Mode supports both MP3 and WMA formats, and
allows you not only to play songs, but also adjust the volume,
repeat segments, and even display song lyrics.
Music Playback Mode also enables the simple playback of music
video files, including PLAY, STOP, PREVIOUS and NEXT
functions.
4.1 MUSIC PLAYBACK MODE
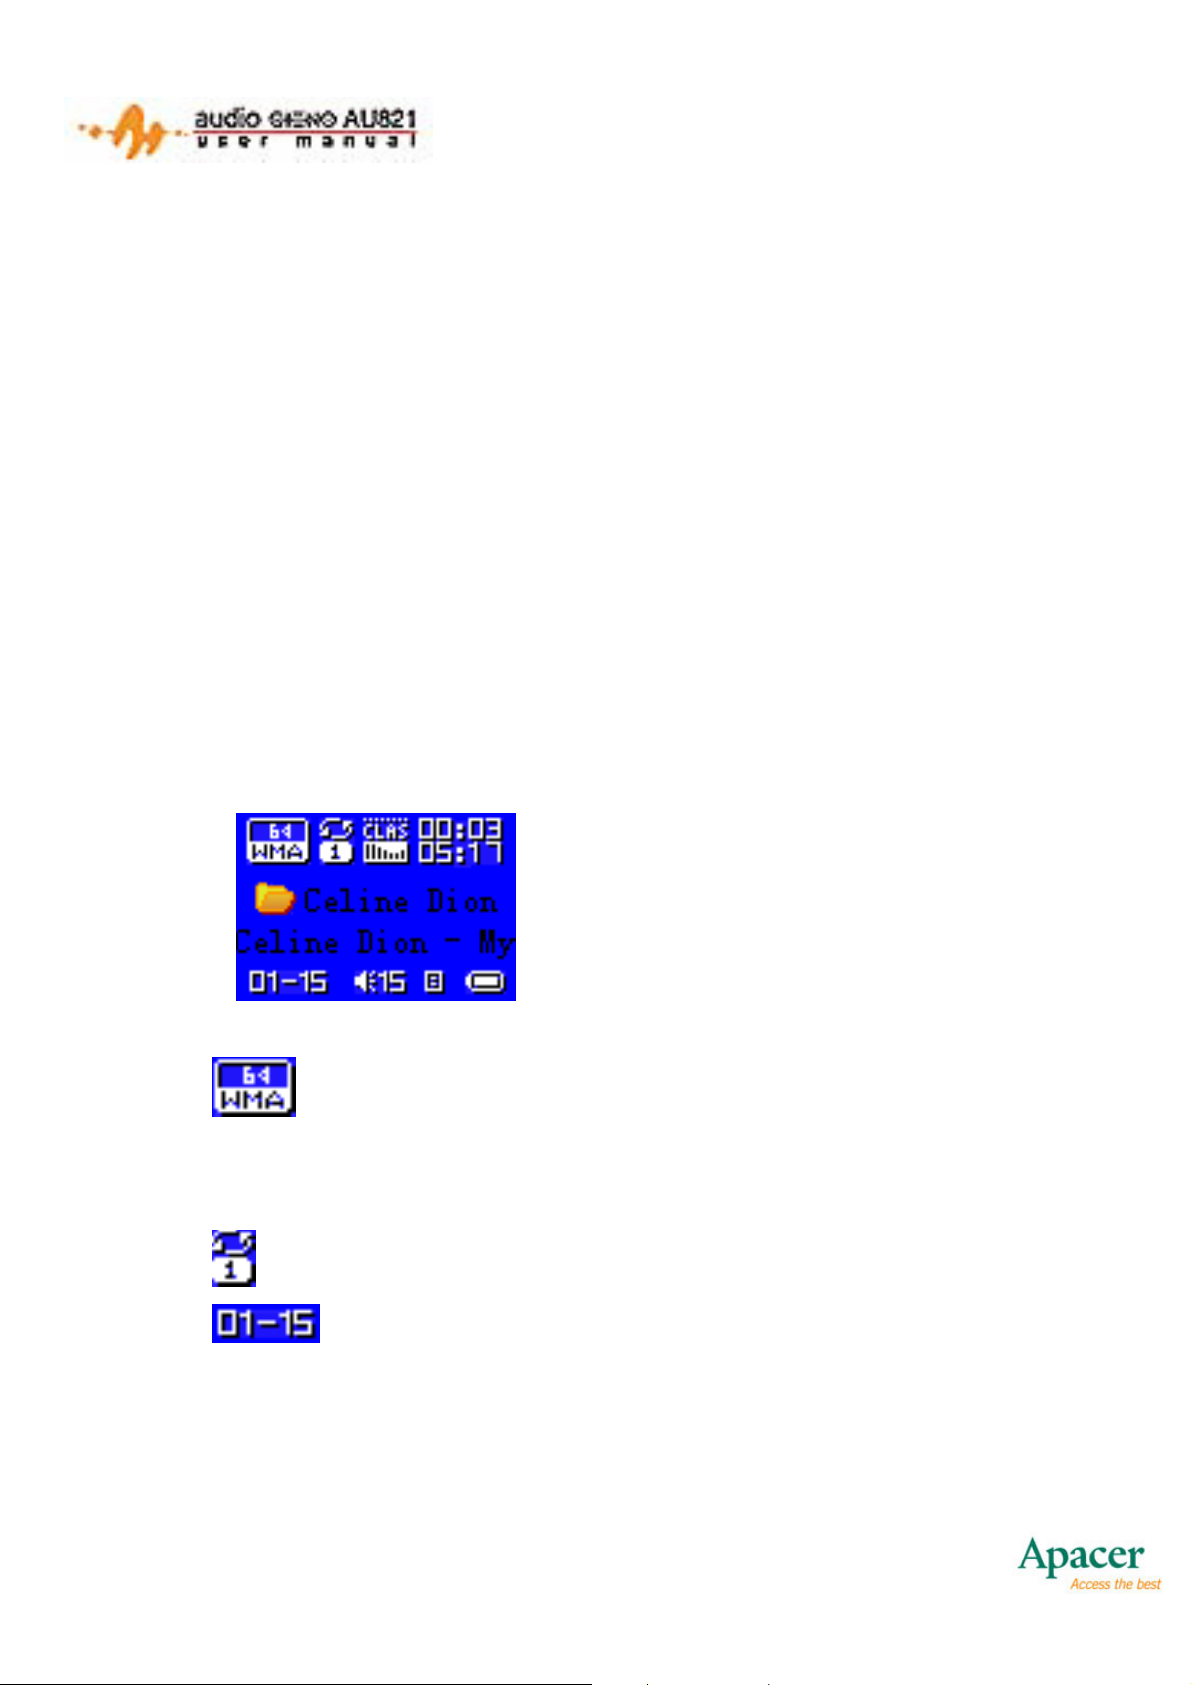
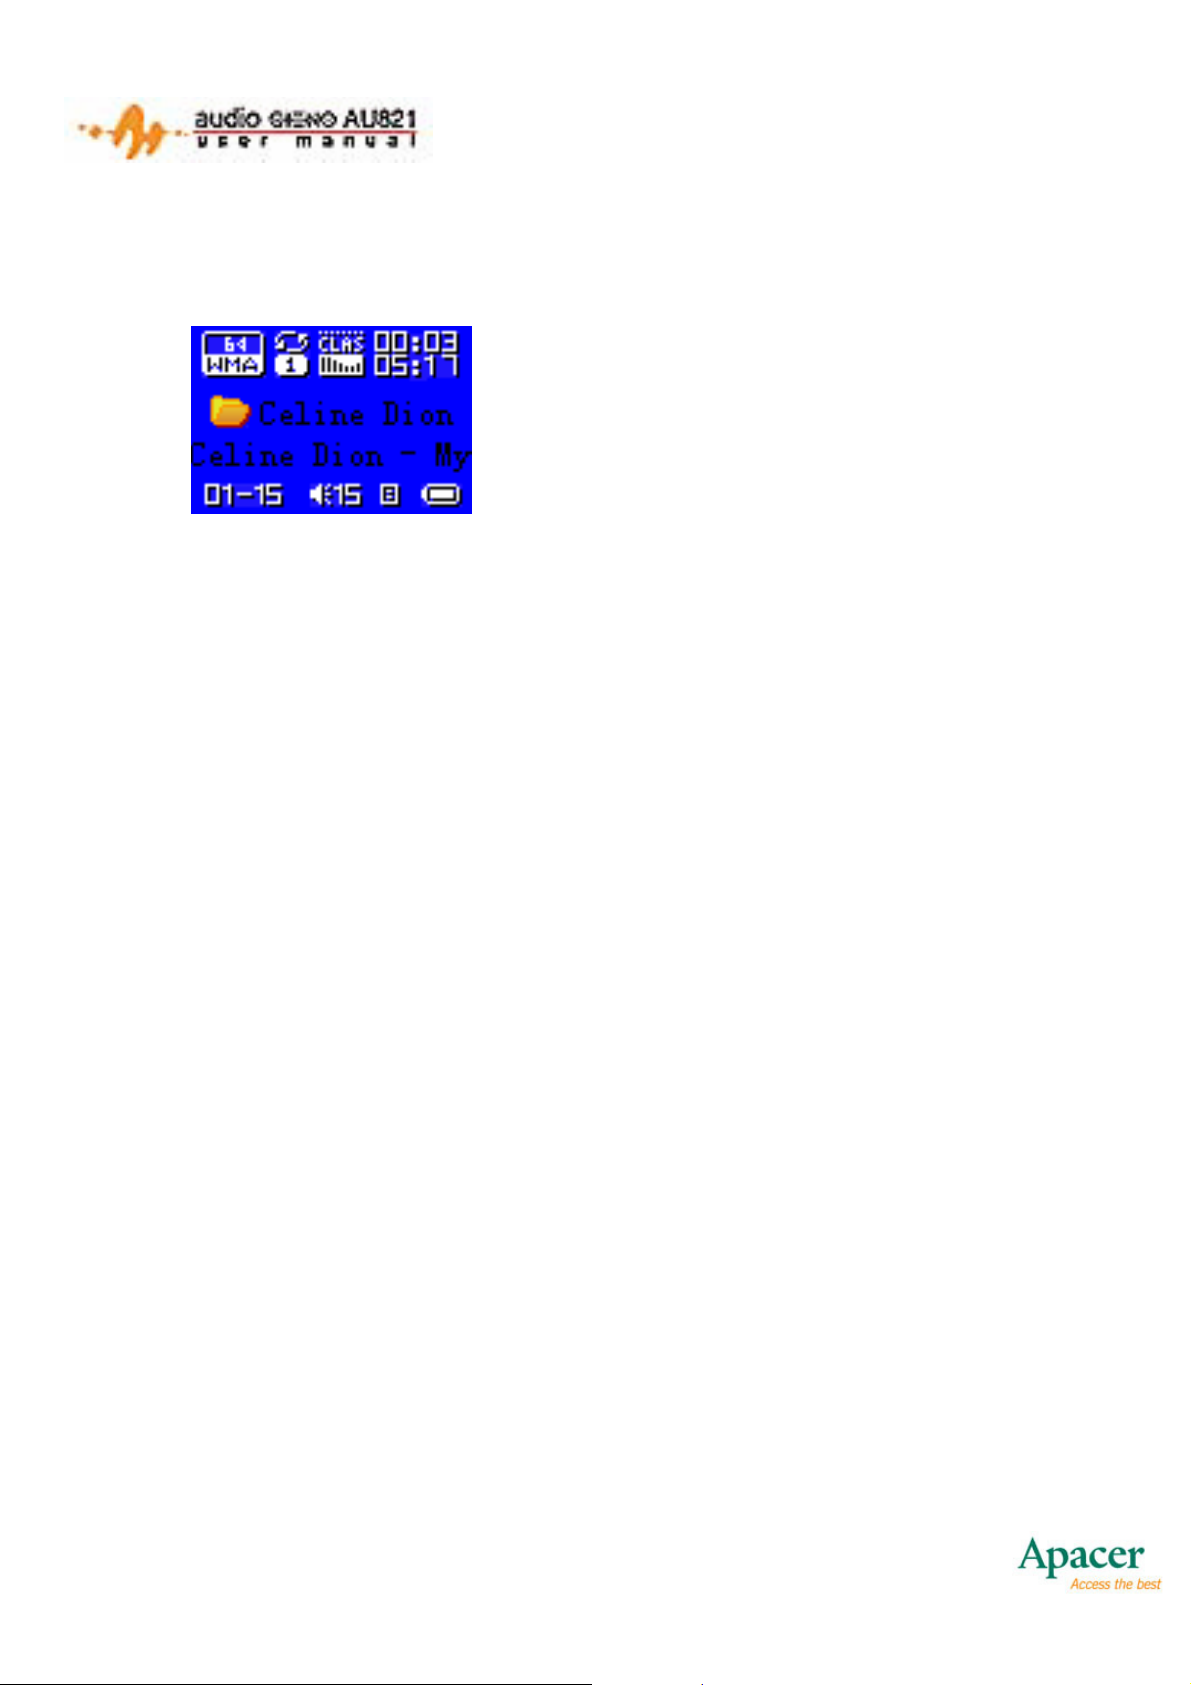
Music Playback Mode is shown below:
Music Playback Mode
• indicates that the current song is in the WMA
format with a bit rate of 64Kbit.
• indicates that the current cycle mode is Repeat 1.
• indicates that the current song is the first one and
the total number of songs is 15. The total number refers to
the number of songs in the current directory.
11
Page 13
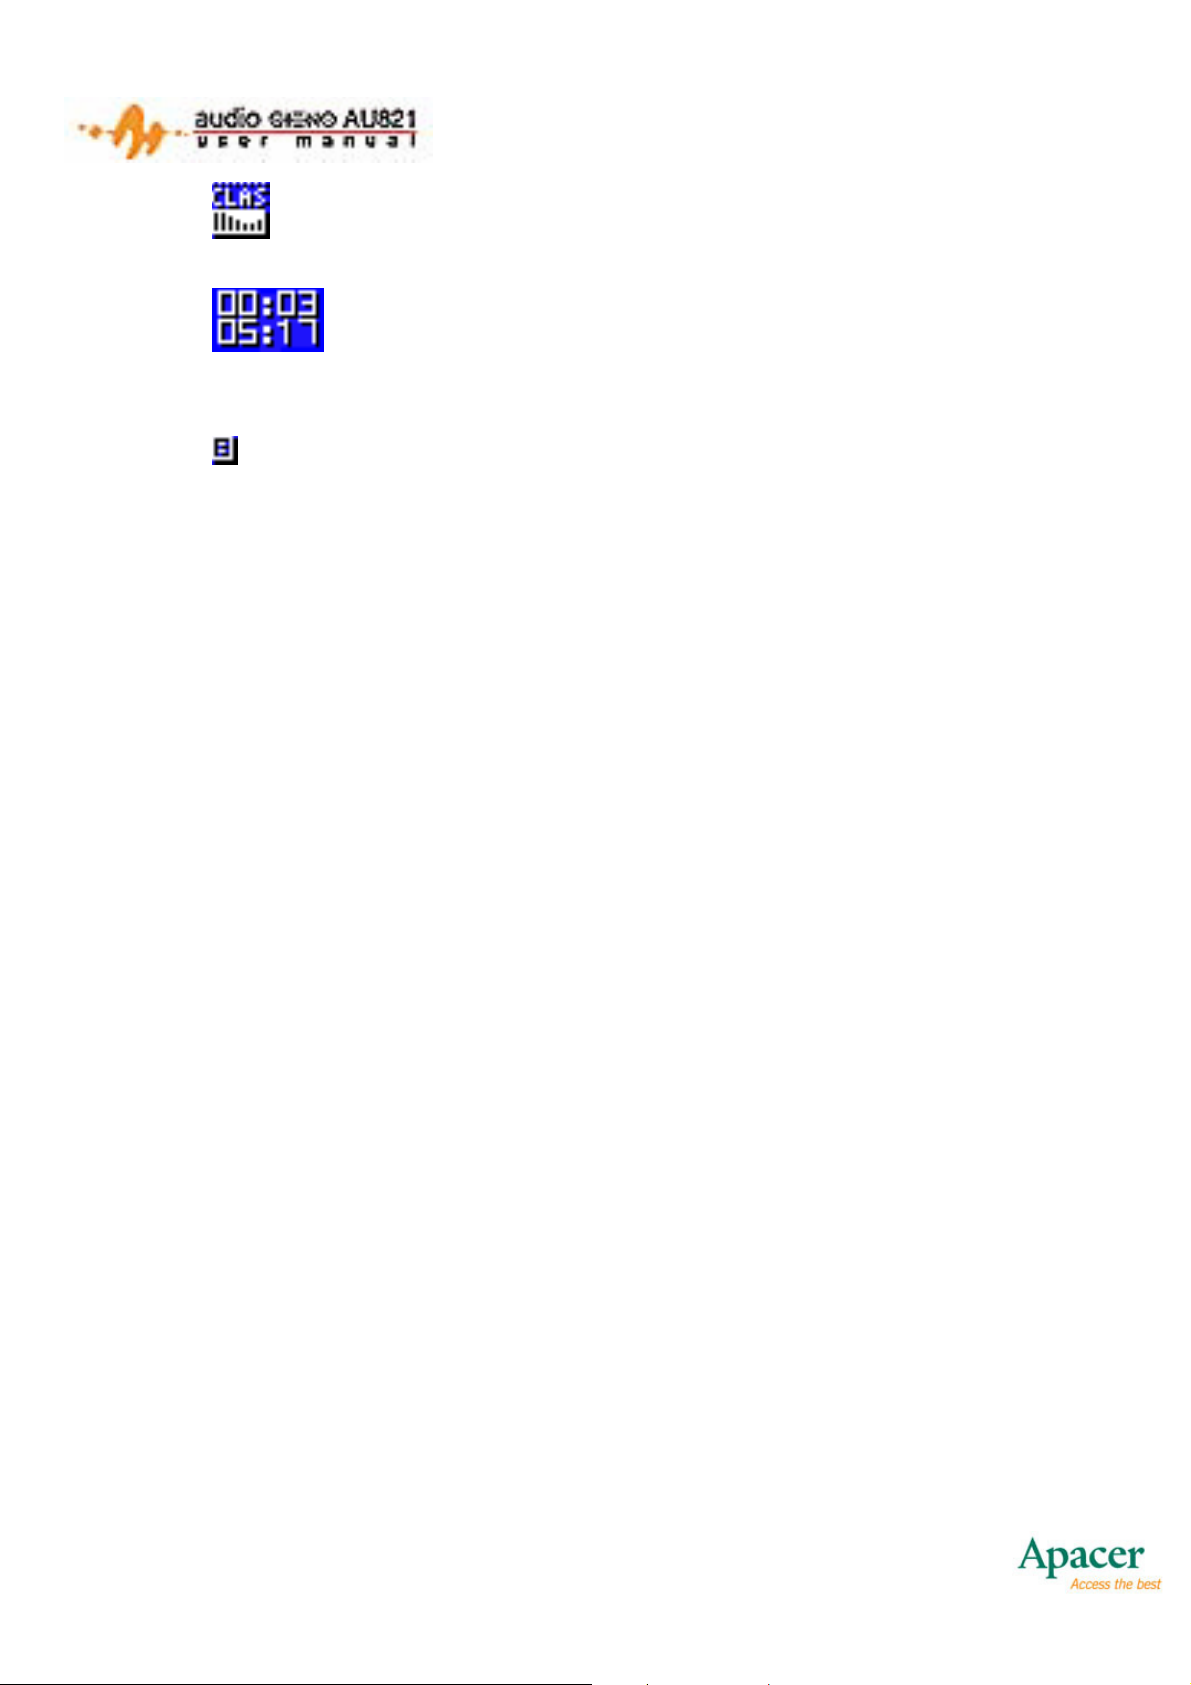
• indicates that the current EQ mode is Classical.
•
• shows that the current playback position is at
00:03 and the total length of the song is 05:17.
• indicates that the current song has lyrics.
• My Heart Will Go On is the name of the song. If the song
does not have a title tag, then its file name will be displayed
instead.
• Celine Dion is the name of the artist.
• Press MODE to enter the Music Playback Mode Submenu.
• Press and hold MODE to return the Main Menu.
• Press PLAY to play the current song. Press PLAY again to
pause the current song.
• Press NEXT to skip to the next song.
• Press PREVIOUS to jump to the previous song.
• Press and hold NEXT to fast-forward through the current
song.
• Press and hold PREVIOUS to rewind the current song.
• Press VOL+ to increase the volume.
• Press VOL- to decrease the volume.
• Press A-B to enter Voice REC Mode and start recording.
• Press EQ to change EQ modes.
12
Page 14
4.1.1 Music Playback Mode Submenu
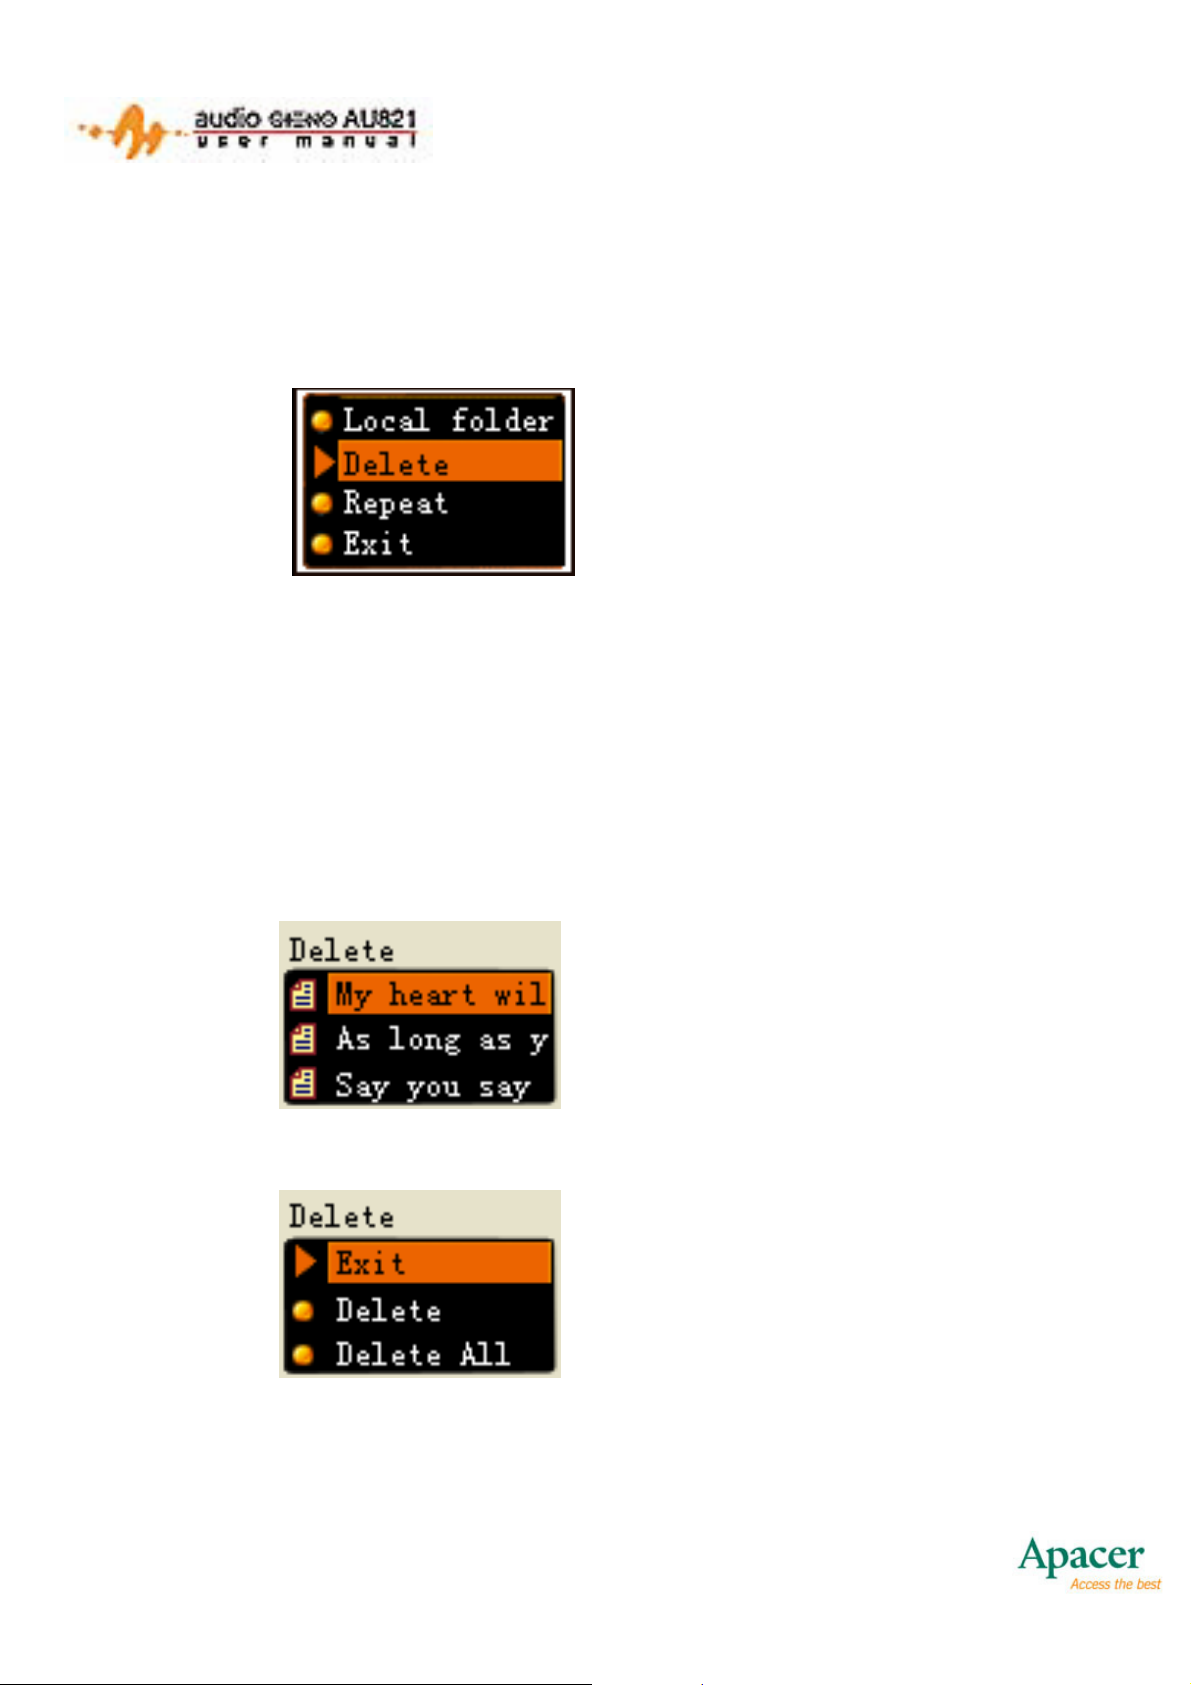
While in Music Playback Mode, press MODE to display its
Submenu. This is shown below:
Music Playback Mode
Submenu (Delete selected)
Delete is the currently selected option. Press MODE to enter
Delete Mode.
4.1.2 Delete Mode
From this mode, you can delete a single file or all files. The
interface is shown below:
Delete Mode
• Press MODE to select a file deletion option. See below:
File Delete Options
• Press VOL+/VOL- to scroll up/down.
o Exit – Exit the File Delete Submenu
13
Page 15
o Delete – Delete the selected file
o Delete All – Delete all files
• Press MODE to confirm your selection
4.1.3 Current Folder Selection
From this mode, you can select current playback folder. When you
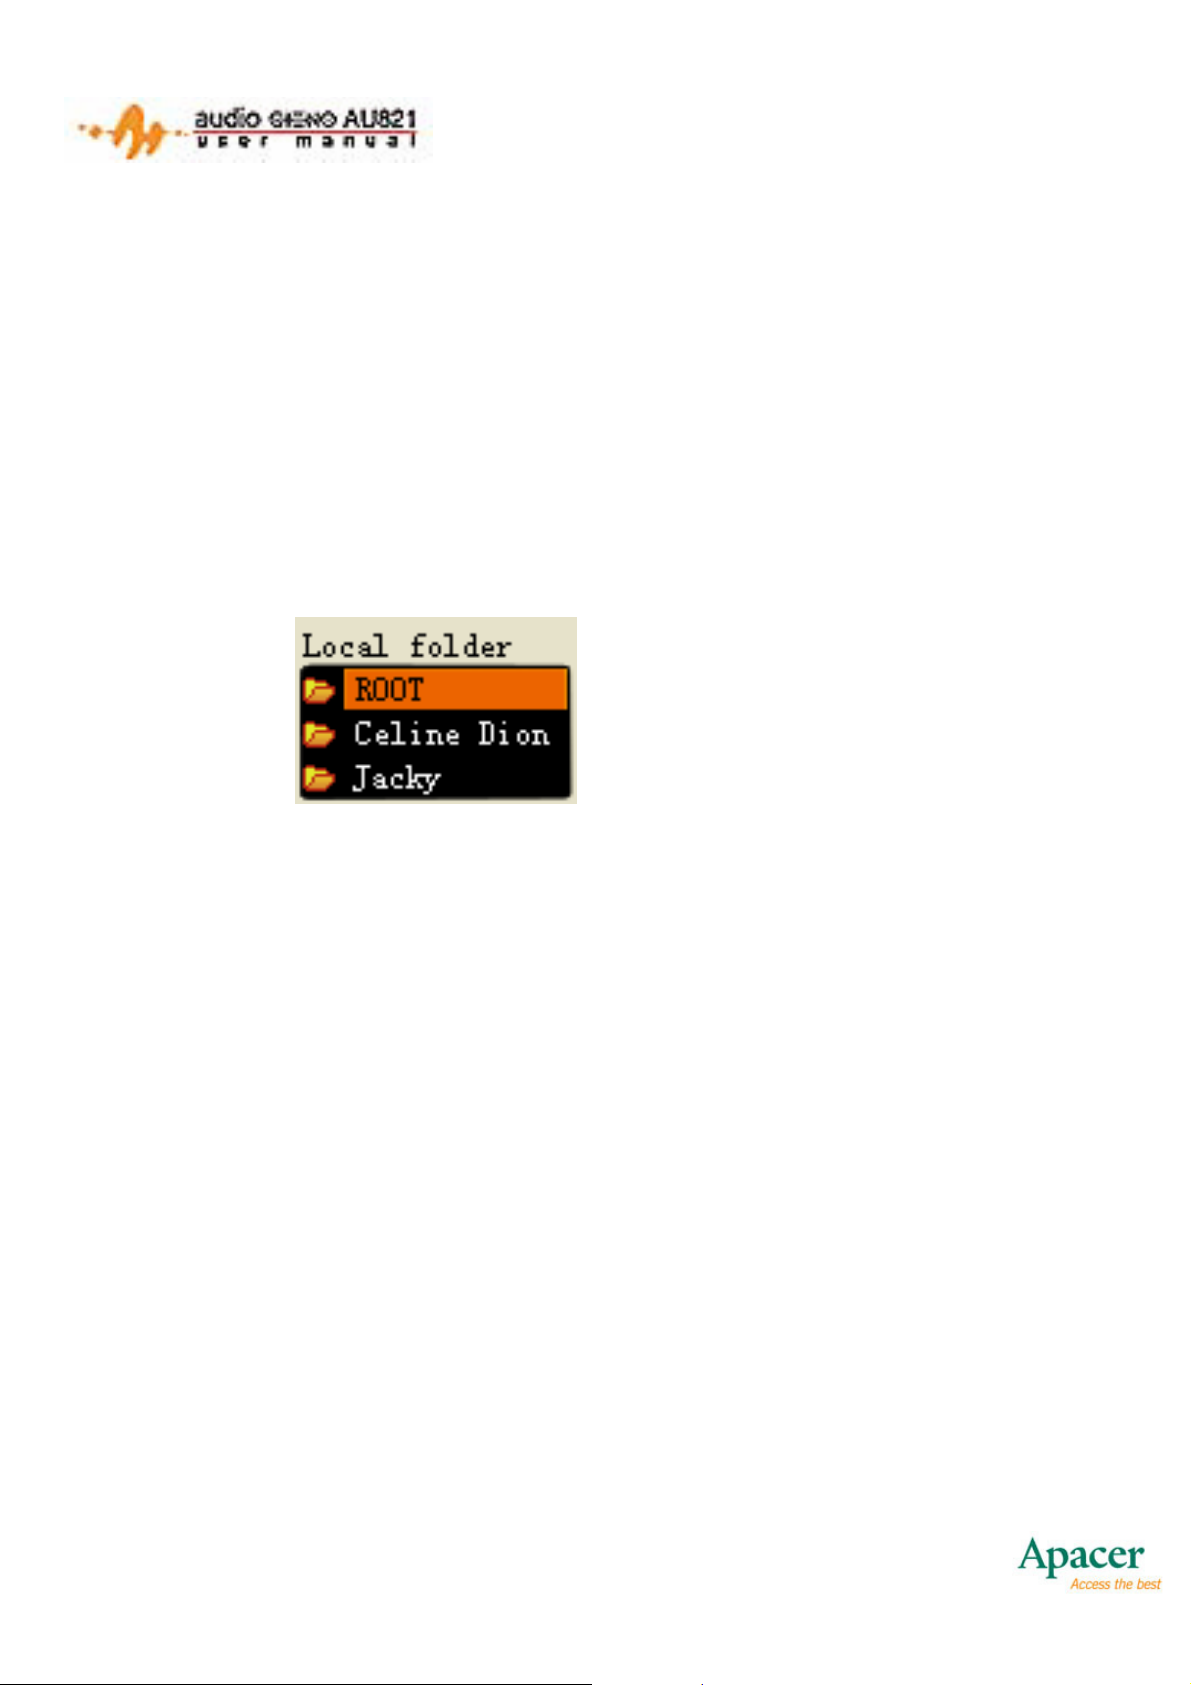
enter this mode, you are brought to the current playback directory.
This is shown below:
Folder Selection Mode
Long directory names are supported. With the exception of the
root directory, only valid directories are displayed.
• Press VOL- to scroll downwards
• Press VOL+ to scroll upwards
• Press MODE to select the desired playback directory and
return to Music Playback Mode. If the current directory
(including the disk) is changed, then you need to reset the
current song as the first, otherwise, the song and playback
position will not be changed.
• Press PLAY to return to Music Playback Mode without
saving changes.
• Press and hold PLAY to turn the player off.
• Press A-B to enter Voice REC Mode and begin recording.
14
Page 16
4.2 PLAY MODE
When a song is playing, you will see the following screen:
Celine Dion – My Heart Will Go
On: The song currently playing.
Song names will scroll
horizontally while the song is
playing.
• Press MODE to enter the Play Mode Submenu.
• Press and hold MODE to enter the Lyrics Show Mode. If
there are no corresponding lyrics associated to the current
song, then the song will stop playing and you will return the
Main Menu.
• Press PLAY to pause the current song. Press PLAY again
to resume the current song.
• Press NEXT to skip to the next song.
• Press PREVIOUS to jump to the previous song.
• Press and hold NEXT to fast-forward the current song.
• Press and hold PREVIOUS to rewind the current song.
• Press VOL+ to increase the volume.
• Press VOL- to decrease the volume.
• Press EQ to select EQ modes.
• The A-B button allows you to specify a specific segment of
the current song to repeat.
o While a song is playing, press A-B to confirm the A point
15
Page 17
of your desired segment.
o Press A-B again to confirm the B point and the A-B
segment will be repeated continuously.
o Press A-B once again to cancel the repeating.
4.2.1 Invalid File Processing
When the player encounters invalid files during auto or manual
selection of songs, the message “Format Error” will appear. After
2 seconds, the player will return to Music Playback Mode.
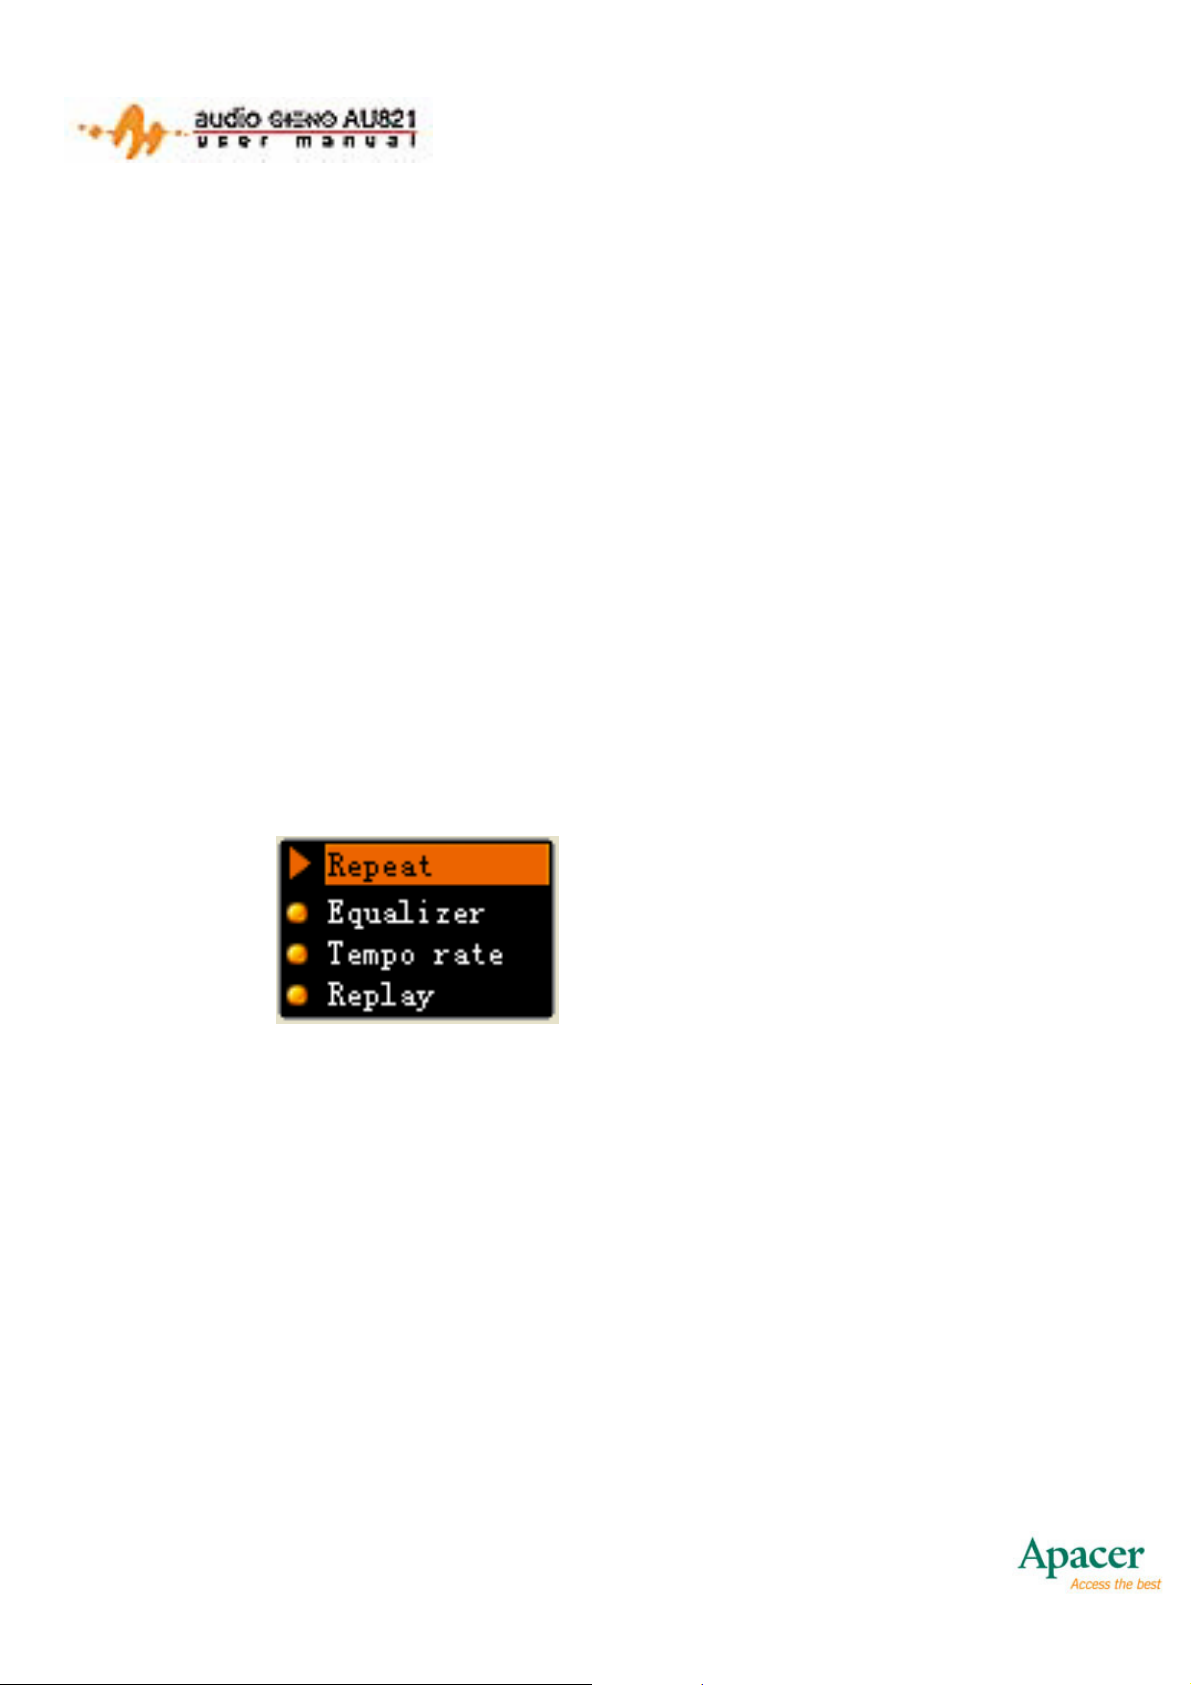
4.2.2 Play Mode Submenu
While a song is playing, press MODE to enter the Play Mode
Submenu. The following options are available:
Play Mode Submenu (Repeat
selected)
• Press VOL+/VOL- to scroll up/down.
o Repeat – Enter the Repeat Select Submenu.
o Equalizer – Select the EQ mode for songs played.
o Tempo rate – Adjust the speed of the song playing
(does not work for WMA files).
o Replay – Enter the Repeat mode and begin repeating.
o Replay times – Set the number of repeats.
o Replay gap – Set the interval between each repeat.
o Exit – Return to Play Mode. The song will still be playing.
• Press MODE to confirm your selection.
16
Page 18
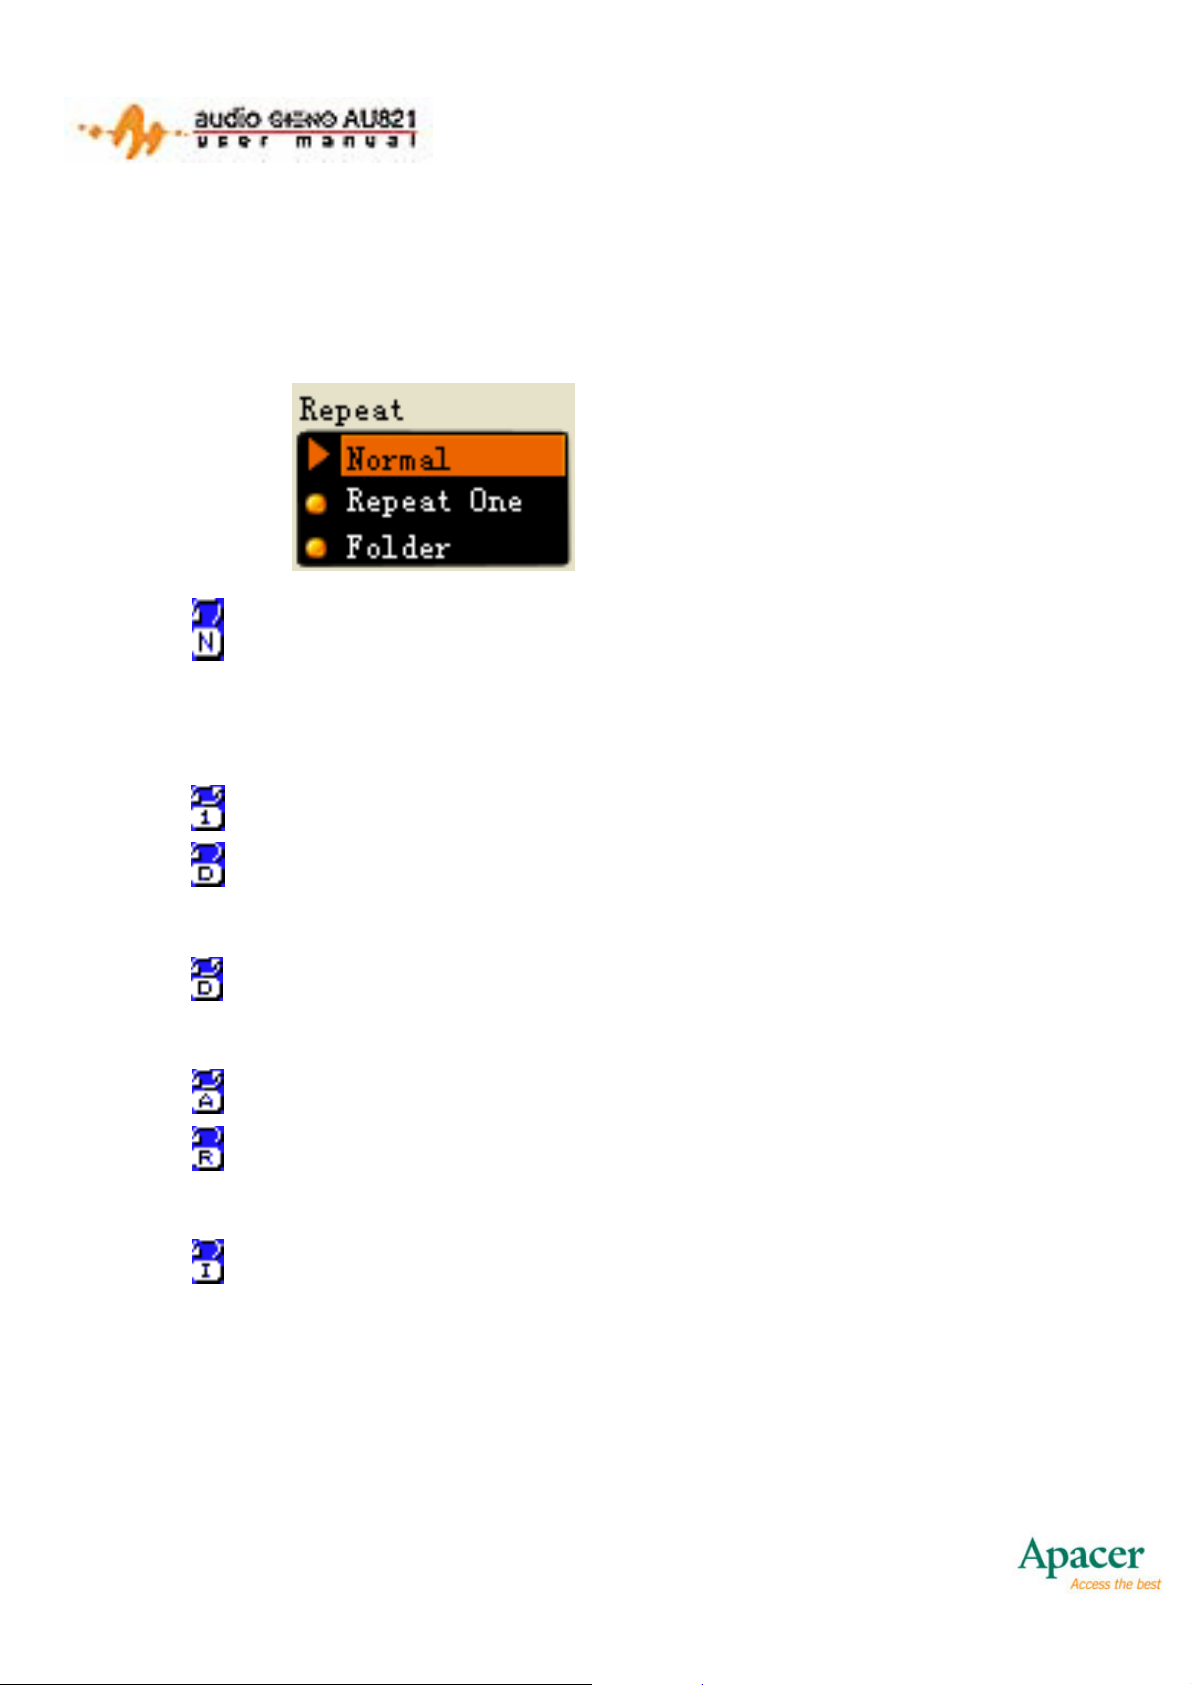
4.2.3 Repeat Select Submenu
After selecting Repeat from the Play Mode Submenu, the
following options are available:
Repeat Submenu
• No Repeat: Once the songs in the current directory are
finished, it will continue to play the songs in the next
directory.
• Repeat One: The current song repeats indefinitely.
• Play Folder: The player will stop if it finishes playing the
songs in the current directory.
• Repeat Folder: Repeat playing all songs in the current
directory.
• Repeat All: Repeat playing the songs in all directories.
• Random: Play the songs in the current directory in
random order.
• Pre-listen: Play the beginning 10 seconds of all the songs
in the current directory.
17
Page 19
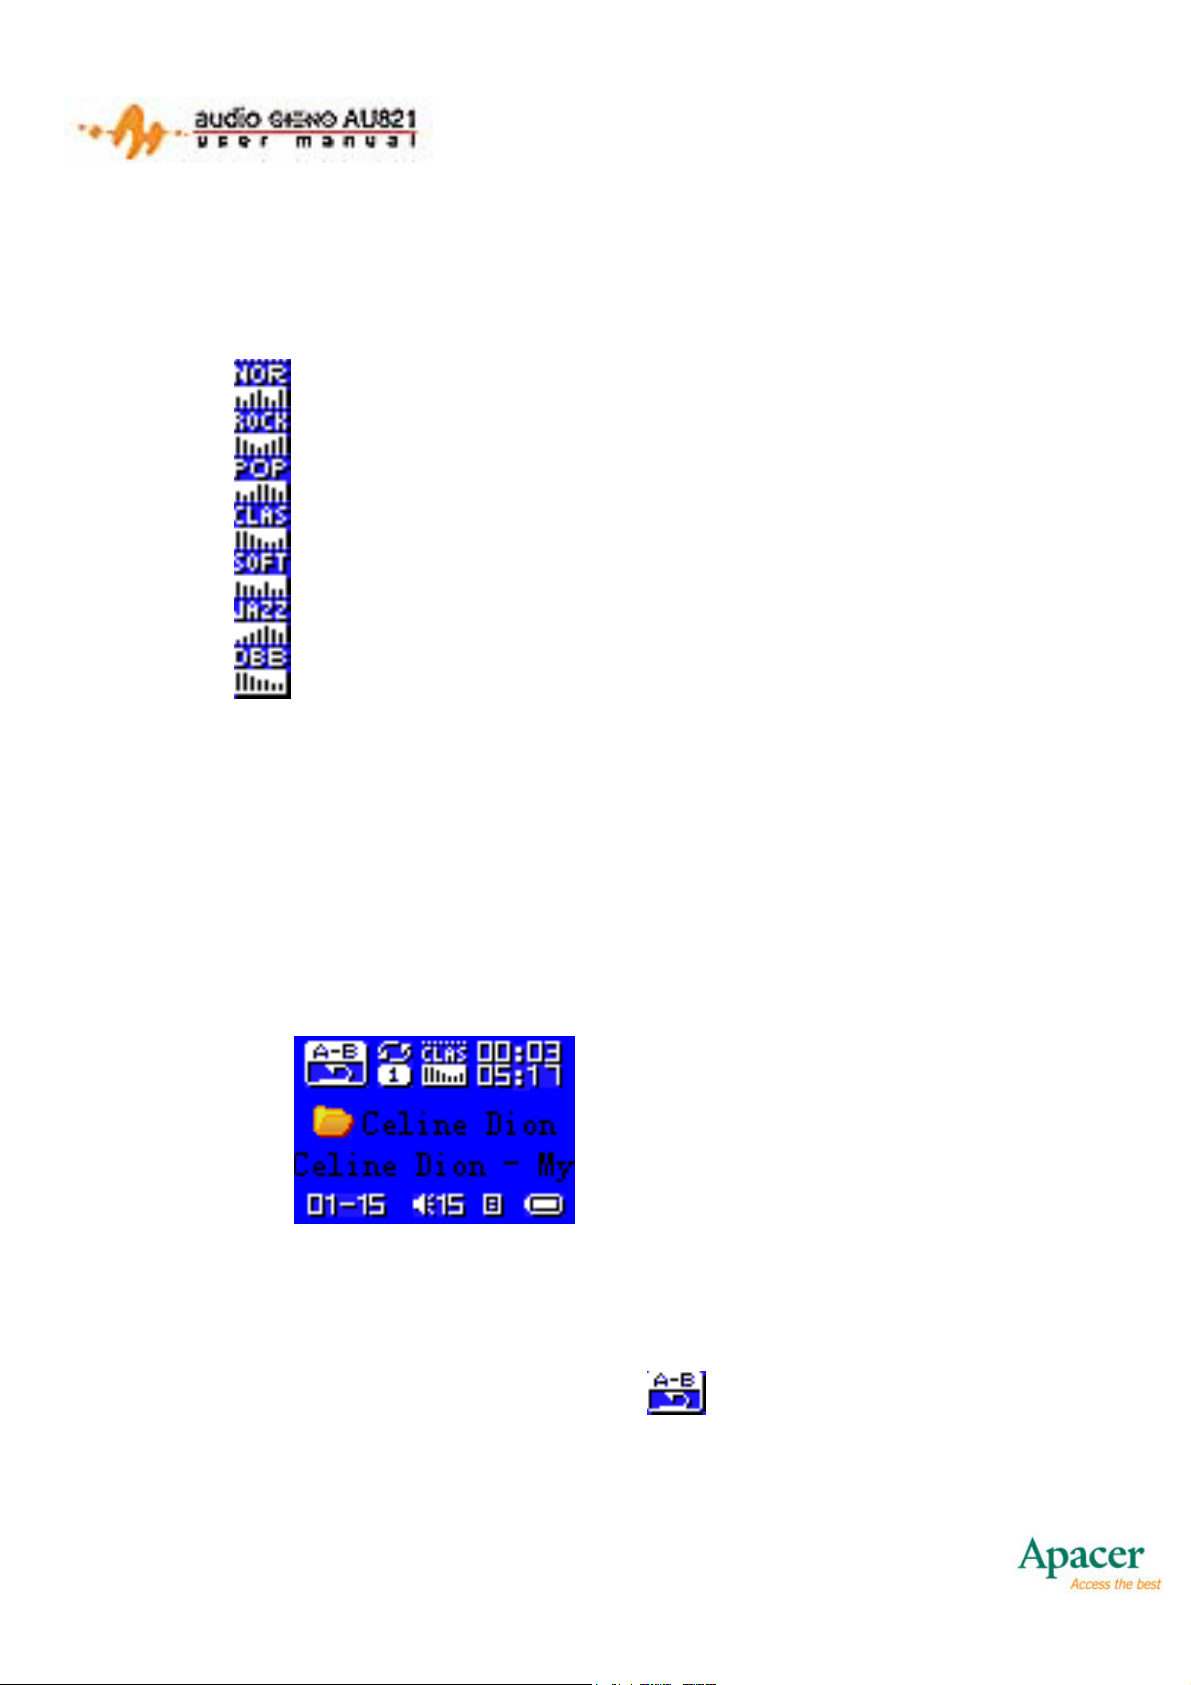
4.2.4 Equalizer Settings
While in Music Playback Mode, press EQ to cycle through EQ
settings. The available EQ settings are as follows:
Normal (Default)
Rock
Pop
Classic
Soft
Jazz
Double Bass
4.2.5 A-B Repeat Mode
With A-B Repeat Mode, you can perform advanced manual or
auto A-B repetitions. The Repeat Type you use is set in Main
Menu > Settings. Replay Time and Replay Gap are set in the
Play Mode Submenu.
Music Playback with A-B
Repeat
For Manual Repetitions:
• After setting manual repeat mode in Settings, press A-B
while in Play Mode. The “A” in
will flash.
• Press NEXT or A-B to set the “A” point. “B” will begin to flash.
18
Page 20
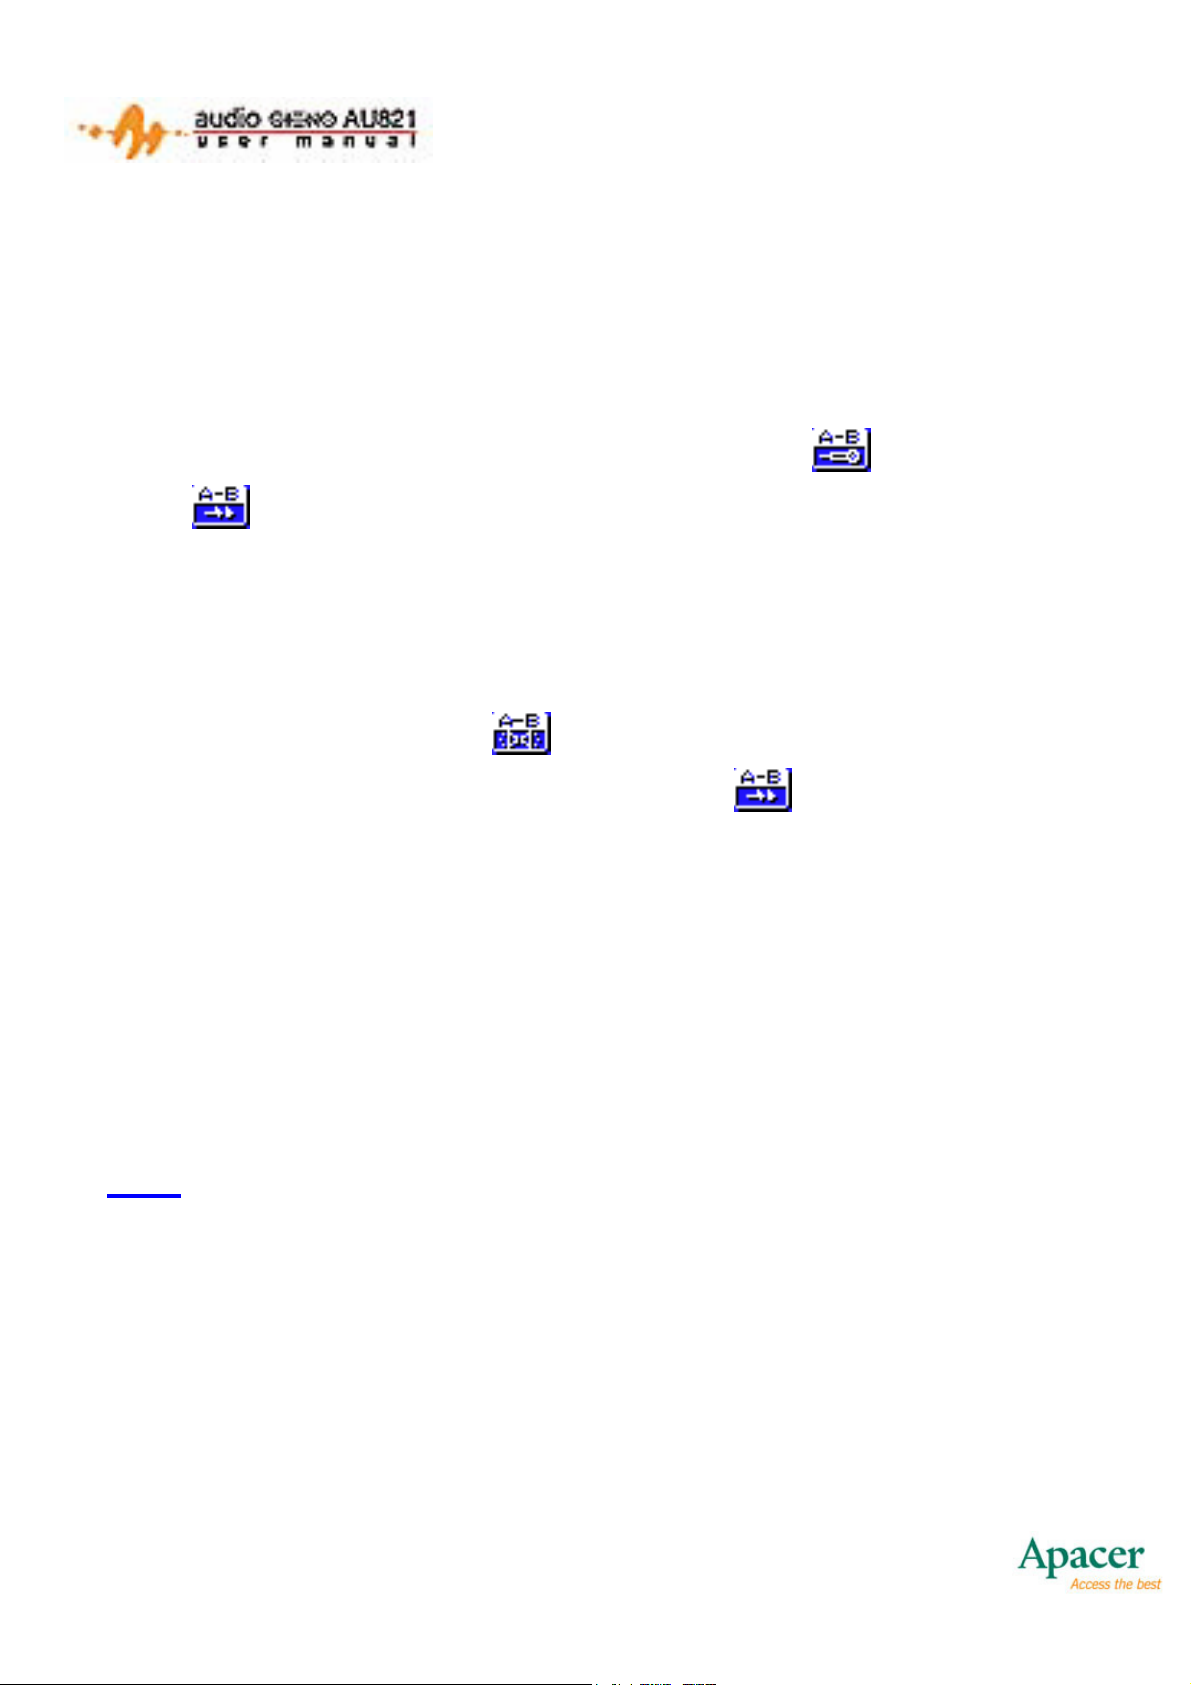
• Press NEXT or A-B to set the “B” point. The segment
between “A” and “B” will play repeatedly.
• Press PREVIOUS or A-B, or wait for the set number
repetitions to cycle the A-B segment.
• Press NEXT to have a recorded segment follow the
Repeat segment. The recorded segment uses the
ADPCM format and its duration is 10% longer than the A-B
segment. The minimum recording duration is 1 second.
• Press PREVIOUS to return to the Repeat Mode.
• Press NEXT to start Compare playback. Compare
playback allows you to compare the
with the recorded segment.
Repeat segment
• Press PREVIOUS to return to recorded segment to A-B
playback.
• Press NEXT to begin the settings for the next repeat
segment.
Note
During the steps above, holding either VOL+ or VOL- will change
the current playing speed. (WMA format excluded)
Press MODE to quit Repeat Mode and return to Play Mode.
:
Press PLAY to return to Music Playback Mode.
19
Page 21

For Auto Repetitions:
• After setting auto repeat mode in Settings, press A-B while
in Play Mode. The “A” in
will flash.
• Press NEXT or A-B to set the “A” point. “B” will begin to flash.
• After pressing NEXT or A-B, or if the player finds a blank,
Repeat will display, and the player will start repeating
the A-B segment.
• After the set number of repetitions, the “B” point will be
automatically set to the “A” point of the next segment.
• Press PREVIOUS to return to Play Mode.
• Press NEXT to have a recorded segment follow the
Repeat segment. The recorded segment uses the
ADPCM format and its duration is 10% longer than the A-B
segment. The minimum recording duration is 1 second.
• Press PREVIOUS to return to Repeat Mode.
• Press NEXT to start Compare playback. Compare
playback allows you to compare the
with the recorded segment.
Repeat segment
• Press PREVIOUS to return to recorded segment to A-B
playback.
• Press NEXT to begin the settings for the next repeat
segment.
20
Page 22
Note:
During the steps above, holding either VOL+ or VOL- will change
the current playing speed. (WMA format excluded)
Press MODE to quit Repeat Mode and return to Play Mode.
Press PLAY to stop playback and return to Music Playback
Mode.
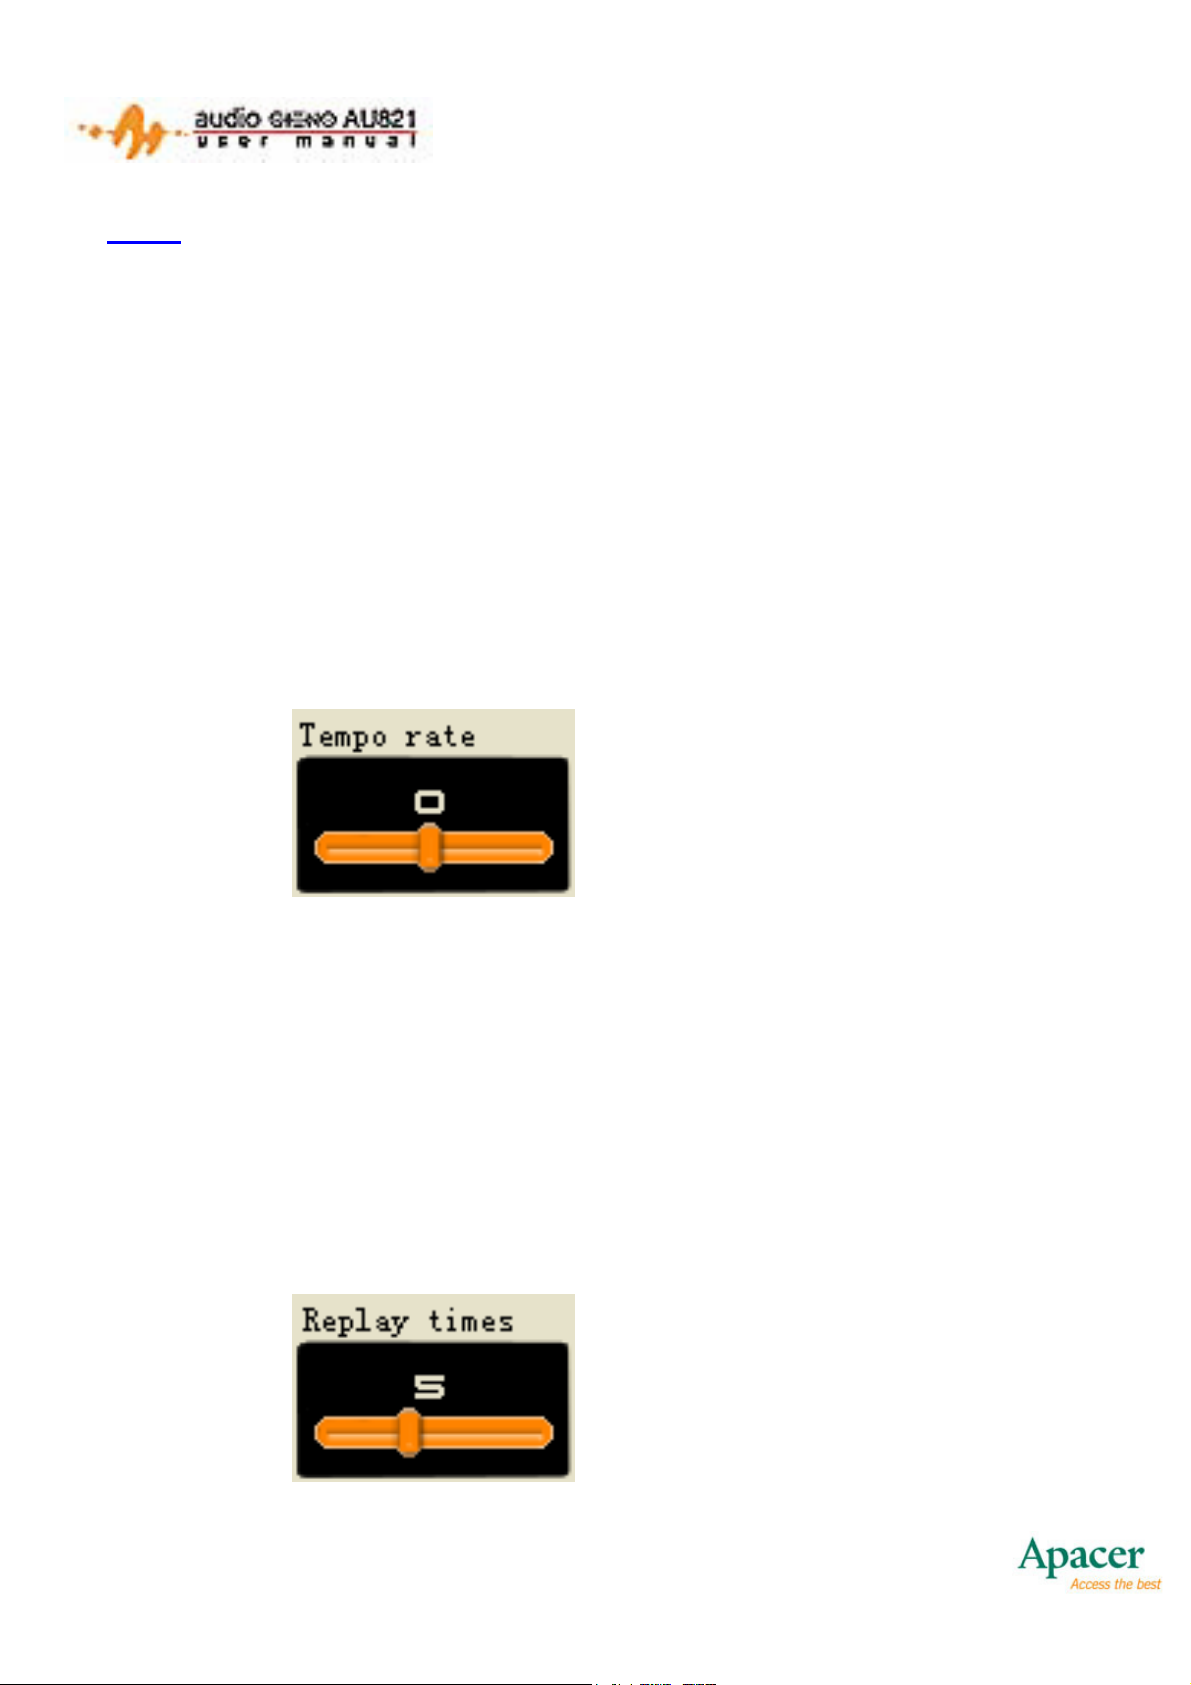
4.2.6 Tempo Rate Setting
This setting allows you change the speed of music playback. This
does not work for WMA files. The interface is pictured below:
Music Playback – Tempo rate
• Press NEXT/PREVIOUS to adjust the slider.
• Press MODE to save your settings.
• The player will auto-exit this menu if left idle for 5 seconds.
4.2.7 Replay Times
With this menu, you can set a specific number of times the player
will repeat before stopping. The repeat times can be 1 to 10:
Music Playback – Replay
times
21
Page 23
• Press NEXT/PREVIOUS to adjust the slider.
• Press MODE to save your settings.
• The player will auto-exit this menu if left idle for 5 seconds.
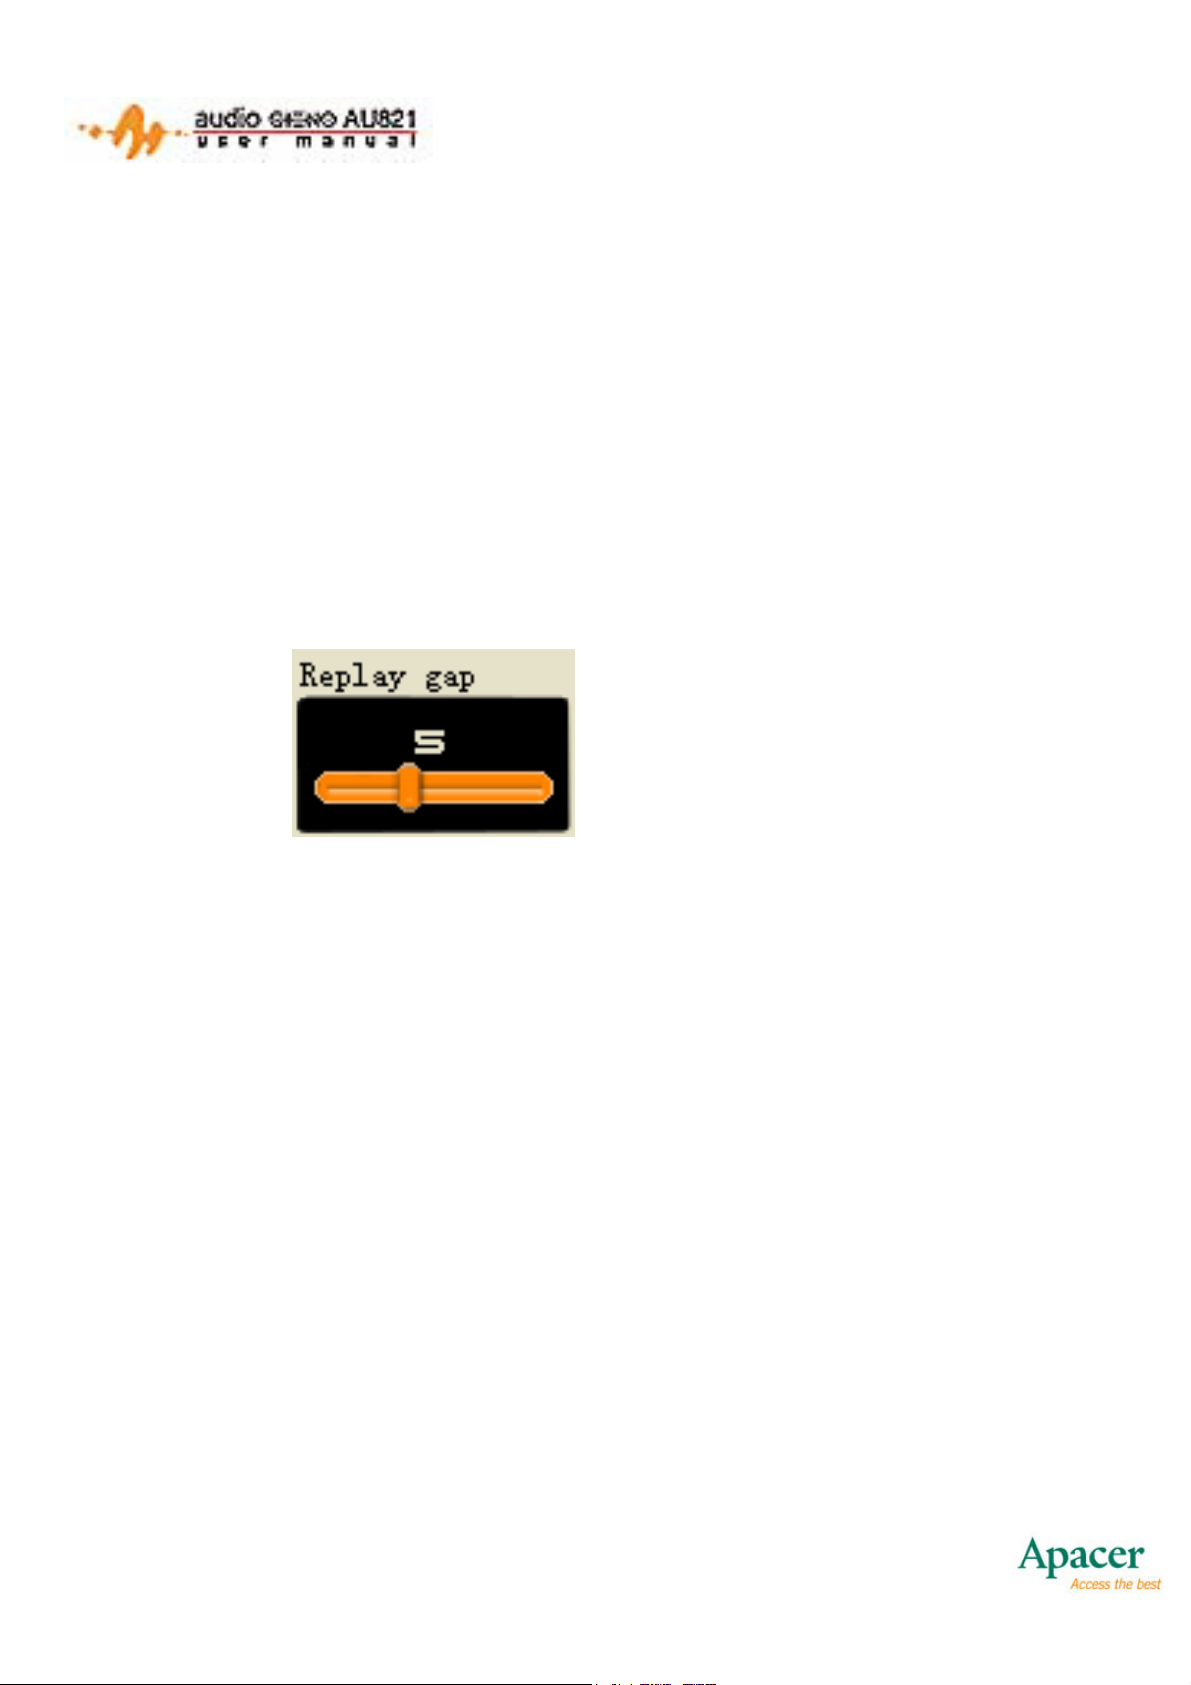
4.2.8 Replay Gap
While repeating, the player will pause for this period of time
between each repetition. The interval can be 1 to 10 seconds. The
mode is as shown in the Figure below.
Musical File Playback –
Replay Gap
• Press NEXT/PREVIOUS to adjust the slider.
• Press MODE to save your settings.
• The player will auto-exit this menu if left idle for 5 seconds.
4.3 LYRICS MODE
When you enter into the Lyrics Mode, the current song will
continue to play and the corresponding lyrics will display according
to the playing progress of the song. If the next song has lyrics,
then the player will still operate in Lyrics Mode. If there are no
lyrics, then the player will return to Play Mode.
To enter Lyrics Mode, press and hold the MODE button once a
song is playing. Here is the interface:
22
Page 24

Lyrics Synchronization
• The screen is split into an upper part and a lower part.
Generally, a line in the lyrics corresponds to a part. If a line
in the lyrics has more than 28 characters, the remaining
characters in the line will be displayed in the other part. For
each part, the sync time is calculated by averaging.
• Lyrics will be highlighted as the song is playing. The
upcoming lyrics will be highlighted when the time comes.
While the timing of the lyrics usually has some delay, the
lyrics can be displayed 1 second ahead.
• Press MODE to return to Play Mode.
• Press PLAY to exit Lyrics Mode and pause the current
song.
• Press and hold NEXT to fast-forward the current song.
will be displayed.
• Press and hold PREVIOUS to rewind the current song.
will be displayed.
• Press NEXT to skip to the next song. (If the file is not a valid
music file, then the total time will be displayed as “00:00:00”)
23
Page 25

• Press PREVIOUS to jump to the next song. (If the file is not
a valid music file, then the total time will be displayed as
“00:00:00”)
• Press VOL- to display the next screen of the lyrics. This can
be overridden by synched lyrics.
• Press VOL+ to display the previous screen of the lyrics. This
can be overridden by synced lyrics.
• The A-B button is disabled.
4.4 AUTO-OFF
If there is no playback and the player idles for a preset time, then
the player will turn off automatically.
To set the length of time until auto-off, go to Main Menu > Power
off > Off time.
24
Page 26
5. VOICE REC
Voice REC Mode supports the recording of sound files in both MSADPCM (.wav) and AG8 (.act) formats. The Voice REC Mode
screen is shown below:
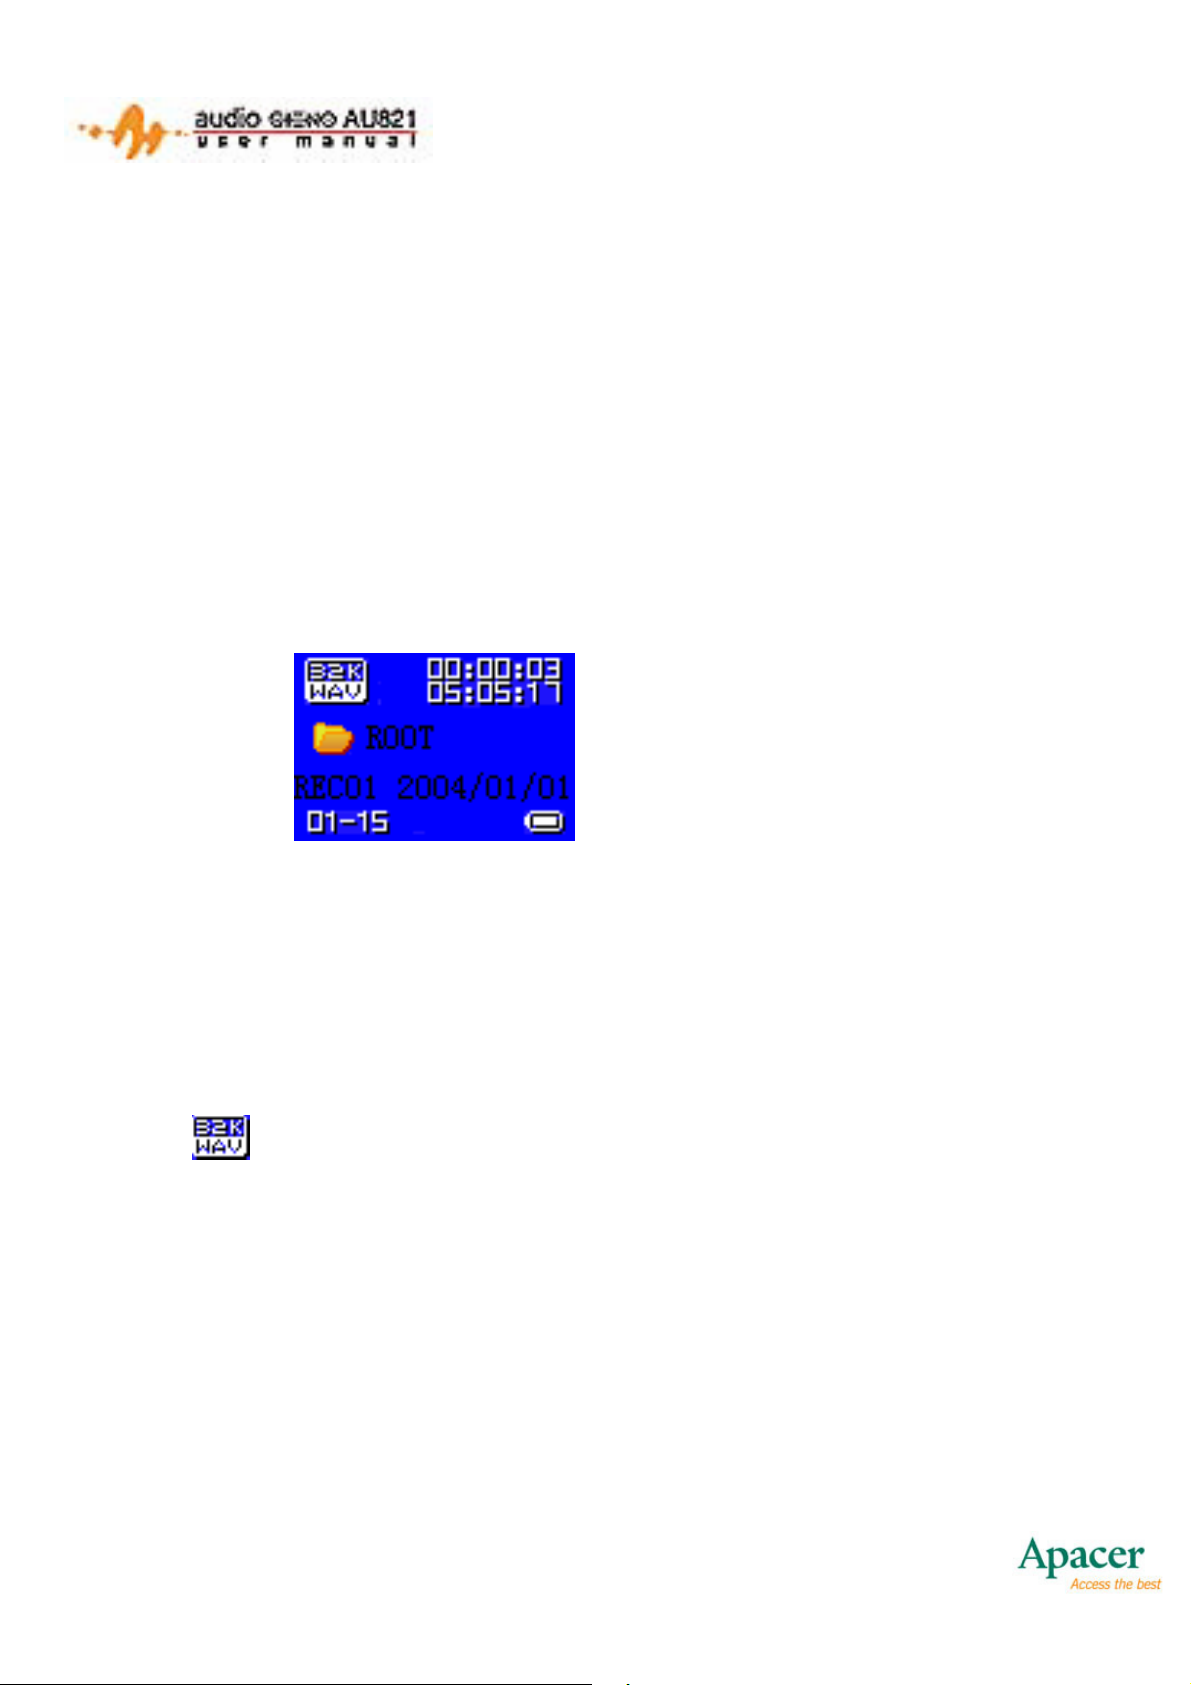
5.1 VOICE REC MODE
When you enter Voice REC Mode, the information about the
current recording will be displayed.
The Voice REC Mode
• 00:00:03 indicates the progress of the recording. When a
recording is not playing, the length of the current recording
will instead be displayed.
• 05:05:17 indicates the space available for recording sound.
• indicates the encoding format of the current recording
file, including AG8 and MS-ADPCM..
• 01-15, the “01” will not change. The “15” represents the
number of currently existing recorded files.
• REC01 is the filename of the current recording file.
2004/10/29 08:56 is the date and time of the file.
• Press and hold MODE to return to the Main Menu.
25
Page 27

• Press MODE to enter the Voice REC Mode Submenu.
• Press of A-B or PLAY to start recording.
• Press and hold PLAY to turn the player off.
• PREVIOUS and NEXT are disabled.
• VOL+ and VOL- are disabled.
5.1.1 Voice REC Mode Submenu
In this submenu, you can select the local folder and recording
types.
5.1.2 Local Folder Selection
Here, you can select any directory as your current recording
directory. When you enter into the Voice REC Mode, you will be
located at the current directory of the current disk.
Similar to the Directory Selection of music files, long directory
names are also supported.
• Press VOL- to scroll down.
• Press VOL+ to scroll up.
• Press MODE to confirm your selection.
• Press PLAY to cancel Folder Selection and return to Voice
REC Mode.
• Press and hold PLAY to turn the player off.
• Press A-B will enter Voice REC Mode.
26
Page 28
5.1.3 Recording Type Selection
Here, you can choose between 4 recording types: Fine REC,
Long REC, Fine VOR, and Long VOR.
• Press VOL+/VOL- to scroll up/down.
• Press MODE to confirm your selection.
•
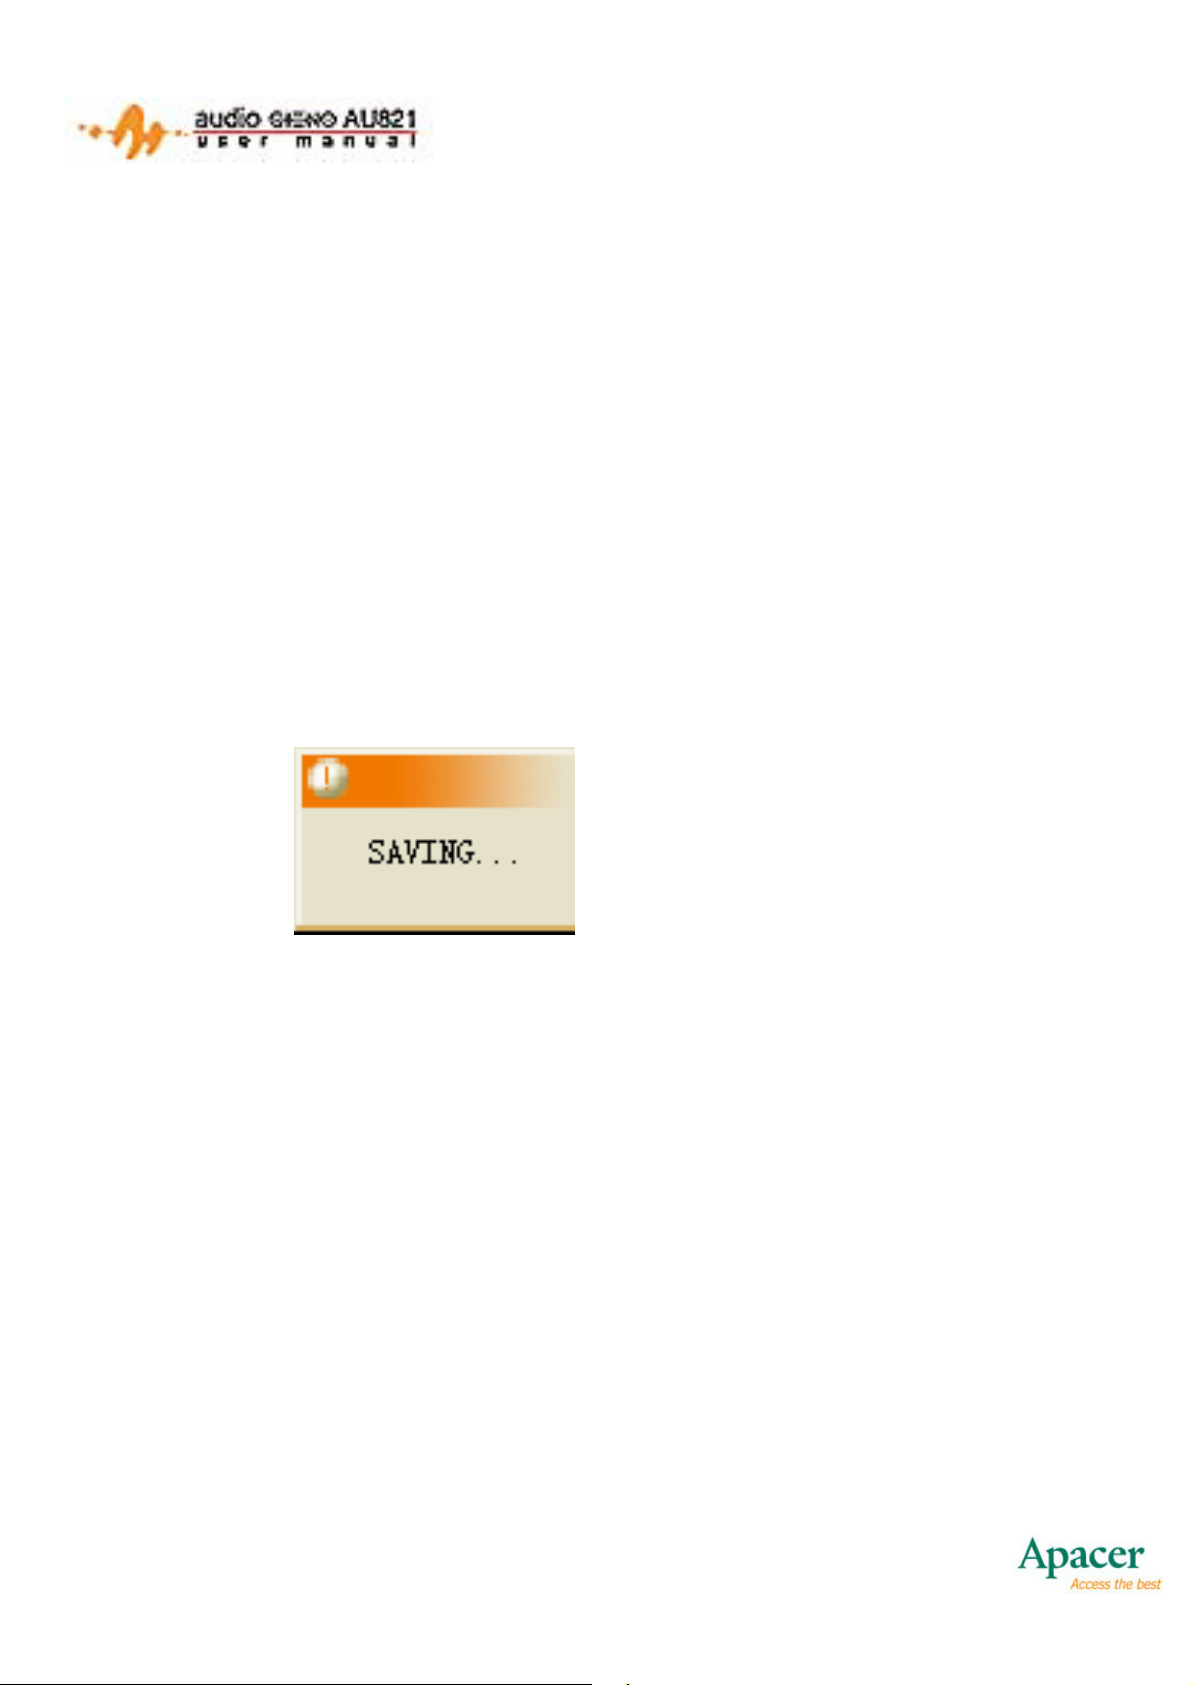
5.2 RECORDING START MODE
When you begin recording, a new recording file will be generated.
The scroll bar indicates that the player is currently recording. It
also indicates the progress of the current recording.
Recording Saving Prompt
• Press PLAY or A-B to pause the current recording.
• Press and hold PLAY or A-B to stop the current recording.
• PREVIOUS, NEXT, VOL+ and VOL- are disabled.
5.2.1 VOR
Voice Operated Recording (VOR) allows the player to
automatically pause the recording when there is no sound, and
resume automatically when sounds are detected. This feature is
great for situations where there may be large gaps in content (i.e.
lectures).
27
Page 29

• When the player waits to record sound, the recording time
length will flash.
• While recording, if the signal level is too low, the recording
file will be saved, and the player will return to Voice REC
Mode.
5.3 PAUSE MODE
When you pause the recording, the recording status will be
displayed. In this case, the elapsed time will flash at the rate of
once per second.
• Press PLAY or A-B to return to Voice REC Mode and
resume recording.
• Press and hold PLAY or A-B to stop and save the recording.
• PREVIOUS, NEXT, VOL+ and VOL- are disabled.
• While recording, if the signal level is too low, the recording
file will be saved, and the player will return to Voice REC
Mode.
5.4 AUTO-OFF
When a recording is stopped or paused, or in any of the recording
submenus, and the player reaches the preset auto-off time, the
player will go into Standby Mode, and the recorded sound file will
be saved.
28
Page 30
6. PLAY REC
Play REC Mode enables playback of *.WAV and *.ACT files. It
also allows local folder selection, file delete, as well as function
selection and setting modes.
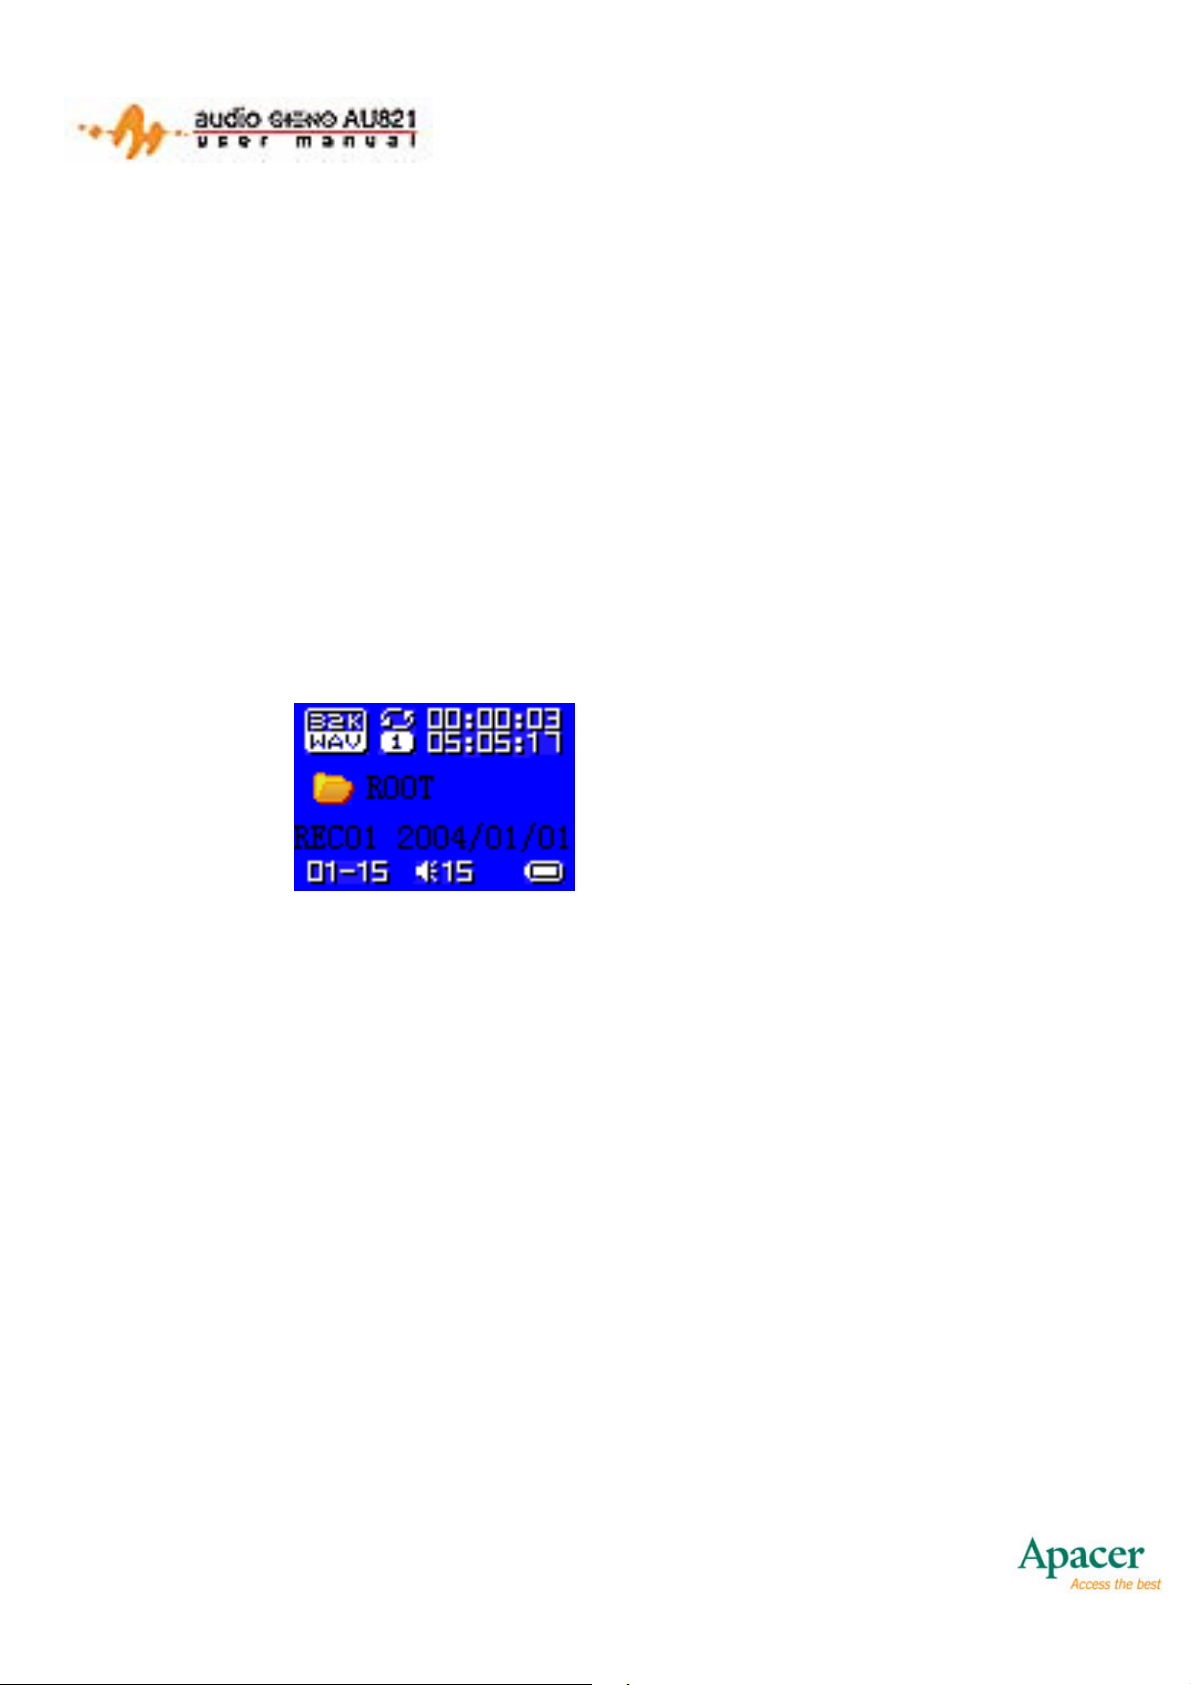
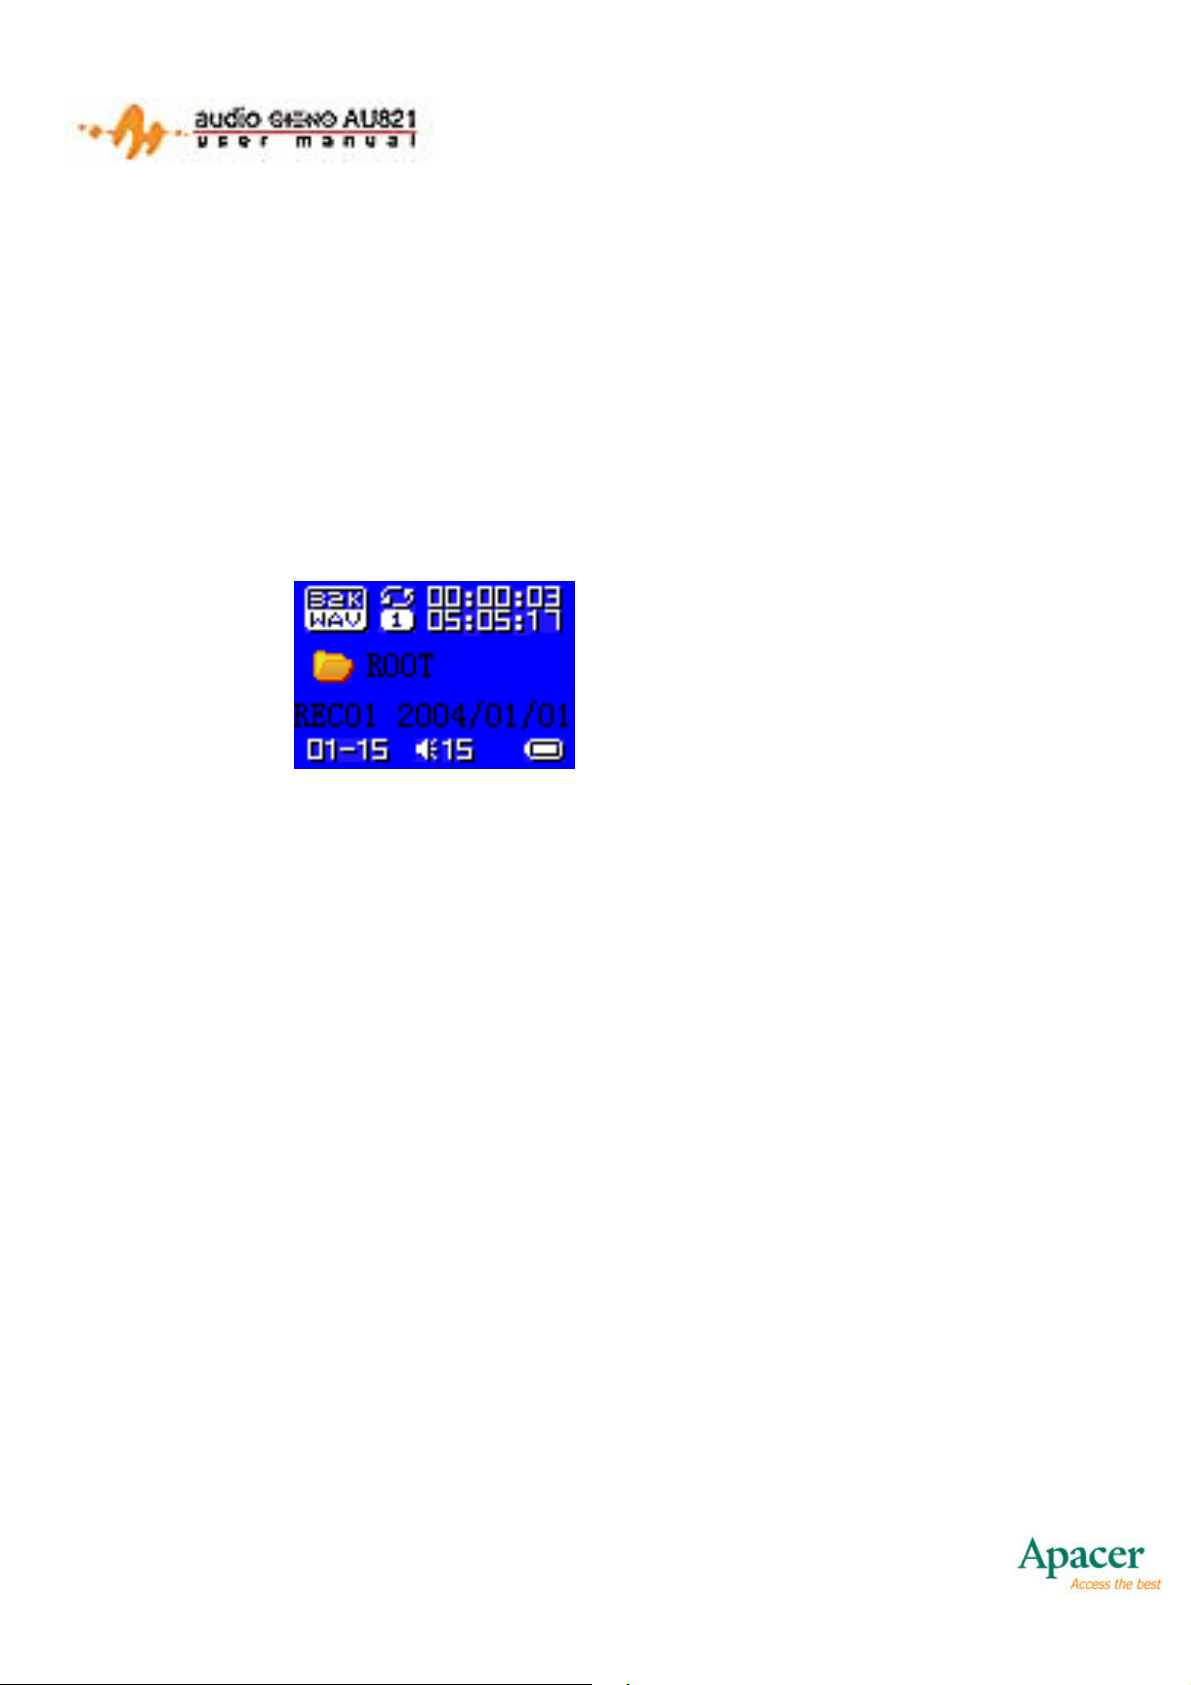
6.1 PLAY REC MODE
When you enter into Play REC Mode, the information about the
currently playing recorded sound will be displayed.
This mode is shown below:
Play REC Mode
• 00:00:03 is the elapsed time for the recorded sound.
• 01/15 represents the order of current recorded file and the
total number of recorded files in the current directory.
• REC01 is the filename and 2004/3/15 10:23 is the date and
time when the file was created. (They will not scroll when the
playing of the file stops.)
• Press and hold MODE to enter t the Main Menu.
• Press MODE to enter the Play REC Mode Submenu.
• Press PLAY to start playing the recorded sound. (If the
current file is an invalid sound file, then the message
29
Page 31
“Format Error” will appear. After 2 seconds, the player will
return to Play REC Mode.)
• Press and hold PLAY to turn the player off.
• Press PREVIOUS to select to the previous recorded file in
the current directory.
• Press and hold PREVIOUS to jump to the first recorded file.
• Press NEXT to switch to the next recorded file in the current
directory.
• Press and hold NEXT to jump to the last recorded file.
• Press A-B to switch to Voice REC Mode and start recording.
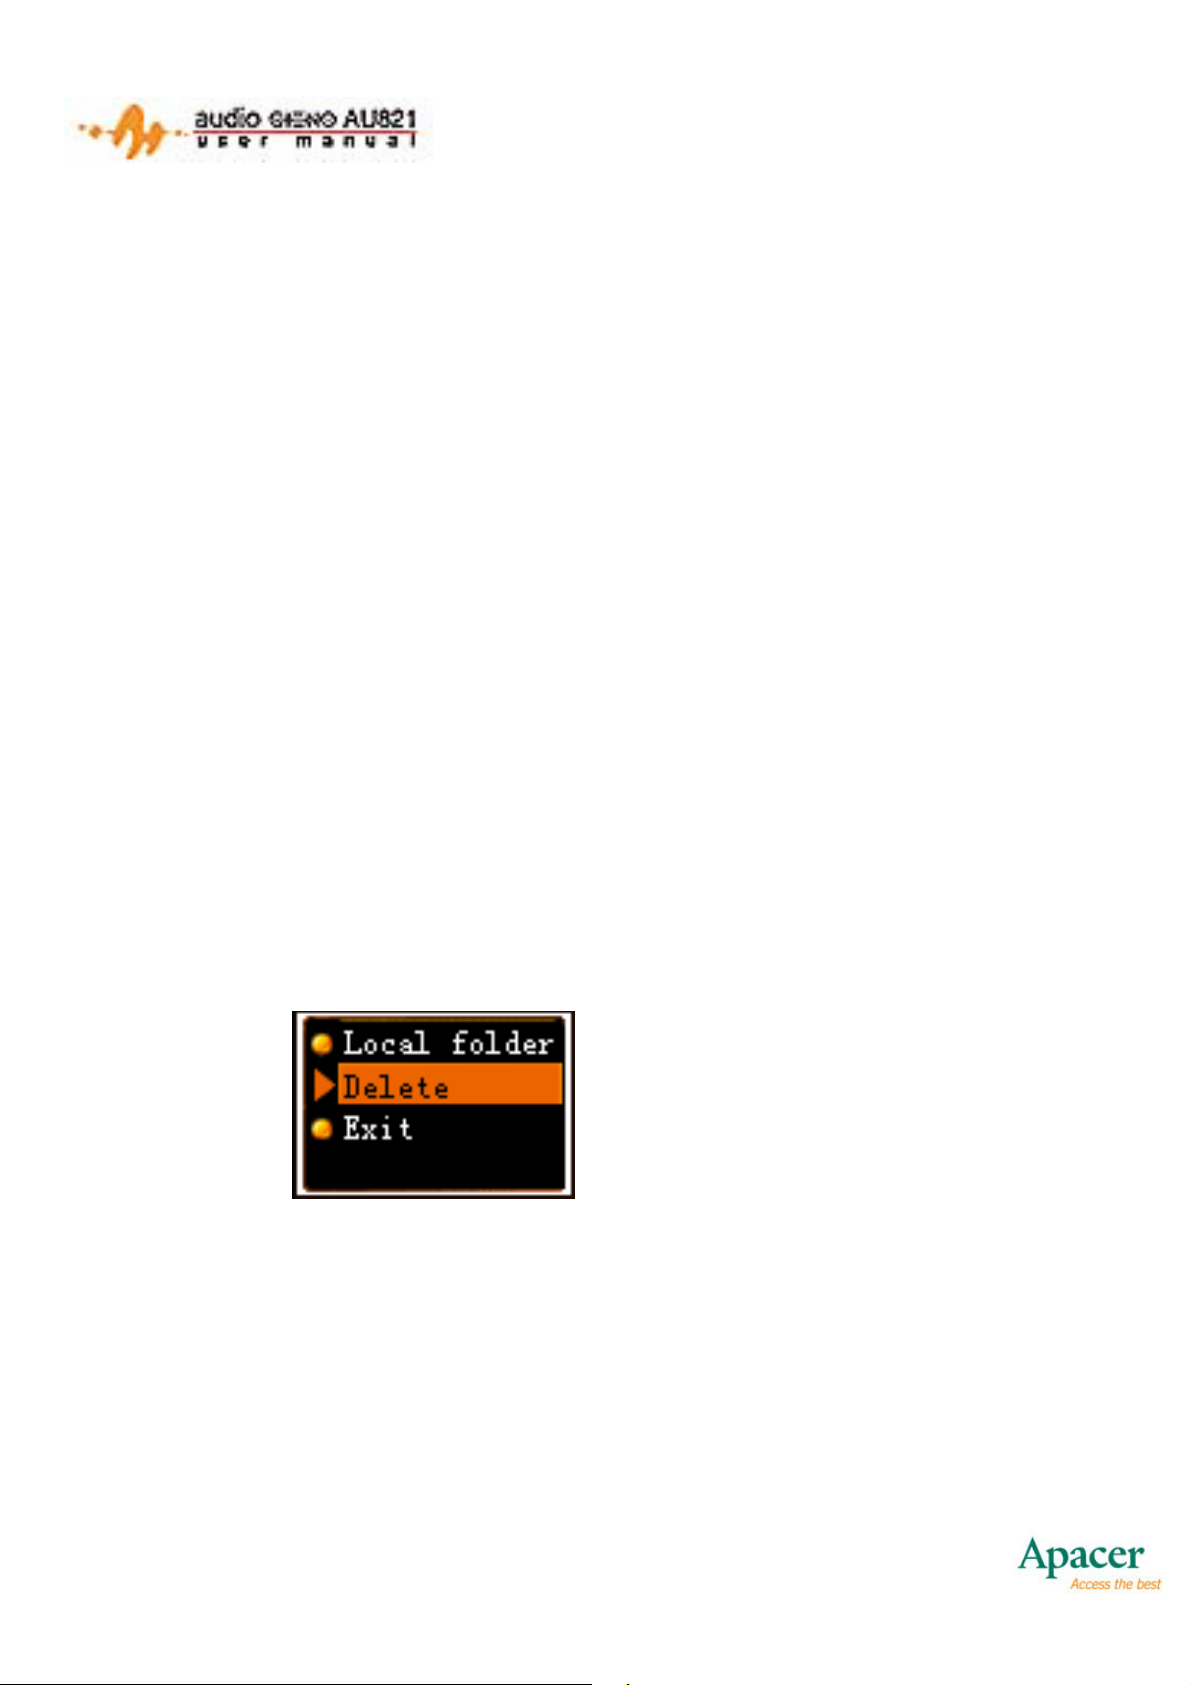
6.1.1 The Play REC Mode Submenu
Here, you are presented with the following options: Local folder,
Delete and Exit.
The Stop Menu of the
Recorded File Playback Mode
• Press VOL+/VOL- to scroll up/down.
• Press MODE to confirm your selection.
30
Page 32

6.1.2 Local Folder Selection
The user can select a folder as the current folder from the valid
directories (the directories that contain recorded files). When
entering Play REC Mode, the menu will open to the Local Folder.
Similar to the Music Directory Selection screen, long name
directories are supported. With the exception of the root directory,
only valid directories are displayed.
• Press VOL- to scroll down.
• Press VOL+ to scroll up.
• Press MODE to confirm your selection.
• Press PLAY to cancel Local Folder Selection and return to
Play REC Mode.
• Press and hold PLAY to turn the player off.
• Press A-B will enter Voice REC Mode.
6.1.3 Delete Submenu
This is used for deleting files. This is the same as Music File
Deletion, except that the files are recorded files.
• Press VOL+/VOL- to scroll up/down.
o Exit – Exit the File Delete Submenu
o Delete – Delete the selected file
o Delete All – Delete all files
• Press MODE to confirm your selection
• Press PLAY to cancel the current selection and return to the
Play REC Mode Submenu.
31
Page 33
• Press and hold PLAY to turn the player off.
• Press A-B to switch to Voice REC Mode and start recording.
6.2 VOICE PLAY MODE
When you begin recorded file playback, the information about the
current file will be displayed. The player automatically resumes
playing the file. The interface is shown below:
Recorded File Playback
“REC01 2004/01/01 10:23” scrolls horizontally when the file is
playing.
• Press MODE to enter into the Voice Play Submenu.
• Press PLAY to stop playback and return to Play REC Mode.
• Press and hold PLAY to turn the player off.
• Press NEXT to jump to the next file.
• Press PREVIOUS to jump to the previous file.
• Press and hold NEXT to fast-forward the current sound file.
• Press and hold PREVIOUS to rewind the current sound file.
• Press VOL+ to increase the volume.
• Press VOL- to decrease the volume.
• Press A-B to enter Repeat Mode and confirm the “A” point.
32
Page 34

) Invalid File Processing
When the player encounters invalid files during auto or manual
selection of sound files, the message “Format Error” will appear.
After 2 seconds, the player will return to Play REC Mode.
6.2.1 Voice Play Submenu
This mode provides the user with various options, including
Repeat Mode, Tempo rate, Replay, and Exit, while the recorded
file is still playing. It is the same as the Play Mode Submenu
except that it does not have the EQ options. Please refer to
Chapter 4.2.2 for details.
6.2.2 Repeat Settings
Here, you can select Repeat Mode for playing sound files in here.
The list of options is the same as the ones available for music
repeat:
Normal
Repeat One
Folder
Repeat folder
Repeat All
Random
Intro
Please refer to Chapter 4.2.3 for a more detailed explanation of
these settings.
33
Page 35
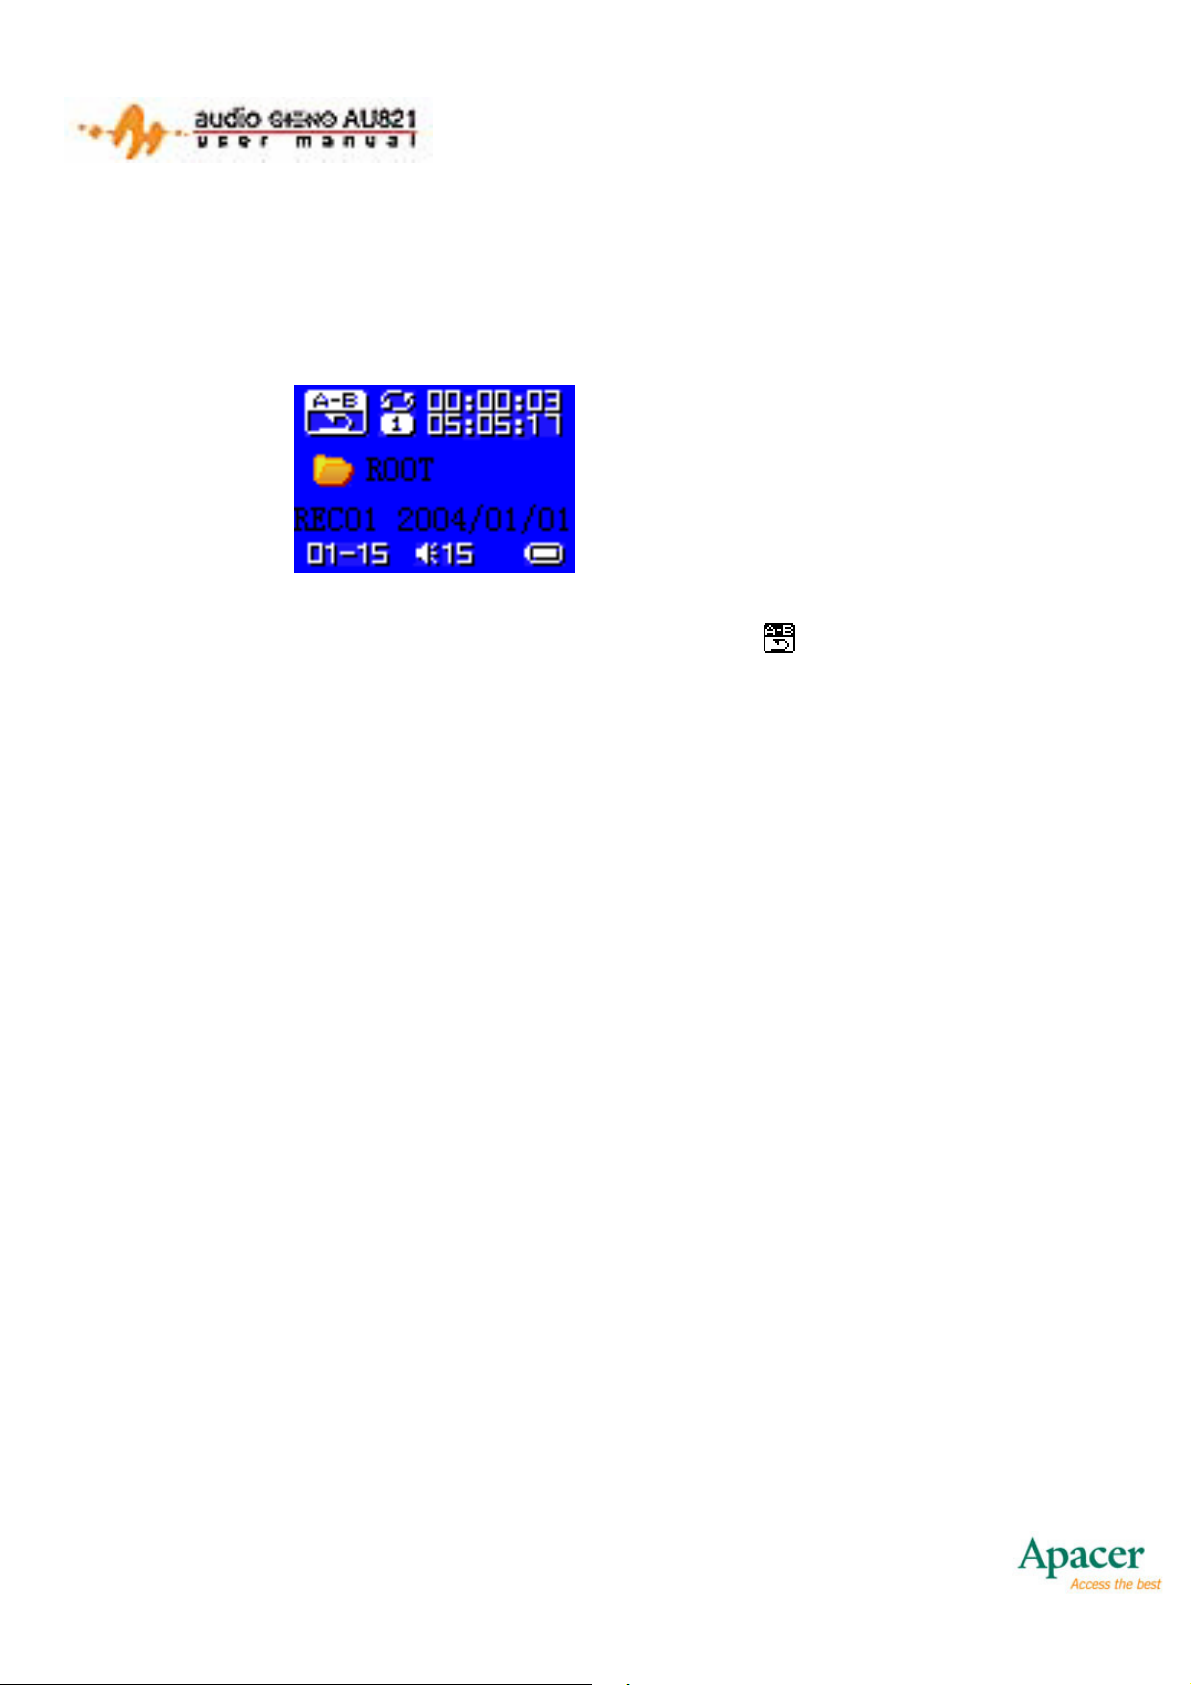
6.2.3 A-B Repeat Mode
You can perform A-B Repeats for recorded files as well. The
interface is shown below:
Voice Play Mode – Repeat
When you enter the Repeat mode, the “A” in
Press NEXT to set the “A” point. “B” will then begin to flash.
Press NEXT again to set the “B” point. The segment between “A”
and “B” will play repeatedly.
Press NEXT or PREVIOUS to cycle the Repeat modes.
Note:
During the steps above, holding either VOL+ or VOL- will change
the current playing speed.
Press MODE to quit Repeat Mode and return to Voice Play Mode.
Press PLAY to stop playback and return to Play REC Mode.
will flash.
6.2.4 Tempo Rate Setting Mode
Here, you can set the current playing speed, which affects both
WAV and AG8 files:
34
Page 36

Voice Play Mode – Tempo
rate
• Press NEXT/PREVIOUS to adjust the slider.
• Press MODE to save your settings.
• The player will auto-exit this menu if left idle for 5 seconds.
• Playback speeds can very from 60 - 200%. 8 levels are
available (100% by default).
6.3 ERROR MESSAGES
When playing recorded files and a read error occurs, the player
will return to the Play REC Mode and prompt “Disk Error!”
35
Page 37
7. FM RADIO
Once you enter this function, the player will automatically be in FM
Play Mode. You need to restore the current preset radio stations
to play. The first time you enter this function, the frequency of the
current radio station is the lowest one in the preset menu.
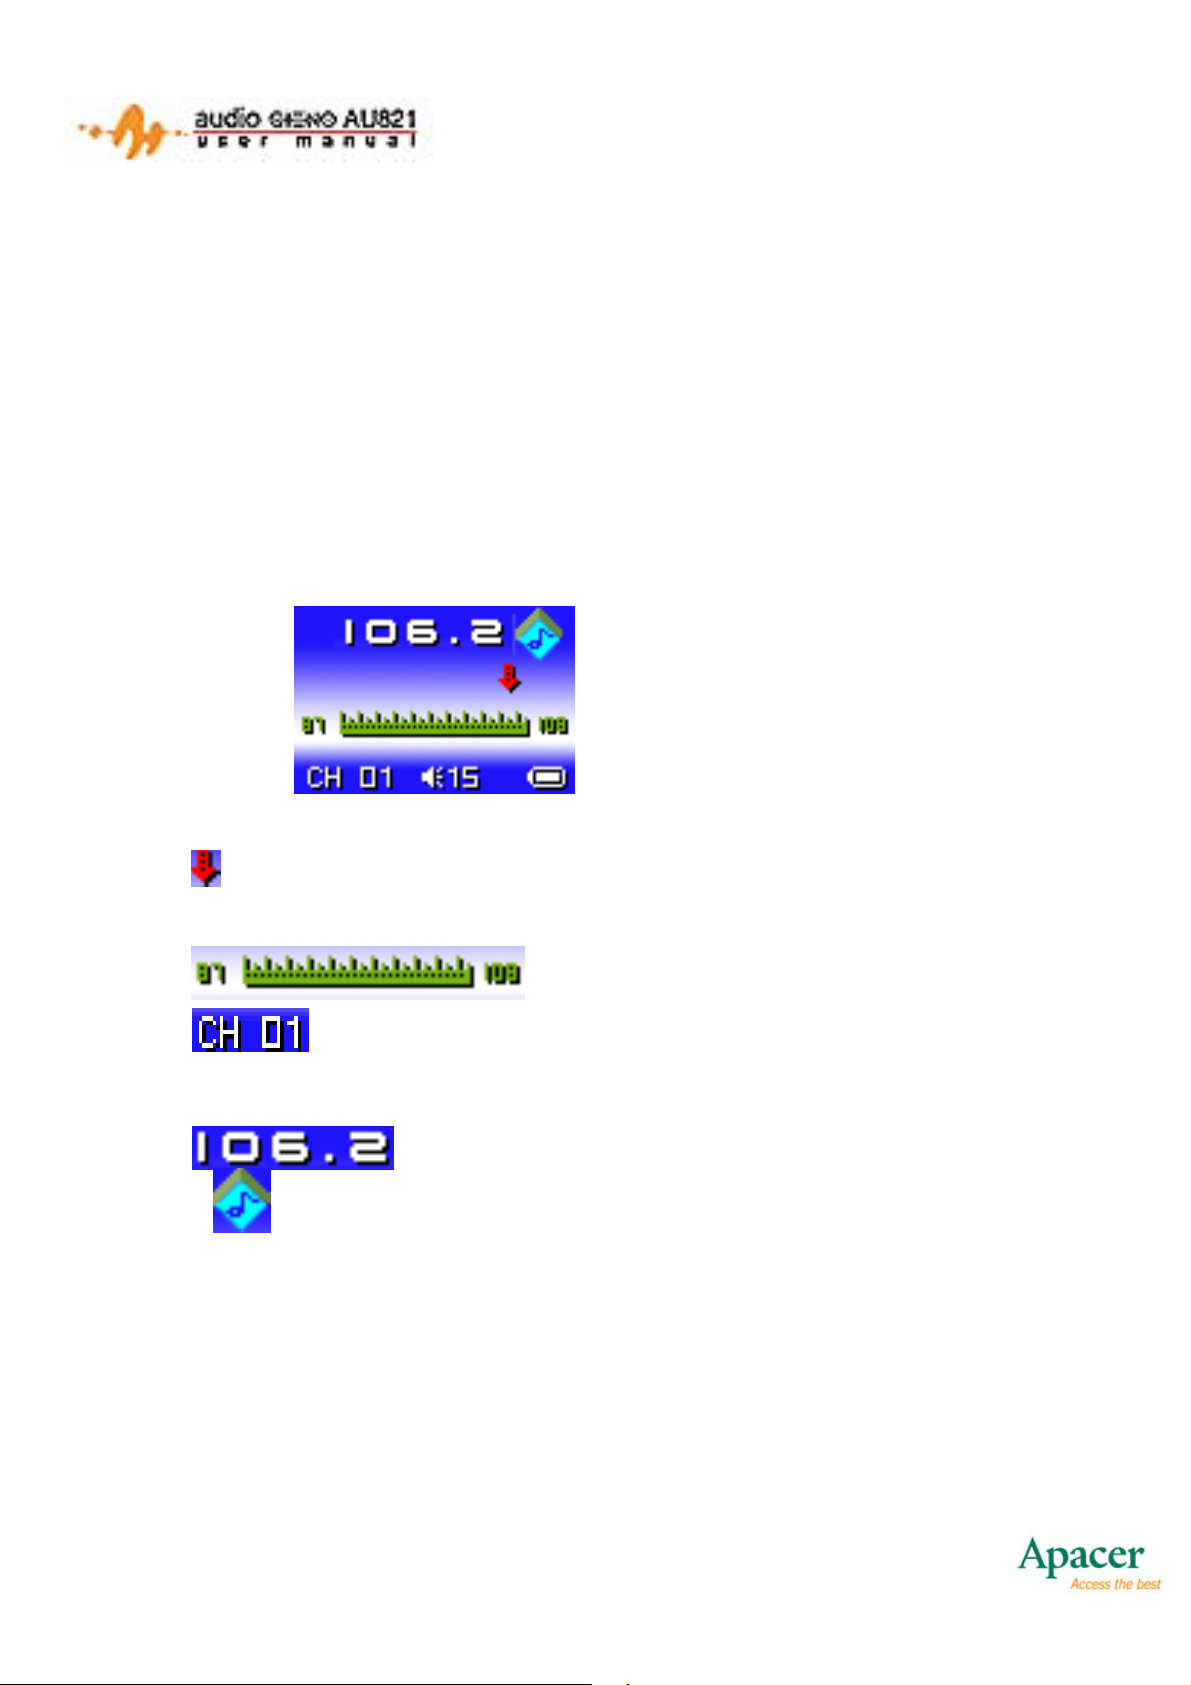
7.1 FM RADIO MODE
FM Radio
• : The current frequency position. It changes its position on
the frequency scale.
• : Frequency scale.
• : The channel number of the current radio station.
Up to 20 radio stations can be stored.
• : The current frequency.
• : Stereo. If this icon does not appear, then the radio is
in mono mode.
36
Page 38

7.2 LISTENING TO THE RADIO
The mode is as shown in the picture above. The current band is at
87-108MHz (European and American Band). The initial frequency
value for a new player is 87MHz.
• Press NEXT to adjust the frequency forward at a step of 100
KHz for fine tuning.
• Press and hold NEXT to search for a radio station in
ascending order. If the frequency is the same as one pre-
stored, then its channel number will be displayed.
• Press PREVIOUS adjust the frequency backward at a step
of 100 KHz for fine-tuning.
• Press and hold PREVIOUS to search for a radio station in
descending order. If the frequency is the same as one pre-
stored, then its channel number will be displayed.
• Press VOL+ or VOL- to adjust the volume.
• Press MODE to enter the FM Submenu.
• Press and hold MODE to return to the Main Menu.
• Press PLAY to jump to the next pre-stored radio station.
This will not work of if there are no other pre-stored channels.
When the previous pre-stored channel number is reached,
the player will cycle back to the first pre-stored channel
number.
• Press A-B to enter the Voice REC Mode and start recording.
Radio programs may be recorded in this manner by pressing
A-B while a radio program is playing.
37
Page 39

7.3 FM SUBMENUS
Press MODE while in FM Radio mode to access the FM
Submenu.
• Press VOL+/VOL- to scroll up/down.
o Save - Save the radio station you are now listening to.
o Delete - Delete the radio station you are now listening to.
o Delete All - Delete all stored radio stations.
o Normal Band – the default FM radio band (87-108MHz).
(Valid in America and China)
o Japan Band - the Japanese FM radio band (76-90MHz).
o Record - Record the radio program you are now
listening to, including Fine REC and Long REC.
o Exit: Exit the FM Submenu.
• Press MODE to confirm your selection
7.4 SAVE
Save the frequency to a new preset channel number.
7.5 DELETE
To delete the current saved radio station, press MODE to delete
the current channel and exit to the FM Play Mode. Pressing other
buttons will cancel the deletion and exit to the FM Play mode.
Delete All
If you want to delete all the saved radio stations, press MODE to
delete all saved channels and quit to the FM Play Mode. Pressing
38
Page 40

other buttons will cancel the deletion and exit to the FM Play
Mode.
7.6 NORMAL BAND
Select the current band as 87-108MHz.
7.7 JAPAN BAND
Select the current band as 76-90MHz.
39
Page 41
8. PICTURE VIEWER
View JPEG/BMP/GIF pictures right on your AU821 with Picture
Viewer Mode. Most common formats are supported.
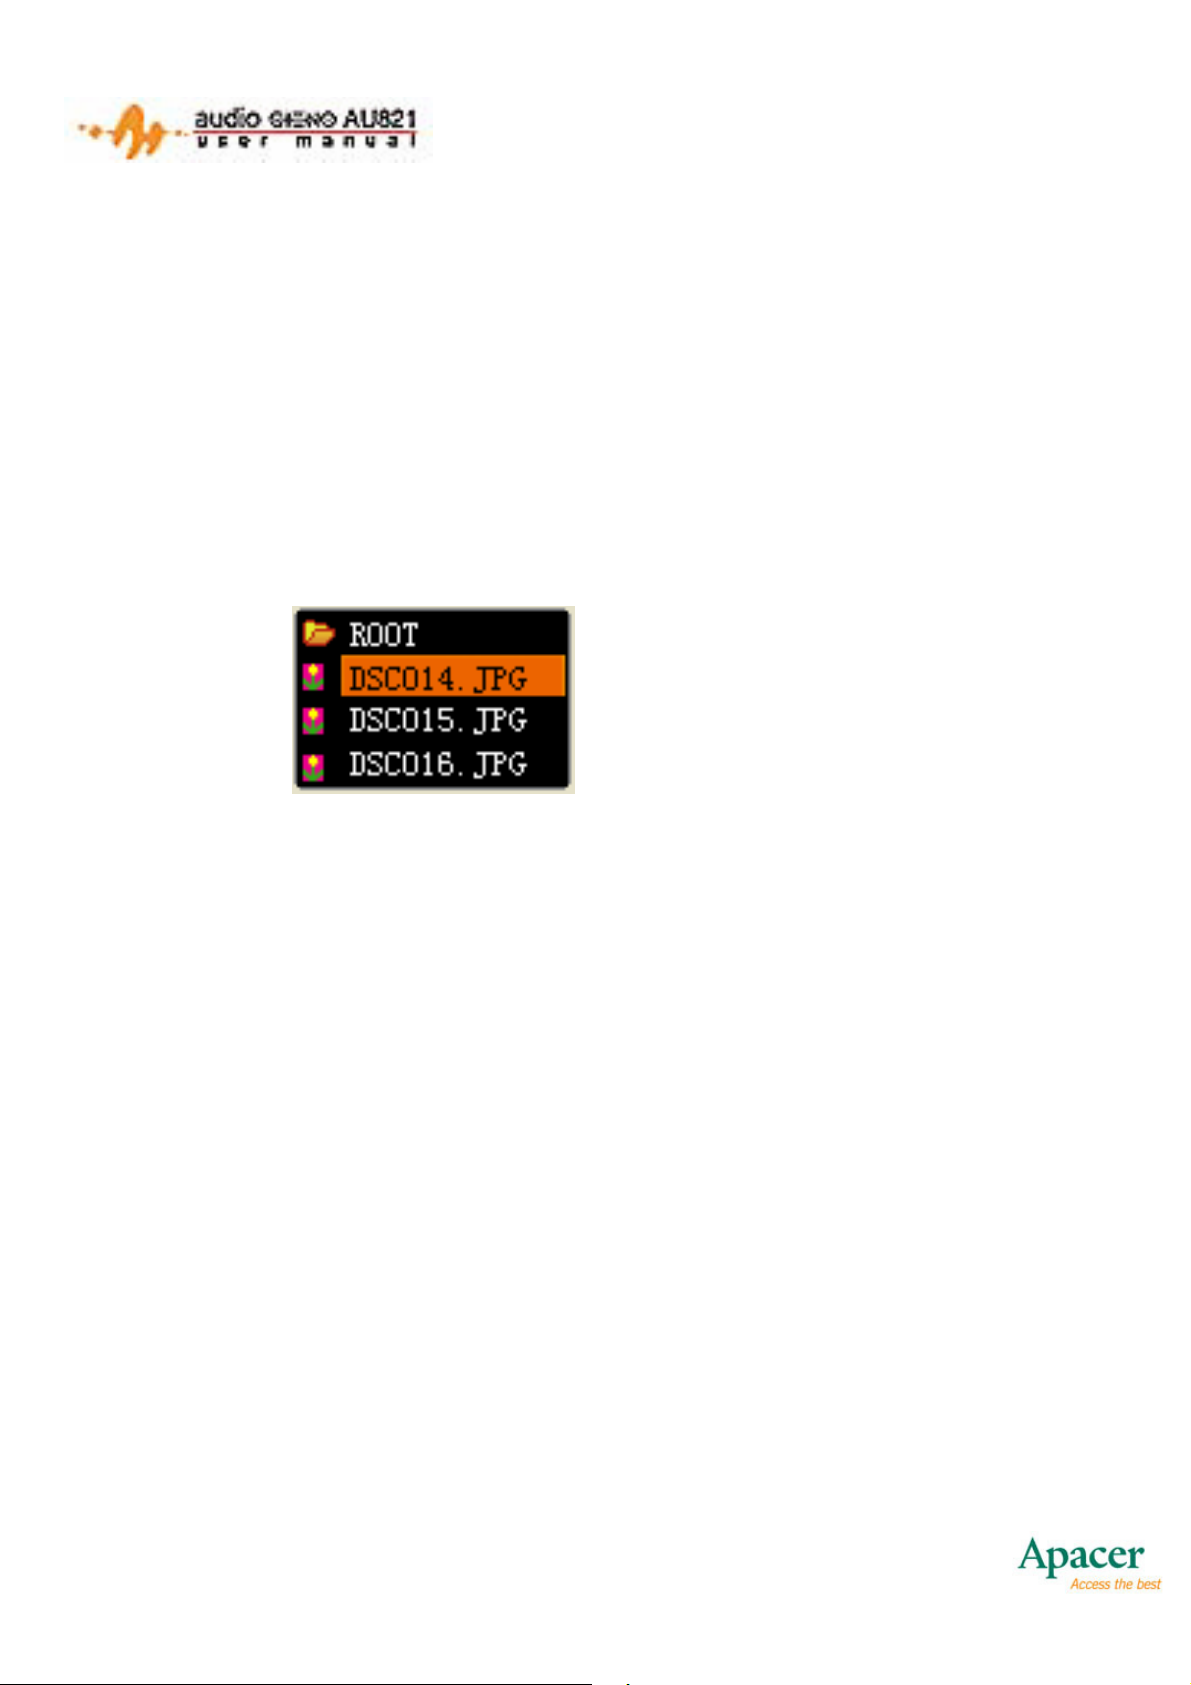
8.1 FILE SELECTION
When you enter Picture Viewer Mode from the Main Menu, you
will see a listing of available picture files:
Picture Mode – File Selection
– Selecting Files
• Press PLAY to display the selected picture.
• Press VOL+ or VOL- to select the next/previous file.
• Press PLAY again to return to the file list.
• Press MODE will enter the Picture Viewer submenu. The
following options are available:
o Local Folder
o Play Set
o Delete
o Exit
• Press and hold MODE to return to the Main Menu.
• Other buttons are disabled.
40
Page 42
There are two playing modes: Manual and Auto.
• In Auto mode, the next picture interval can be set from 1 to
10 seconds. To set
• Other buttons are disabled.
8.2 PICTURE VIEWING
When viewing a picture:
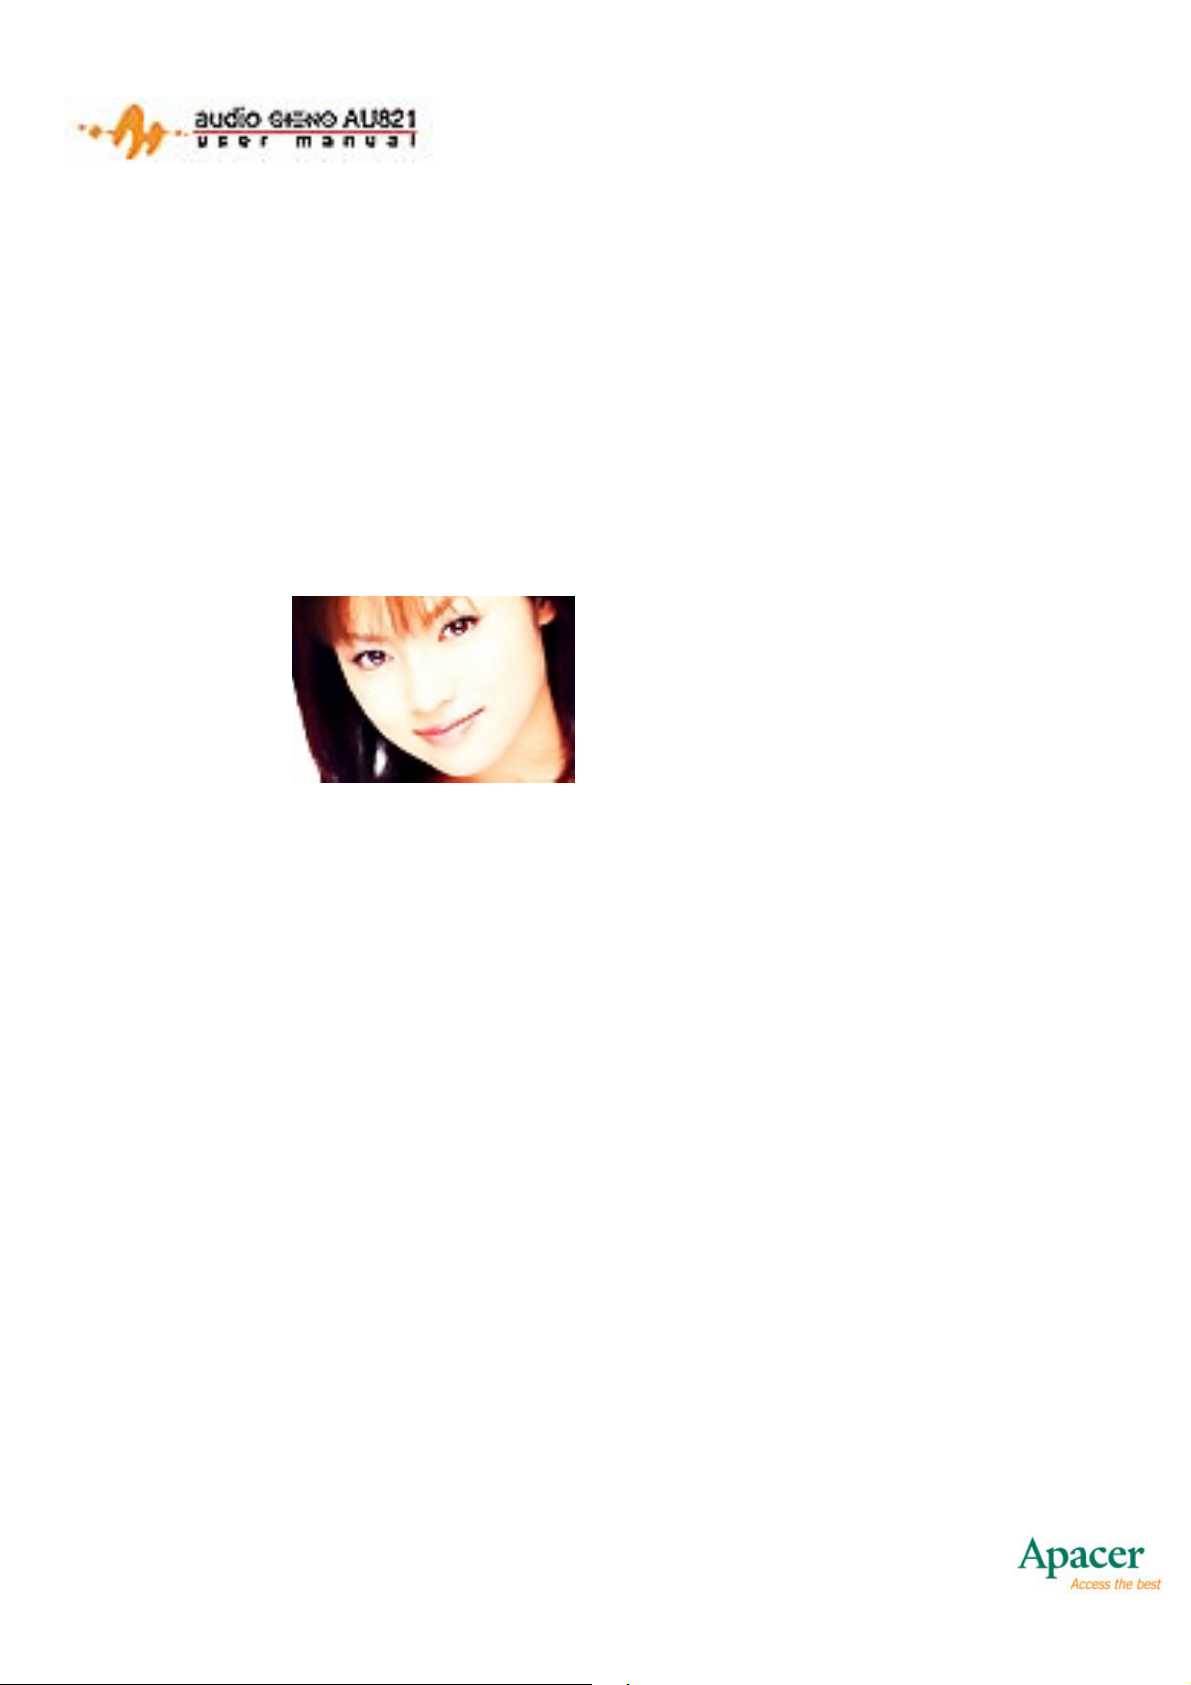
Picture Browser
• Press NEXT / PREVIOUS will display the next / previous
picture.
• Press PLAY to return to file selection.
• Press and hold MODE to return to the Main Menu.
• Other buttons are disabled.
41
Page 43
9. SETTINGS
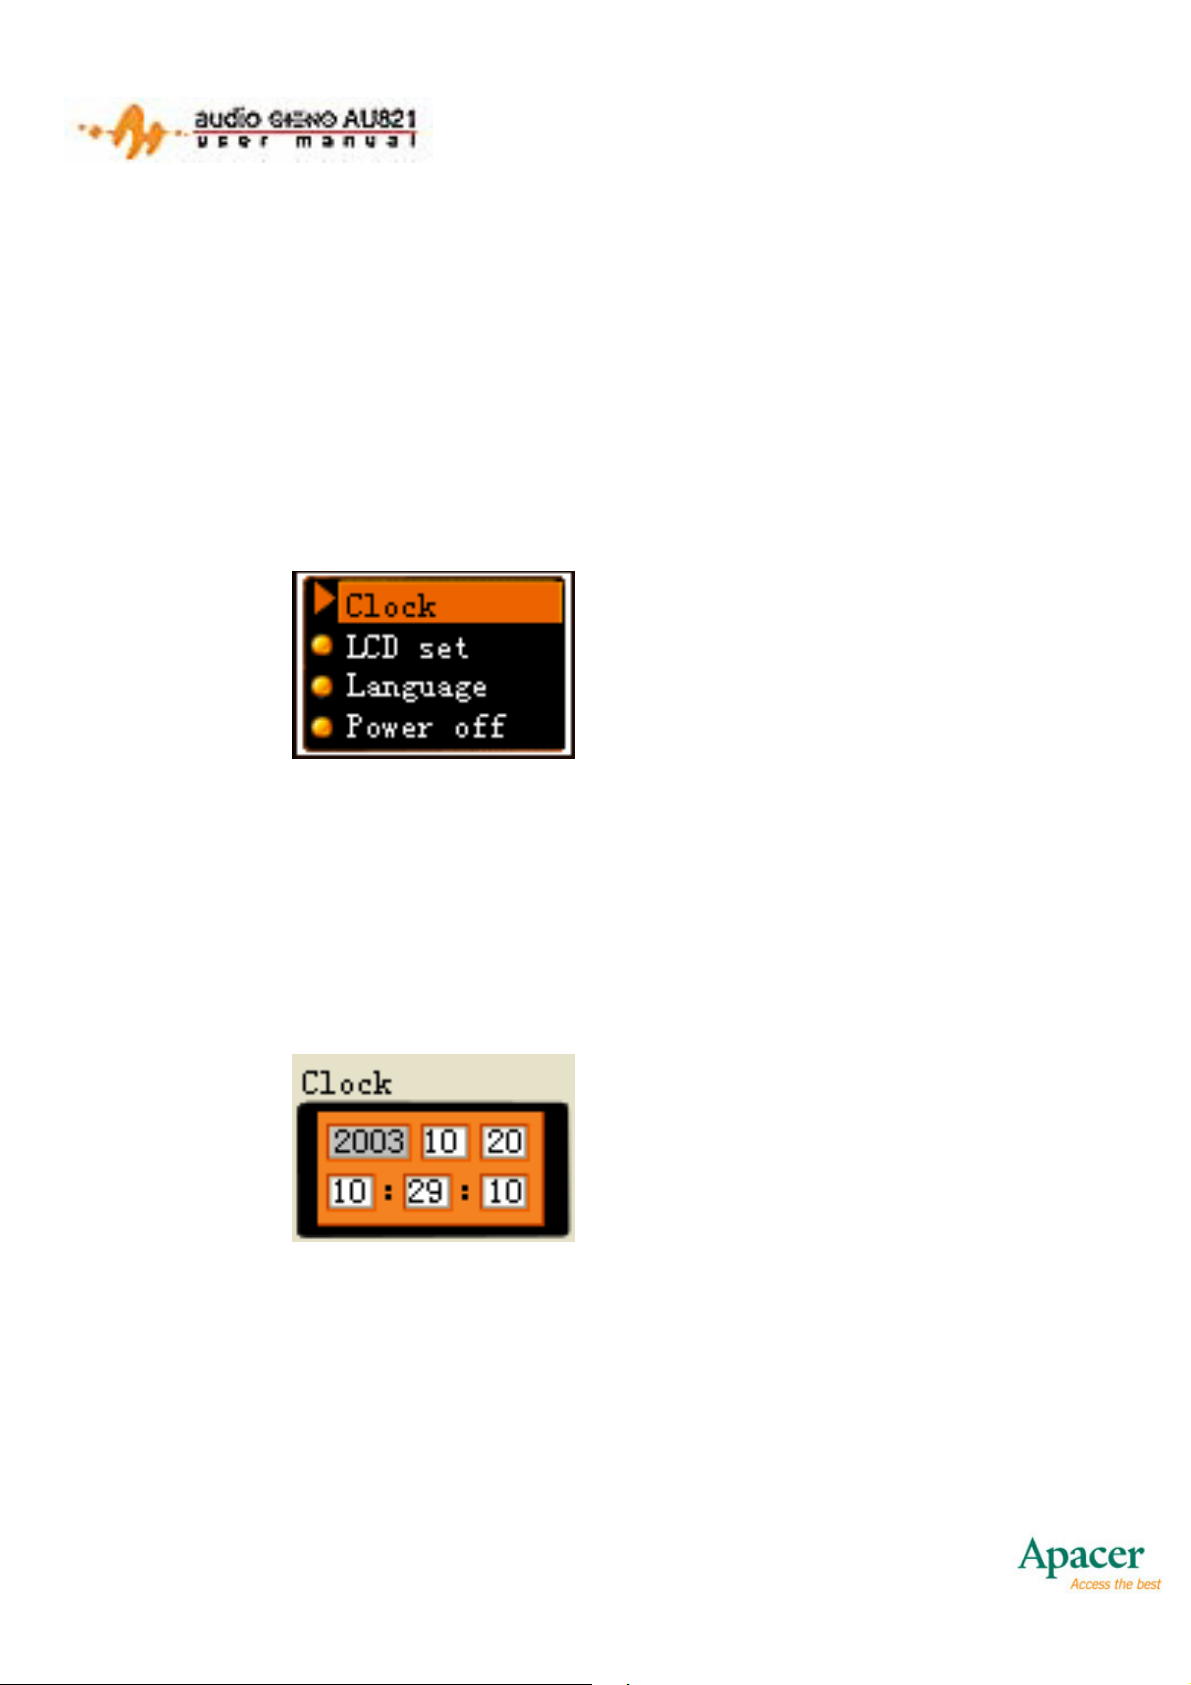
This is mainly used for the setting of system-related parameters
and status displays. Available settings include: Clock, LCD Set,
Language, Power off, Replay Mode, Memory Info, Firmware
Version, Firmware Upgrade and Exit Menu. The interface is shown
below:
Settings Menu
• Press VOL+/VOL- to scroll up/down.
• Press MODE to confirm your selection
9.1 CLOCK SETTINGS
Setting the Time
• Press VOL+ to enter the procedure of setting the time,
beginning with the setting of year. The order is “Year –
Month – Date – Hour – Minute”.
• Press and hold PLAY to turn the player off.
42
Page 44

• Press MODE to confirm and exit.
• Press A-B to enter Voice REC Mode and start recording.
• Time Setting Procedure
• 2003 flashes
• Press NEXT to increase the year by one.
• Press LAST to decrease the year by one.
• Press VOL+ to confirm the year number, and begin setting
the month. Setting the month is the same procedure as
setting the year.
• Press VOL+ again to move to Date, Hour, and Minute in turn.
Press VOL+ once more to finish the setting.
• Alternatively, you can also move through the variables in
reverse order by pressing VOL-.
• After the change of each setting item is confirmed, the
system time will be updated.
• Ranges of Each Clock Item
) Year (2003-2010). This range may be exceeded, but be careful
of leap years!
) Month (1 -12)
) Date (1 -31). Upper limit can be 28, 29, 30, or 31, depending on
the month.
) Hour (0 - 23)
) Minute (0 - 59)
43
Page 45
9.2 LCD SETTINGS
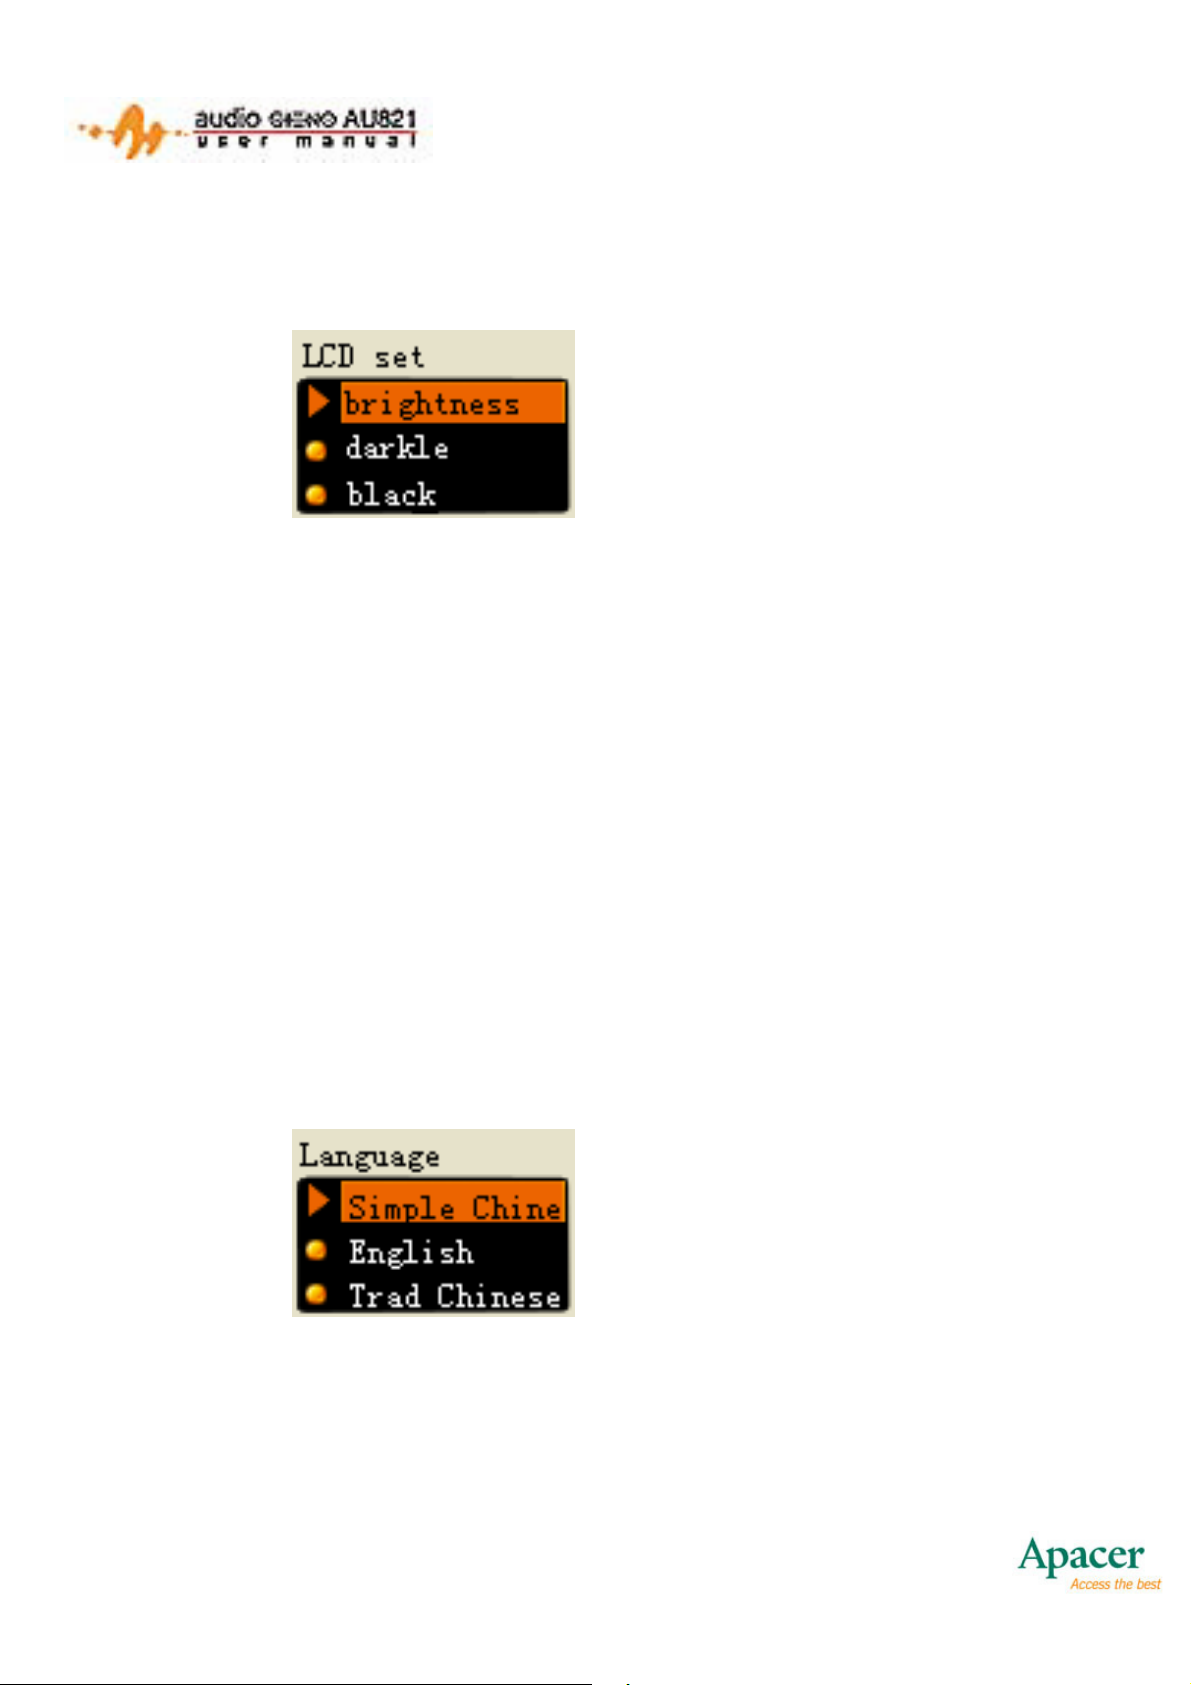
Screen Settings
• Press VOL+/VOL- to scroll up/down.
• Press MODE to enter the selected option.
• After entering the selected option, press NEXT or
PREVIOUS to adjust the position of the slider.
• Press MODE to save your settings.
• Press PLAY to cancel your settings and exit the menu.
9.3 LANGUAGE
The Language Menu allows you to select the language of the
AU821’s interface.
Language Selection
• Press VOL+/VOL- to scroll up/down.
• Press MODE to confirm your selection.
44
Page 46
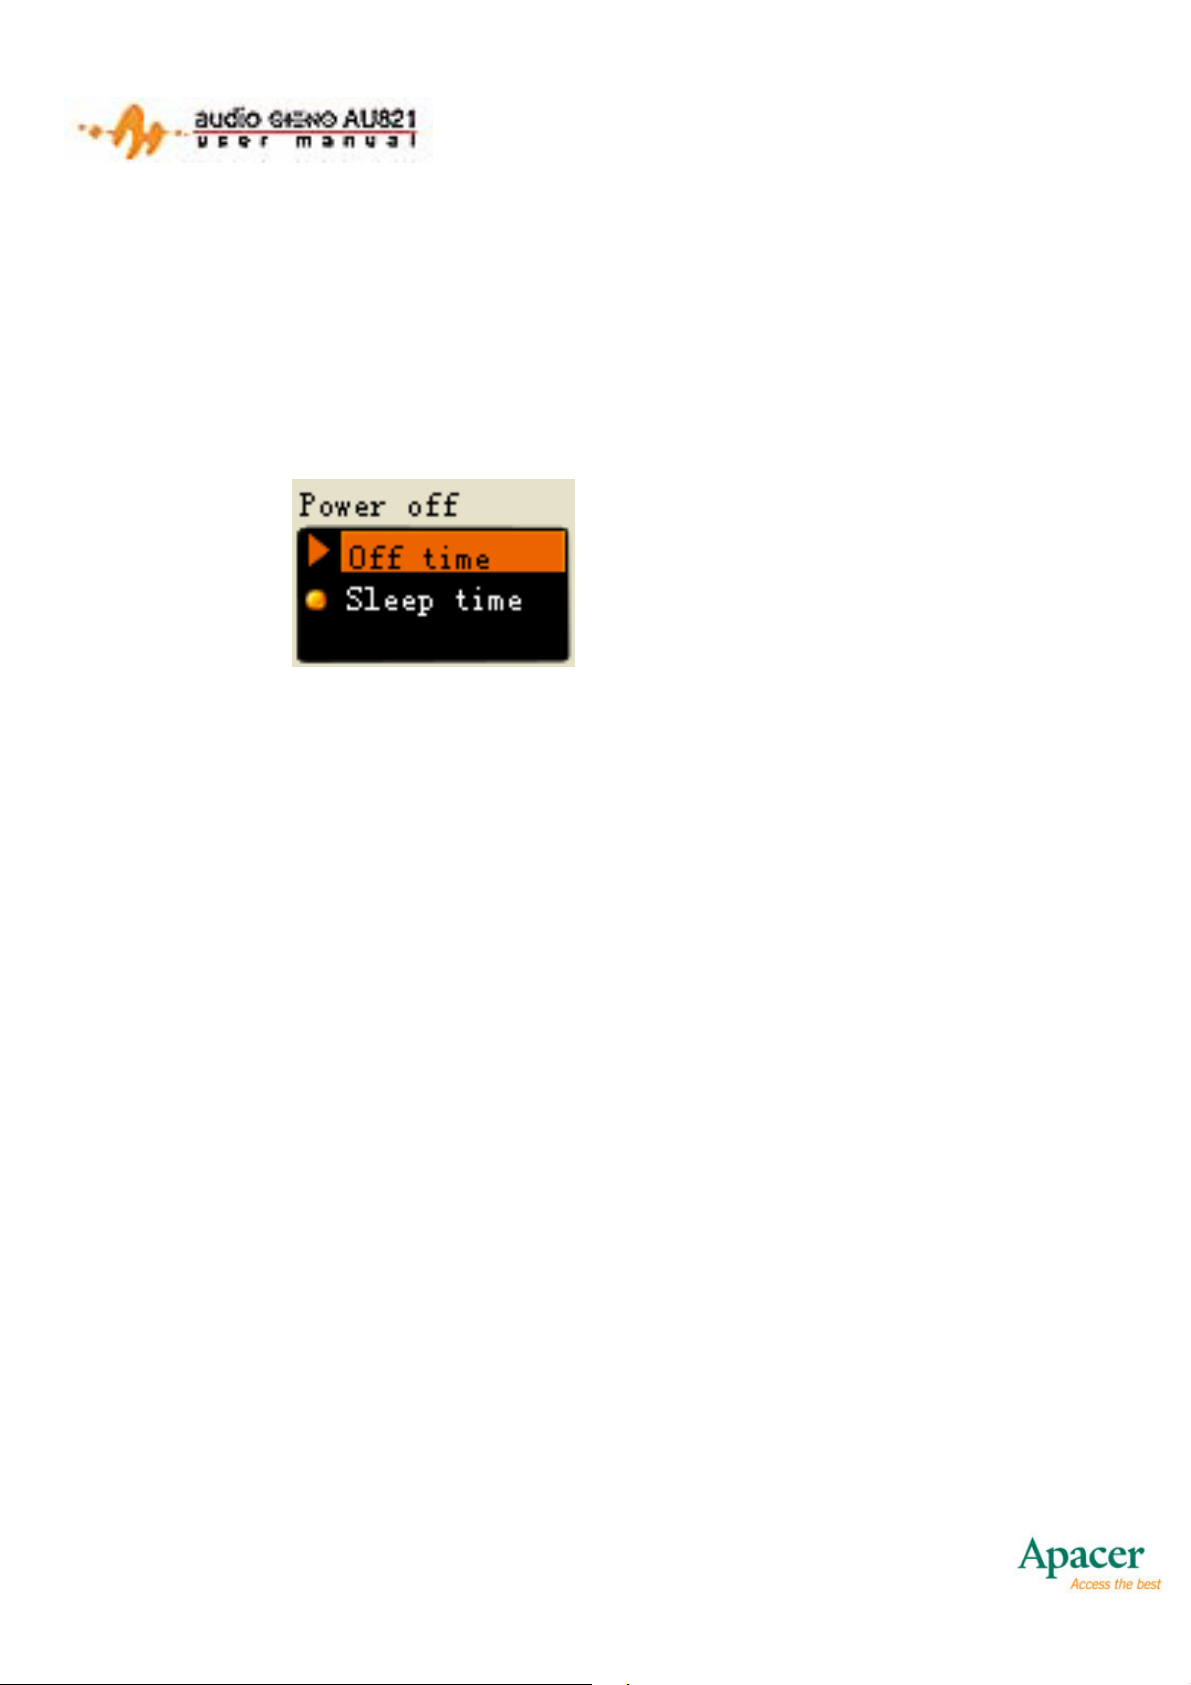
9.4 POWER OFF
These settings help you conserve your AU821’s battery life. Here,
you can adjust Auto-off and Sleep time settings.
9.4.1 Power off Modes
Power Off Modes
• Press VOL+/VOL- to scroll up/down.
• Press MODE to confirm your selection.
• Press PLAY to exit without saving.
9.4.2 Off time
In this mode, you can set the interval the player waits until auto-off.
If the player is not playing, and is left idle for the specified period of
time, it will automatically power off. You may set an auto-off time
anywhere from 0 to 60 seconds.
• Press NEXT/PREVIOUS to adjust the slider.
• Press MODE to save your settings.
9.4.3 Sleep time
In this mode, you can set a time for the unit to turn off. It is a
“countdown” system. When the set time is over, the player will
automatically turn off. This timer will be reset to zero before turning
45
Page 47
off the player, and will need to be reset if you would like to
continue sleep mode at next startup. It is mainly used for enjoying
music before sleeping. You may set a sleep time anywhere from 0
to 120 minutes.
• Press NEXT/PREVIOUS to adjust the slider.
• Press MODE to save your settings.
Replay
Here you can set the repeat function. One is Manual, the other is
Auto.
• Press VOL- or VOL+ will switch between the two modes.
• Press MODE to confirm your settings and exit.
• Press PLAY to exit without saving.
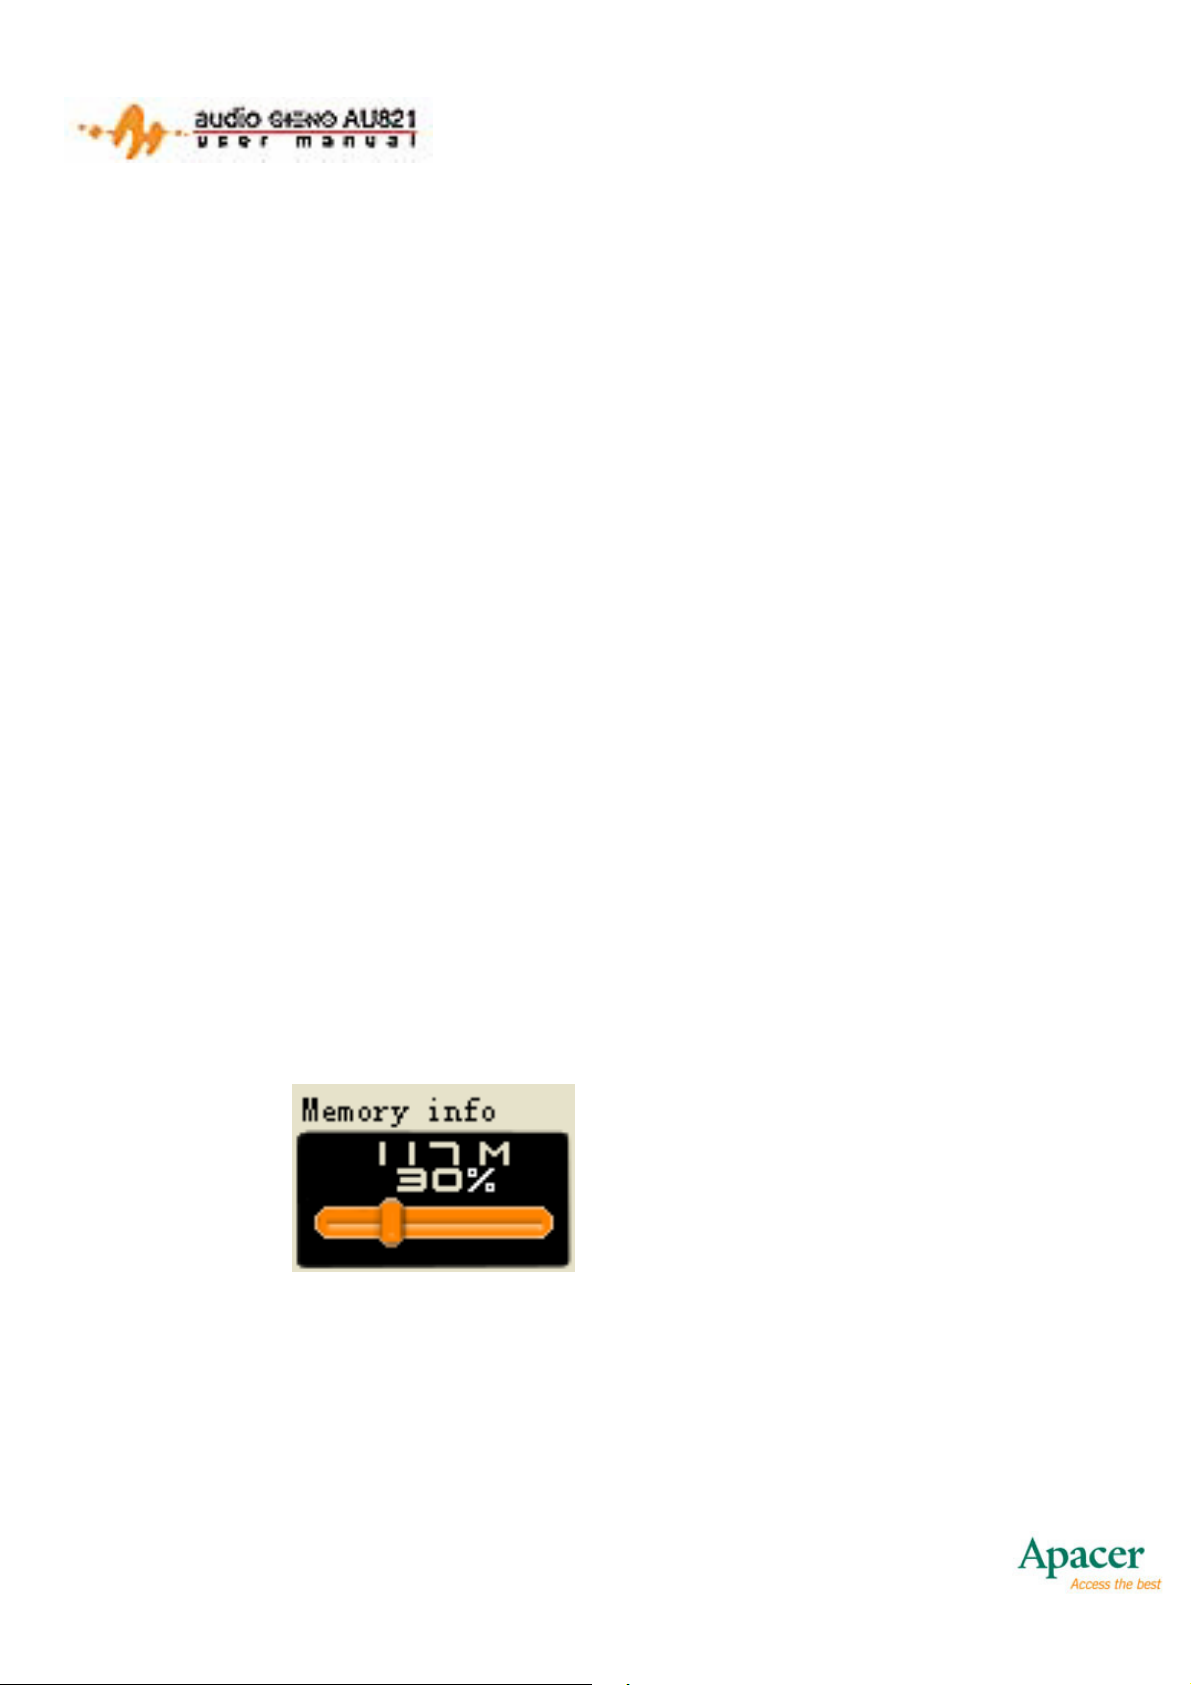
9.5 MEMORY INFO
Use this interface to view the size and use of your player’s
memory:
Memory Information
• Press MODE or PLAY to exit.
• Press A-B to enter Voice REC Mode and begin recording.
46
Page 48
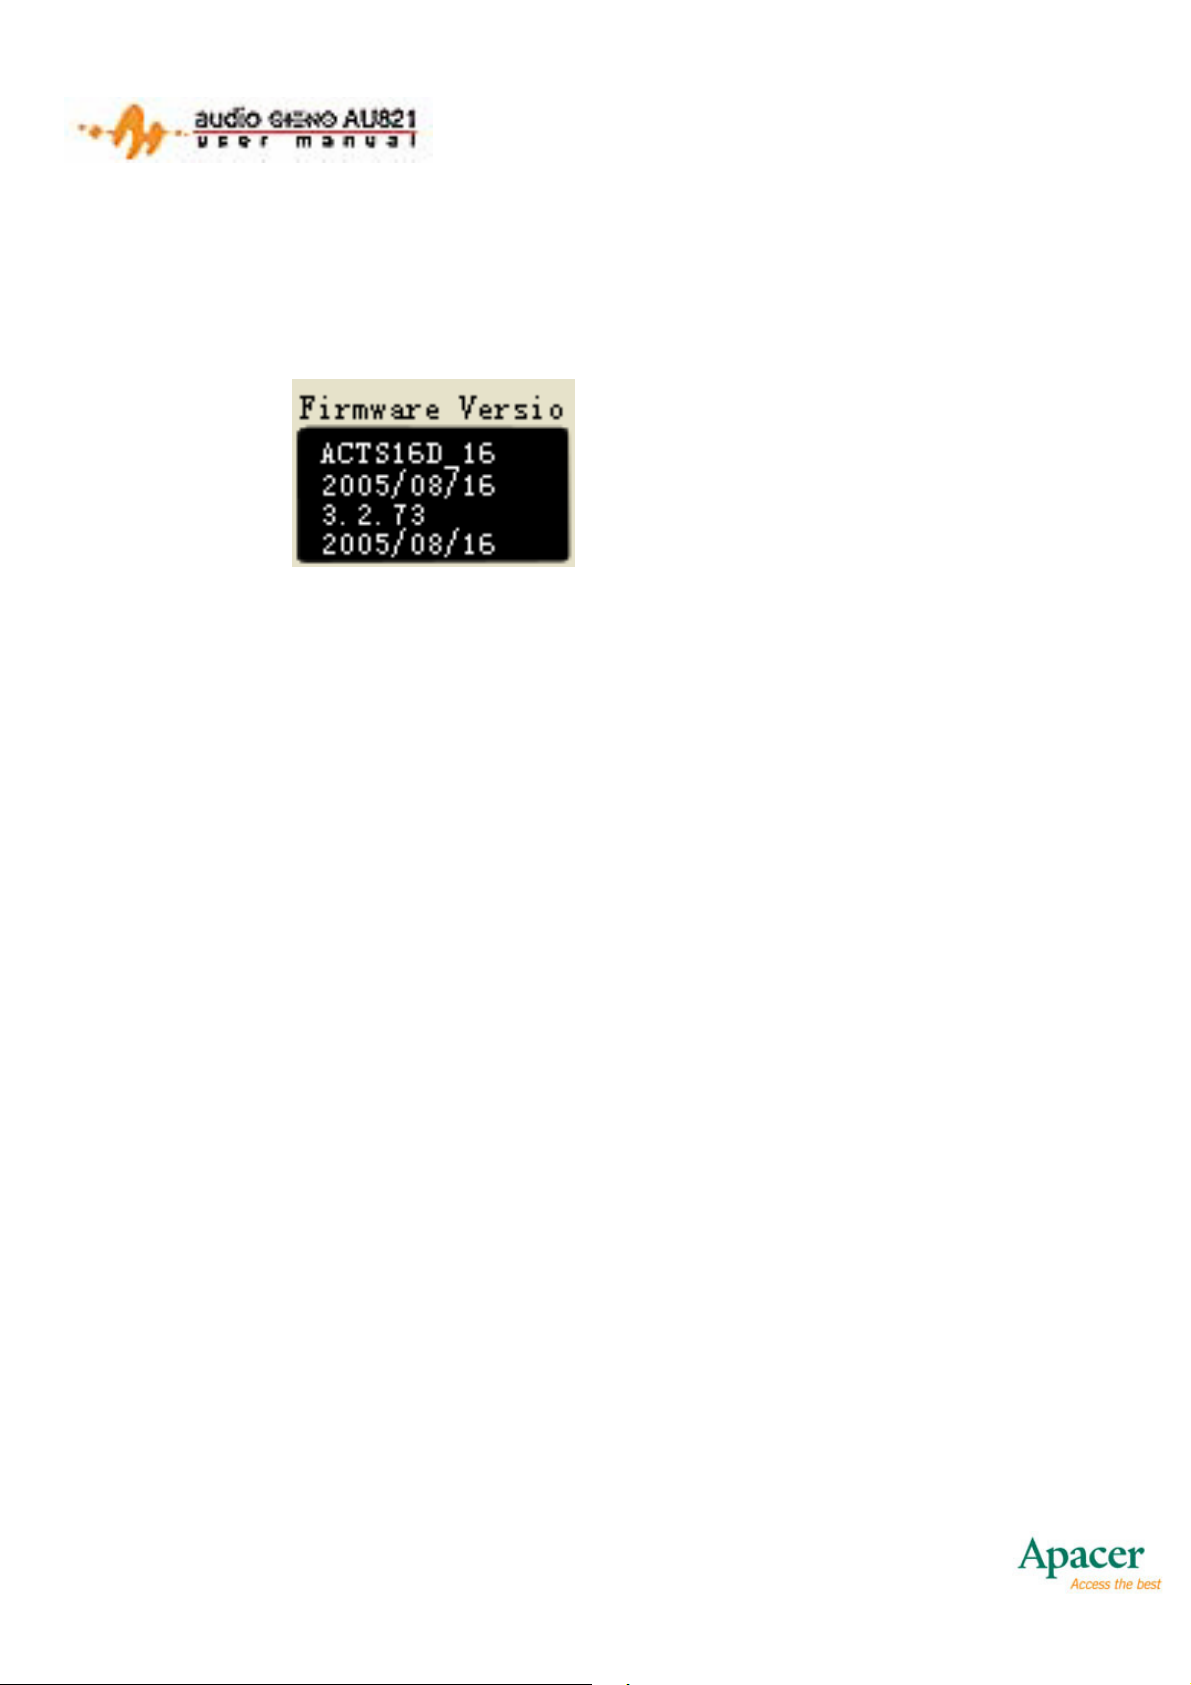
9.6 FIRMWARE VERSION
This is used to display the current firmware version. Its screen is
pictured below:
Firmware Version
• Press MODE or PLAY to exit.
• Press A-B to enter Voice REC Mode and begin recording.
47
Page 49

10. VIDEO
With Video Mode, you can use the AU821 to playback *.AMV
video files. You can convert your video files to the *.AMV format by
using the included software on the CD.
• Press PLAY to play the current video.
• Press PLAY again to pause the current video.
• Press NEXT to jump to the next video file
• Press and hold NEXT to fast-forward the current video.
• Press PREVIOUS to jump to the previous video.
• Press and hold PREVIOUS to rewind the current video.
• Press VOL+ to increase the volume.
• Press VOL- to decrease the volume.
• Press MODE to enter the Video Mode Submenu. The
following options are available:
o Local Folder
o Play Set
o Delete
o Exit
• Press and hold MODE to return to the Main Menu.
• Press A-B to switch to Voice REC Mode and start recording.
48
Page 50
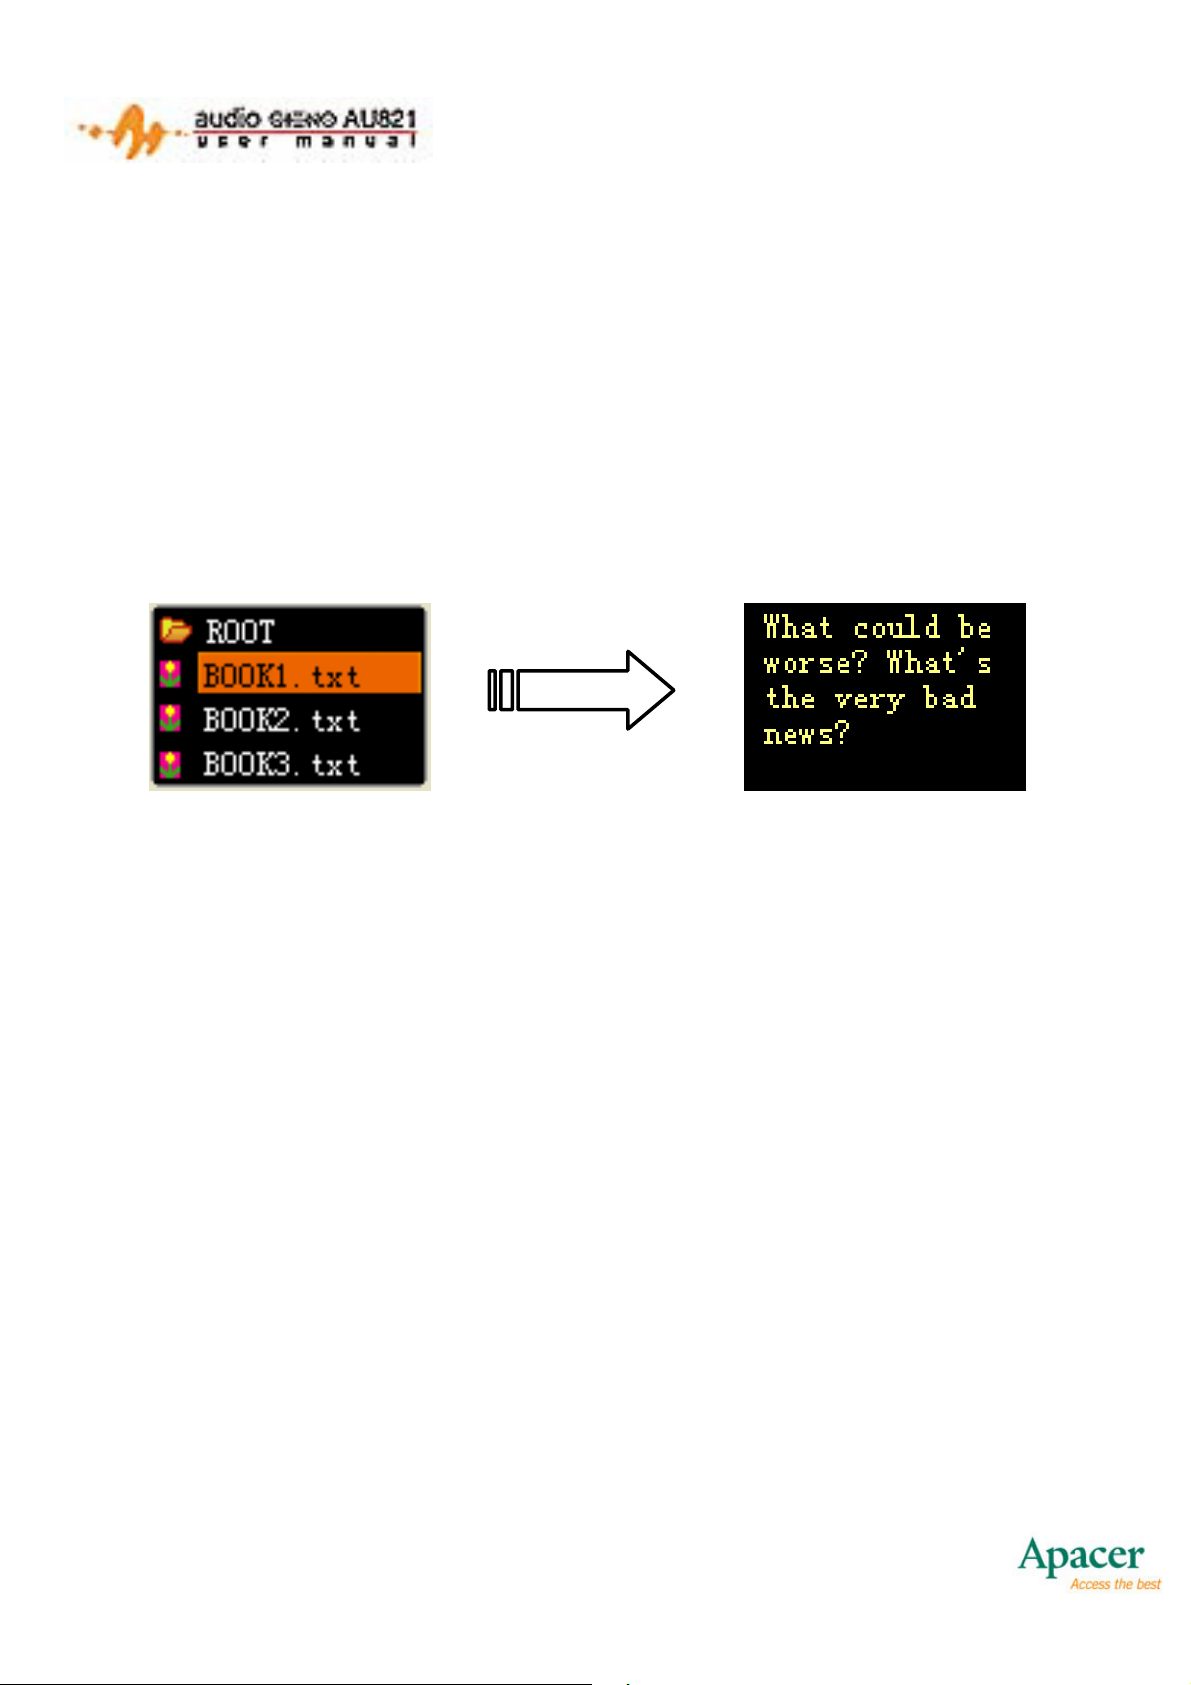
11. E-BOOKS
In E-Book Mode, you can read *.txt files on the AU821’s OLED
display (English only).
11.1 SELECTING AND READING E-BOOKS
When you enter E-Book Mode from the Main Menu, you will see
a listing of available files:
• Press PLAY to view the selected text file.
• Press NEXT to select the next page.
• Press PREVIOUS to select the previous page.
• Press PLAY again to return to the file list.
• Press MODE to enter the E-Book submenu. The following
options are available:
o Local Folder
o Play Set
o Delete
o Exit
• Press and hold MODE to return to the Main Menu.
• Other buttons are disabled.
49
Page 51

There are two playing modes: Manual and Auto.
• In the Auto Playing mode, the auto page turning interval can
be set to 5 - 15 seconds.
• Other buttons are disabled.
50
Page 52
12. UDISK
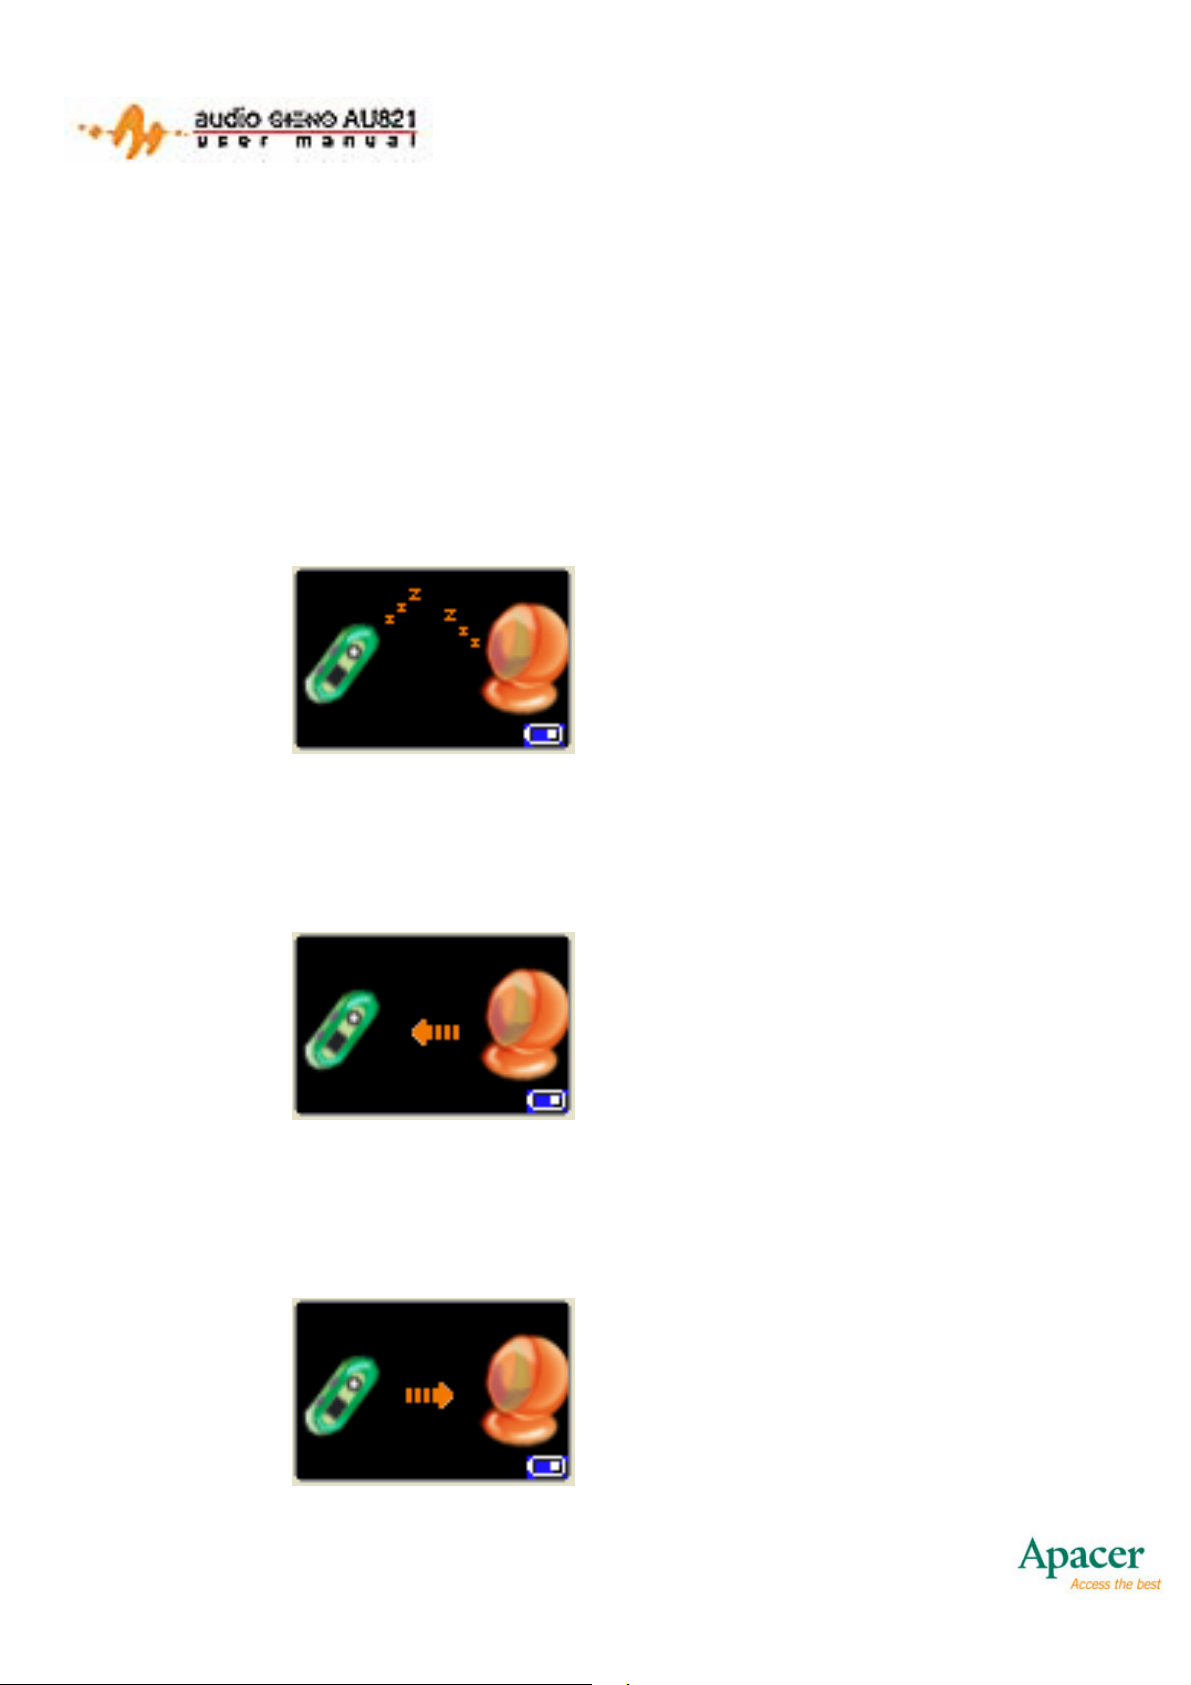
The AU821 can also be used as a standard USB flash disk. When
plugged into a USB port, the player will enter into UDisk Mode.
There are three options: Ready, Download and Upload.
Ready means that the UDisk is ready to use.
USB Connect Mode
Download means that the UDisk is in downloading mode:
USB Download Mode
Upload means that the UDisk is in uploading mode.
USB Upload Mode
51
Page 53

When busy, the player will not respond to any button presses.
In Ready mode, press MODE to go to the Main Menu.
Press A-B to enter record mode and start recording.
PC Disconnect
When PC is disconnected (without pulling out the player from the
PC), the player will automatically go to the Main Menu.
Upgrading the Firmware
When attempting to update the player’s firmware from the included
PC application, the player needs to respond and execute the
corresponding commands. See the next chapter for details.
52
Page 54
13. UPGRADING
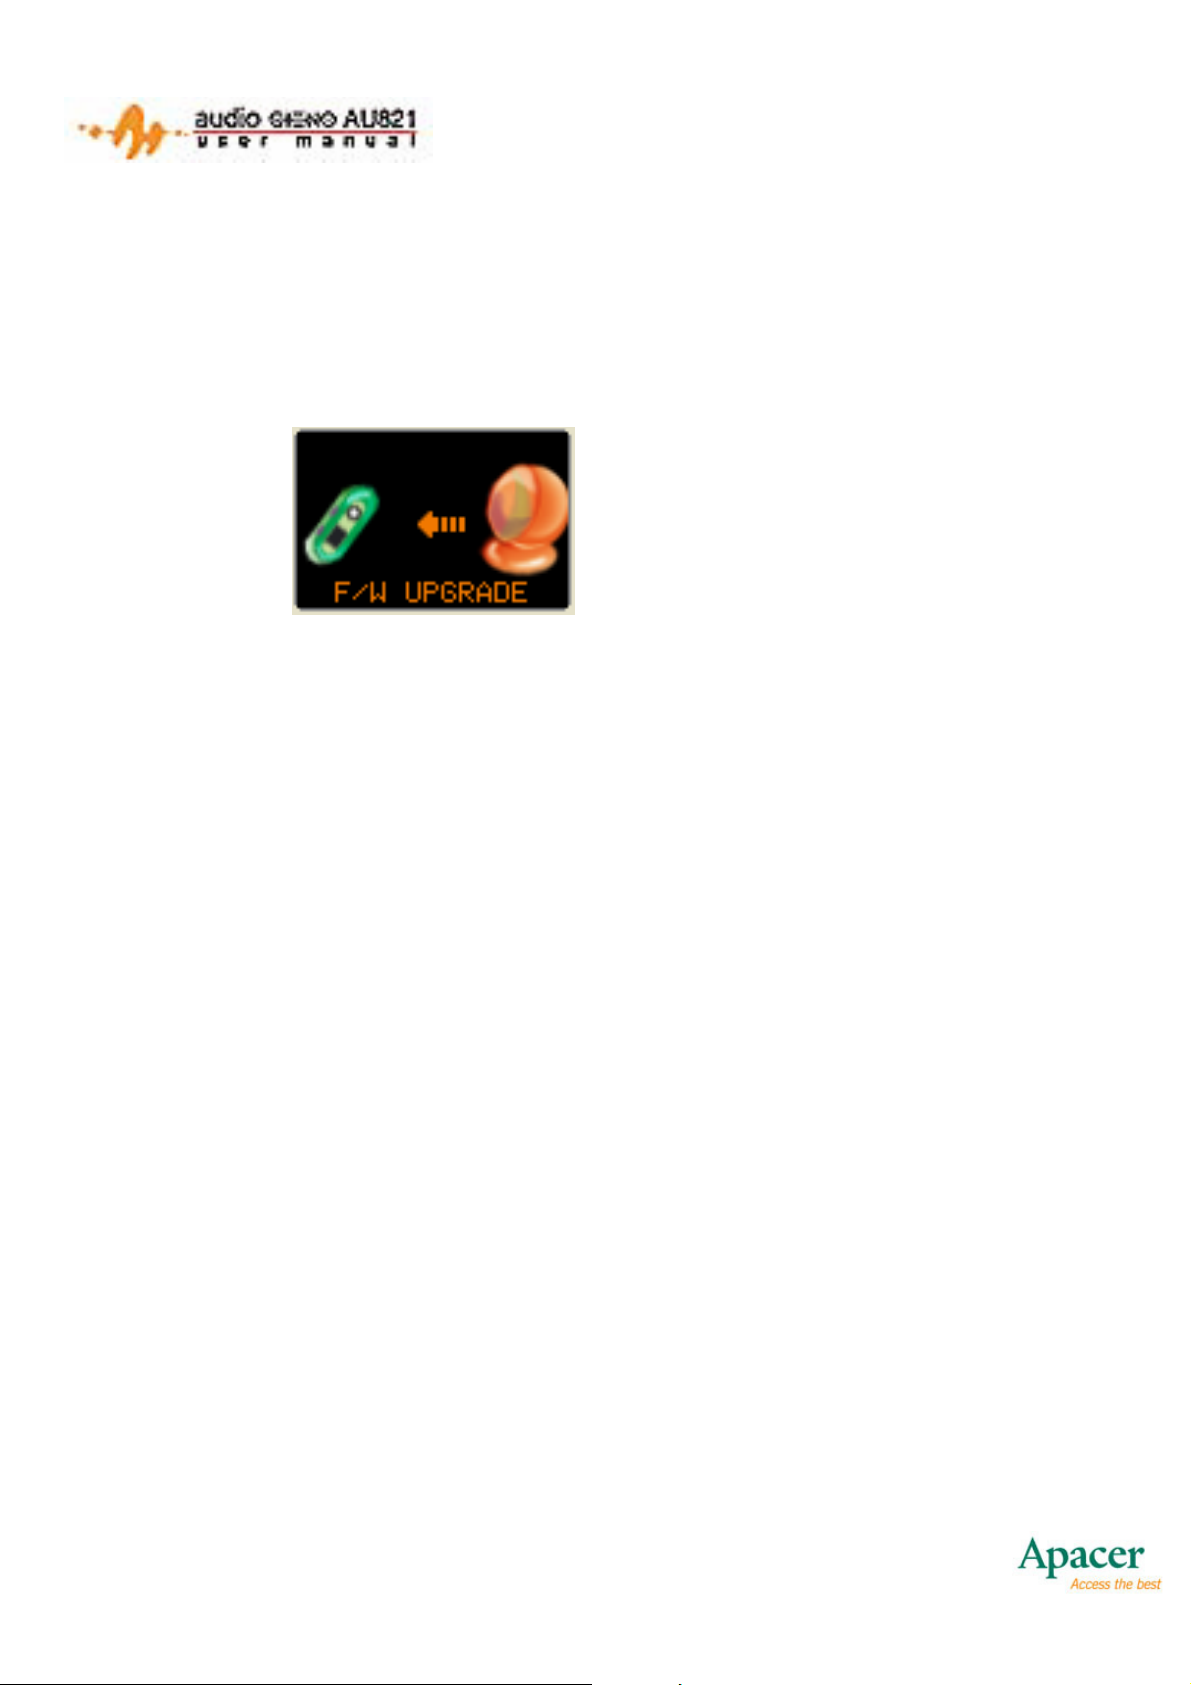
This feature enables you to upgrade, restore and backup the
AU821’s firmware:
The firmware is upgrading
V3.0.39: the current firmware version of the system or the
firmware version of the system in upgrading.
PCB M u D i s k : Upgrading the firmware by downloading.
PCA MuDisk: Backing up the existing firmware by uploading.
When performing this function, the following status can be
displayed: Ready / Busy / Doing / Done / Failed.
Ready: UPGRADE is ready for receiving the requests from the PC.
Busy: UPGRADE has not begun the upgrade or backup yet, but is
processing the requests from PC.
Doing: UPGRADE is upgrading or backing up materially, so users
can’t cancel the upgrade at this time.
Done: UPGRADE has finished the upgrade or backup.
Failed: UPGRADE had failed.
53
Page 55

Ready to upgrade
Operating Instructions
If the player is not connected to the USB Port, press MODE to
return to the Main Menu.
PC Request Processing
When receiving and processing requests from the PC, the status
of the player switched between Ready and Busy.
When receiving a download upgrade request, the player will switch
to the Doing status, and execute the downloaded upgrade.
When receiving an upload backup request, the player will switch to
the Doing status, and execute the upload backup.
Download Upgrade
Download Upgrade is used to download the system firmware
version from the PC side into the player and overwrite the player’s
current firmware version. If both the system firmware and its
backup become damaged, Download Upgrade can also repair the
system firmware.
The Download Upgrade mode is shown below:
Note: During Doing status, UPGRADE is upgrading or backing up,
so users can’t cancel the upgrade at this time.
54
Page 56
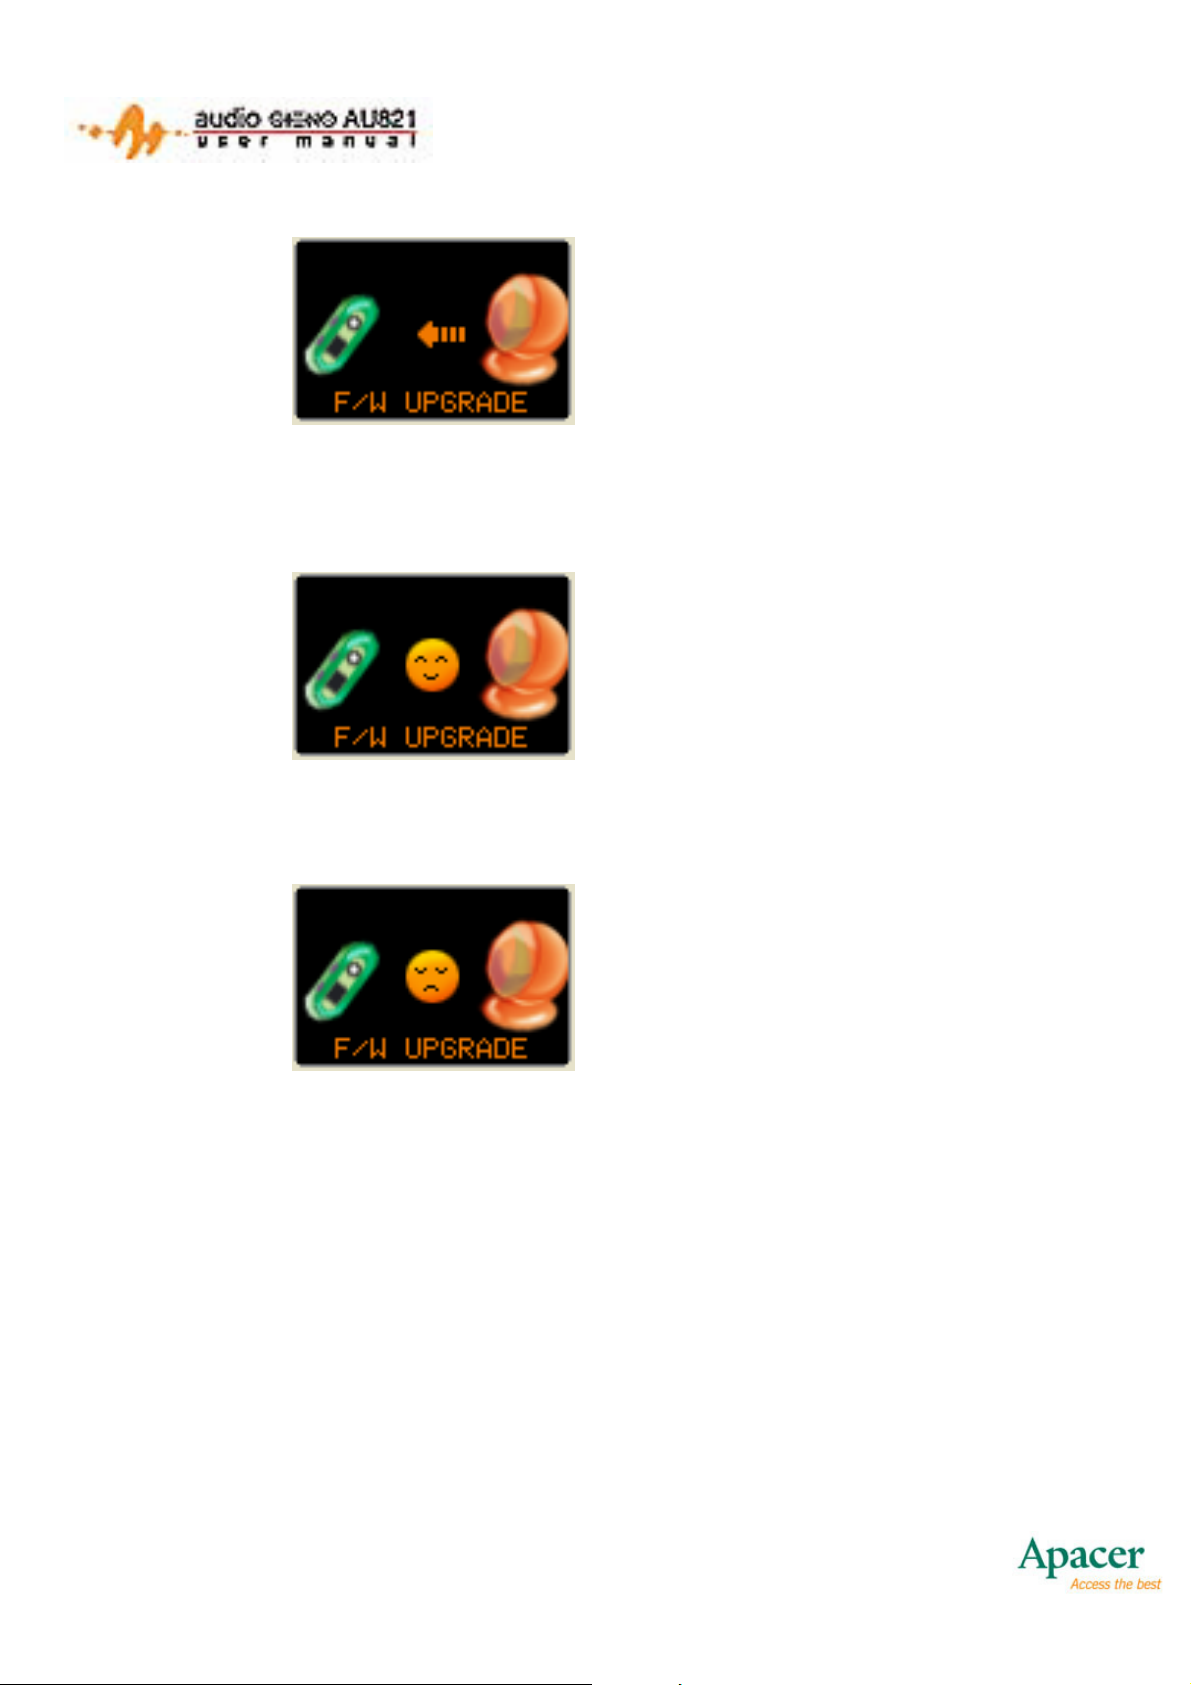
Firmware Upgrade – Upgrade in
progress
Done: UPGRADE has finished the upgrade or backup.
Firmware Upgrade - OK
Failed: UPGRADE has failed.
Firmware Upgrade - Failure
Operating Instructions
It takes about 15 seconds to finish the Download Upgrade. After
finishing the Download Upgrade, the player will switch to the Done
status. 1 second later, the system will restart to complete the
upgrade.
55
Page 57

Failure
If the communication fails during the Download Upgrade, set the
number of retry times to restore the communications.
When the system gets “stuck” during the Download Upgrade,
“Fail” should be displayed. The system will restart in 1 second to
utilize the player’s backup firmware to restore the system.
56
Page 58

14. NOTICE
• To extend the AU821’s play time, you can set the screen to
the Dim Mode when playing files other than AMV movies.
The Energy Saving Mode and Sleeping Mode can also
extend play time.
• To operate the AU821, switch the ON/OFF Switch to the
“ON” position and wait for the hourglass to appear. After the
hourglass is displayed press and hold the PLAY button for 2
seconds to power on.
• The AU821 does not support multi-level folders. Files stored
in any subdirectory beneath the first level directory will NOT
be recognized.
• Maximum of music and recorded files saved in the same
directory are 99.
57
 Loading...