

Page 1

ANZZI
Perfection is our Tradition™
For more information visit us at www.ANZZI.com
or call us at 1-844-44-ANZZI
Farmhouse Kitchen Sink Installation Guide
General Recommendations:
Please read installation and maintenance instructions thoroughly.
Inspect your sink for any noticeable damage before installation.
Check all local applicable plumbing and building codes.
These instructions are based on application to composite material or solid surface countertop
installation only; countertop application to stone, marble, granite or butcher-block should be referred to
an experienced countertop fabricator for custom installation.
Because Farmhouse sinks are individually handmade, we suggest using experienced and
professional installers only. For custom cutting of countertop and installation of the actual sink, on-site
installation is also recommended. Acceptable variances are approximately 1/8 of an inch. Alignment to
the cut-out and precise application and trimming of any adhesive sealant are critical to a superior fit and
finished look. Please take extra care in this regard.
Farmhouse sinks require custom order cabinets. Consult your cabinet dealer.
We do not accept any liability for damage to countertop, sink fixture, faucets or personal injury
during installation. Warranty is void if installation instructions are not followed.
Tools and Materials needed:
Tape Measure
Hacksaw / Jigsaw
Rags
Pencil (NOT ink)
Be sure to use proper tools and always wear personal safety devices for your protection.
Framing Square
Ear Protection
Shims
Denatured Alcohol
Eye Protection
Silicone Adhesive Sealant
Wood Braces
1
Page 2

Installation :
Note: Cutout template only applies to undermount installation.
Undermount Installation
Caution: It needs to allow room for faucet installation. Ensure adequate clearance behind the sink for
!
any faucet and backsplash, as well as full range of motion for faucet spouts and handles.
Typical undermount installation with 1/4" reveal recommended.
2
Page 3
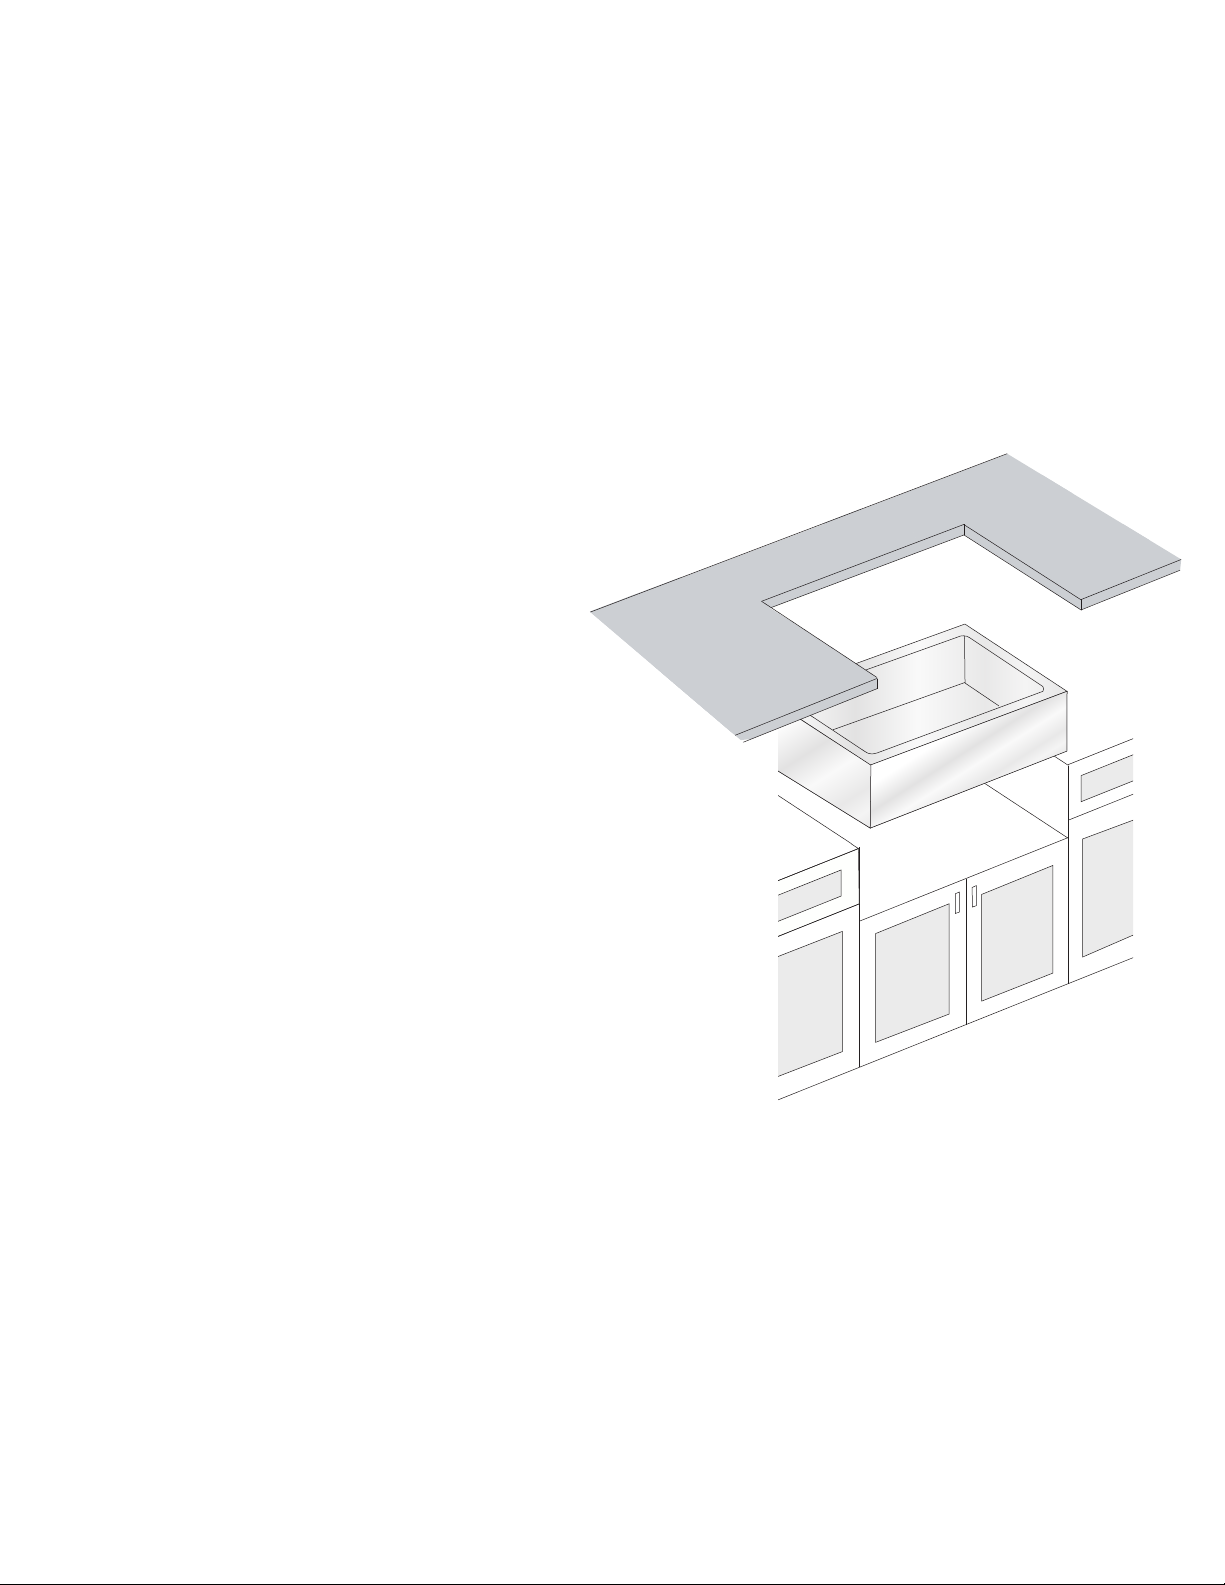
1. Prepare the Sink Base Cabinet:
Farmhouse sinks offer installation options depending on your design.
Farmhouse sinks require custom order sink base cabinets with a front cutout to accommodate a 10" deep
sink. Build a plywood platform on a support frame inside of the sink base cabinet. Platform must support the
weight of the sink and any attachments such as garbage disposals. When the sink is placed onto a platform,
make sure the top of the sink is evenly flush against the bottom of the countertop. Allow clearance for water
supply line and drains or garbage disposal, as necessary.
2. Make a Template and Cutout
Depending on the installation option, make
proper cutout of the countertop.
We recommend a 1/4" reveal on 3 sides
when installed undermount style. For a flush
mount or built up installation, cut countertop along
with outside line of the sink profile. Front end of
Farmhouse sinks are designed to be installed 3/4”
extended out beyond the front end of the countertop. Cut
countertop accordingly. No template is provided due to the custom
nature of each application and installation. The actual sink is used
as the template guide for each installation. After centering the sink
and allowing for any faucets and backsplashes, use a pencil
to outline the sink as your guide for the cutout, allowing for any
reveal before the actual cutting.
3. Set the Sink
Set the sink on top of the cabinet or into the cabinet front cutout. Apply sealant if necessary as a gasket
between the sink and cabinet.
4. Install the Countertop
Carefully clean bottom of countertop and top flange of sink with denatured alcohol. Apply bead of silicone
adhesive (not supplied) around the top edge of the sink. Place countertop onto the sink. Remove excess
sealant from the lip or any surfaces with a cleaner recommended by manufacturer of adhesive sealant.
3
 Loading...