

Page 1
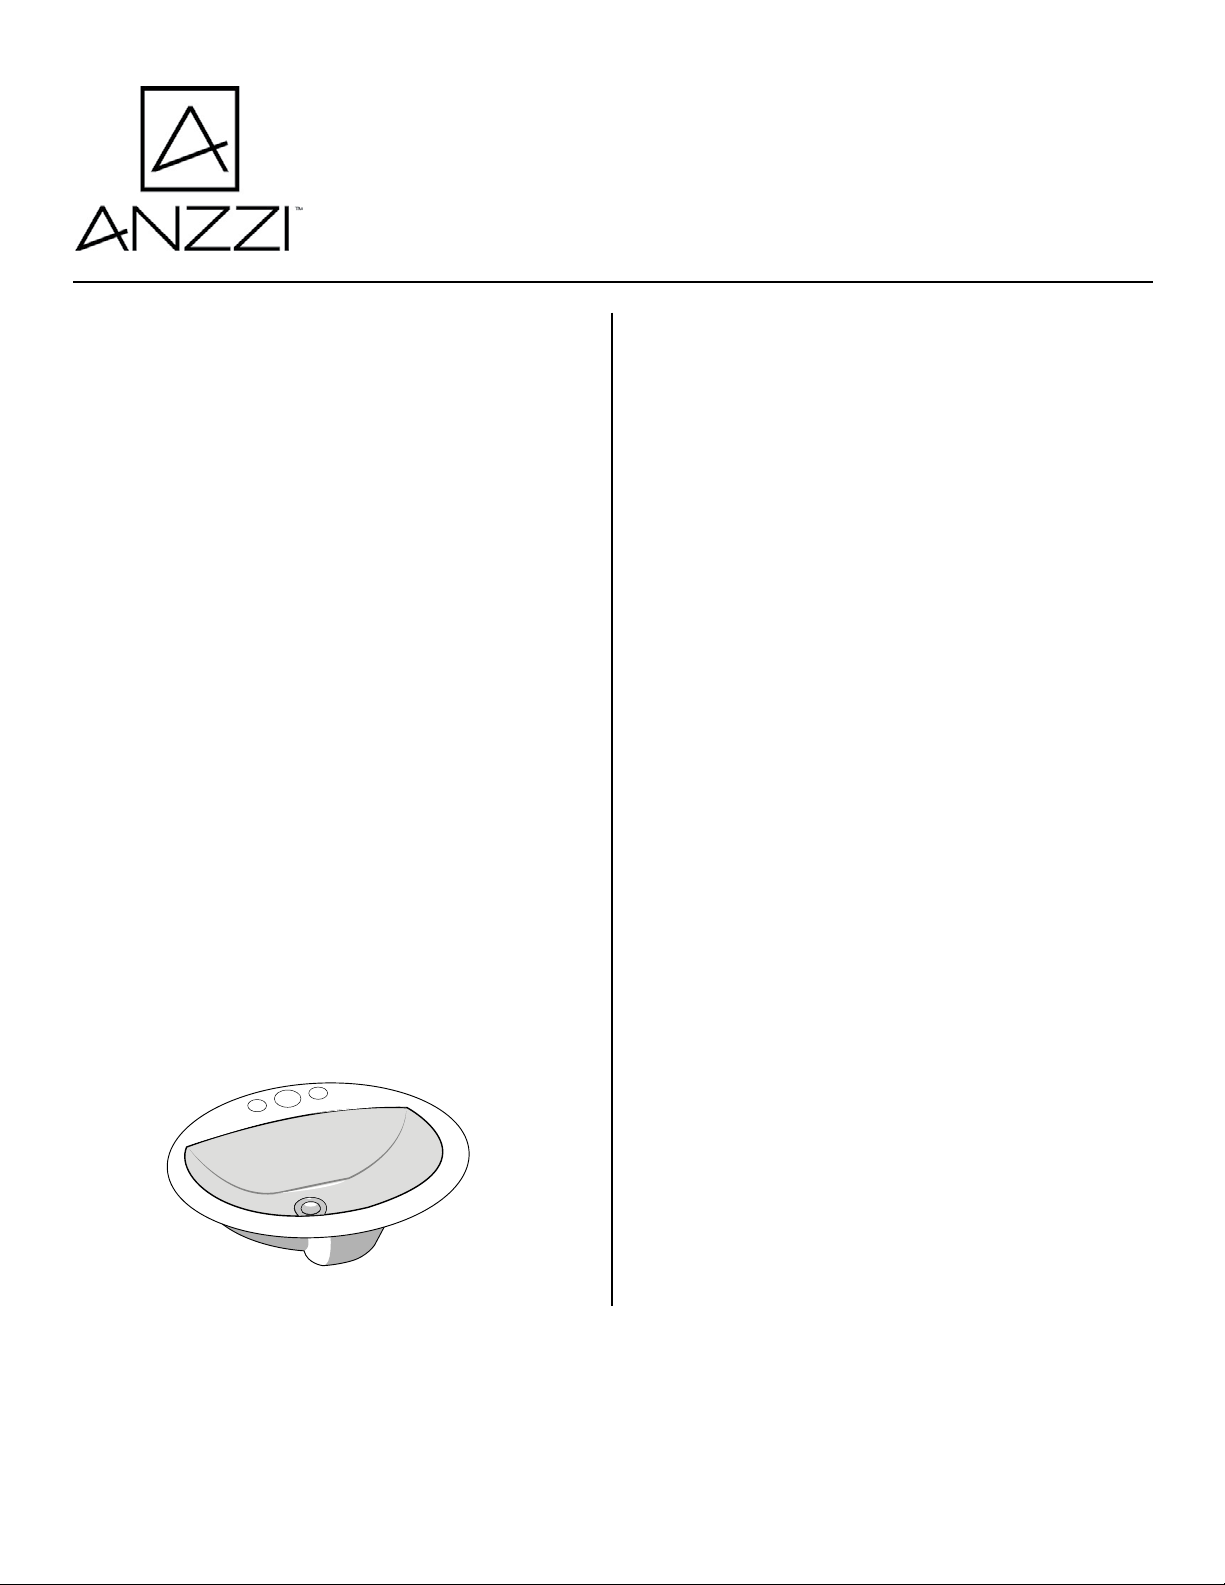
DROP-IN BATHROOM SINK INSTALLATION
Please read entire installation instructions before starting. Observe all local
building and safety codes and guidelines.
FOR MORE INFORMATION SIMPLY CALL 1-844-44-ANZZI OR VISIT US AT WWW.ANZZI.COM.
INSTALLATION
1. Lower the sink into the sink cutout on the counter to
conrm the sink will t properly. e perimeter of the
sink rim should connect with the counter, while the
sink bowl should sit completely inside the counter.
Tip: For easier installation, install the drain and faucet
before attaching the sink.
2. Remove the sink and run a bead of silicone sealant
around the sink cutout to seal the rim against moisture
and leaks.
3. Carefully lower the sink back into the cutout and
press the sink rmly into the silicone sealant. Make
sure that the sink is level and properly aligned.
4. With the sink in place, tighten the new mounting
clips (if included) on the underside of the sink.
5. Wipe away any excess sealant around the rim of the
sink with a damp cloth. If a lavatory drain is included,
move on to the Drain Installation section.
DRAIN INSTALLATION
1. Disassemble the drain by removing the threaded tail
piece, rubber sealing gaskets, friction washer and lock
nut from the drain body.
2. Place thread sealant on the threaded section of the
tail piece and reattach to the drain body.
3. Slide the at rubber sealing gasket up the tail piece
to the top of the drain body. is gasket will create a
water tight seal between the drain anges and sink.
4. Place the drain in the drain hole in the sink.
Silicone Sealant Damp Cloth Level
read Sealant Basin Wrench
Porcelain Drop-In Sink Installation Instructions 2
5. On the underside of the counter, attach the tapered
rubber gasket. With the at side facing down, slide the
gasket up the threaded shank until it makes contact
with the bottom of the sink.
6. Slide the friction washer up to meet the rubber
gasket.
7. read the lock nut onto the threaded shank.
Hand-tighten and make sure that the drain is properly
aligned. When ready, nish tightening with a basin
wrench to secure the drain.
 Loading...